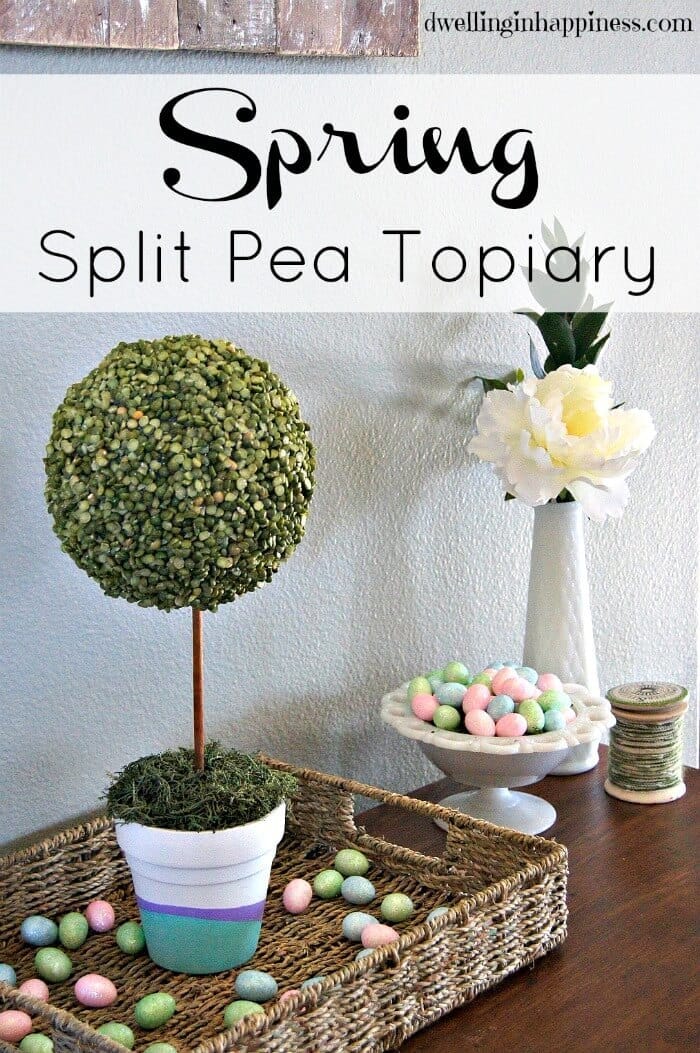
Spring Split Pea Topiary
THIS POST MAY CONTAIN AFFILIATE LINKS. PLEASE SEE OUR FULL DISCLOSURE POLICY FOR DETAILS.
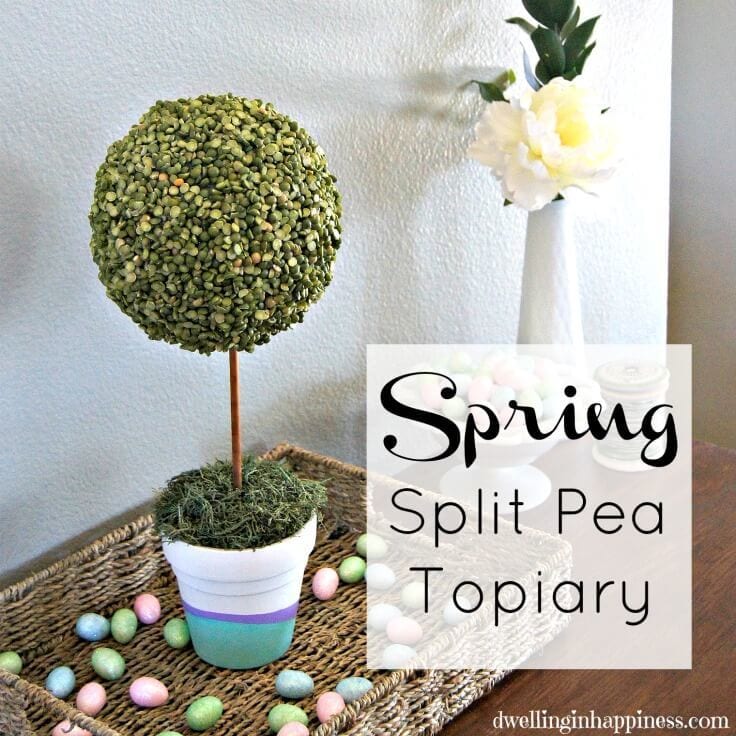
This cute DIY Spring Split Pea Topiary is the perfect centerpiece for your spring decor or Easter brunch! It’s easy to make with this step-by-step tutorial.
Hello, Ideas for the Home by Kenarry® readers! I’m Amanda From Dwelling in Happiness, and I am thrilled to be here today sharing a super cute DIY craft with you; a Spring Split Pea Topiary!
 Our weather has finally warmed up a tad, and I’m excited to get my house all decorated for spring. I’m tired of the cold and snow! I’ve been really loving spring topiaries lately, and I’ve seen so many cute ones in the stores. However, I don’t want to pay $20 for one! Instead, I thought I’d make one for a fraction of the price; and I wanted to share the easy tutorial with you today!
Materials:
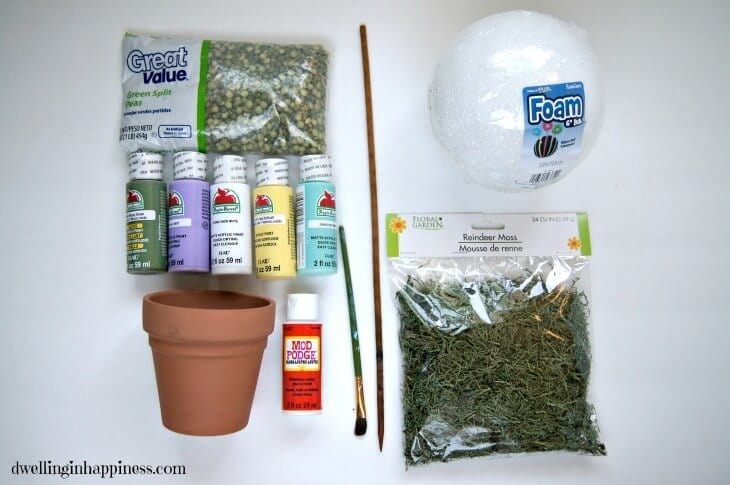
- 1 bag dried green split peas
- 1 6″ foam craft ball
- 1 bag moss
- 1 medium terra cotta pot
- Mod Podge
- Paint brush
- 1 stick (I used a shish-kabob stick)
- Green acrylic craft paint (to match the split peas)
- White acrylic craft paint
- 2 colors craft paint (I chose lilac and aqua)
- 2 thick rubber bands (not pictured)
- Foam to fit inside pot (not pictured)
 First, paint your terra cotta pot with the white acryclic paint. I did two coats and let it dry. I also painted inside the pot about halfway down, just in case it showed through the moss we’ll add later.
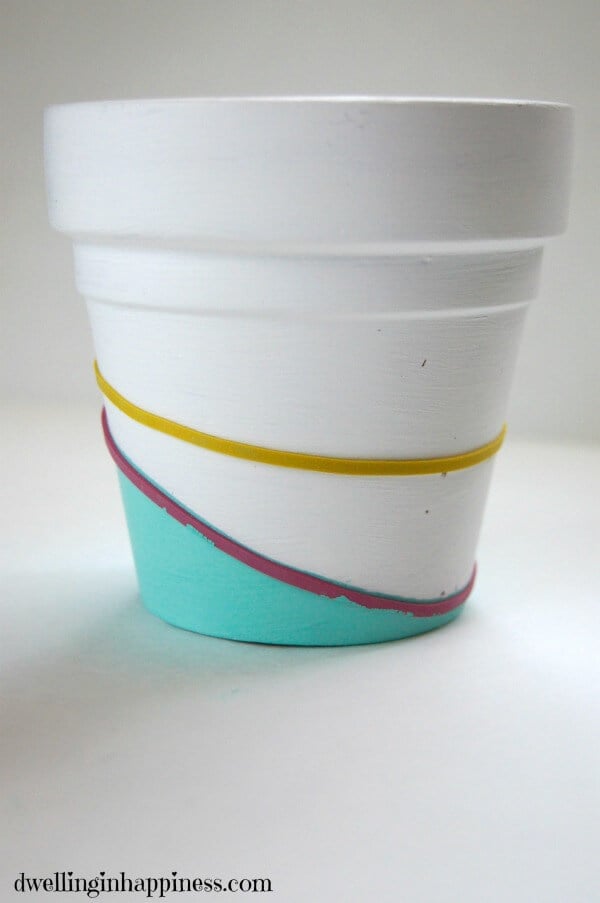
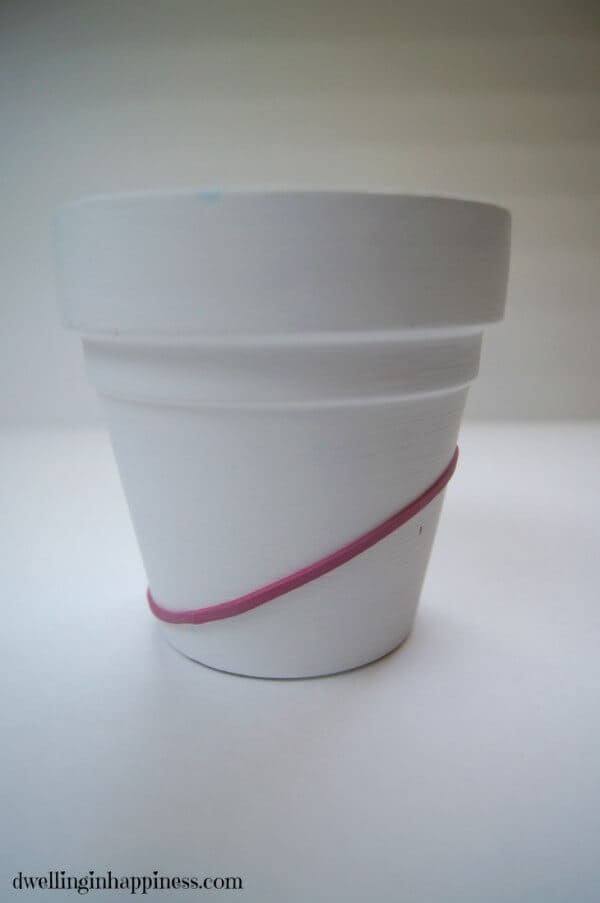 For the “dipped” stripes, start by putting a thick rubber band on the bottom of the pot at an angle.
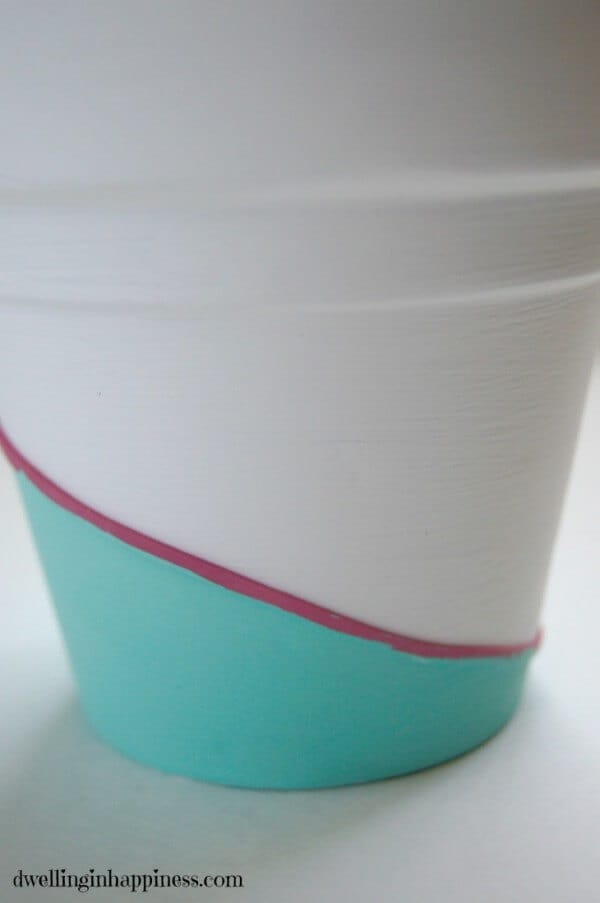 Choose a color of your favorite acrylic paint (I chose aqua), and carefully paint underneath the rubber band. Let it dry completely.
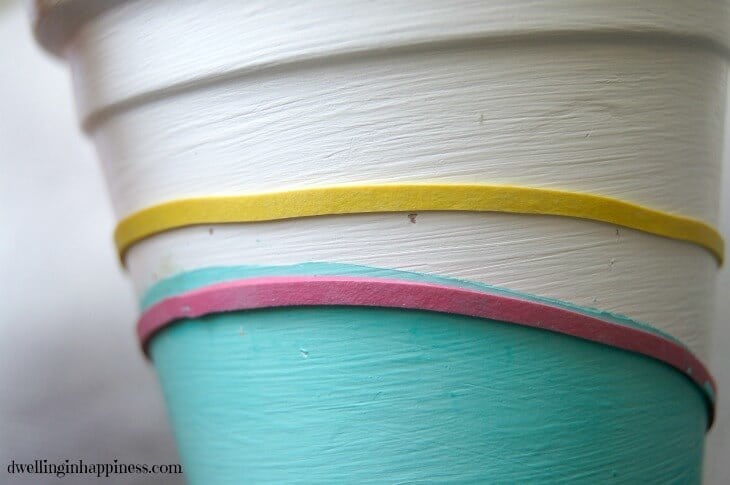 Once you’re certain the paint is dry, scoot the rubber band down JUST below the color. If you don’t, you’ll have a thin white line between the colors. Then, carefully put on another thick rubber band above the first color at an angle.
 Paint between the rubber bands with your second color of acrylic paint (I chose lilac). You’ll overlap the first color just a tad, but that’s ok. Do 1 to 2 coats as needed, depending on how light the color is.
After the paint has completely dried, very carefully remove the rubber bands, as to not chip any of the paint off.
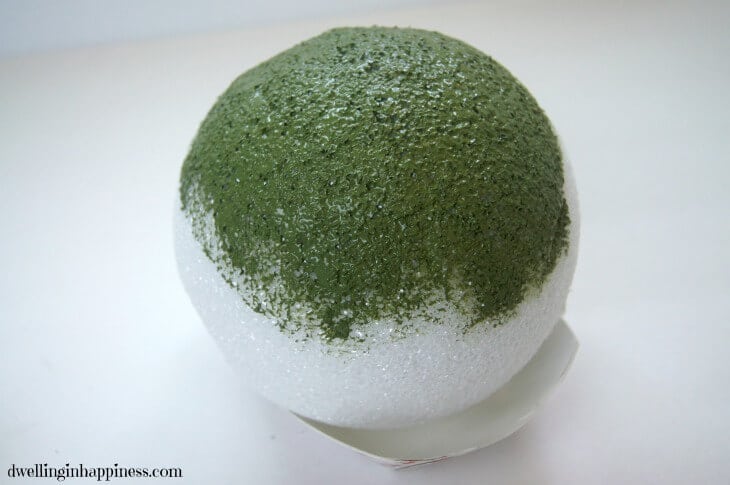 For the top portion of our topiary, you’ll need to paint the foam ball. Make sure to use foam-safe paint such as acrylic, as some paints will melt the foam. Paint half the ball with a thick coat of paint and let dry, then turn it over and paint the other half. I let it rest on a small paper tray while painting and drying.
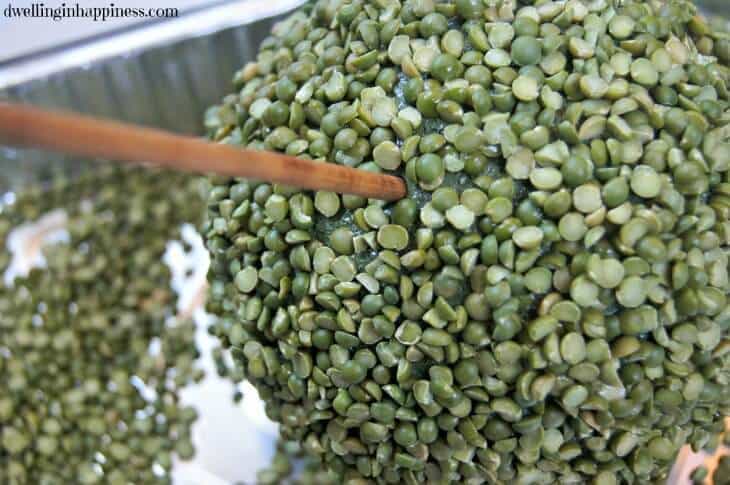
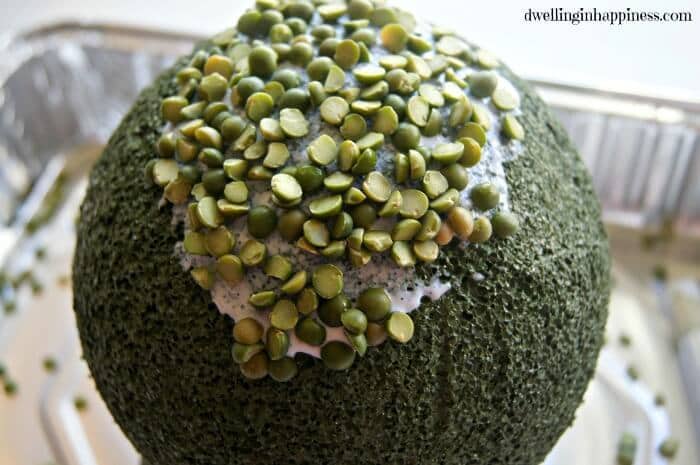 To attach the split peas, use a paintbrush to brush on a thick layer of Mod Podge. Sprinkle split peas on top of the glue. Continue doing this all the way around the ball, letting it dry a little before doing other sections. I kept the foam ball on the paper tray and placed that in a large aluminum tray to help contain all the split peas.
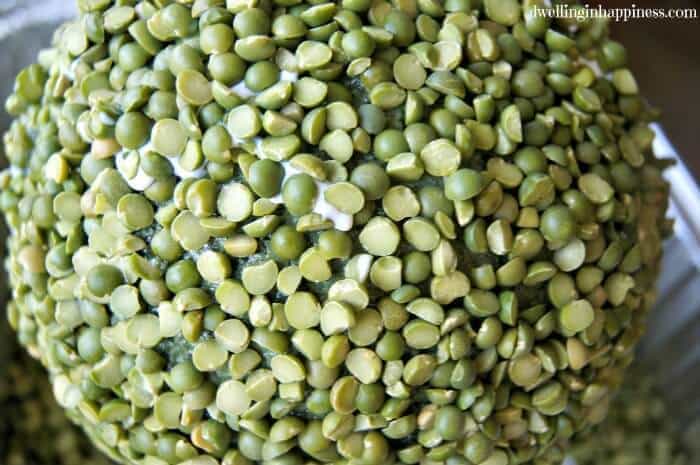 Once you’ve gotten the ball covered with split peas, let dry overnight. You’ll need to fill in any little holes as a “second” layer. I just used a small paintbrush and added Mod Podge in the holes and placed more peas on top. Do this all around the foam ball until you are satisfied with the coverage.
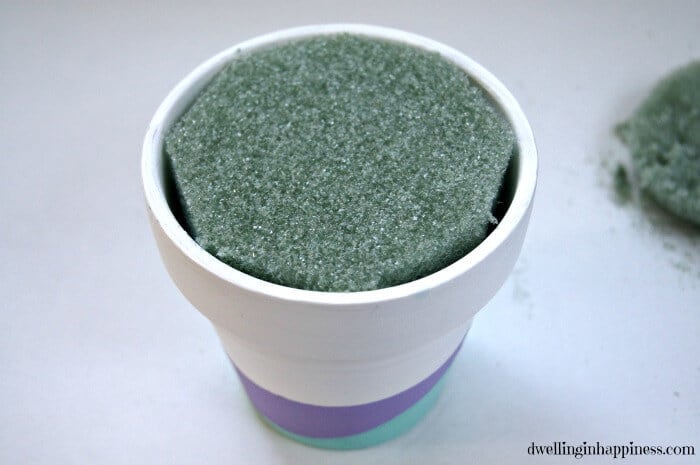
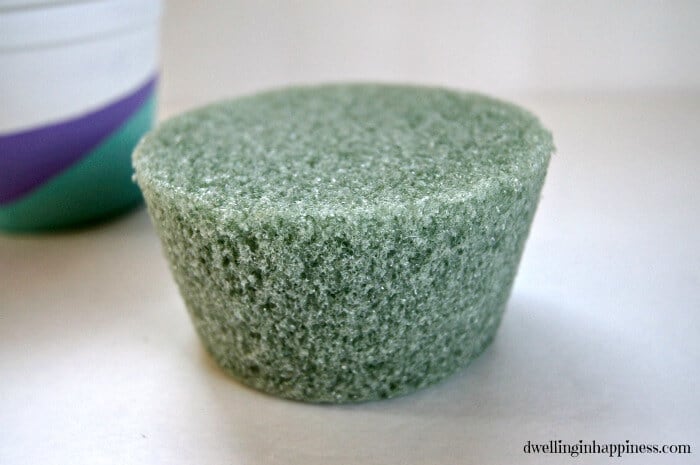 I found this foam piece at the Dollar Store. You could easily use a square or round shaped foam piece and cut it to fit in the pot. Mine was unfortunately a tad too big, so I cut it down to make it fit.
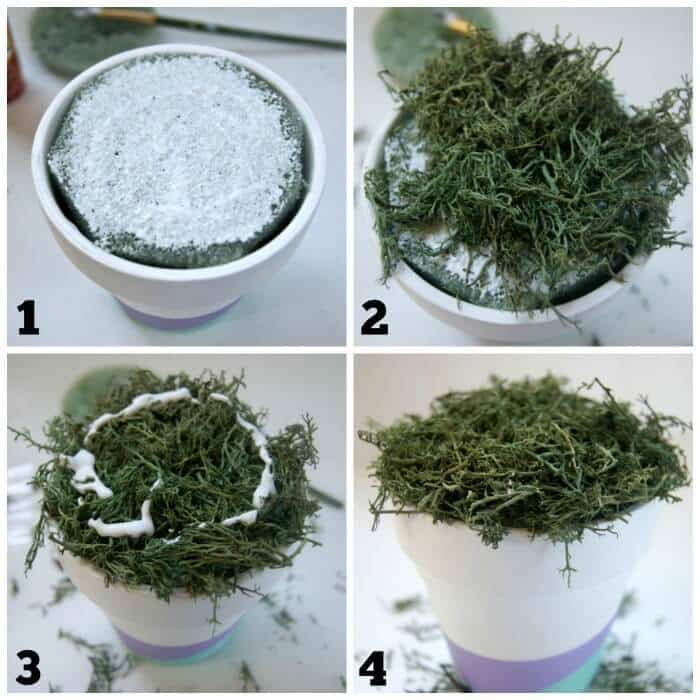 To add the moss, I just brushed on some Mod Podge to the top of the foam (#1). I didn’t add any Mod Podge to the edge of the pot just in case I ever wanted to reuse it! Push a layer of moss down on the Mod Podge to stick (#2). I found it was a little sparse around the edges and my foam was showing through, so I added a little more Mod Podge (#3). I pushed down some more moss on the edges (4).
 Make sure your glue and split peas are totally dry and all the excess split peas fall off. To put it all together, push your stick into the foam ball. Try to center it as best as possible. You could easily use a real stick from outside or a colorful straw instead of a shish-kabob stick! Push the other end of the stick into the center of the foam in the pot.
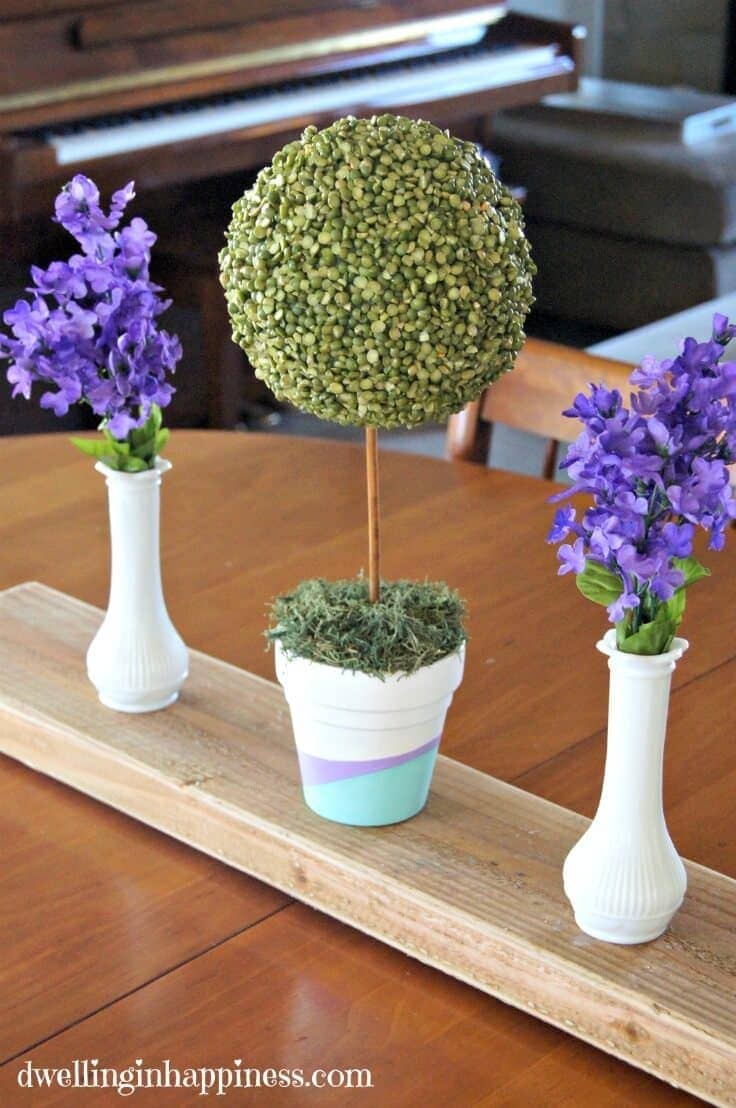 And, that’s it! You now have yourself a pretty little spring topiary, with split peas! It’s the perfect spring decor to keep out even into/through summer. I love versatility!
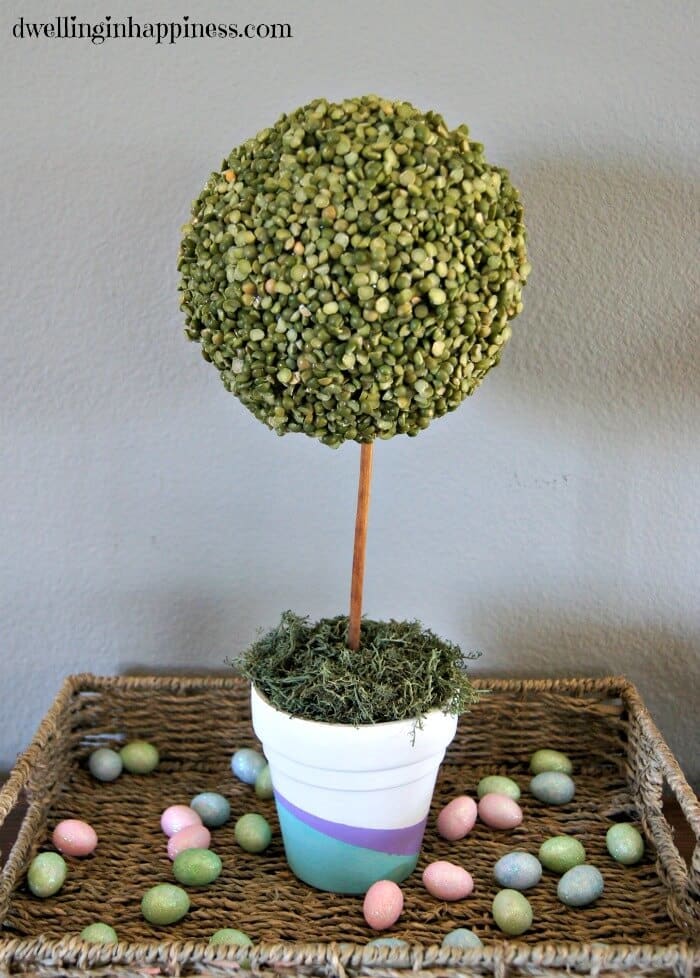 It’s also the perfect centerpiece for your Easter brunch. Throw a couple of eggs around it or in the moss, and you’re set! I just can’t decide where to keep this. It’s been moved around a few times already!
If you’d like to share this idea, you can pin this photo:
 Thank you SO much for having me here to share with you all! Have a lovely week!
Looking for more spring decor inspiration? Check out some of my recent spring ideas below!
Spring Mason Jar Vases


While you’re here, be sure to check out other spring ideas on Ideas for the Home by Kenarry® –
I love this! Looks so great and easy to make!
Thanks, Samantha! Didn’t Amanda do a wonderful job? I love how it looks.
Super cute! Love it, Amanda!
Didn’t she do a beautiful job, Kendra! Thanks for stopping by to check out Amanda’s tutorial.
Such a cute idea!! I never would have thought to use split peas but I love how it turned out.
I wouldn’t have either, Amy! I think I’m going to be looking at the whole dried beans/veggies section of the grocery store differently from now on. Thanks for coming over to check out Amanda’s beautiful Spring Split Pea Topiary.
I have seen split pea wreaths before but it didn’t cross my mind to do a faux topiary with it, it looks beautiful, such a great spring idea!
Thanks Gilly! I’d never even thought to use split peas in a craft at all. I’m so impressed by this topiary.
So super cute! I love the blue paired with the purple on the pot – such a springy color combo! What a fun way to make awesome spring decor on a budget 🙂
I love the color combo that Amanda picked too. So pretty for Easter!