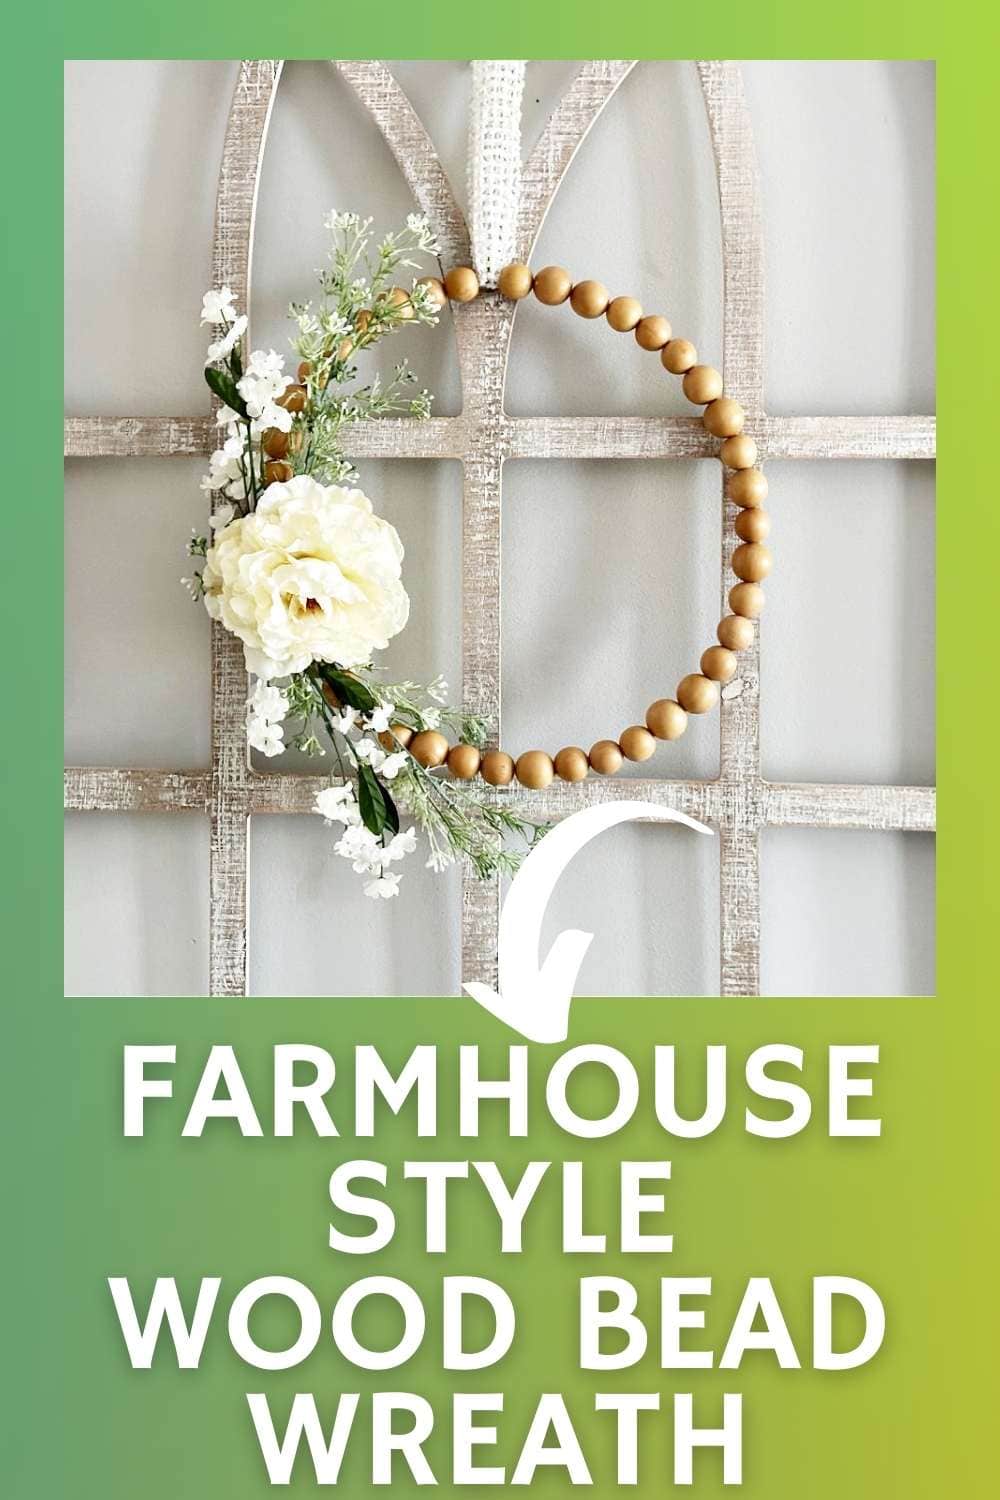
Wood Bead Wreath
THIS POST MAY CONTAIN AFFILIATE LINKS. PLEASE SEE OUR FULL DISCLOSURE POLICY FOR DETAILS.
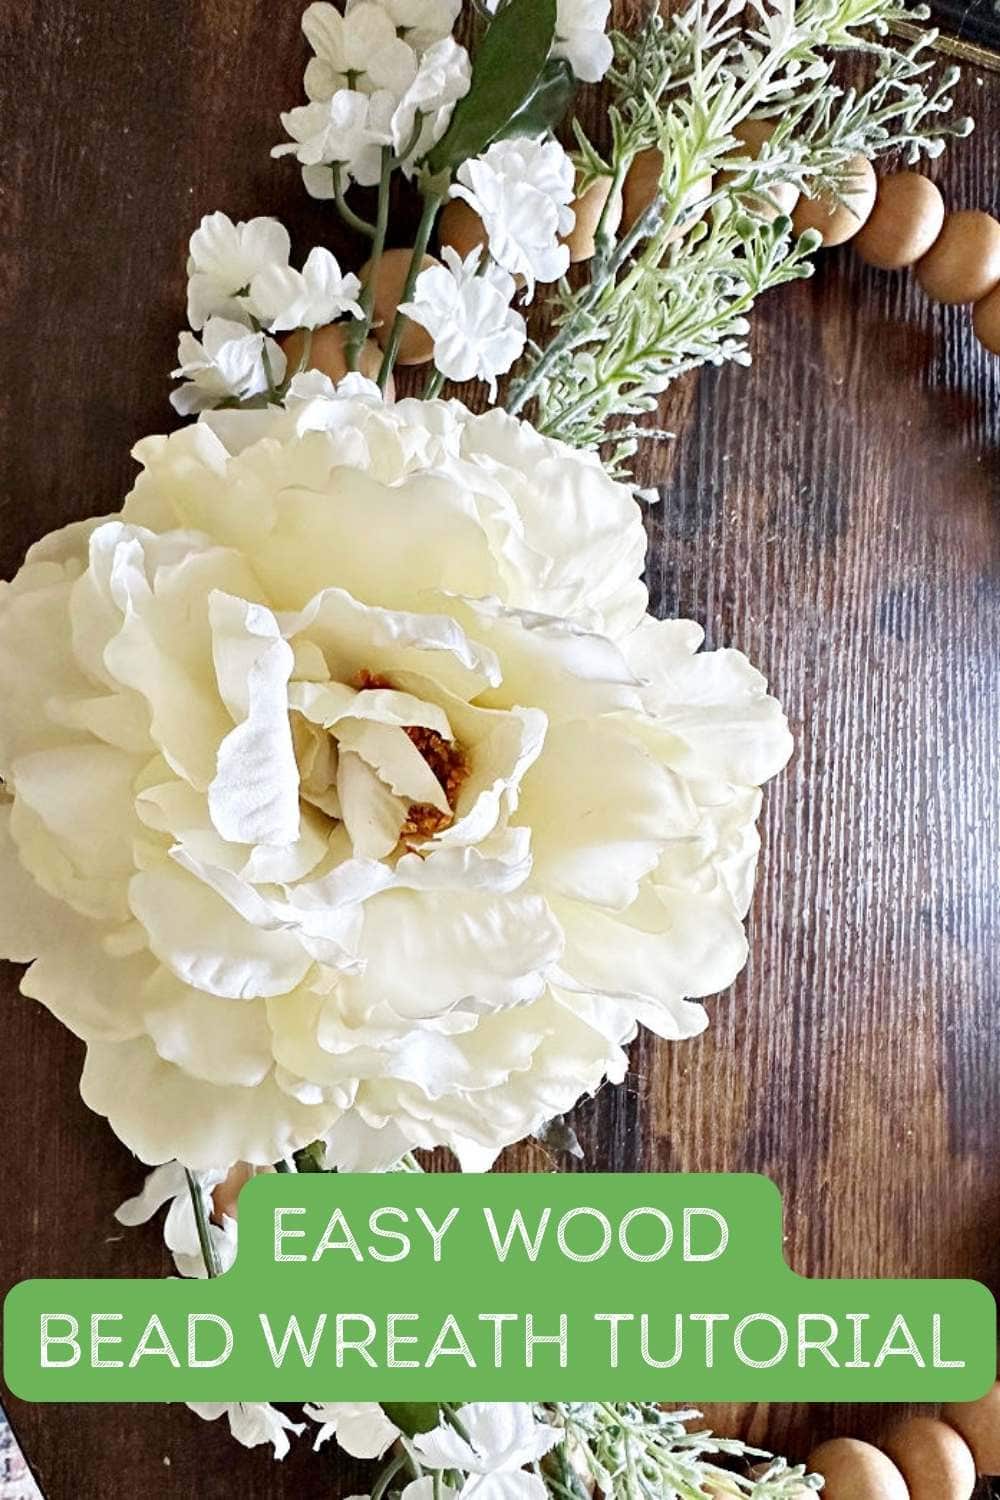
Let’s make a gorgeous DIY wood bead wreath with this quick and easy tutorial. Add your favorite flowers to compliment your home decor.
Hello! Michelle back from Our Crafty Mom with a simple tutorial for a beautiful DIY wood bead wreath that you can make with just a few inexpensive supplies!
After you make this easy wreath, set up an outdoor flower pot next to the door. Your curb appeal will increase (and it’s fun!).

Like many of you, the first thing I do when it is a new season or holiday is change out the wreath on my front door. It is such an easy way to welcome friends and family.
Store-bought wreaths can be super expensive, so I have been making my own for many years. You get to enjoy that pride factor, plus a little crafting time and save money. That’s a win in my book!
How to Make a dIY wood Bead Wreath
The great thing about this wreath is you don’t need any fancy tools to make it. And the supplies can be easily found at your local craft store or even the dollar store. Let’s make a wreath!
What you need:
Want more ideas like this? Subscribe today to get our weekly Ideas in Your Inbox newsletter plus other exclusive gifts and offers — all for FREE!
Tools Needed:

Supplies Needed:
These are the ingredients you’ll need. All the exact amounts are in the printable card at the bottom of this post.
- Assorted florals in your choice of colors
- Wood Beads
- Wire Wreath Form
- Twine or Ribbon for hanging
Wood Bead Wreath tips:
Plan your design ahead of time
One thing I always recommend when planning to make a wreath, or any craft, is to have an idea of the style you want ahead of time.
I’m all about being creative and often the wreath I end up with doesn’t look like the one I envisioned, but it helps to have an idea of the color scheme and types of flowers you want to use so you can make sure you have the supplies.
There is nothing worse than going to create something and missing an important supply. This is where the holiday sales really come in handy.
I try to stock up on craft supplies when they go on clearance for 70% off. It’s a budget-friendly way to keep costs down.
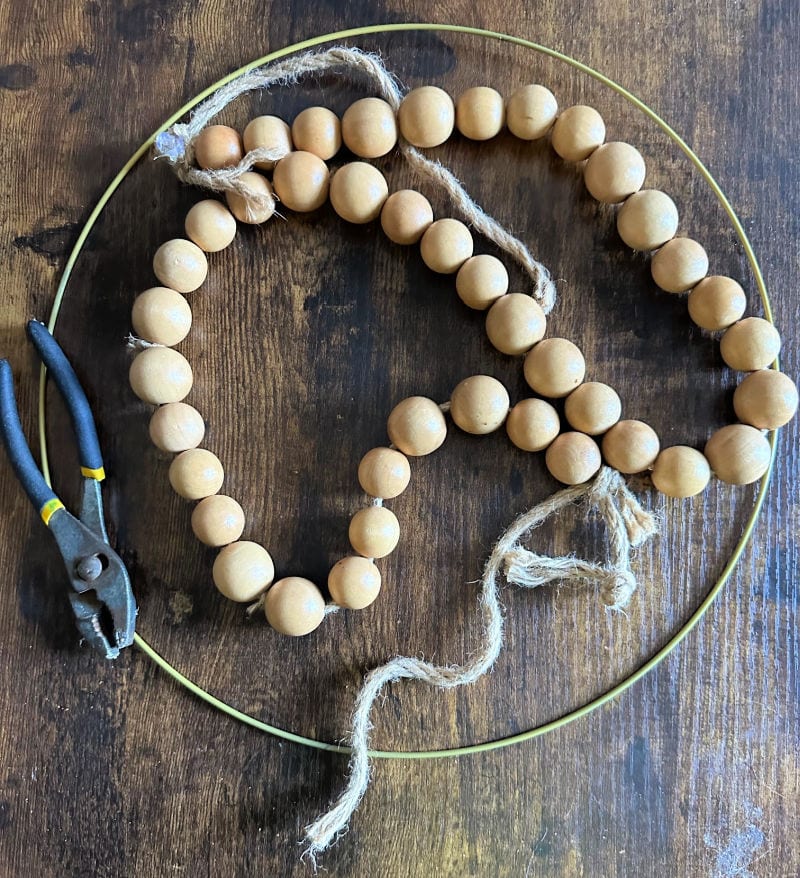
Snip the wire wreath form
The wire wreath form is a little tricky to cut, but once you get it started you can bend it back and forth until it breaks. Wire cutters are definitely needed.
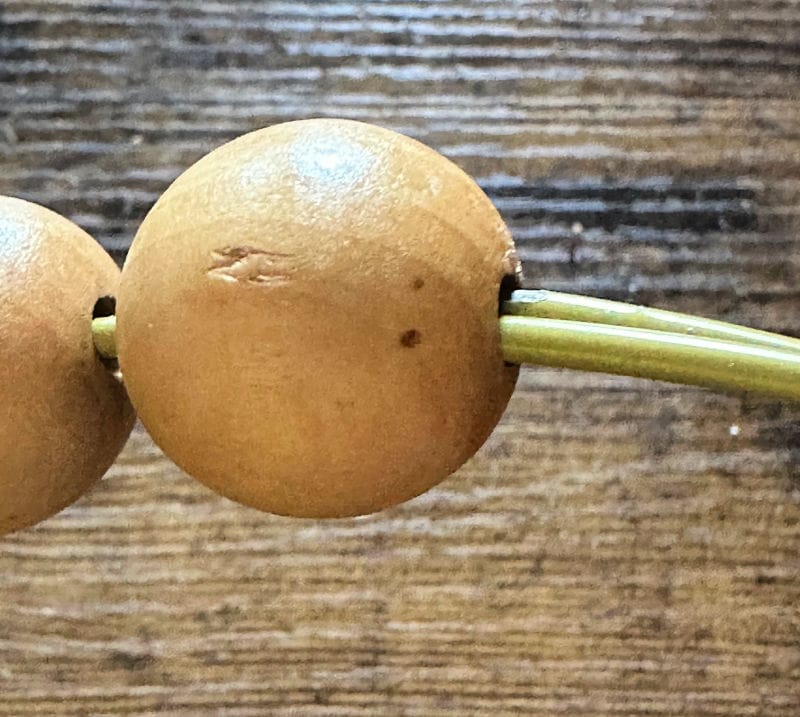
The good thing is adding the beads is super simple. And you can close the wire again simply by placing it into the hole of the final wood bead.
Have Fun With it
This may sound like a little thing, but it’s worth repeating. There are no mistakes with crafting. Two people can have the exact same supplies and their wreaths will look completely different. That is where your creativity comes in.
Use a tutorial as a jumping off point and then make it your own. For example, if you want to add a bow to your wreath-go for it! Crafting is all about unwinding and relaxing. So put on some music or your favorite television show and enjoy the process.

DIY Wood Bead Wreath
Equipment
- Hot Glue Gun
- Wire Cutters
Supplies
- Assorted Flowers
- Wood Beads
- Wire Wreath Form
Instructions
- Start by using your wire cutters to snip the top of the wire wreath form.
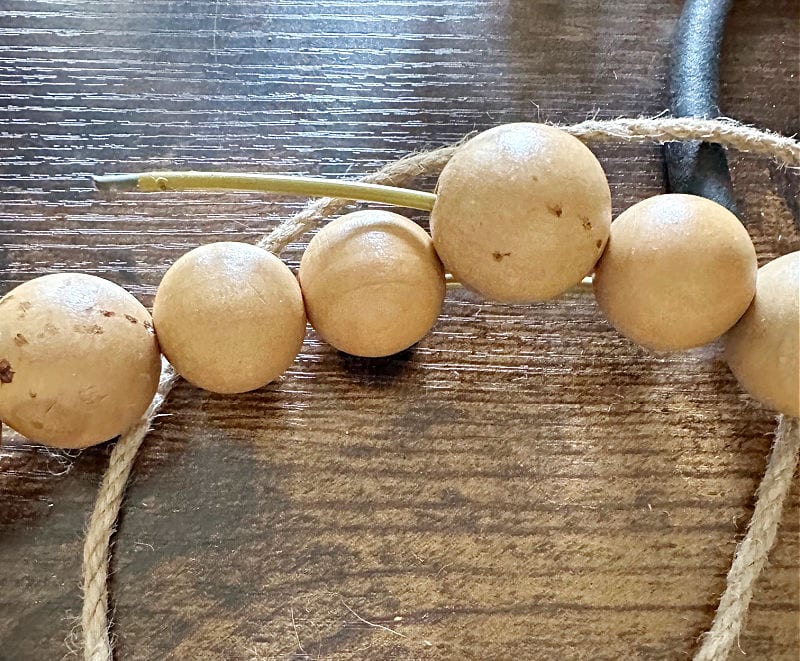
- Add the wood beads to the wire until the entire wreath is full.
- Place the cut wire end into the hole of the wood bead to close.
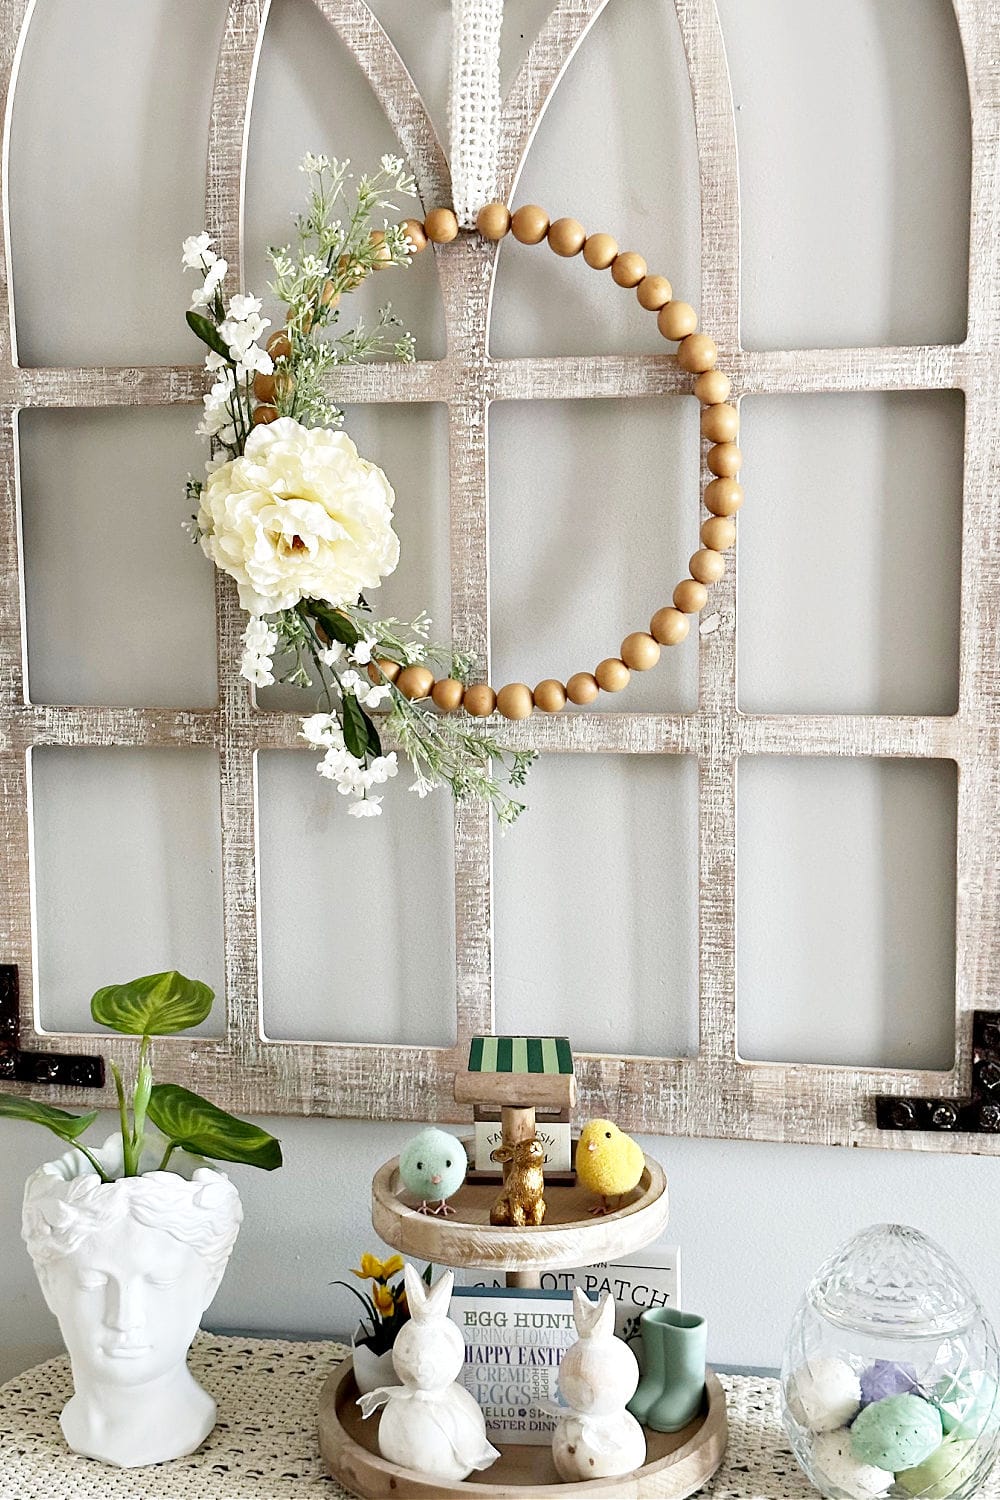
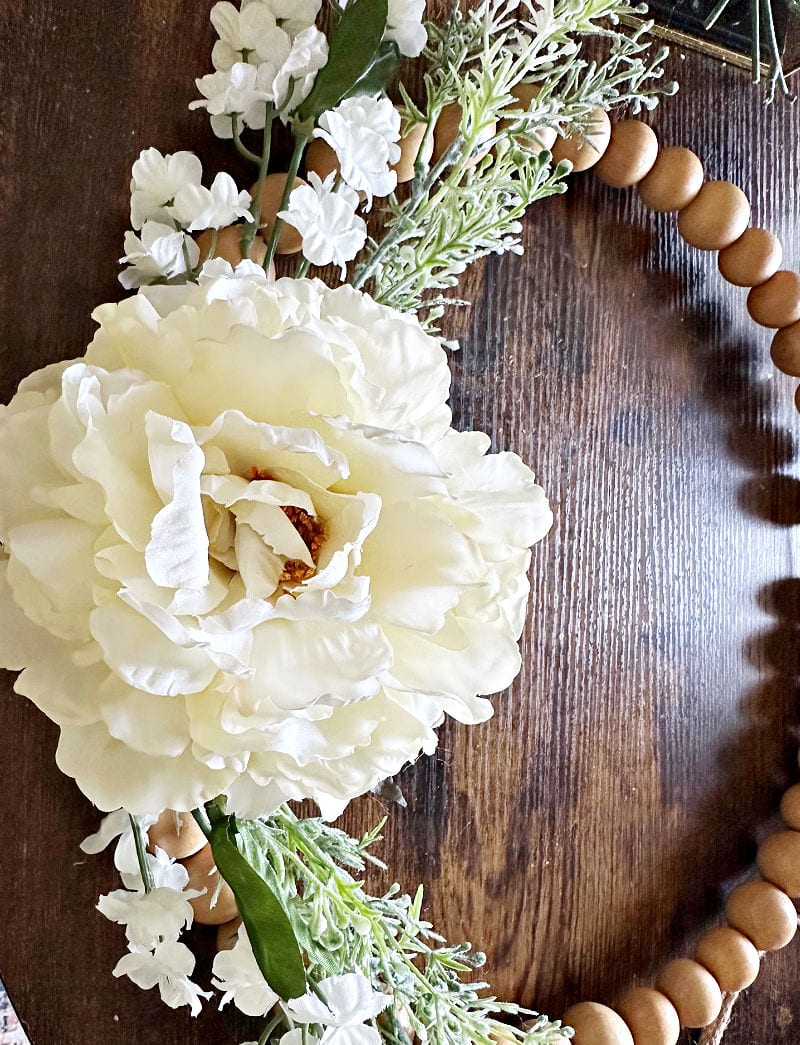
- Hot glue your flowers at the side of the wreath starting with the accent flowers first.
- Hot glue larger flowers onto the base until you are happy with the placement.
- Attach a wreath bow if desired.
- Hang with a piece of twine.
Love the ideas you see here on Ideas for the Home by Kenarry®? Subscribe today to get our FREE DIY & Craft Planning Calendar, plus our weekly Ideas in Your Inbox newsletter filled with creative tips and exclusive offers!

What’s Next?
If you enjoyed this wood bead wreath, then you’ll enjoy these wreath ideas too.
33+ Front Door Wreaths for Every Season


You may also enjoy these wreath ideas on Ideas for the Home by Kenarry® –
- How to Make a Deco Mesh Wreath
- Patriotic Yarn Wreath
- How to Make a Gorgeous Embroidery Hoop DIY Winter Wreath