How to Make Easy DIY Wood Place Card Holders
THIS POST MAY CONTAIN AFFILIATE LINKS. PLEASE SEE OUR FULL DISCLOSURE POLICY FOR DETAILS.
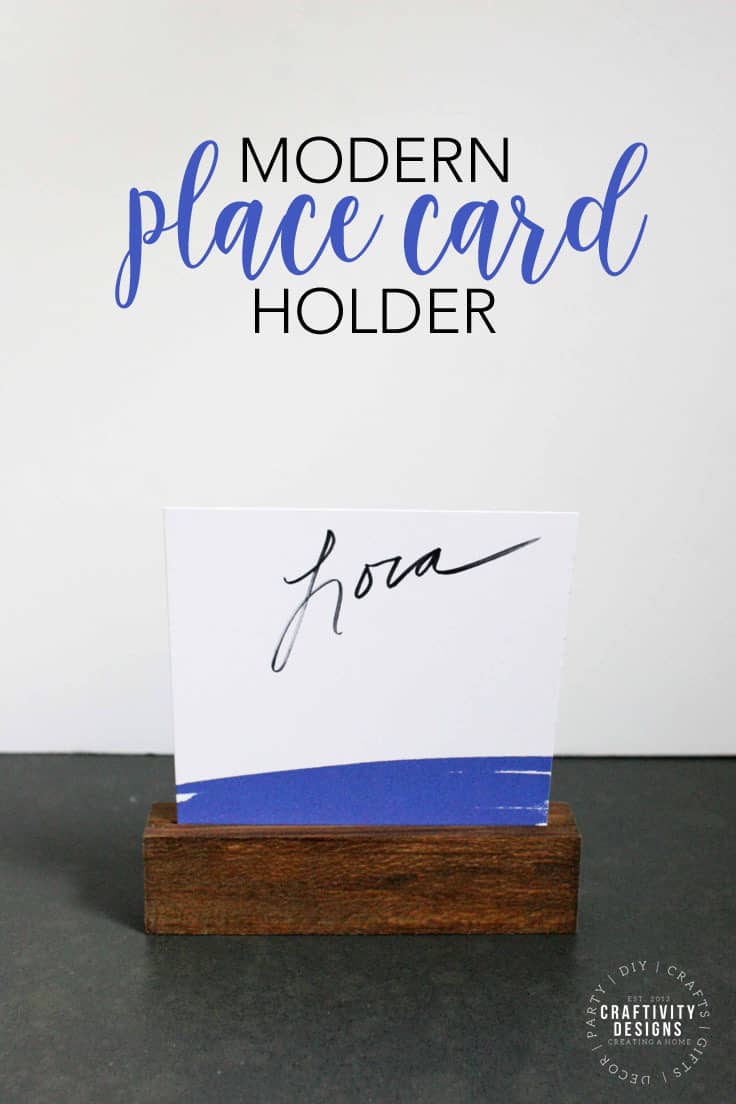
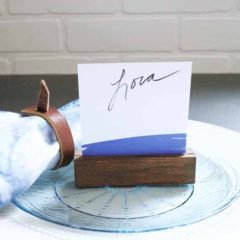
Learn how to make wood place card holders the easy way. Whether you are setting a modern, farmhouse, or rustic table, these simple wood place card holders will do the trick!
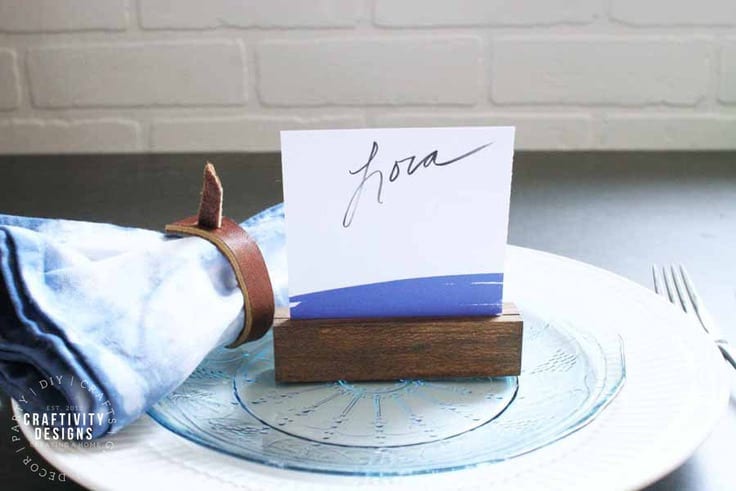
Hi Kenarry readers! I’m Lora from Craftivity Designs. Though I’m no fancy entertainer, I keep a small collection of versatile table decorations on hand for impromptu dinner parties. A cloth napkin, simple place cards, or pretty placemat can take a tablescape from boring to stylish in minutes. Case in point, these were made in minutes and easily add style to a basic place setting!
Want more ideas like this? Subscribe today to get our weekly Ideas in Your Inbox newsletter plus other exclusive gifts and offers — all for FREE!
How to Make Wood Place Card Holders
So, whether you have a dinner party planned or you just want to build your collection of party supplies — these simple place cardholders should go on the to-do list! Now, let’s see how easy they are to make.
What you need:
In addition, if you like the navy place cards I used with these wood place card holders, you can get them as a free printable on my blog.
Craft tips
The entire tutorial is in a printable card at the bottom of this post. Here are some tips that will help you as you make this easy craft.
Don’t forget to pin this post so you can find it again.
The Carving Kit Makes 5 place card holders
The Carving Kit includes several block sizes. If you need more than a set of 5 place card holders, buy an additional package of blocks. As an alternative, you could cut 1″ x 4″ x 3/4″ blocks from scrap wood.
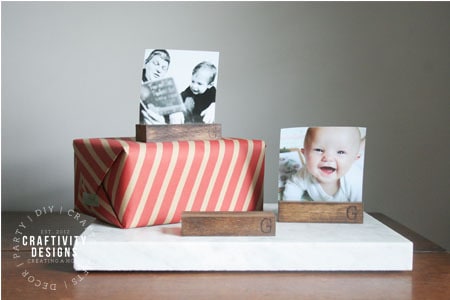
There will be leftover carving blocks. However, I’ve found them useful for a wide array of crafts such as photo holders and Christmas place cards.
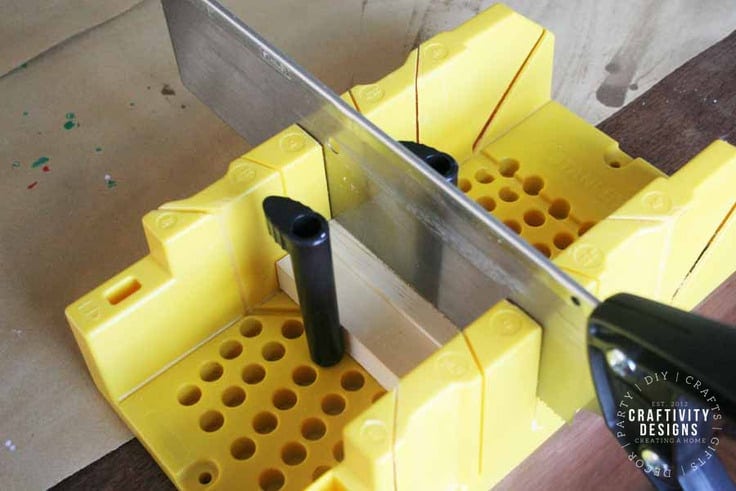
Saw a slit in the block
I used a miter box and a hand-saw. If you have an electric miter saw you can certainly use that instead.
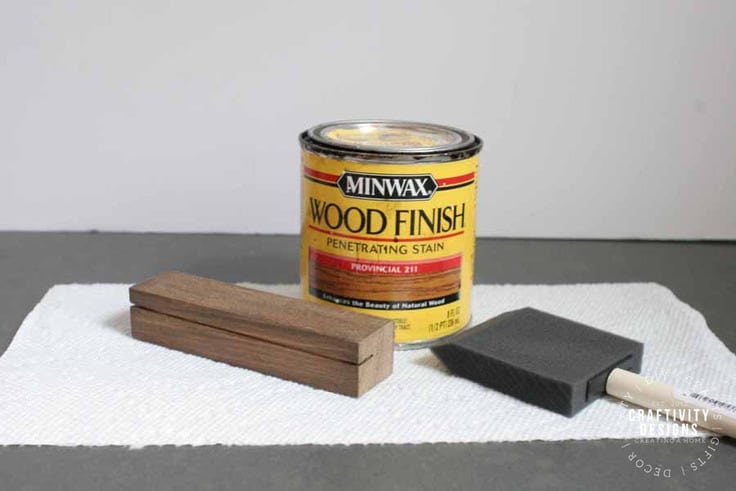
Use your favorite wood stain
I love Minwax’s Stain in the color “Provincial” and had it on hand, ready to go. Apply the stain with a foam brush, and wipe off the excess with a paper towel.
And, you’re done! Seriously, so easy, right? Plus, due to the simple shape and classic stain, this place card holder will work for nearly any style tablescape. So, whether it’s an outdoor wedding, holiday meal, or special birthday dinner — this set of wood place card holders will have you covered.
DIY Wood Place Card Holders
Equipment
- Miter Box with Saw
- Wood Stain
- Foam Brush
- Paper towels
Supplies
Instructions
- Remove the 4-inch blocks from the carving kit package.
- Place the 4-inch blocks snuggly into the miter box, utilizing the miter box pegs.
- Once the block is snug, saw a 1/2″ slit into the top of the block.
- Once the slit is cut, stain the woodblock with your favorite stain. Apply the stain with a foam brush, and wipe off the excess with a paper towel.
What’s Next?
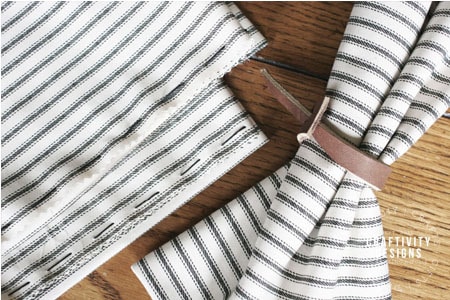
How to Make DIY Napkin Rings from Leather
How to Make a Personalized DIY Photo Holder
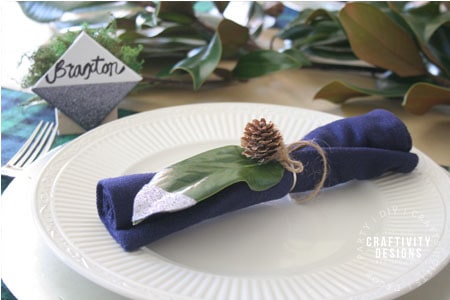
3 Budget-Friendly Christmas Table Ideas
You may also enjoy these place setting ideas on Ideas for the Home by Kenarry® –
I just love love love this idea! So beautiful and simple. I’m always searching for DIY projects that have a more modern vibe.
Thanks, Jessica!! Me, too — I’ve been on a modern kick as of late 🙂