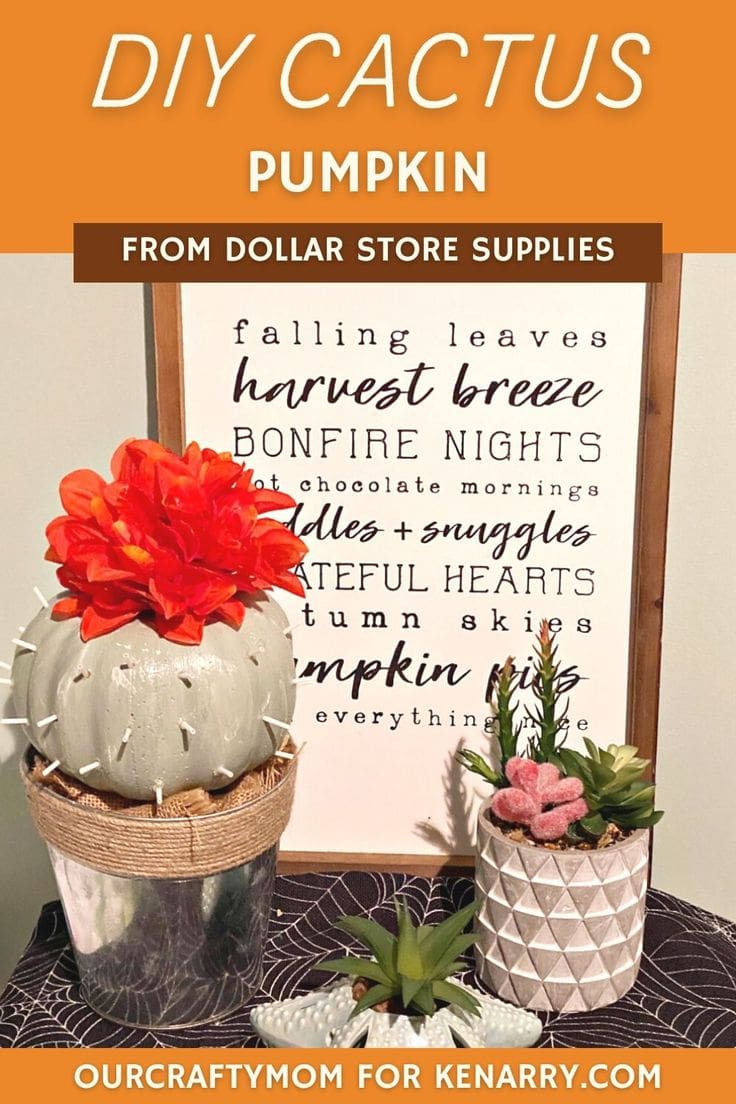
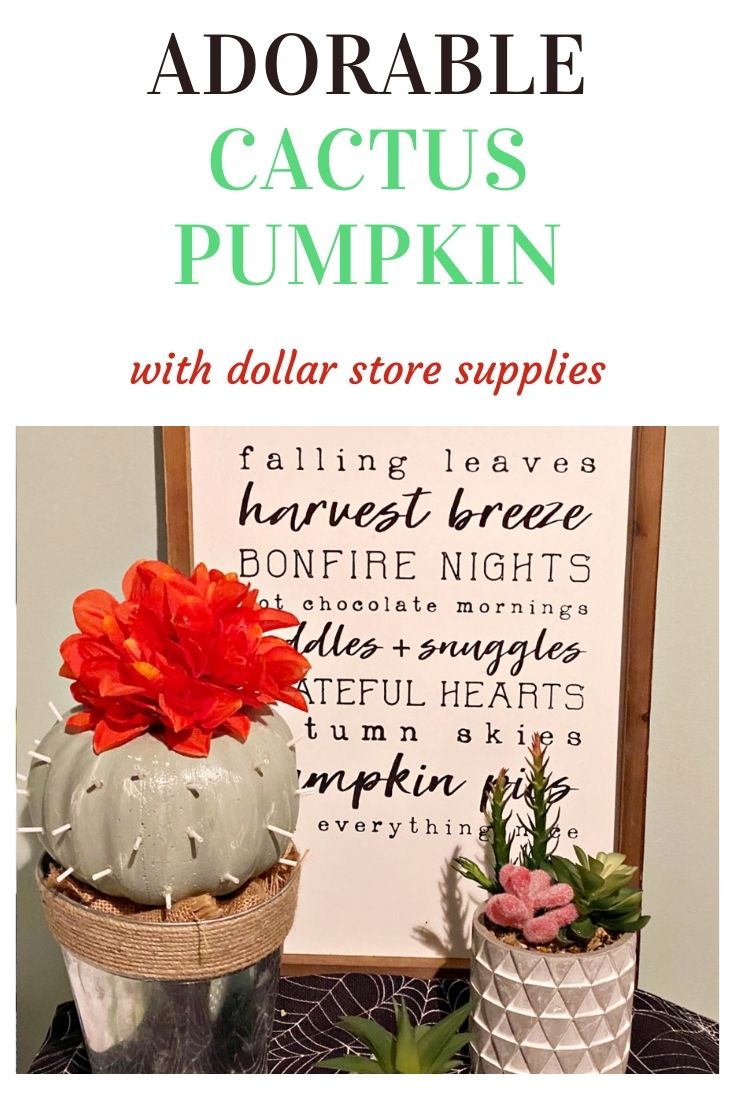
DIY Cactus Pumpkin Made With Dollar Store Supplies
THIS POST MAY CONTAIN AFFILIATE LINKS. PLEASE SEE OUR FULL DISCLOSURE POLICY FOR DETAILS.
Cactus decor is totally trending, so this DIY cactus pumpkin will fit right in with any succulent decor. It’s made with dollar store supplies for an easy and inexpensive craft idea.
Hello! Michelle back from Our Crafty Mom sharing a super cute DIY cactus pumpkin. It’s a fun idea that will look right at home with your plants and succulents. You can also add it to a fall or Halloween display for a conversation piece.
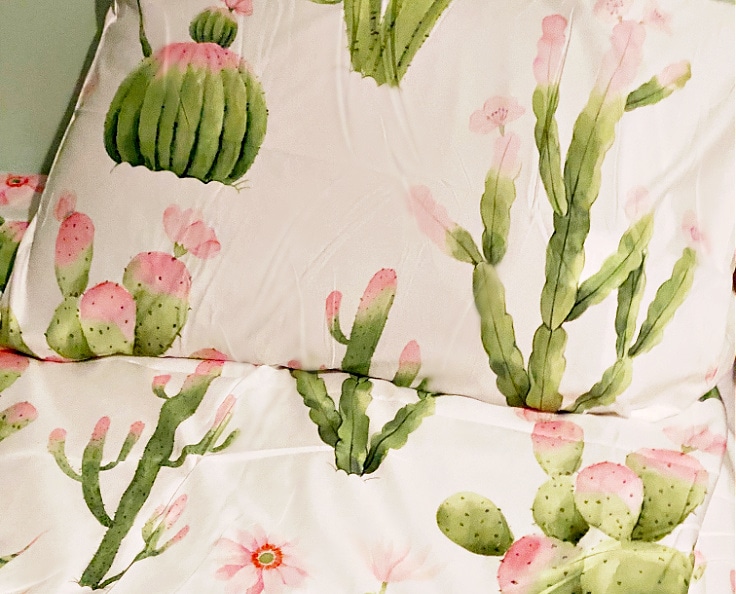
My daughter is decorating her room with a cactus theme. I had no idea it was so popular. Apparently, it falls under the “cottage core” style which is currently blowing up Pinterest.
She fell in love with this comforter set:
How to Make A DIY Cactus Pumpkin
Let’s get to this simple tutorial, so you can make your own cute cactus pumpkin!
What you need:
Want more ideas like this? Subscribe today to get our weekly Ideas in Your Inbox newsletter plus other exclusive gifts and offers — all for FREE!
Craft/DIY Tools Needed:
Supplies Needed:
These are the ingredients you’ll need. All the exact amounts are in the printable card at the bottom of this post.
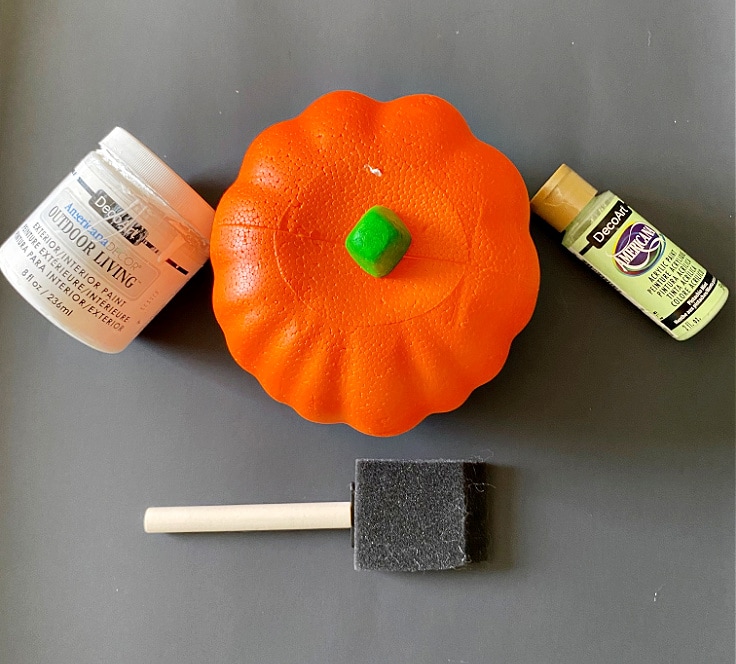
- Foam Pumpkin
- DecoArt Acrylic Paint – Pistachio Mint
- Toothpicks or cut Q-tips
- Foam Brush
- DecoArt Chalky Finish Paint – White
- Flowers
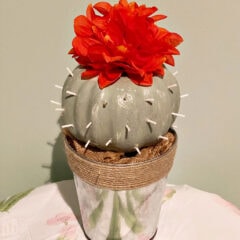
dIY Cactus Pumpkin
Here’s how to enhance your cottage core decor and make a prickly pumpkin on the cheap.
Paint The Pumpkin
Remove the stem and set it aside. You can easily pull it out. I’m not using it with this project, but you may want to use it in another project.

Paint the pumpkin with a layer of white paint. This will help the green show up a little bit more. Let dry.
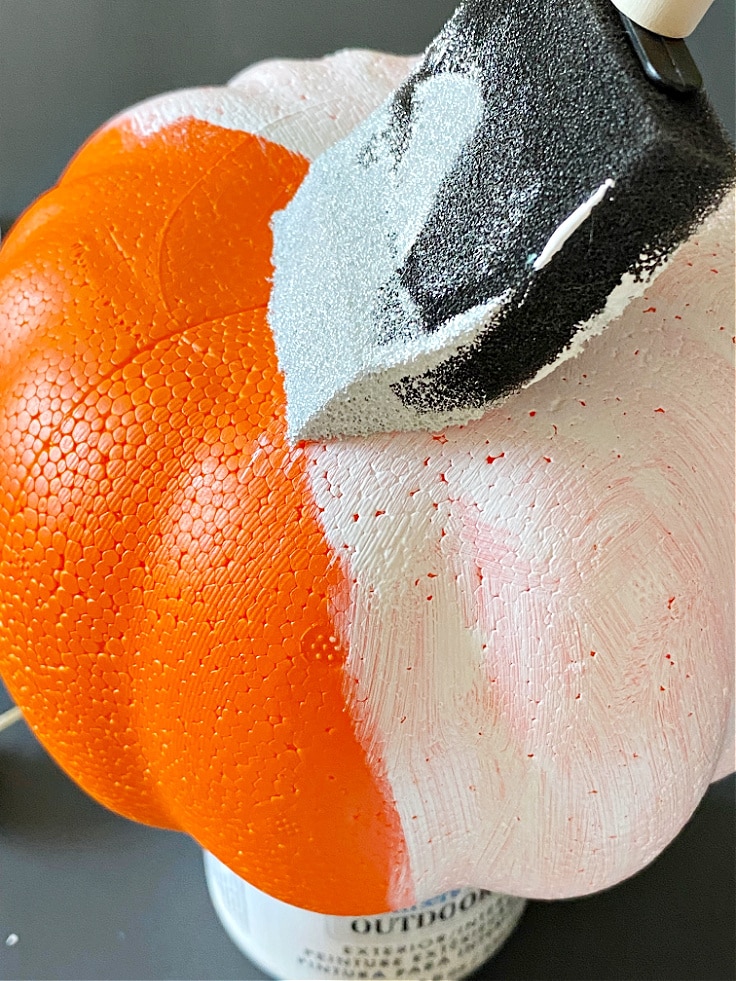
Now you want to paint the pumpkin green. I used a lighter shade of green to go with my daughter’s room, but you can use a darker green if you like.
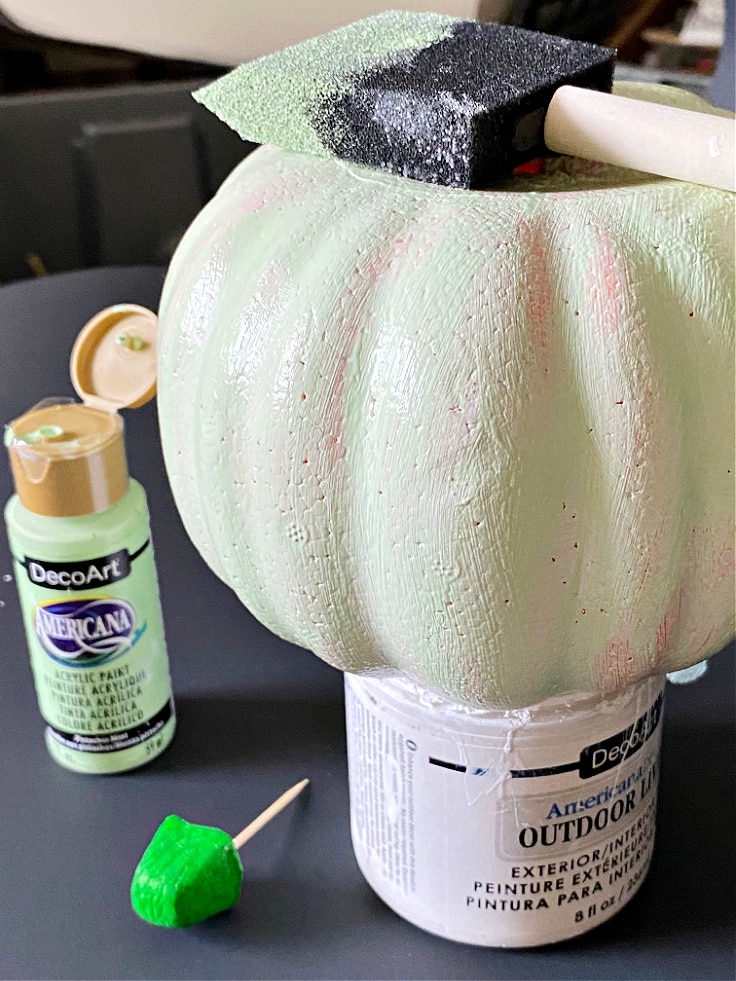
It took two coats to cover the pumpkin. I also went back and added a little bit of white randomly around the pumpkin grooves to give it some texture.

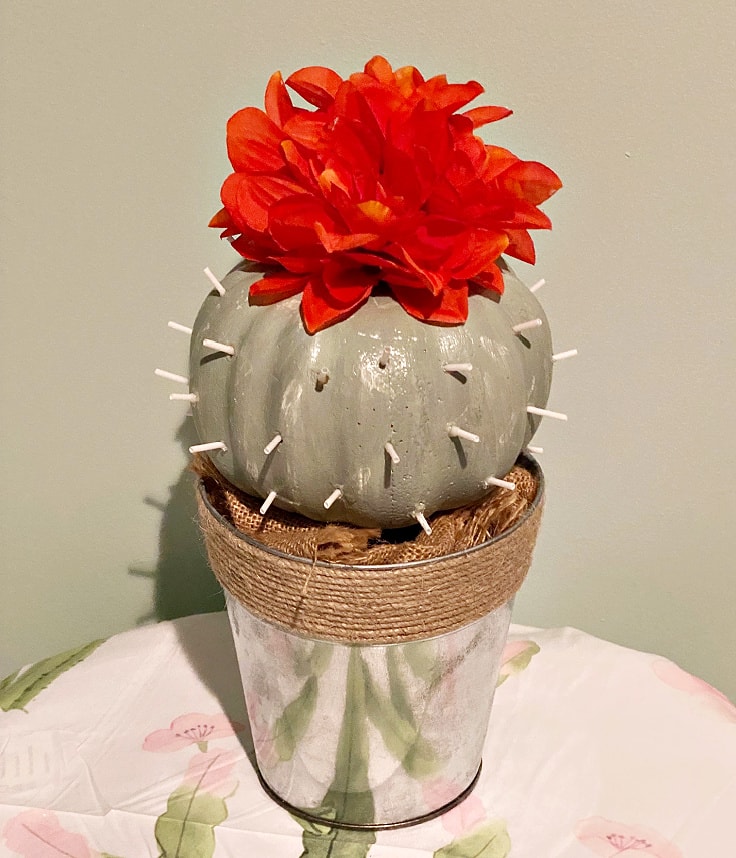
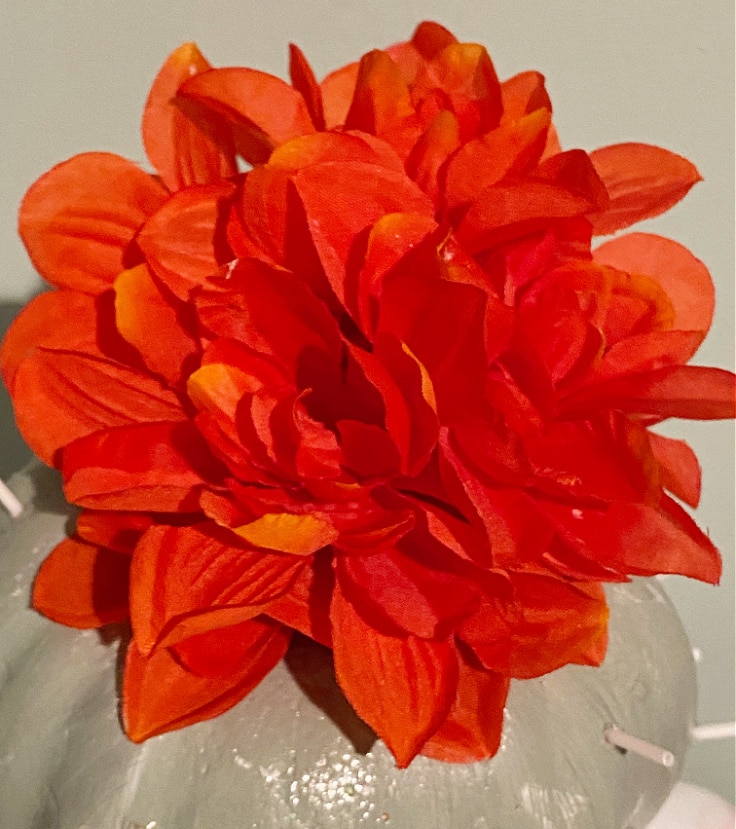
Hot Glue The Flowers
Once the pumpkin is dry, hot glue the flowers of your choice to the top of the pumpkin. I wanted to bring out some of the red that is in the comforter, but pink would look great too!
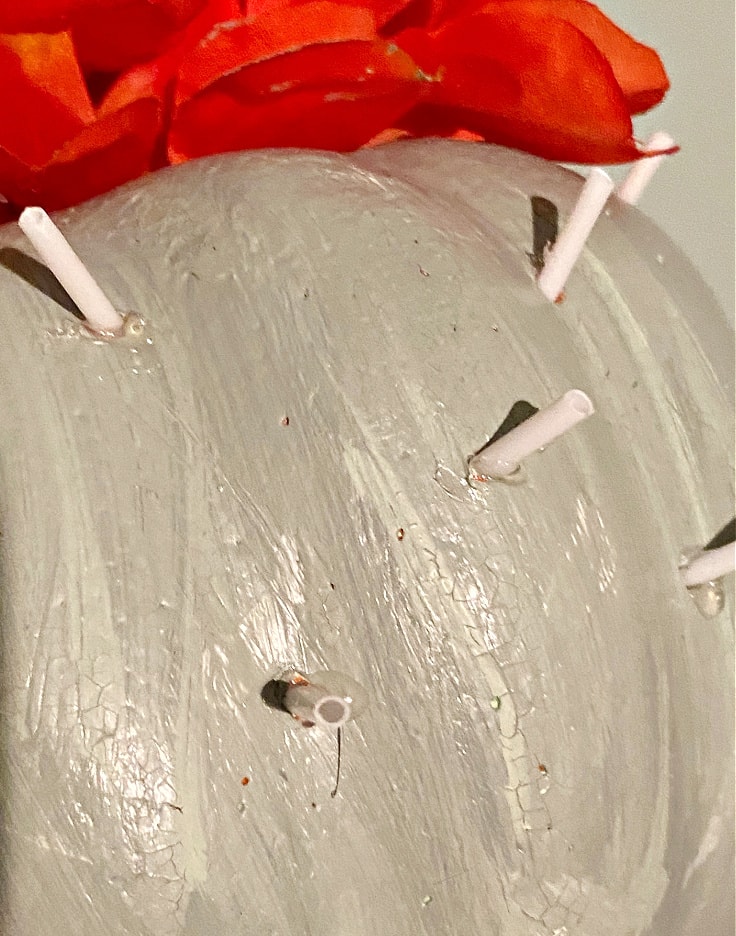
Add Q-tips
I didn’t have any toothpicks handy, so I cut q-tips in half and poked them in the pumpkin. You can add a little hot glue, but the pumpkin is foam so they stick right in.
Place the Pumpkin in a Pot
Now you can place the pumpkin in a clay pot, or any kind of planter you have handy. I used a galvanized bucket that I had in my stash from Dollar Tree.
I also added some scrap burlap to the pot to make it look more like a plant, and also give it some height. Moss would look great as well.
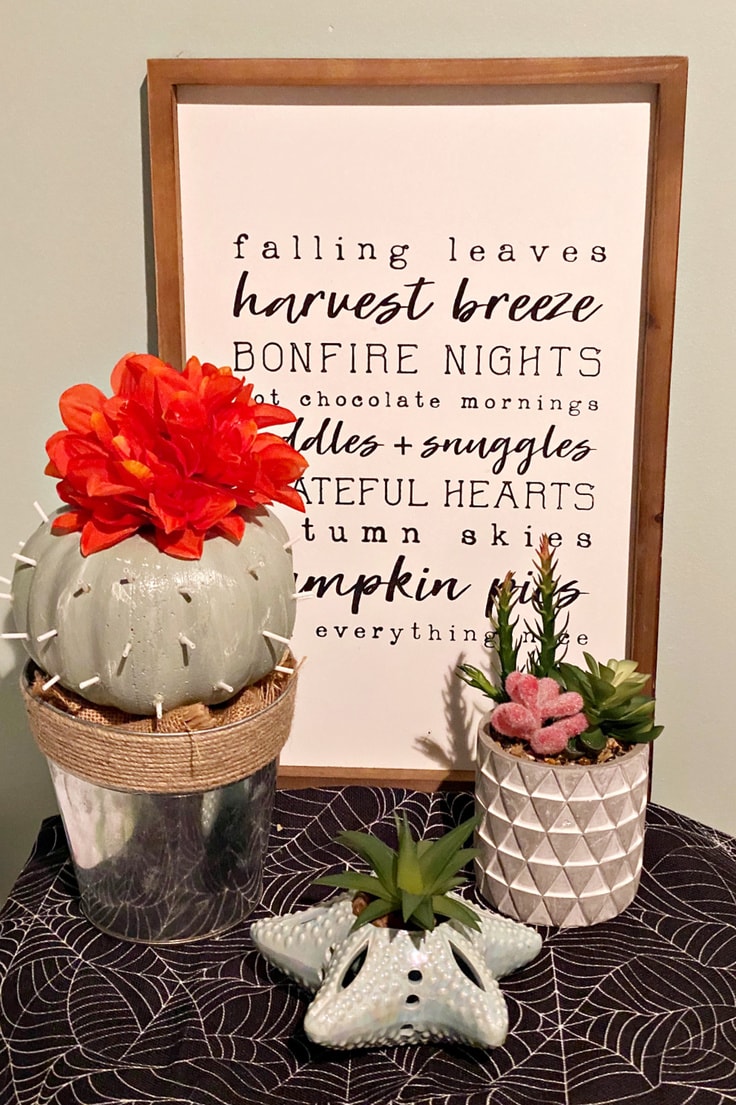
My daughter loves how it looks with the succulents in her bedroom. And, the best part is you don’t have to water it!
I hope you enjoyed this fun little craft project. Sometimes it’s nice to step out of your comfort zone and create something unique and quirky. This little cactus pumpkin definitely checks all the boxes.
DIY Cactus Pumpkin
Equipment
- Hot Glue Gun
Supplies
- 1 Foam Pumpkin
- Q-tips, or tooth picks
- Foam Brush
- White Paint
- Green Paint
- Silk Flowers
Instructions
- Remove the pumpkin stem.
- Paint the pumpkin with a coat of white paint. Let dry.
- Paint the pumpkin green. Let dry.
- Hot glue flowers to the top of the pumpkin.
- Stick q-tips around the pumpkin.
- Place completed pumpkin in a pot.
Love the ideas you see here on Ideas for the Home by Kenarry®? Subscribe today to get our FREE DIY & Craft Planning Calendar, plus our weekly Ideas in Your Inbox newsletter filled with creative tips and exclusive offers!
What’s Next?
If you enjoyed this pumpkin craft, then you’ll enjoy these pumpkin ideas too.

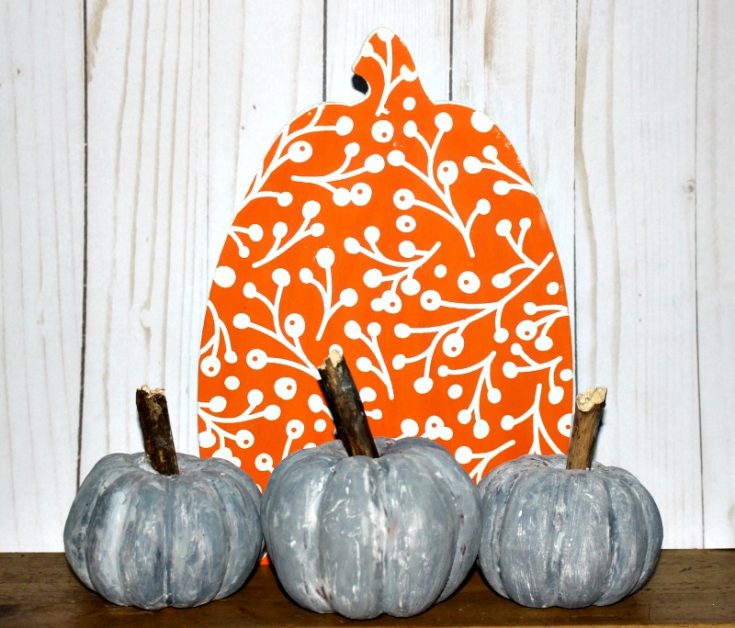
Faux Concrete Dollar Store Pumpkins
You may also enjoy these pumpkin ideas on Ideas for the Home by Kenarry® –