How To Make Adorable DIY Embroidery Hoop Pumpkins
THIS POST MAY CONTAIN AFFILIATE LINKS. PLEASE SEE OUR FULL DISCLOSURE POLICY FOR DETAILS.
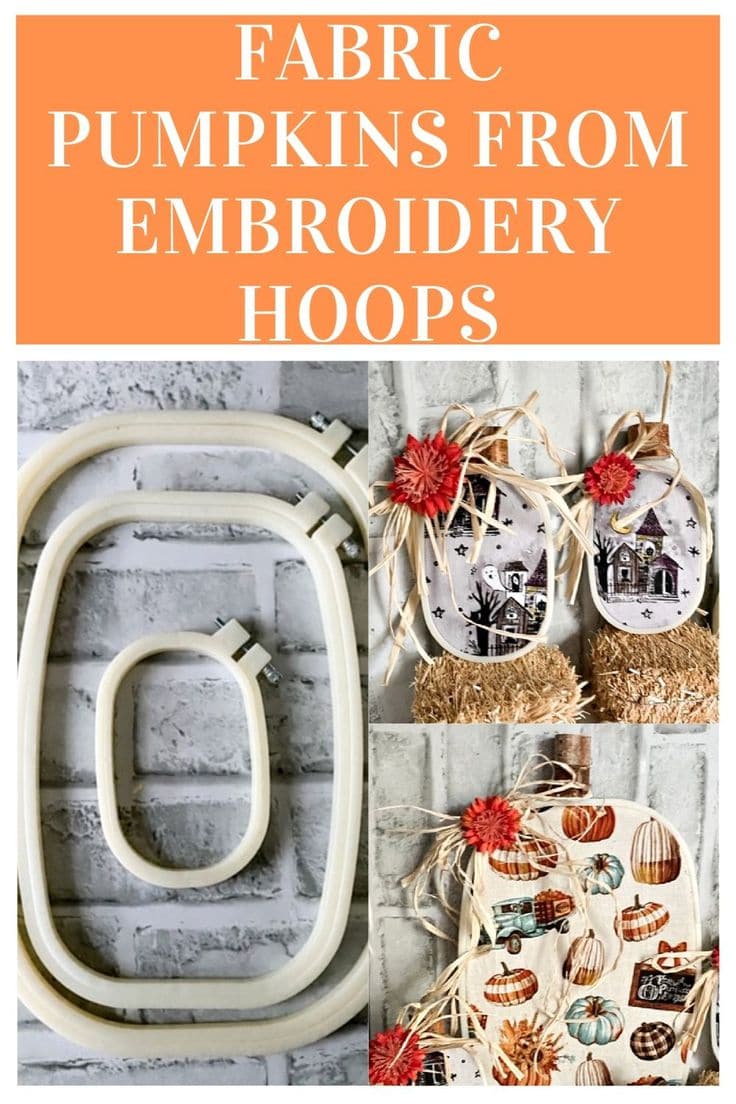
Learn how to make absolutely adorable DIY embroidery hoop pumpkins with fabric. You can make an entire family of pumpkins to add to your fall and Halloween decor.
Make DIY embroidery hoop pumpkins with inexpensive rectangle embroidery hoops and fabric of your choice. This is such a simple craft but will add a warm and welcoming touch to your home.
This is Michelle from Our Crafty Mom sharing a fun fall or Halloween craft project. One of the things I love about these pumpkins, is you can easily remove the fabric and change it out for Christmas, making them ornaments. Just remove the wood stem and add some holiday picks. I love crafts that serve double duty!

Fall is absolutely my favorite time of year. I’m sure one of those reasons is because I live in New Hampshire, where the State comes alive during this season. The foliage is breathtaking, and there are fall festivals and craft shows just about every weekend through Thanksgiving.
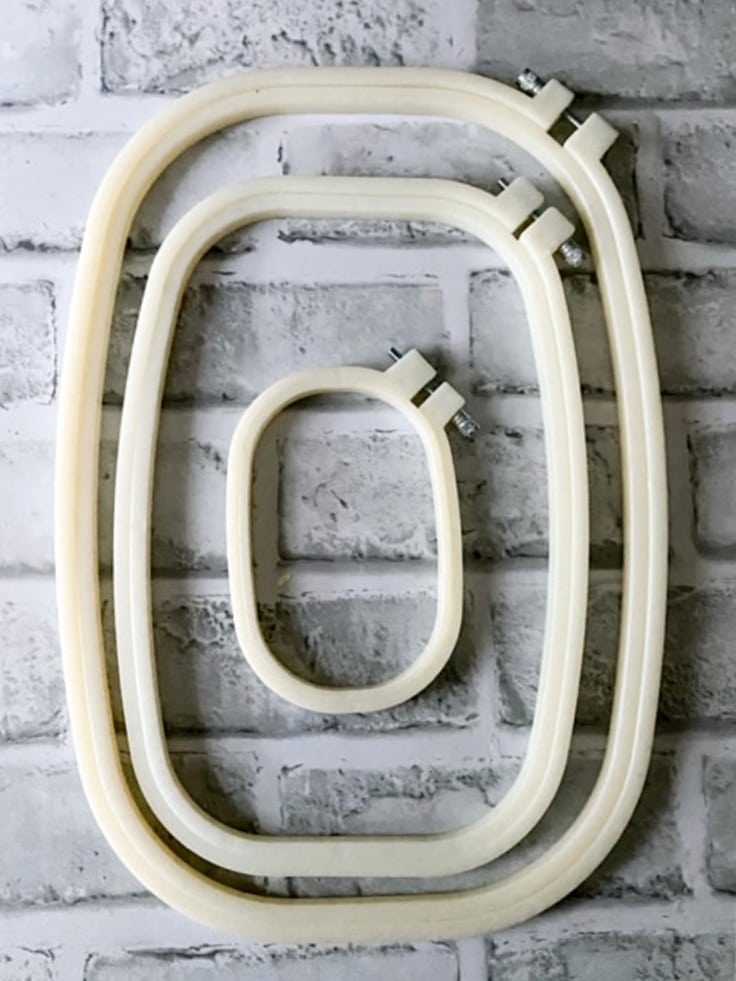
I love to decorate both the inside and outside of my home, so I have to be very mindful of a budget. One of the ways to keep costs down is to shop at thrift stores. I usually find round embroidery hoops for a dollar or two, but this is the first time I found rectangle ones. I immediately thought of pumpkins when I saw the shape.
How to Make embroidery hoop pumpkins
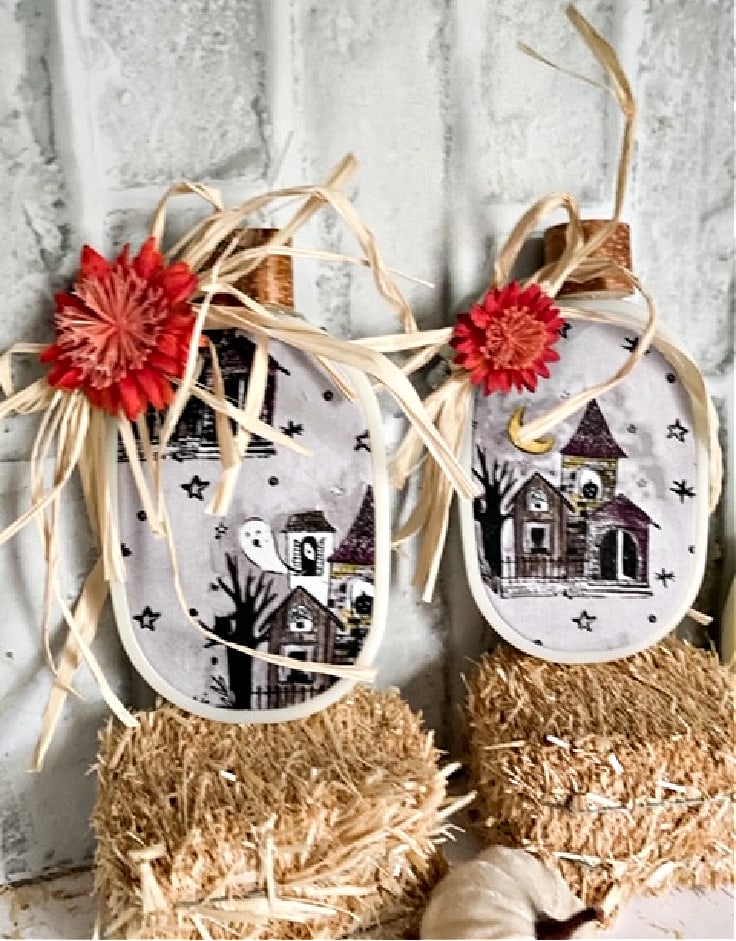
You only need a couple of supplies to make these fabric pumpkins. And they only take about 10 minutes to make! Nothing like quick and easy crafts. These small Halloween ones are my favorite:
What you need:
Want more ideas like this? Subscribe today to get our weekly Ideas in Your Inbox newsletter plus other exclusive gifts and offers — all for FREE!
DIY Tools Needed:
Supplies Needed:
- Rectangle Embroidery Hoops
- Raffia
- Fall Stems
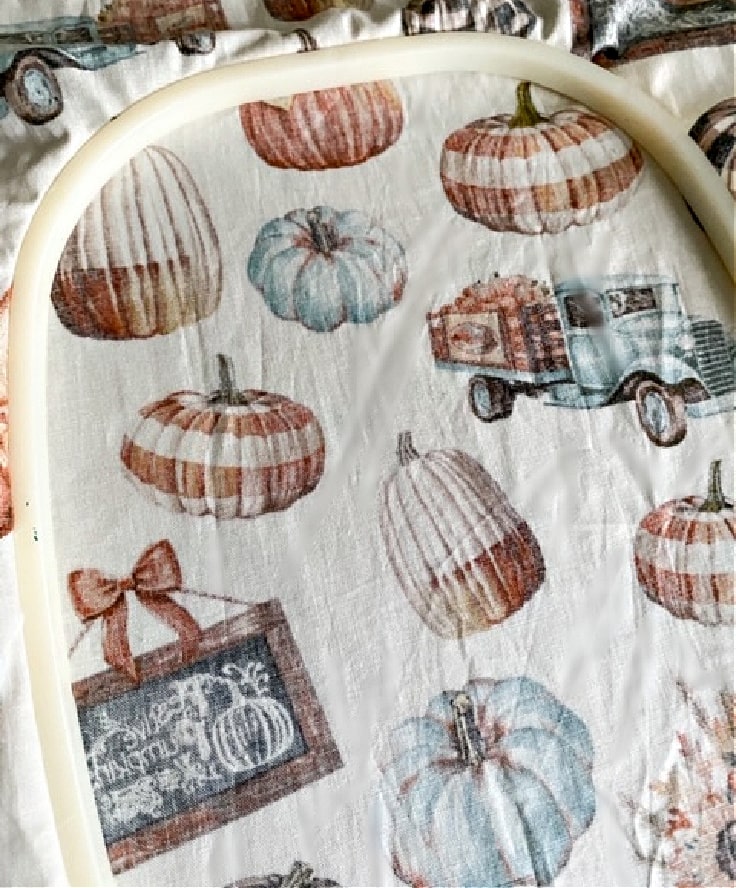
- Fabric
- Cut Piece of Wooden Branch
Instructions:
1. Separate The Embroidery Hoops
The embroidery hoop has two pieces. Remove the interior hoop by opening the metal screw along the top. Set aside.
2. Add The Fabric To The Embroidery Hoop
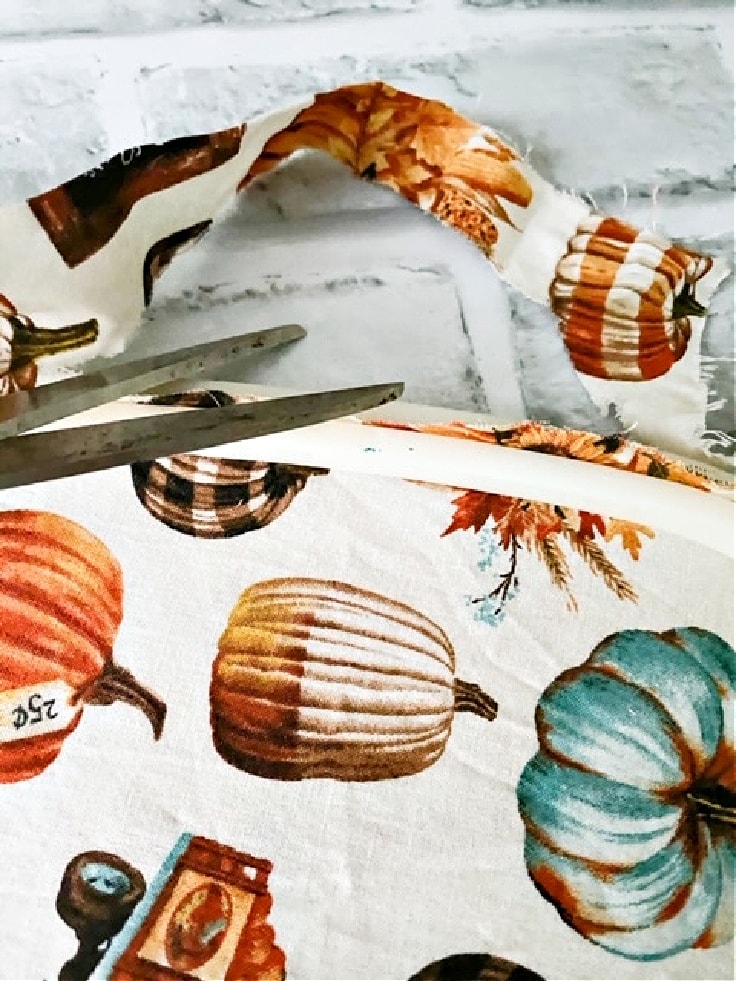
Place the larger hoop onto the fabric with the back of the fabric up. This will make it easier to cut any remnants.
3. place the second hoop into the frame
Place the interior embroidery hoop into the outer hoop and tighten the screw so it is nice and tight. You can pull it tight so it removes any wrinkles.
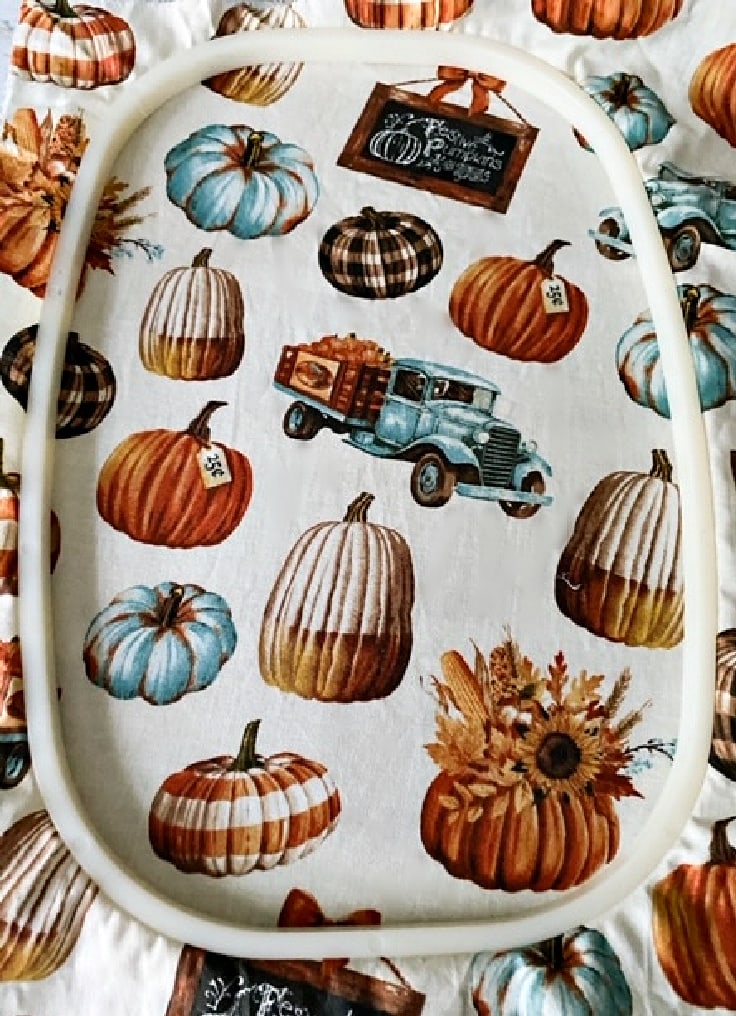
4. cut off any excess fabric
Use fabric scissors to cut off any excess fabric along the back of the embroidery hoop.
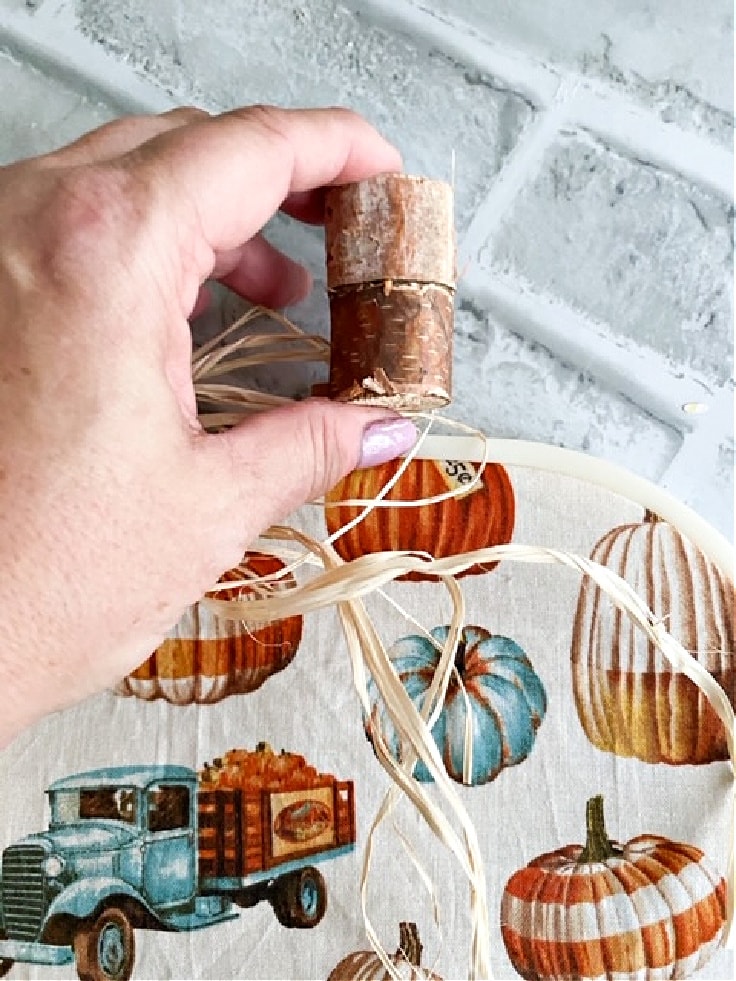
5. Add A Stem Of Raffia
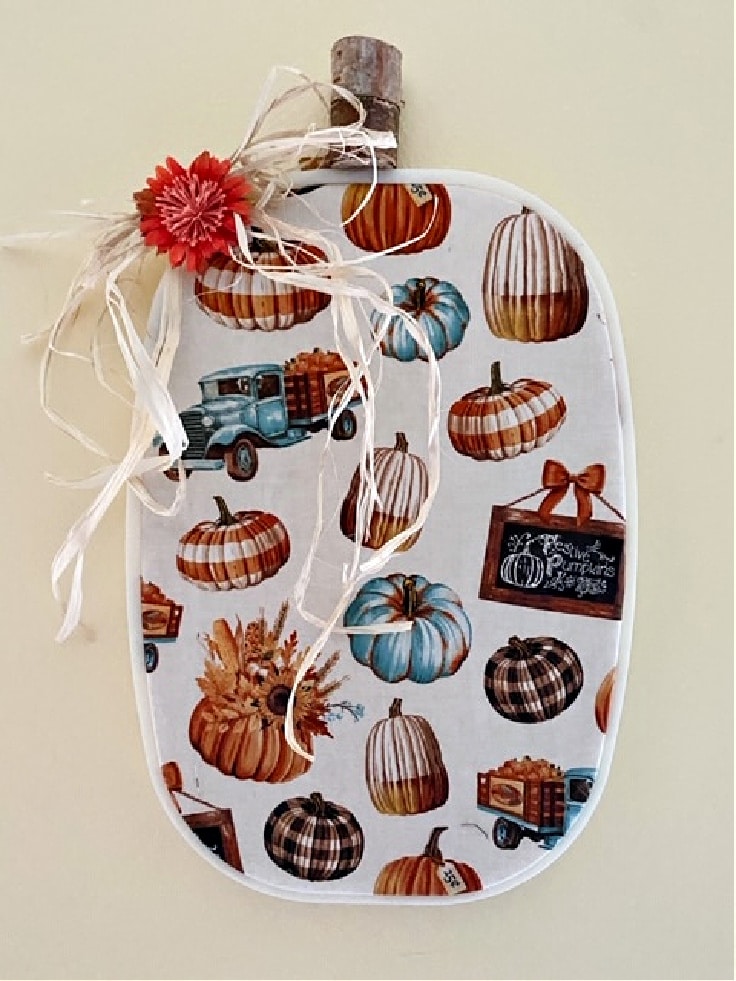
Use a hot glue gun to add a stick to the top of the pumpkin for the stem, as well as a bit of raffia and a fall flower. This will cover up the screw.
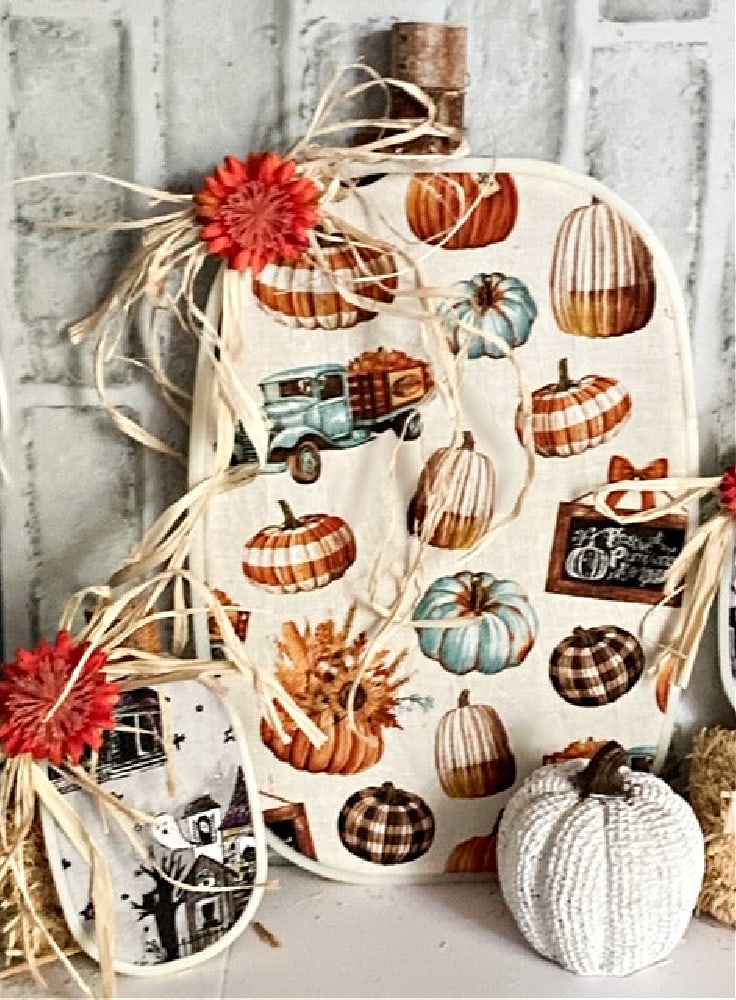
They are so simple to make and inexpensive too. I made four of these in under an hour. They can also be hung on the wall if you like.
I hope you enjoyed these DIY embroidery hoop pumpkins. I plan to add the Halloween ones to a tiered tray display. They are the perfect size for that.
Love the ideas you see here on Ideas for the Home by Kenarry®? Subscribe today to get our FREE DIY & Craft Planning Calendar, plus our weekly Ideas in Your Inbox newsletter filled with creative tips and exclusive offers!
What’s Next?
If you enjoyed these embroidery hoop crafts, you may also like these craft ideas too.
Bottle Brush Tree Embroidery Hoop Ornament

Fall Embroidery Hoop Chalkboard Wreath
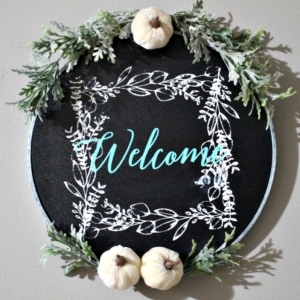
Personalized Embroidery Hoop Ornament
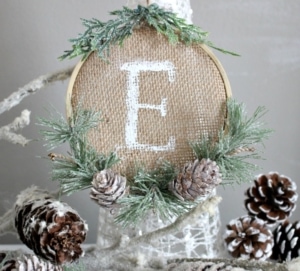
You may also enjoy these embroidery hoop craft ideas on Ideas for the Home by Kenarry® –