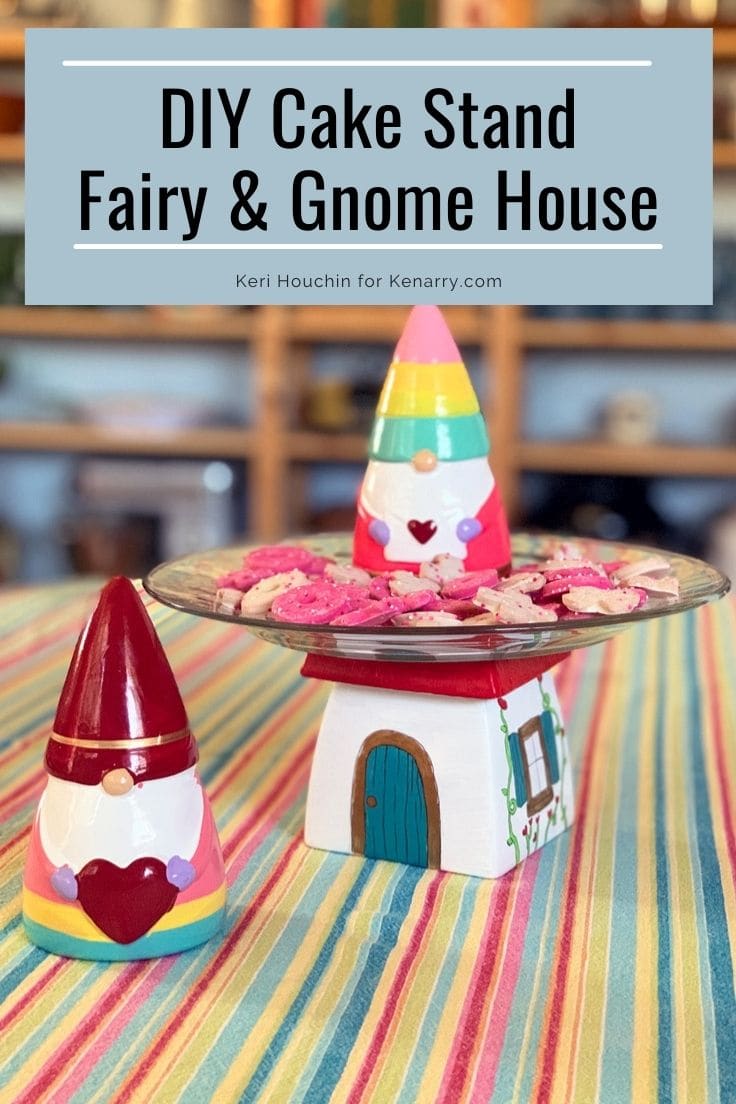
DIY Cake Stand Fairy and Gnome House
THIS POST MAY CONTAIN AFFILIATE LINKS. PLEASE SEE OUR FULL DISCLOSURE POLICY FOR DETAILS.
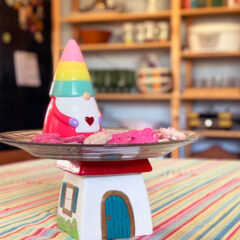
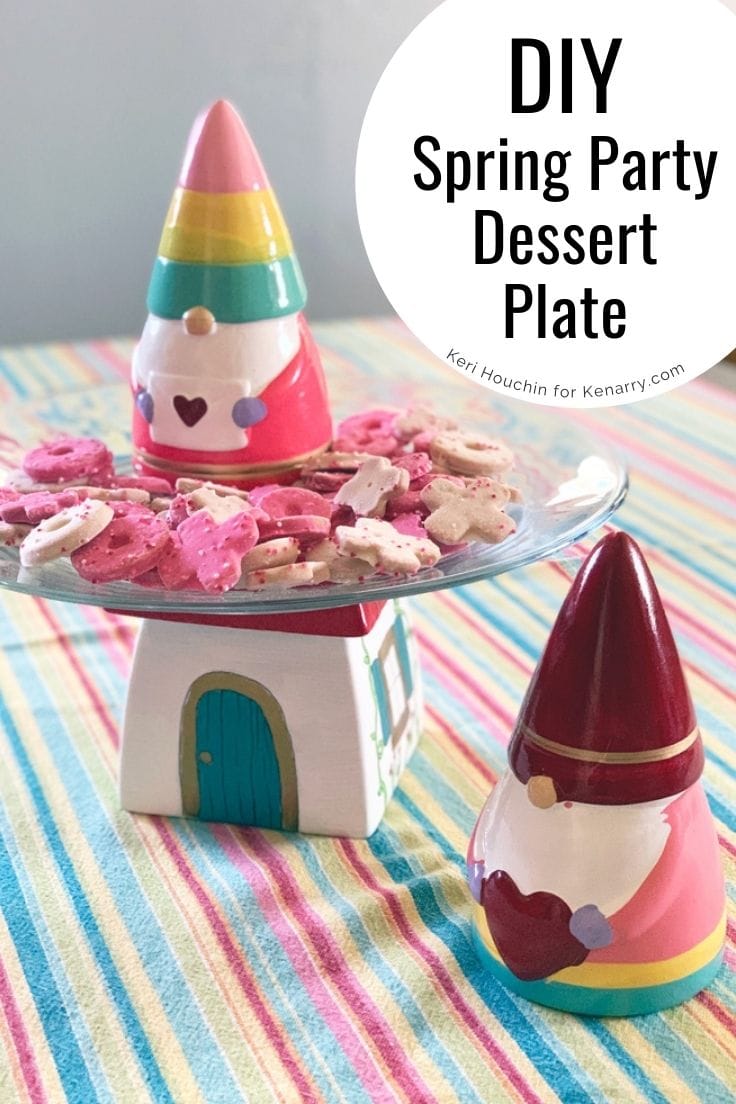
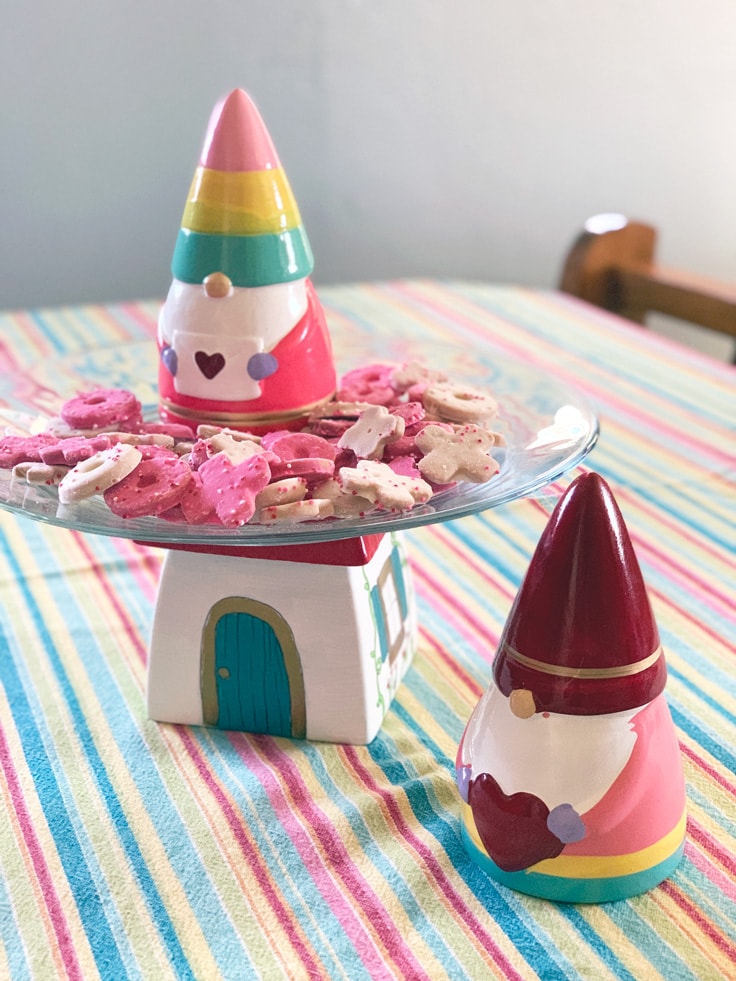
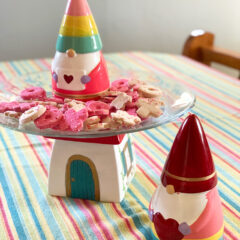
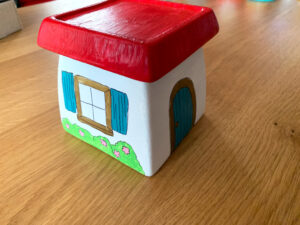
Turn a plate into a DIY cake stand to look like a fairy house or gnome home to use as a cute decoration for spring parties!
Spring is the cutest time of the year and it’s the best season for parties! If you’re hosting a tea party or gathering for Valentine’s Day, Easter, or Mother’s Day, you’ll love this easy craft to display your sweet treats. I’m Keri from One Mama’s Daily Drama and this month I’m sharing how to turn a flower pot into an adorable fairy house cake stand.
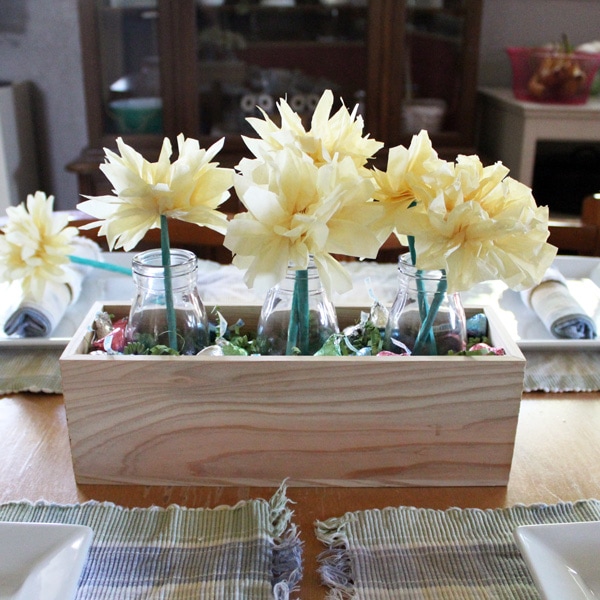
The tea party aesthetic is perfect for all your spring get-togethers! Put together a simple celebration with pastel colors, plenty of flowers, and your favorite sweets. Wondering what to use instead of a cake stand? Try this easy idea to turn a plate into one.
I love fairy gardens and all the cute details they usually include. And I’ve made enough that now I have quite a few leftover flower pots that I’m not using, so I decided to use one to make this cake plate.
There are really only a few steps in the craft tutorial, and you can use any combination of plate and plant pot. What really makes it pop is the painted details, so take your time on those and have fun with it!
I plan to use this decorative piece to serve food, but you could use this to display other home decor as well.
How to Make a DIY Cake Stand
Make sure whatever plate you use is food-safe and if you paint the plate itself, make sure to use food-safe paint and follow package instructions.
What you need:
Want more ideas like this? Subscribe today to get our weekly Ideas in Your Inbox newsletter plus other exclusive gifts and offers — all for FREE!
Craft/DIY Tools Needed:
Supplies Needed:
These are the ingredients you’ll need. All the exact amounts are in the printable card at the bottom of this post.
- Ceramic or terracotta plant pot
- Clear glass plate
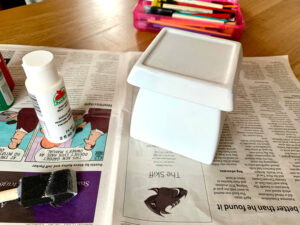
- White spray paint
- Assorted acrylic craft paints – Apple Barrel and/or DecoArt
- Black fine tip Sharpie
DIY Cake Stand Tips:
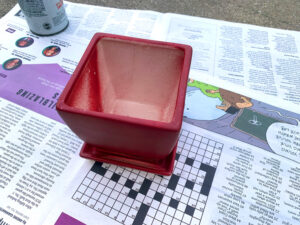
Choosing a plant pot.
I have several square plant pots from Oriental Trading, but you can use any style you like. This is a great way to repurpose an old pot that you no longer use for plants.
Choosing craft paint.
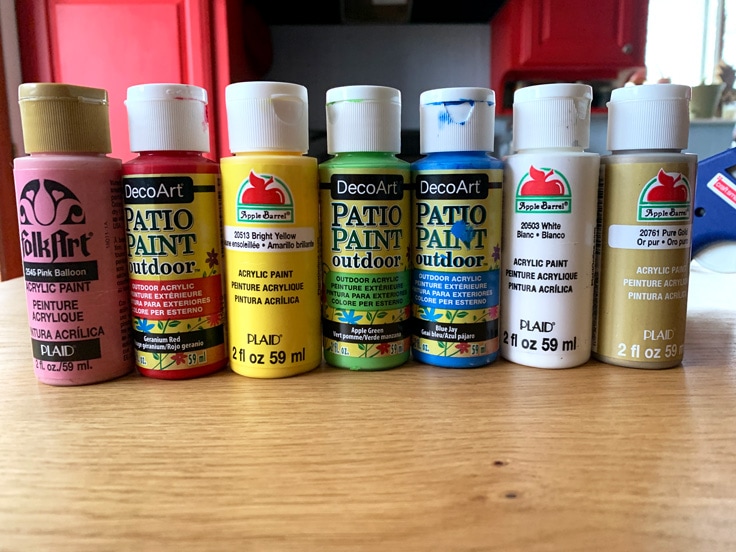
I used a variety of craft paint brands and colors. You can paint your DIY cake stand to match your spring decor or any style you like. If you want my exact colors, here’s the acrylic paint I used:
- Folk Art in Pink Balloon 2545
- DecoArt Patio Paint in Geranium Red
- Apple Barrel in Bright Yellow 20513
- DecoArt Patio Paint in Apple Green
- DecoArt Patio Paint in Blue Jay
- Apple Barrel in White 20503
- Apple Barrel in Pure Gold 20761
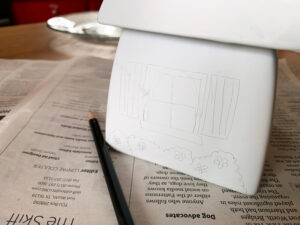
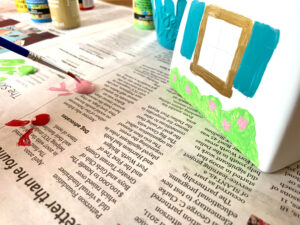
Sketching a design.
Drawing details on your fairy house is simple. Don’t worry too much about making mistakes. You can always erase or paint over lines.
Start with circles, squares, and rectangles to decide where to place doors and windows. Add frames, a doorknob, and other large features. You can add smaller details in layers as you paint, but it’s good to have an idea of what you want to include.
Painting the house.
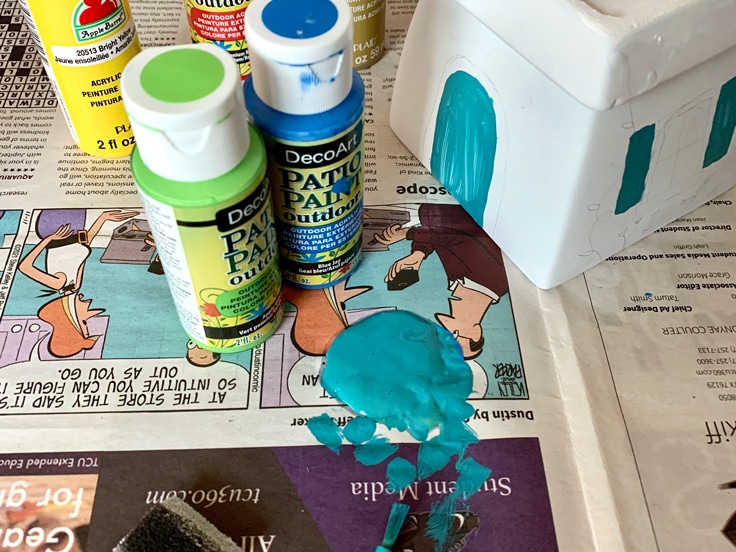
Use a variety of brush sizes and textures to paint the fairy house. I mostly used tiny watercolor brushes, but I also used a 1-inch sponge brush to touch up the white paint in a few areas.
Let each color dry to the touch before painting a different color. Mix paint colors on the newspaper or in a small container to create additional colors. To create the turquoise blue shade, I mixed an equal portion of Blue Jay and Apple Green.
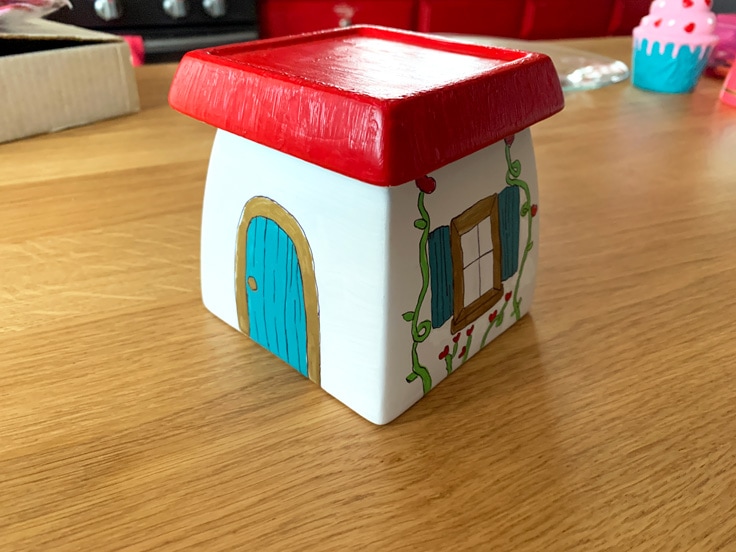
Outlining with permanent marker.
This step is optional, but outlining the finished design with a black fine tip Sharpie really makes the illustrations pop. When the paint is completely dry, outline the painted sections and add details like wood grain and window glass.
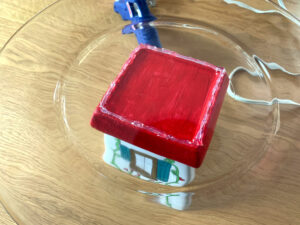
Assembling the DIY cake stand.
Using a strong adhesive is essential. I found hot glue worked well, but you may also try E6000 or another sturdy craft glue. Follow safety instructions on any adhesive.
Cleaning the cake stand.
After using the cake stand to display cookies, cupcakes, or cake, wipe the plate clean by hand. This should not go in a dishwasher or be submerged in water.

Cake Stand Styling Notes.
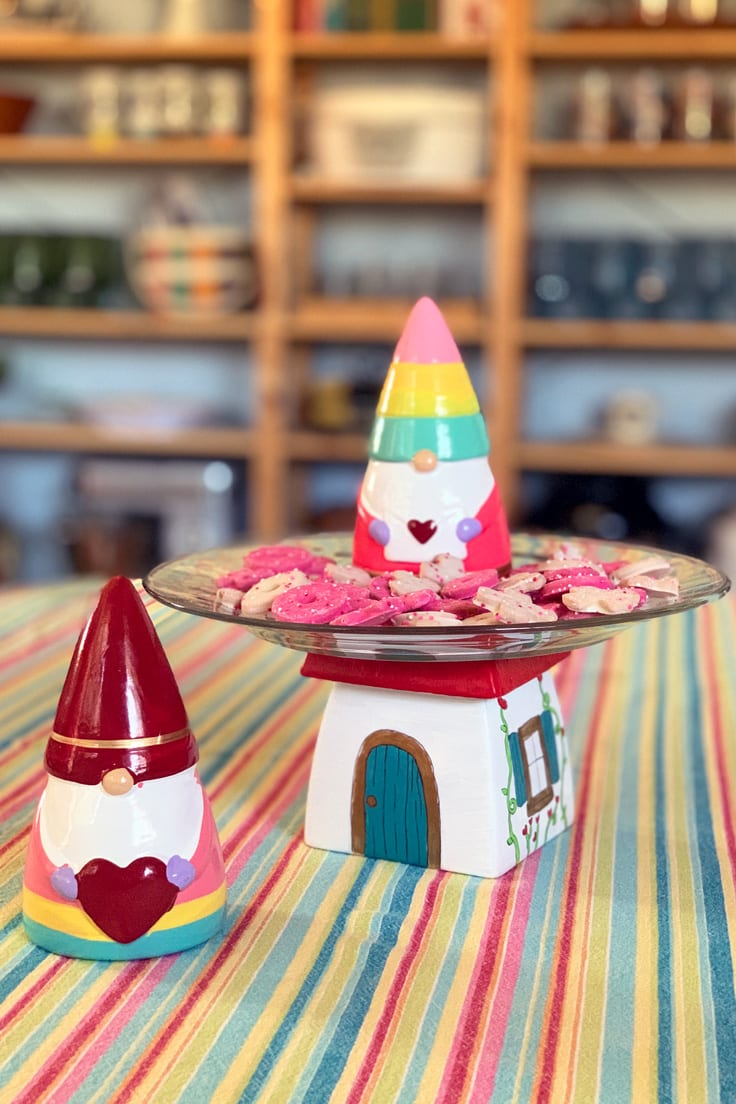
- My ceramic gnomes are from Target, in the Dollar Spot.
- The cookies are Mother’s X’s & O’s.
- I’ve had the tablecloth for a while, but this one is similar.
DIY Cake Stand
Equipment
- 1 hot glue gun and glue sticks
- 2-5 Paintbrushes small
Supplies
- 1 ceramic or terracotta plant pot
- 1 glass dinner plate clear
- 1 can spray paint white
- 7 bottles acrylic paint assorted colors
- 1 fine tip Sharpie black
Instructions
- Prep the plant pot.Wash the plant pot with warm soapy water and dry it thoroughly.

- Paint a base coat on the plant pot.Use the white spray paint to cover the pot with a base coat. Let it dry completely, according to the spray paint directions. Mine was ready for a second coat in about 30 minutes and dry to the touch after another hour.
- Draw details for the fairy house.Use a pencil to lightly sketch the fairy house design. Use simple shapes to draw doors, windows, shutters, and other home features. Add flowers and plants.
- Paint the fairy house details.Use small watercolor paintbrushes to paint the details on the fairy house. Let each color dry to the touch before adding the next.
- Outline details as desired.To finish the house, use a black Sharpie to outline the painted sections and add details.
- Attach the plate to the plant pot.Use the hot glue gun and draw a thick bead of glue around the top of the roof. Center the plate and press it down gently. Allow it to cool a few minutes and test that it is secure.
Love the ideas you see here on Ideas for the Home by Kenarry®? Subscribe today to get our FREE DIY & Craft Planning Calendar, plus our weekly Ideas in Your Inbox newsletter filled with creative tips and exclusive offers!
What’s Next?
If you enjoyed this DIY cake stand tutorial then you’ll enjoy these spring decor ideas too.
DIY Spring Tissue Paper Flowers
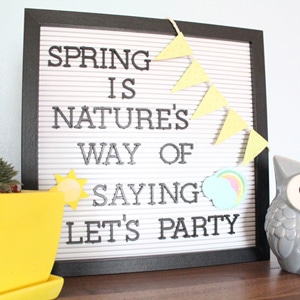
DIY Spring Letter Board Accessories
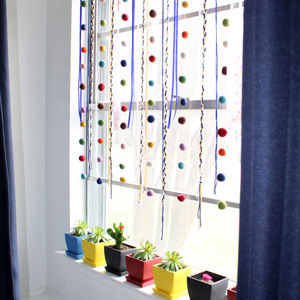
Simple Yarn and Felt Window Hanging
You may also enjoy these spring party recipes ideas on Ideas for the Home by Kenarry® –