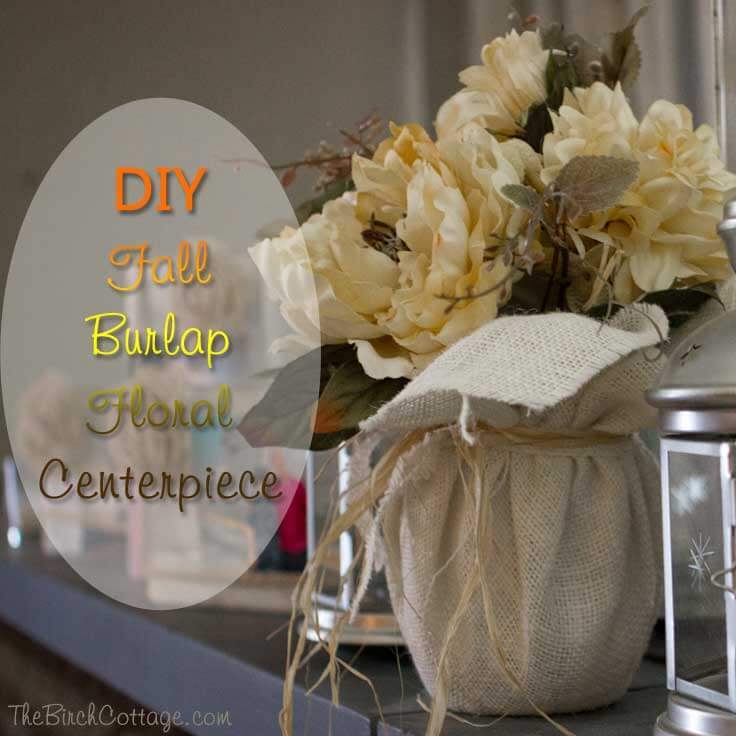
DIY Fall Burlap Floral Centerpiece
THIS POST MAY CONTAIN AFFILIATE LINKS. PLEASE SEE OUR FULL DISCLOSURE POLICY FOR DETAILS.
Learn how to make an easy DIY fall burlap floral centerpiece uses upcycled candle jars, burlap and purchased silk flowers – perfect for your fall decor!
Hello, Ideas for the Home by Kenarry® friends! I’m Pam from The Birch Cottage and I’m back for the fabulously wonderful month of October to share another DIY project with you. In case you weren’t aware, it’s fall! I love fall. I love the cool, crisp air. I love the warm colors of the fall foliage and the rustling of leaves underfoot. I love the smell of backyard fire pits and roasting marshmallows. I love the jack-o-lanterns, trick-or-treaters and all the seasonal decor. In keeping with that love-of-fall mood I seem to be in, I thought I’d share with you a really easy DIY Fall Burlap Floral Centerpiece.
It’s no secret that Carrie and I share a love for all things burlap. In fact, I’ve previously shared my Easy Sew Burlap Placemats tutorial here on Kenarry. I’m always looking for little ways to incorporate burlap into my home decor.
Get our e-book The Ultimate Guide to Making a Burlap Wreath when you subscribe to be an Idea Insider. It’s totally FREE!
Your privacy is important to us. We promise not to spam you or share your information. You can opt-out at any time. See our privacy policy for more information.
Instructions
I, however, got this little piece of inspiration from a candle. You know, those big jars of candles. You burn the candle and then you get down to a small little piece of wax that can’t be burned. So, you throw the jar away, right? Wrong! Here’s the secret, you simply put the jar in the freezer. Once the wax has had time to freeze, you can use a butter knife to pry it loose and pop it right out of the jar. Presto! Just like that, you simply wash your jar and you have a nice empty vase. Perfect for a DIY Fall Burlap Floral Centerpiece!
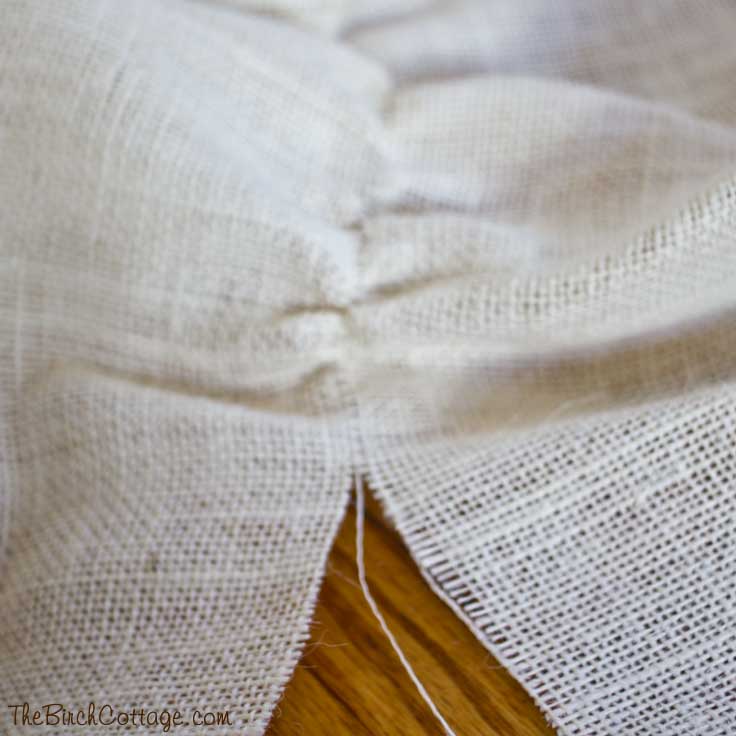
So, now that you have repurposed your candle jar, you simply cut a square of burlap long enough and wide enough so that the corners extend several inches past the vase. There’s a really easy way to cut burlap so you have nice straight edges. Once you have measured where you want to cut, simply make a small snip on both sides of one of the string and pull the string out of the fabric. This will leave a nice wide guide for you to cut a straight line.
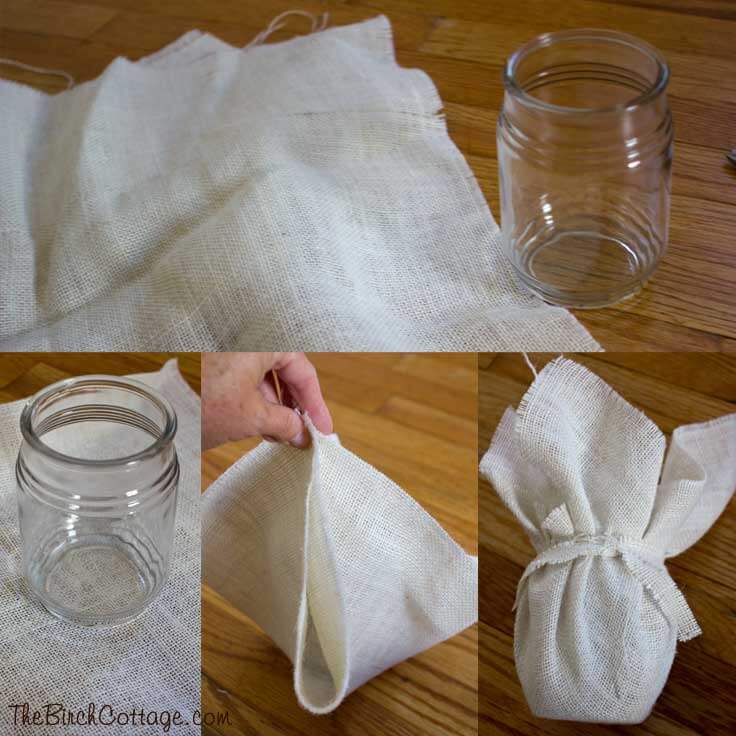
Next you’ll want to lay out your square of burlap and place your vase in the center of the burlap. Gather all four corners of the burlap at the top of the vase. Gather the burlap around the vase and tie a strip of burlap, twine or ribbon around the top of the vase to secure the burlap in place.
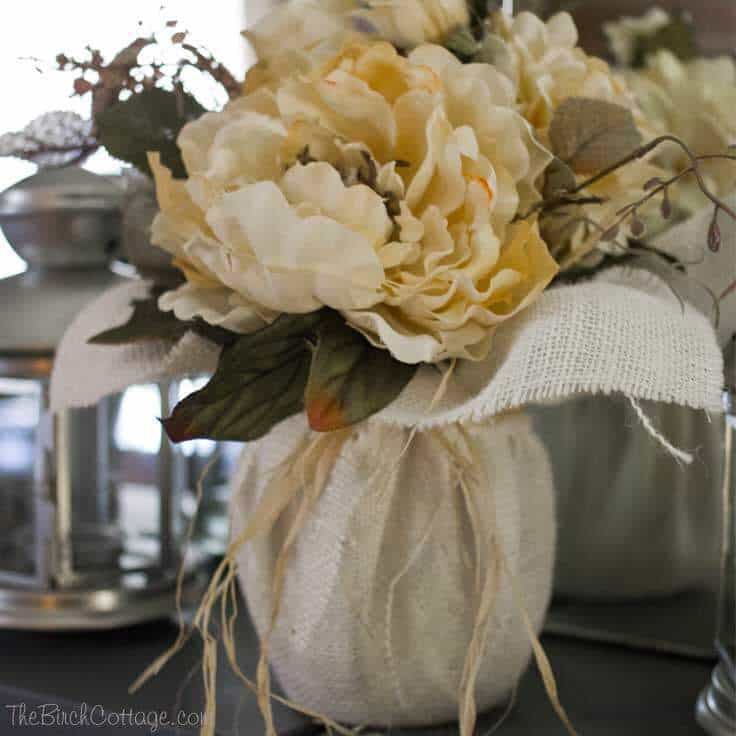
Once you have your burlap secured around the vase, you’re ready to fill your vase with flowers. I found a couple of fall bouquets at Hobby Lobby and simply filled each vase with one of the bouquets.
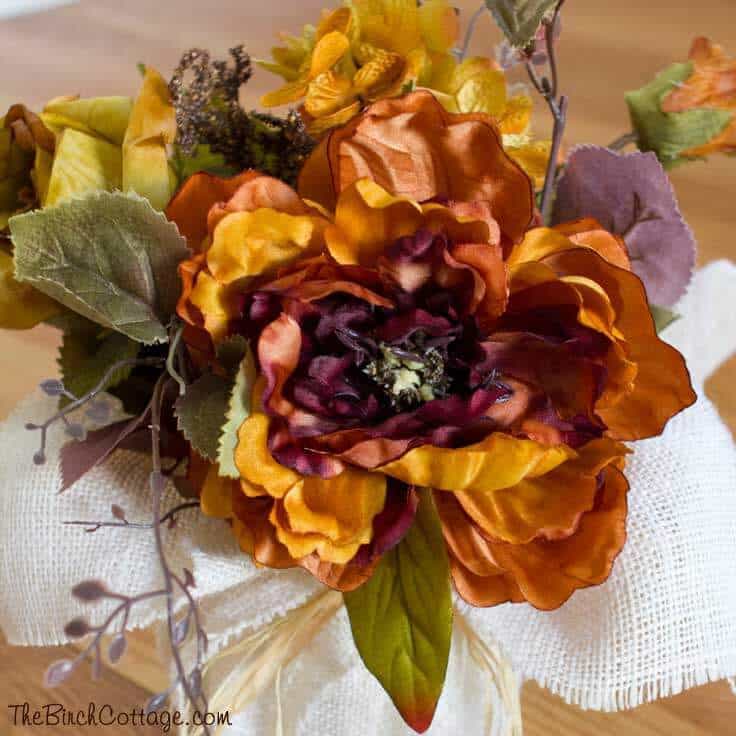
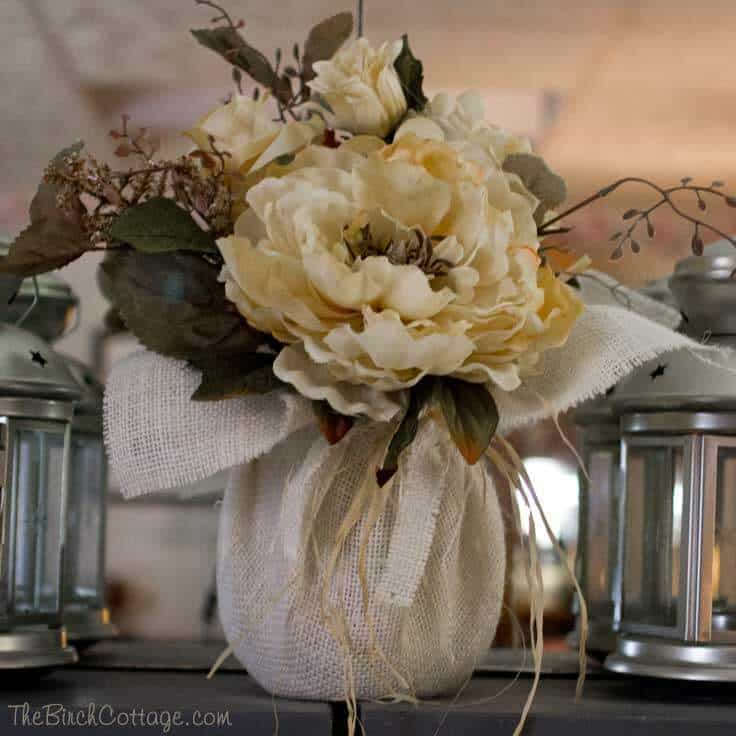
I couldn’t decide if I liked the creamy floral bouquet or this lovely deep fall colored bouquet, so I bought both.
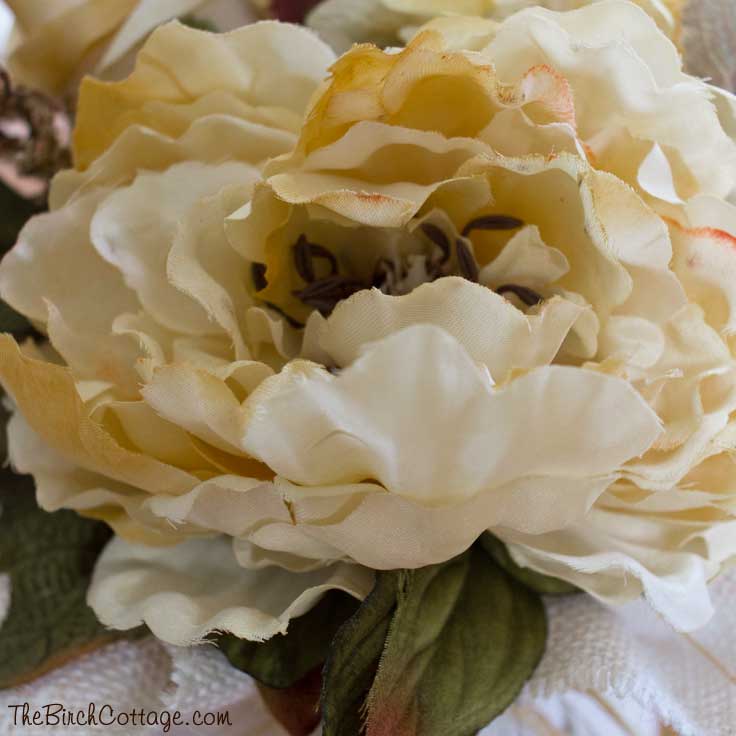
Here’s a closer look at the creamy bouquet. I just think it’s dreamy.
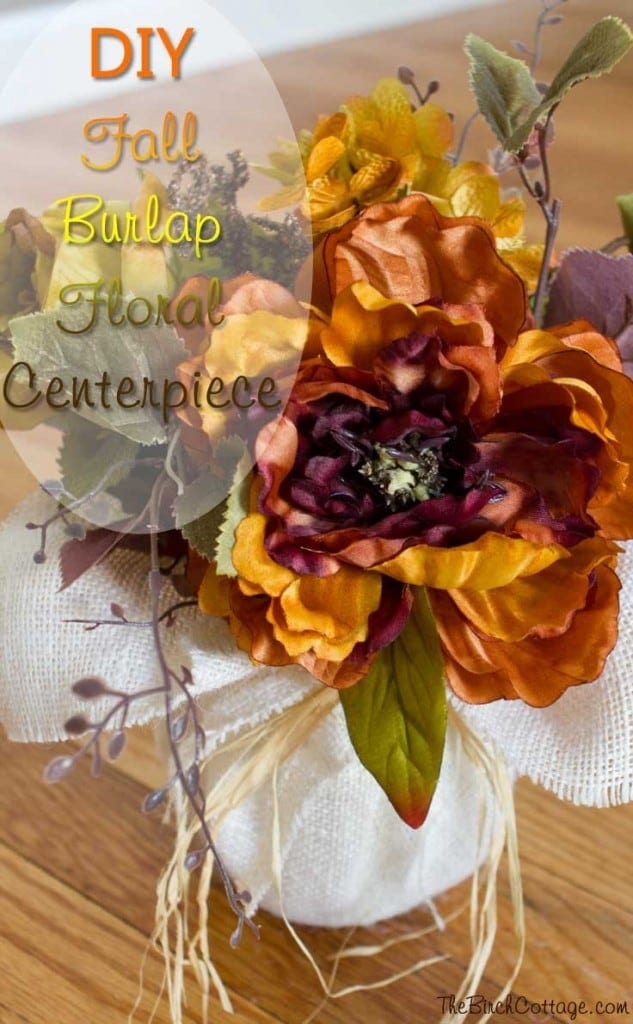
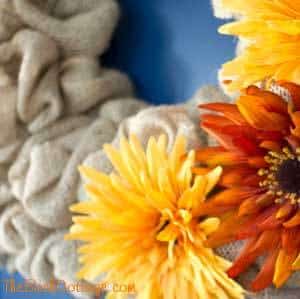
And this deep fall-colored bouquet? Perfectly fitting for fall decor. I hope you’ve enjoyed this little DIY Fall Burlap Floral Centerpiece tutorial. Maybe it will inspire you to save those used candle jars! A special thank you to Carrie for allowing me to share this project with you and a truly heartfelt thank you to each of you inviting me into your homes through this blog.
If you’ve enjoyed this post, you might like to browse some of these other fall projects or recipes from The Birch Cottage blog:
Creamy White Chicken Chili Recipe


Love the ideas you see here on Ideas for the Home by Kenarry®? Subscribe today to get our FREE DIY & Craft Planning Calendar, plus our weekly Ideas in Your Inbox newsletter filled with creative tips and exclusive offers!
What’s Next?
While you’re here, be sure to check out other fall projects on Ideas for the Home by Kenarry® –
Where are the instructions for the loopy burlap flower that I saw on the packages?
Hi there!
I’m not sure how you found us or got to this page. Can you please let me know so we can fix it? Meanwhile, I think this tutorial for how to make loopy burlap flowers is the one you’re looking for.
Happy crafting!
Best wishes,
Carrie
Ideas for the Home by Kenarry