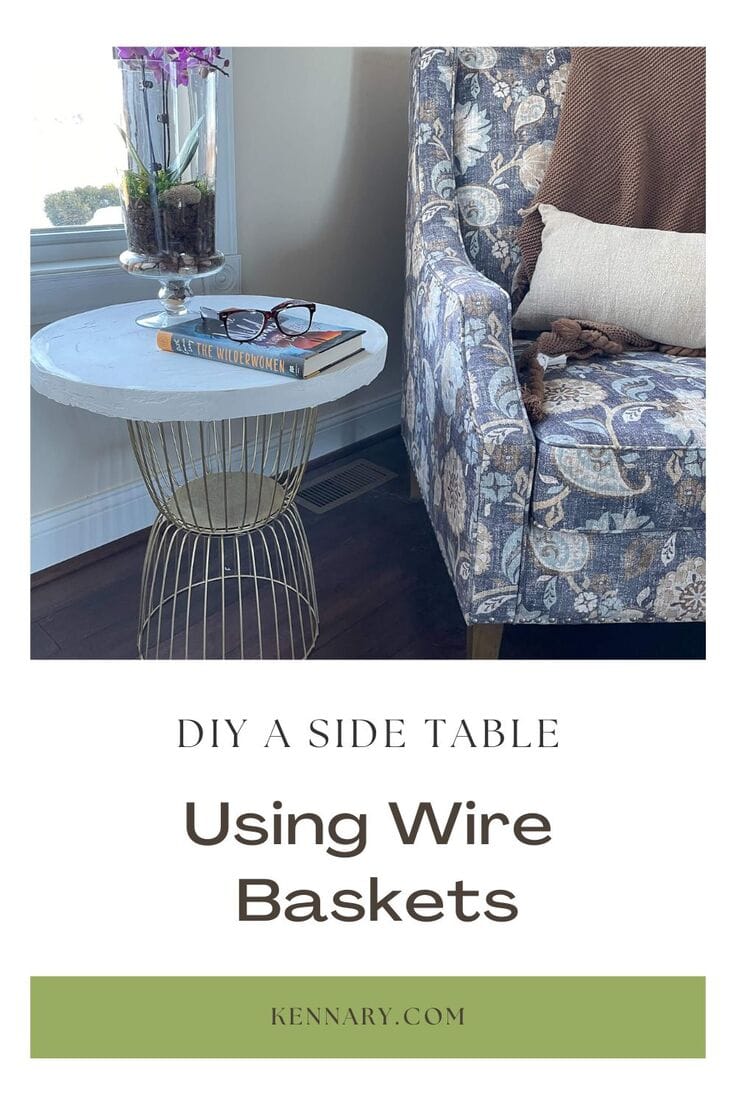
DIY Side Table From Wire Baskets
THIS POST MAY CONTAIN AFFILIATE LINKS. PLEASE SEE OUR FULL DISCLOSURE POLICY FOR DETAILS.
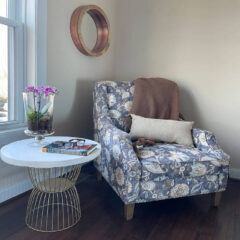
Follow this easy tutorial to make a DIY Side Table from Wire Baskets. This is a fun DIY idea you can make from thrifted Wire Baskets. They have such pretty shapes and colors that you can use in any room.
Hello! I am Libbie from A Life Unfolding where I blog about Design, DIY, Renovations along with the occasional cocktail. Today, I am sharing an easy DIY SIDE TABLE I made from wire baskets. I love a great home decor DIY.
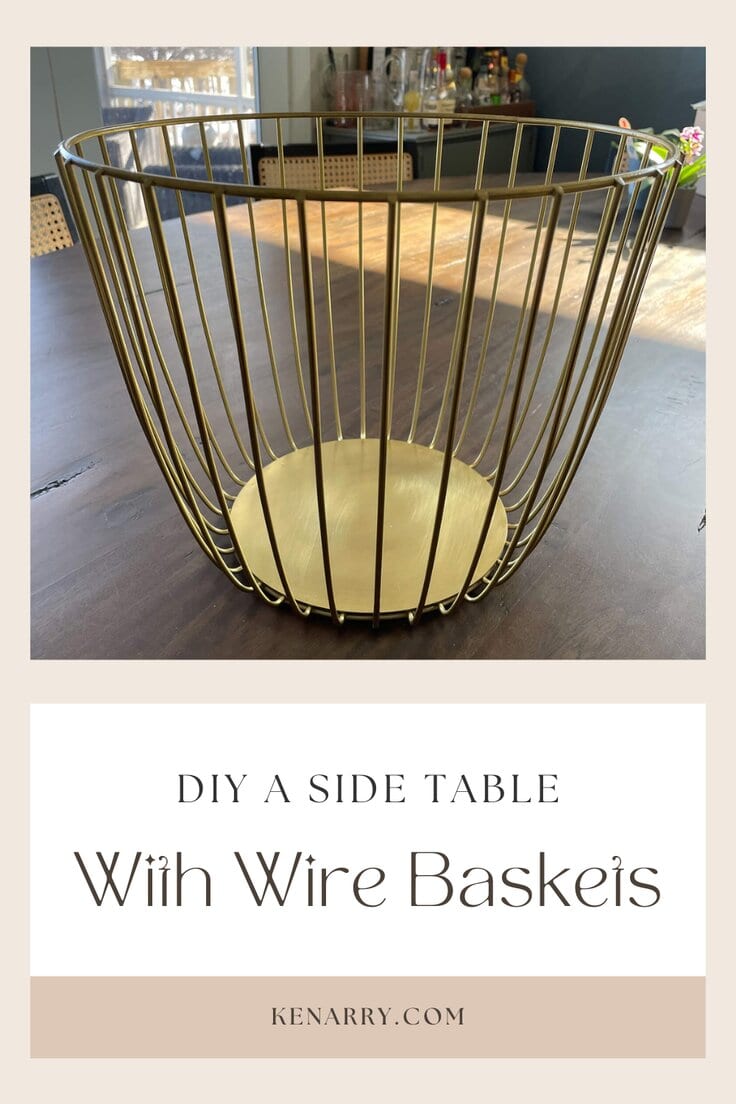
I am a big fan of thrifting. I actually have a route I follow on most Thursdays. A few months ago, when I stopped in my neighborhood Restore. As as I walked in, sitting in a corner practically winking at me in all their gold glory were two brand new wire baskets from Target with the tags on them! I didn’t have a plan, but for $3.50 each I knew I was taking them home.

How to Make A DIY Side Table From Wire Baskets
Once I had decided to make a table from my baskets, I had to decide on what to do for the top. And since I have been on a bit of a concrete kick lately, I decided to use a skim coat product called Feather Finish. Let’s get started!
Want more ideas like this? Subscribe today to get our weekly Ideas in Your Inbox newsletter plus other exclusive gifts and offers — all for FREE!
DIY Tools:
- Jig Saw
- Handy Cup– or something to mix the Feather Finish in.
- Trowel
- Palm Sander
- Paint Brush
Supplies:
These are the ingredients you’ll need. All the exact amounts are in the printable card at the bottom of this post.
- Construction Glue
- Ardex Feather Finish
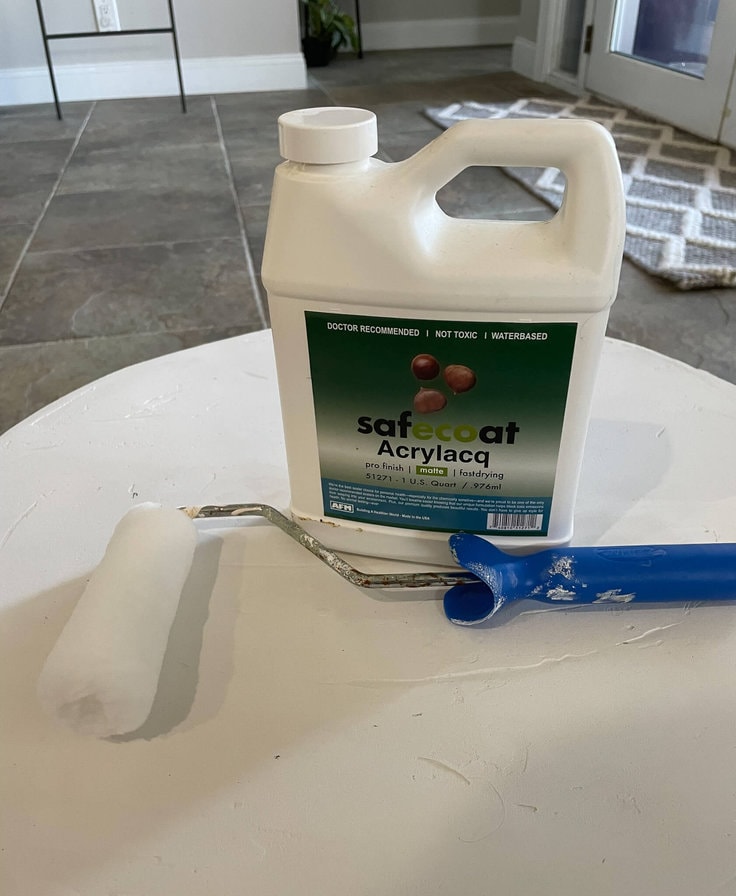
- Safecoat Arcylacq
- Plywood for table top
Tips for making your table
Making a table out of two baskets is so easy that even beginning DIYers can do it! Here are some tips that will make it even easier.
Keep A Large Enough OverHang
You will want your table top to be large enough to have a 4-6 inch hang over the wire baskets base.
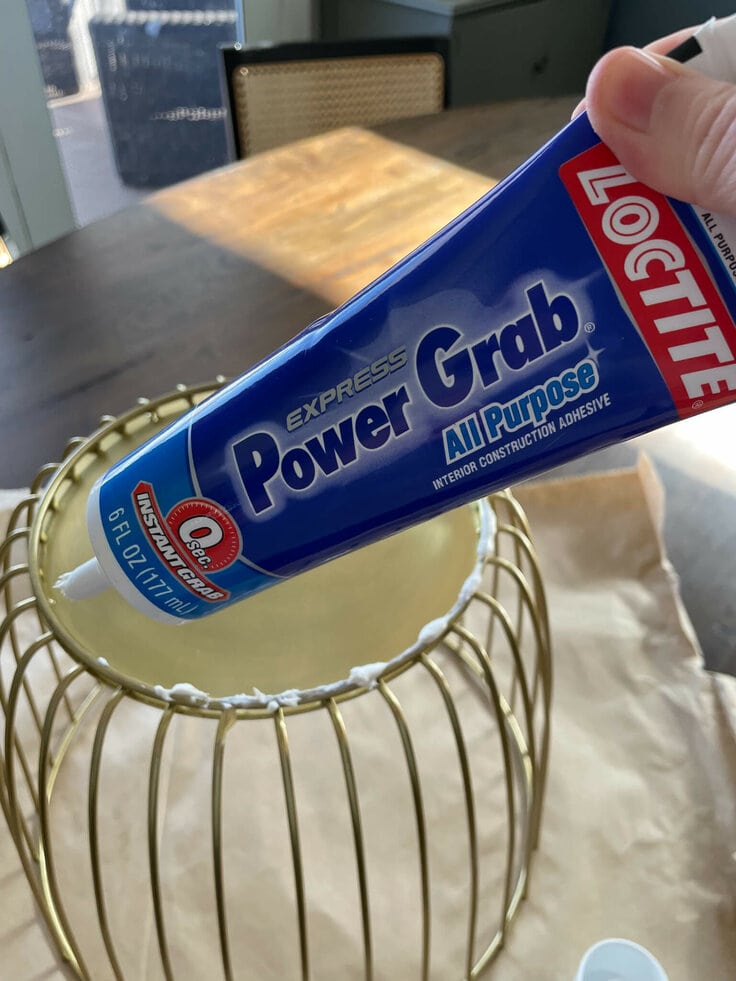
Don’t Use Too Much Glue
I used a small artist’s paintbrush to apply the construction glue to ensure a nice, even contact on the wire baskets. Same with the plywood circles when I attached them.
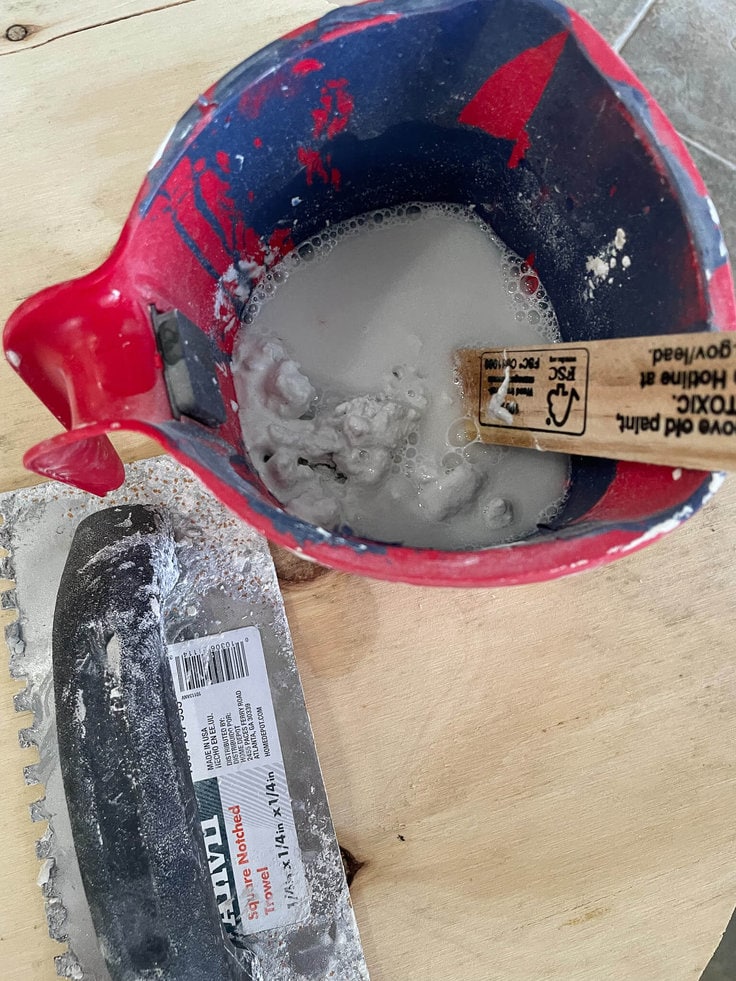
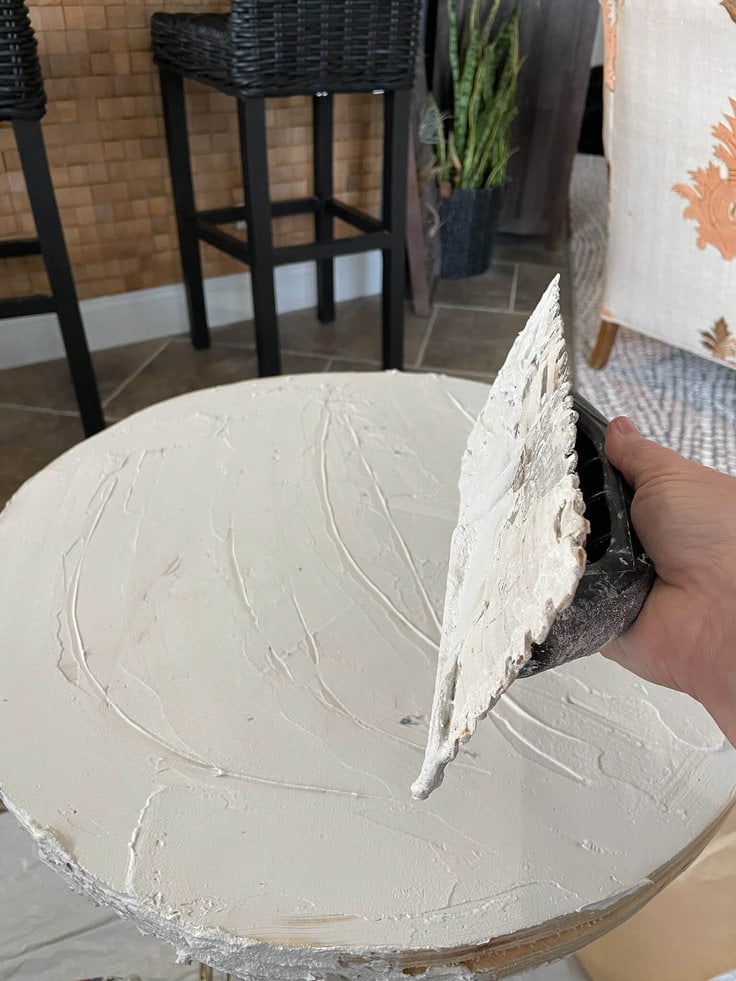
Feather Finish dries fast so mix small amounts if you are using multiple coats. It should be the consistency of peanut butter.
Be Careful With the Feather Finish
Apply the Feather Finish like icing on a cupcake.
Sand Between Coats
Once dry sand the concrete lightly and reapply.

Use multiple coats of the sealer and very lightly sand between coats. I used four coats so that my morning cup of coffee will not stain the table.
Places to find Wire Baskets
- Local Restore
- Dollar General
- Thrift Stores
- Target- That’s where these were from originally.
- Big Lots
- Home Goods, TJMaxx or Marshalls.
DIY A SIDE TABLE WITH WIRE BASKETS
Equipment
- 1 Palm Sander
- 1 Jig Saw
- 1 Paint Brush
Supplies
- 3 Cups Ardex Feather Finish White
- 2 OZ Acrylacq
- 2 pieces Wire Baskets
- 1 oz Construction Glue
- 2 pieces Plywood circles
Instructions
- Glue two baskets together and set aside to dry.
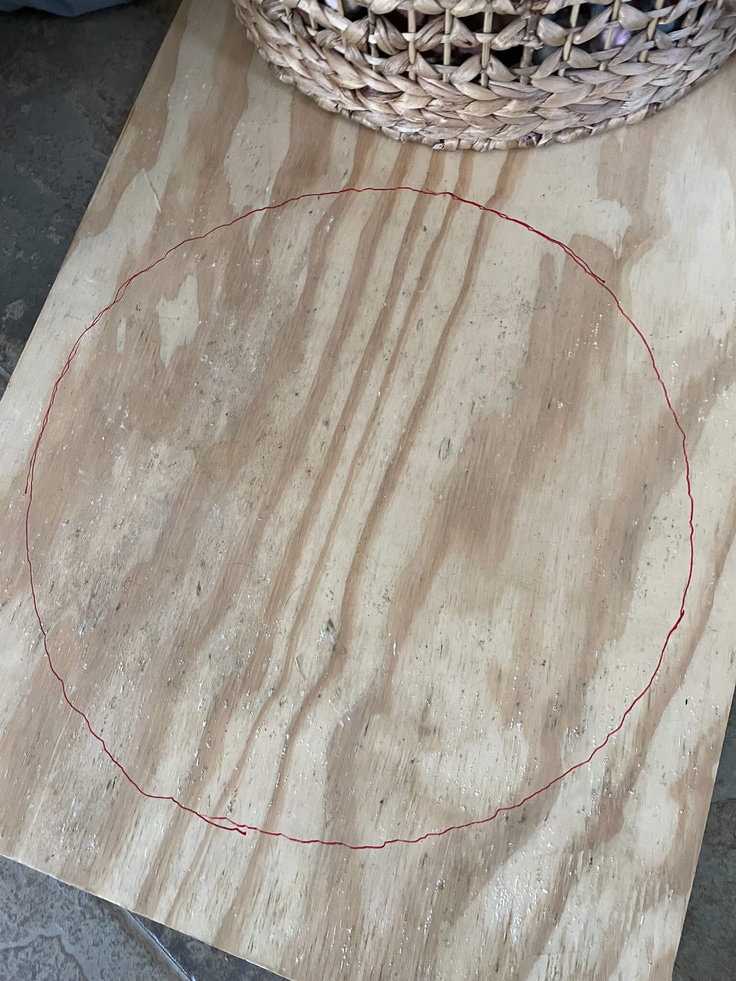
- Cut circle(s) for table top. I used two pieces which I glued together for the depth. Glue to the base (wire baskets).
- Mix concrete- Feather Finish according to directions.
- Apply to the plywood circles top and sides with trowel. Think frosting a cake!
- Let concrete dry.
- Sand and repeat a second coat.
- Sand again and let dry.
- Apply sealer in light coats sanding between each coat.
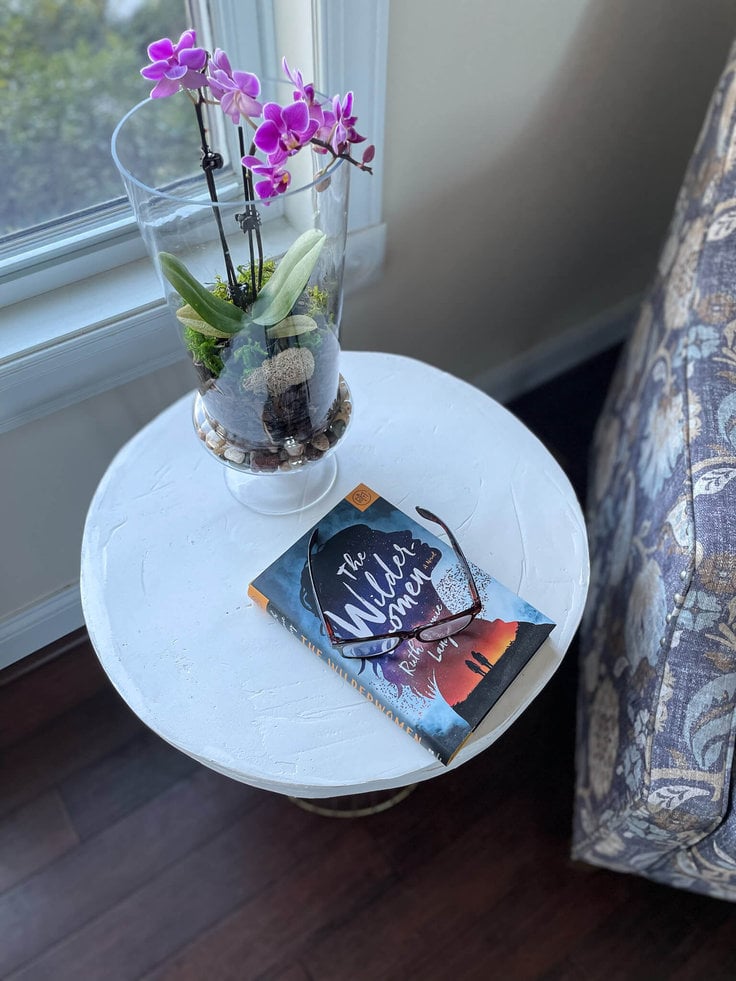
- Enjoy!
Notes
Love the ideas you see here on Ideas for the Home by Kenarry®? Subscribe today to get our FREE DIY & Craft Planning Calendar, plus our weekly Ideas in Your Inbox newsletter filled with creative tips and exclusive offers!
What’s Next?
If you enjoyed my DIY Side Table from Wire Baskets then you’ll enjoy a few of my favorite furniture DIY’s.
DIY Coffee Table from Vintage Chicken Crate

You may also enjoy these DIY ideas on Ideas for the Home by Kenarry® –