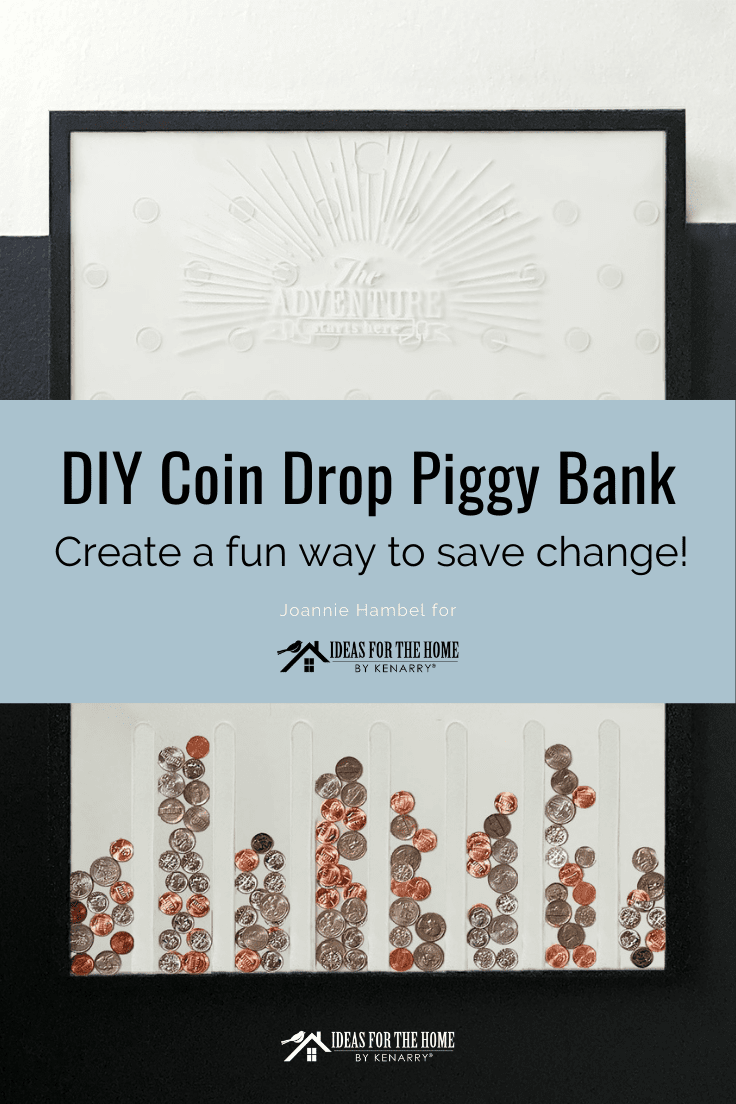
Fun DIY Coin Drop Piggy Bank Wall Decor
THIS POST MAY CONTAIN AFFILIATE LINKS. PLEASE SEE OUR FULL DISCLOSURE POLICY FOR DETAILS.
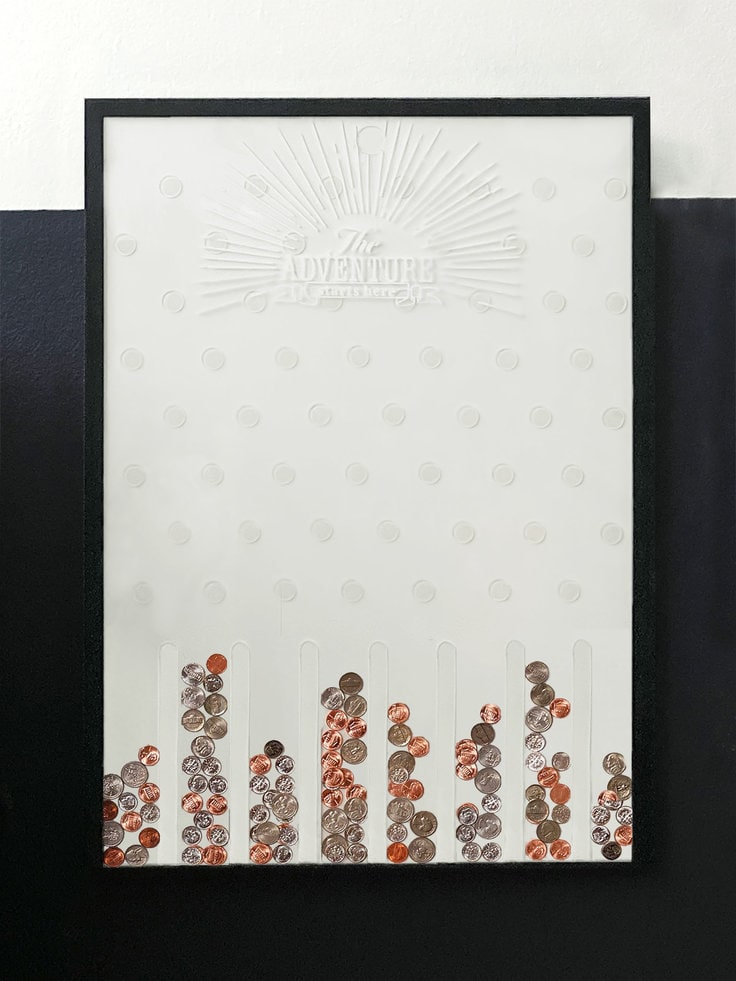
This coin drop wall-mounted piggy bank is sure to get your kids into the saving mood. It is so fun to drop coins between the bumpers and watch as it zig zags down, bouncing into the bumper slots at the bottom of the picture frame.
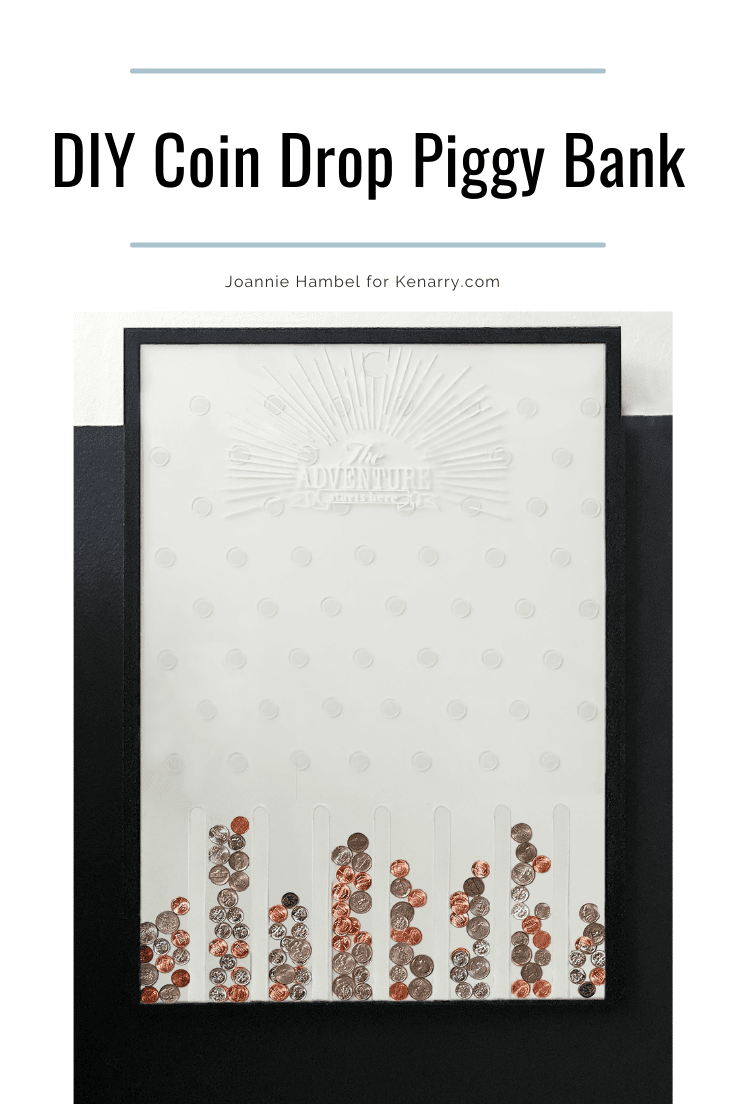
Hi, my Kenarry friends; teaching my kids to save money is now a fun activity with this special wall-hanging piggy bank. It’s a simple DIY made from a picture frame and common glass table rubber bumpers. Even without the free printable graphic, this picture frame coin drop piggy bank will still get everyone to save some change.
Saving money can be a challenge, but make it a fun activity and it’s sure to make saving easier!
How to Make a wall mounted coin drop piggy bank
With simple-to-find parts, this piggy bank came together in just a couple of hours.
What you need:
Want more ideas like this? Subscribe today to get our weekly Ideas in Your Inbox newsletter plus other exclusive gifts and offers — all for FREE!
Tools:
- Cutting knife or Scissors
- Pen/pencil
- Ruler
- Drill
- 1″ or 25mm Hole Saw Drill Bit – if you have a glass front use a diamond tipped hole saw
- Cricut or other cutting/engraving machine
Supplies:
- Large picture frame – mine is 19 3/4″ x27 1/2″
- Rubber 3/4″ self adhesive table/door dampeners
- Rubber self adhesive 6″ x 6″ square dampeners
- Permanent self adhesive vinyl
- Transfer tape
- Free Printable
Coin drop piggy bank Tips:
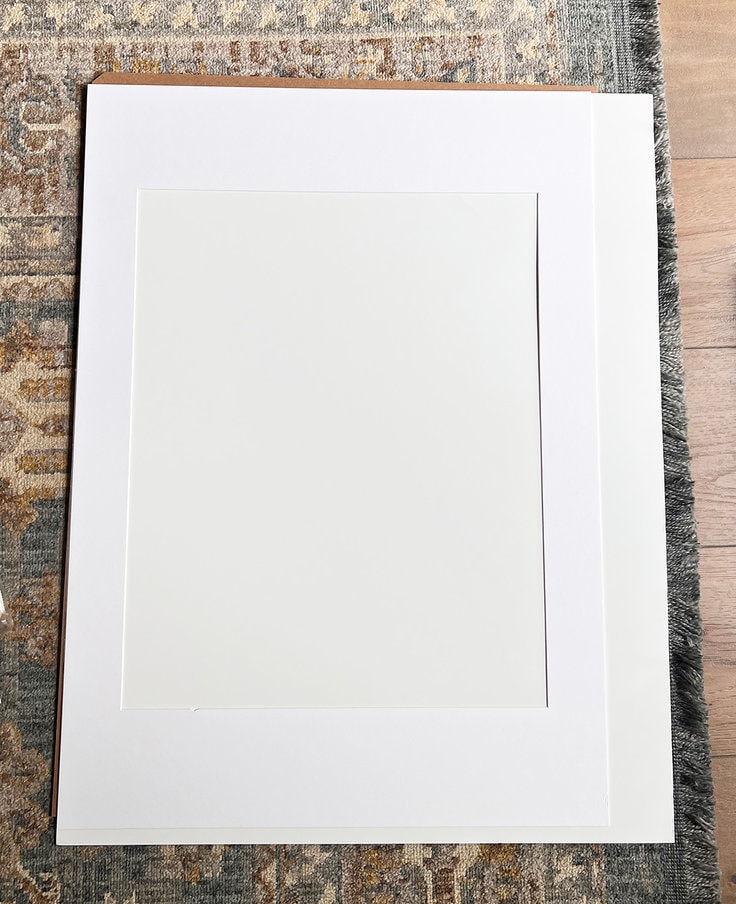
Don’t throw away the picture frame mat yet!
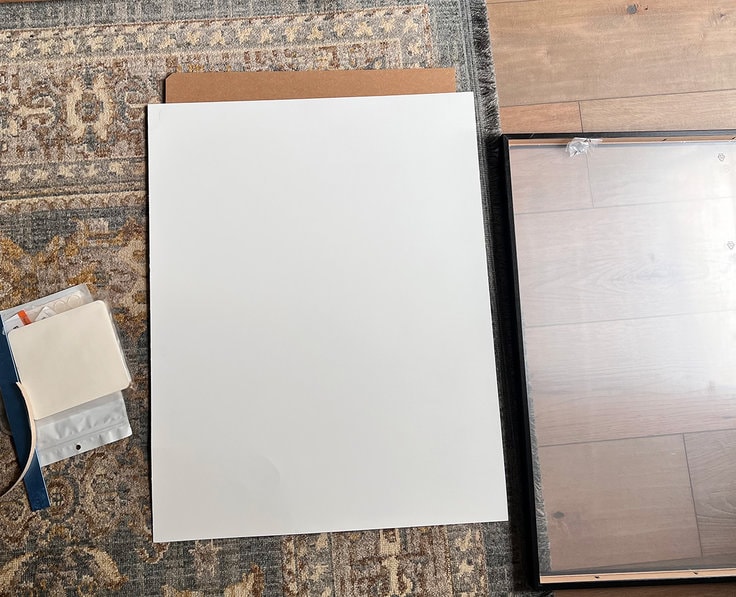
Gather your supplies, and place the picture frame mat that came with the frame to use as a template. Place the mat on top of the poster board and trace around it with a pencil or pen.
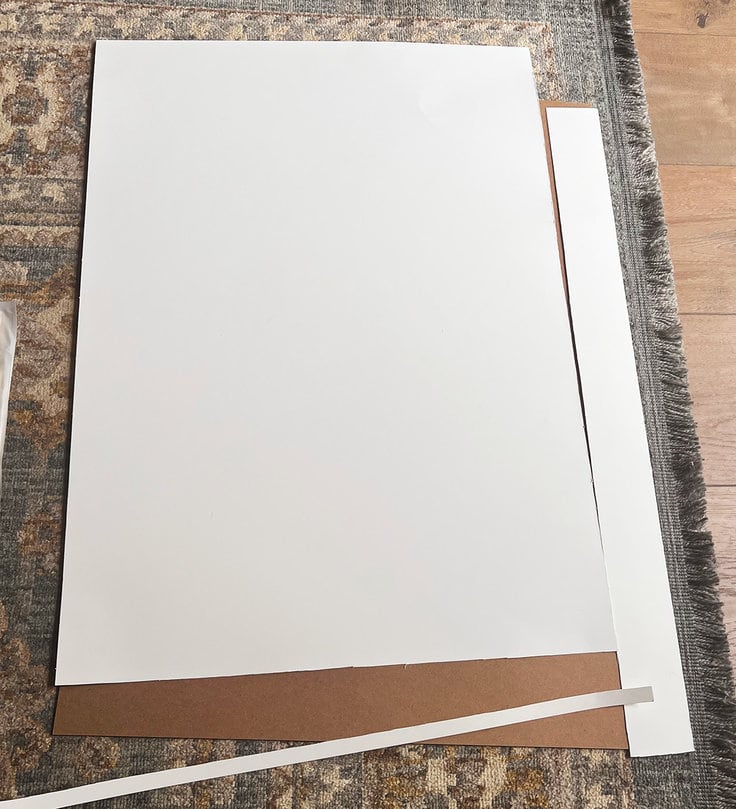
If you’re using a utility knife or x-acto blade to cut the poster board use the chip board that comes with the frame as a cutting mat.
Cut your square rubber dampener into strips
Using a ruler, cut your rubber dampeners into strips 7 – 6″ long by 3/4″ wide. It is easier to mark on the paper side of the rubber with a Sharpie. Use the chip board as a cutting mat with your utility knife.
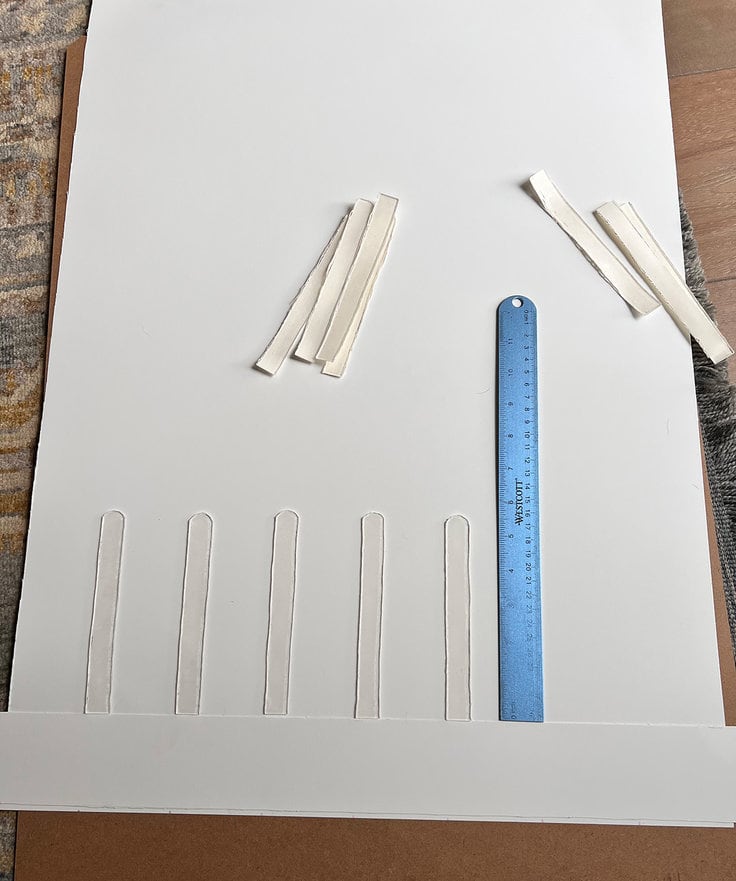
Round the cut ends with scissors. Now they match the round dampeners you will use as the “pegs” for your coin drop piggy bank. Space your strips evenly along the bottom of your poster board. Peel the adhesive protective layer off the backs and use a ruler to keep the strips even and straight.
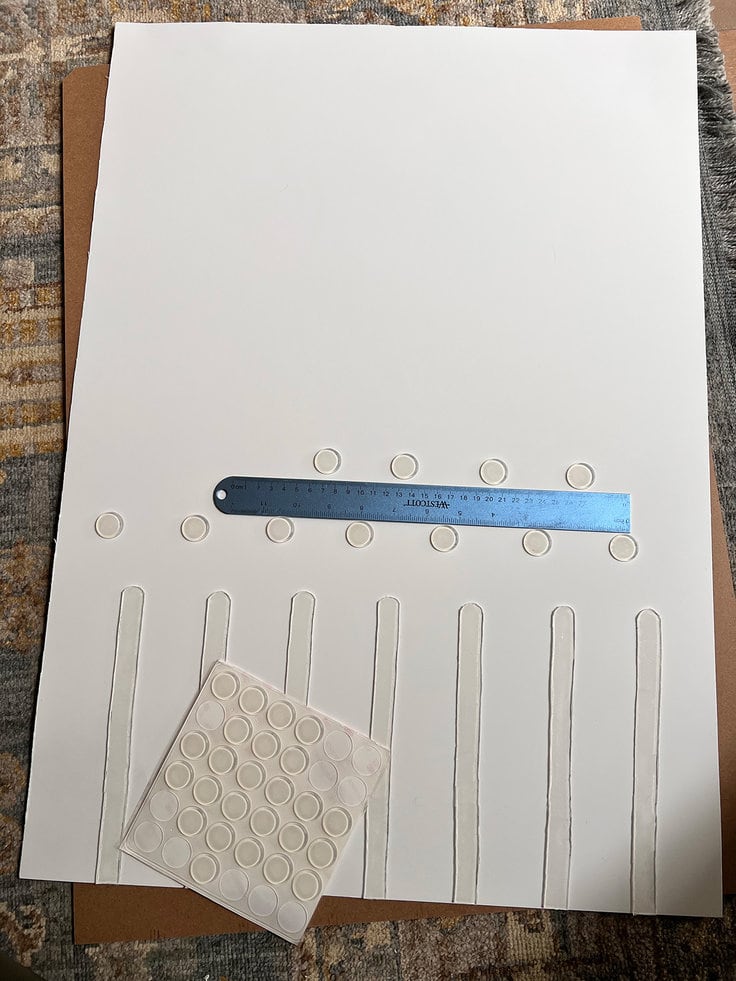
Place the round rubber dampeners
The round rubber dampeners become the pegs for this coin drop piggy bank. Peel the adhesive backing and offset the rows when you place them on the poster board. I used the ruler to space them evenly. The bumpers are transparent so I didn’t mark on the poster board.
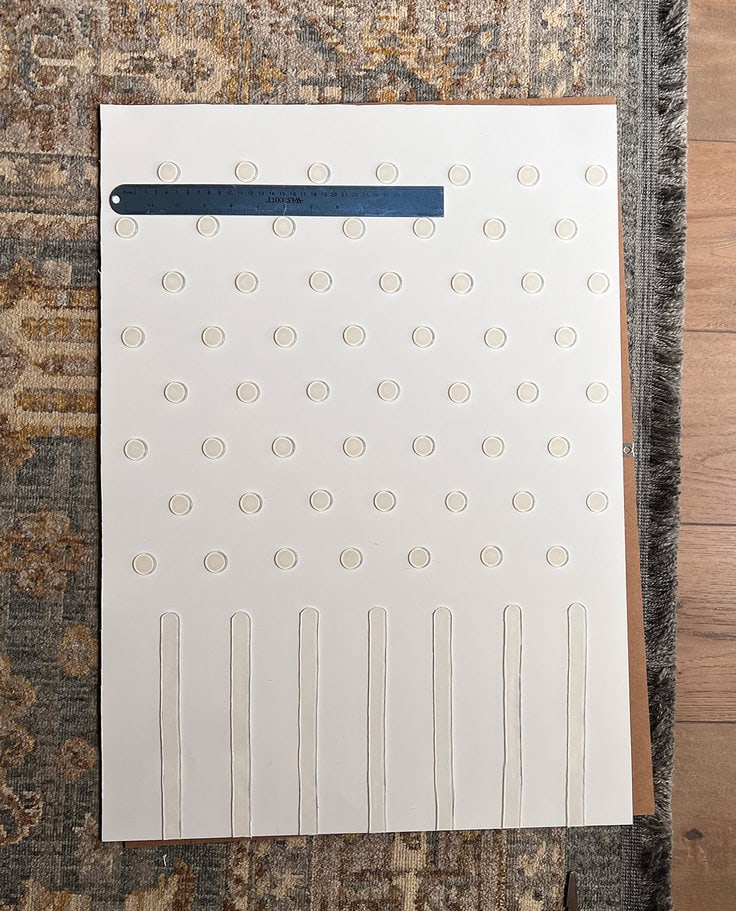
Make sure the back metal parts that hold the chipboard to the frame are sealed tightly down. Press firmly on the back of the chip board so that the rubber dampeners stick to the plexiglass/glass front. This will help them stick and keep the coins from falling between them and the glass.
add the free printable graphic
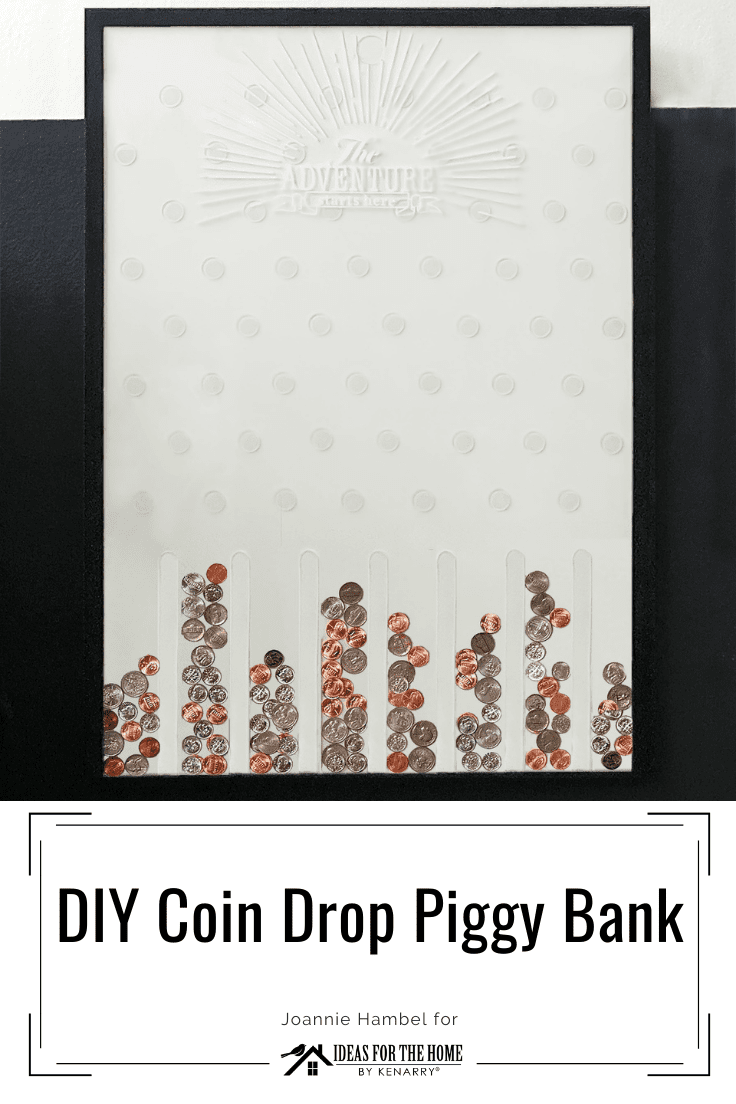
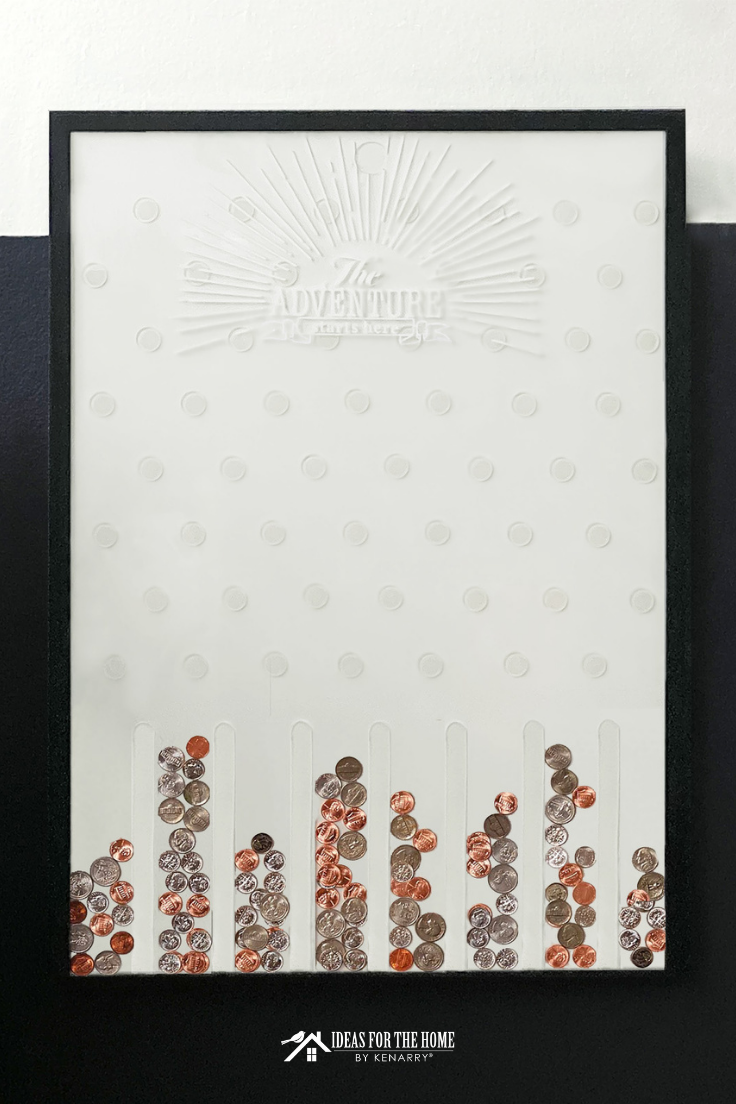
Download and cut out the free printable graphic. Mine was 12″ wide. Prepare it to transfer by weeding it and applying transfer tape to it. Center the graphic at the top of the plexiglass in the picture frame and transfer the vinyl graphic on to the plexiglass.
Free Printable “The Adventure Starts Here”
Exclusive for Kenarry subscribers, receive this free “The Adventure Starts Here” printable by signing up below. You’ll get the download link sent directly to your inbox.
Your privacy is important to us. We promise not to spam you or share your information. You can opt-out at any time. See our privacy policy for more information.
All printables from Ideas for the Home by Kenarry® are for your own PERSONAL USE ONLY.
After you’ve signed up, watch for an e-mail to confirm your e-mail address and download the free digital printable. Plus you’ll have the opportunity to get the weekly Kenarry Ideas In Your Inbox newsletter, as well as product discounts, special offers and other content that is EXCLUSIVE for Kenarry subscribers only.
You can also join our Idea Insider VIP Club to get unlimited access to the full vault of unique and beautiful printables we offer to make gift giving, holidays and everyday life more special. A lifetime membership in our Idea Insider VIP Club is a great way to save time and money with easy access to hundreds of printable cards, tags, wall art and more right at your fingertips.
Mark the hole for the coin drop
After assembling the board back together, mark the center of where you want your coin drop to be. Remove the plexiglass front from the frame. Drill the hole for the coin drop slot on the marked spot using the 1″ hole saw. Go really slowly and don’t apply pressure. If you do you could crack the plexiglass.
You can use the round circle made from the vinyl cutting machine to place around the hole or you can leave it plain like I did.
Reassemble your coin drop piggy bank
Reassemble your coin drop piggy bank. Hang it on the wall using appropriate mounting screws and add some change. Even I enjoyed watching the coins bounce down the bank into the slots at the bottom.

DIY Coin Drop Wall Mounted Piggy Bank
Equipment
- 1 Xacto blade or utility knife can use scissors if you don't have one
- 1 Pair of scissors
- 1 Drill
- 1 1" or 25 mm hole saw diamond tipped if you will be gutting through glass
- 1 Ruler
Supplies
- 1 Large Picture frame I used an Ikea Ribba frame that is 19 3/4" x 27 1/2"
- 2 6" Self adhesive rubber glass table dampeners
- 72 .75"/20.6mm Self adhesive round glass table top dampeners You won't use all 72 but will used most of them.
- 1 roll Permanent adhesive vinyl any color – at least 12" x 12"
- 1 12" x 12" Transfer tape
- 1 sheet 22" x 28" poster board any color – I used white
- 1 Free graphic download "Adventure Starts Here"
Instructions
Cut your poster board
- Gather your supplies, place the picture frame mat that came with the frame on to the poster board. Align the top and left edge and then trace around the mat on the right and bottom sides of the poster board.
- Use the chip board that comes with the frame as a cutting mat. Use a ruler or straight edge and cut with an Xacto blade or utility knife along the traced marks. You can use scissors if you do not have a knife.
- The poster board is now trimmed to the right size to fit in the picture frame.
Cut your rubber strips for your coin slots
- Mark along the top and bottom of your 6" square rubber dampener every 3/4". You will need 7 strips total. Using a straight edge or ruler, cut along the marks with your knife or scissors.
- Round the top edges of the rubber dampener strips with scissors. I eyeballed this, but you could use a coin as a template to mark the strips.
Place your rubber strips on your poster board
- Measure the bottom of your board and decide how far a part your strips need to be. Mine were placed 2 1/2" a part with the spaces on each end a little smaller. Mark small dots where the center of each strip should be at the bottom of your poster board. Peel the adhesive protective layer off of the backs and use a ruler to keep the strips even and straight. Stick the strips to the board.
Place your round rubber dampeners on the board
- The round rubber dampeners become the pegs for this coin drop piggy bank. Peel the adhesive backing and offset the rows when you place them on the poster board. I used the ruler to evenly space them. I didn't want to mark on the poster board because the bumpers are transparent. Offset the rubber bumpers in a diamond pattern working from the bottom to the top of the poster board.
Cut your free vinyl graphic
- Assemble the poster board and picture frame together. Download and cut out the free printable graphic. Mine was 12" wide. Prepare it to transfer by weeding it and applying transfer tape to it. Center the graphic at the top of the plexiglass in the picture frame and transfer the vinyl graphic on to the plexiglass.
Cut the coin slot
- Mark the center of where you want your coin slot to be. Remove the plexiglass from the frame. Drill the hole for the coin drop on the marked spot using the 1" hole saw. Go slowly and don't apply pressure. If you do you can crack the plexiglass.You can use the round circle made from the vinyl cutting machine to place around the hole or you can leave it plain like I did.
Reassemble your coin drop piggy bank.
- Make sure the back metal parts that hold the chipboard to the frame are sealed tightly down. Press firmly on the back of the chip board so that the rubber dampeners stick to the plexiglass front. This will help them stick and keep the coins from falling between them and the glass.
Display your coin drop piggy bank
- Hang it on the wall using appropriate mounting screws and add some change. Or lean it on a shelf. Drop a coin through the slot and watch it bounce down the bank into the slots at the bottom.
Love the ideas you see here on Ideas for the Home by Kenarry®? Subscribe today to get our FREE DIY & Craft Planning Calendar, plus our weekly Ideas in Your Inbox newsletter filled with creative tips and exclusive offers!
What’s Next?
Another great place for your keyword. If you enjoyed making this coin drop piggy bank, check out some other fun DIY tutorials I have.
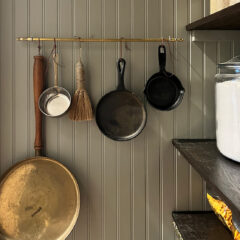
How to make a vintage style unlacquered brass rod dupe for under $20
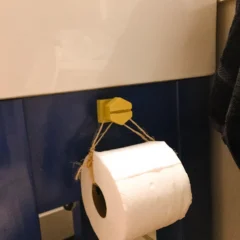
Easy, Cute and Cheap Kid’s bathroom Toilet Paper Roll Holder
You may also enjoy these other great craft projects on Ideas for the Home by Kenarry® –