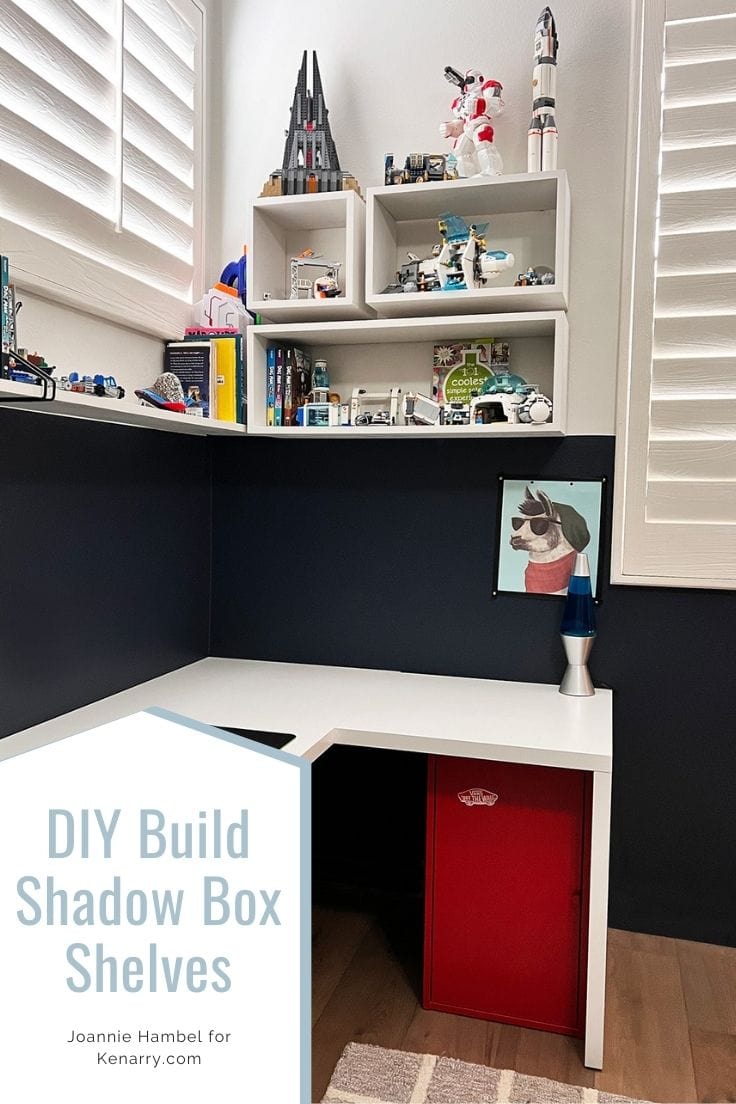
How to Make Shadow Box Shelves
THIS POST MAY CONTAIN AFFILIATE LINKS. PLEASE SEE OUR FULL DISCLOSURE POLICY FOR DETAILS.
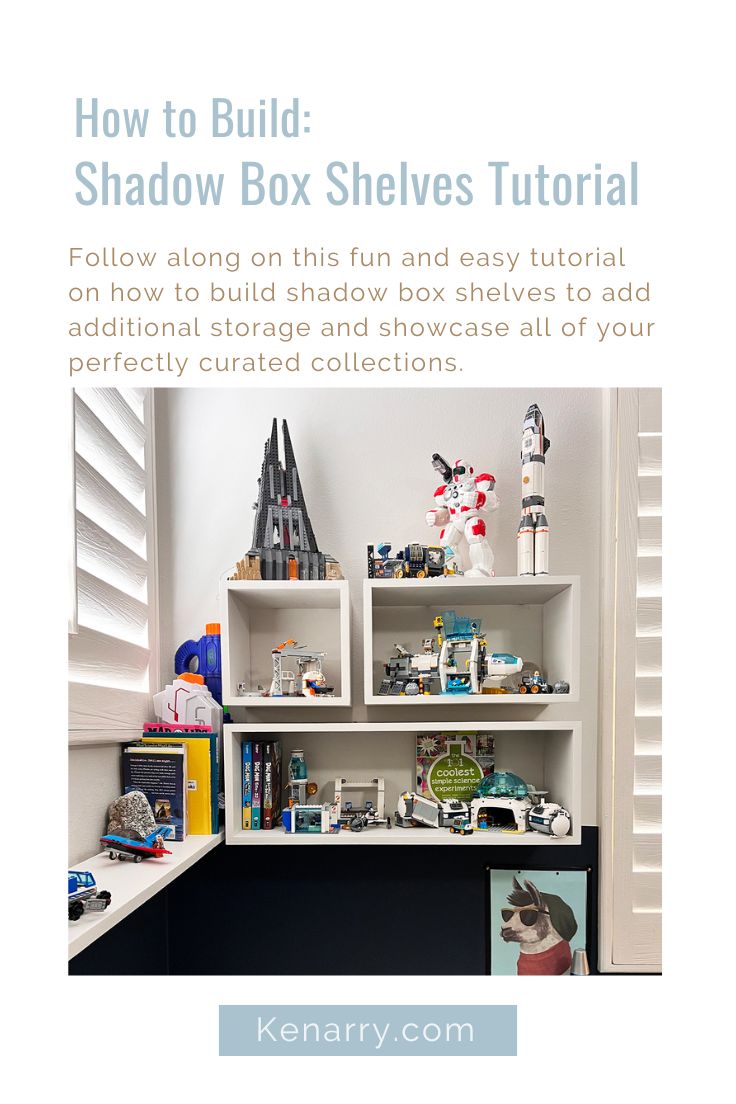
Keep things organized and show off collectibles or projects with these shelves! Learn how to make shadow box shelves with this simple tutorial.
Hi my Kenarry friends! I am Joannie Hambel from Hambels Get Real, a DIY blog focused on how to add charm and character to your home. I love helping other women learn to use power tools and create the home they dream about. Today I am sharing how I built shadow box shelves to bring some order to my sons room.
If you enjoyed this tutorial then check out how to make sand art next. It’s an easy way to decorate a child’s room.
It’s March, and spring is just around the corner here in Southern California. Every spring, I get the urge to organize and clean our whole house. Although I don’t always get to the entire house, this spring, I have made two spaces my priority. One of those spaces is my son’s room. He is a lego maniac and hoarder. I cannot get him to let go of anything.
In addition to helping curate his toys, I built three shadow box shelves for storage.
These shadow box shelves can easily be adapted to your space, plus they are easy to build. I made my shadow box shelves from scrap wood I had lying around. I also finished the shelves with the same paint on my son’s wall. And since I used supplies I already had, this was a really cheap project to do!
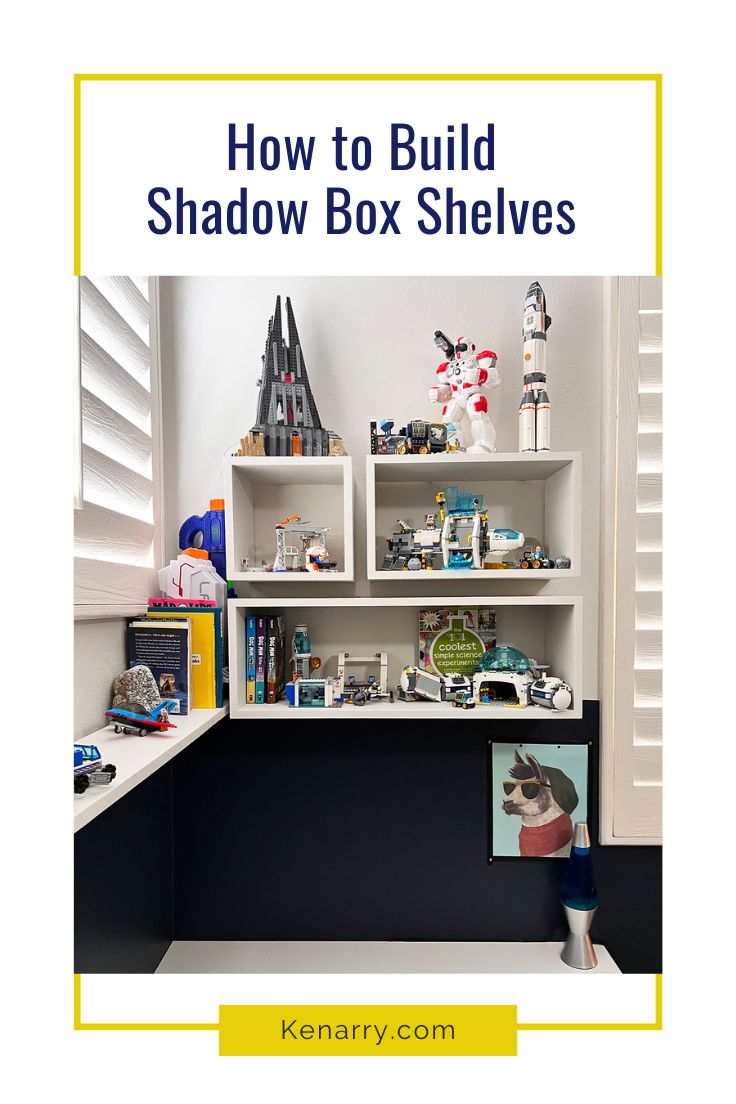
How to Make Shadow Box Shelves
If you have 3/4″ mdf or plywood lying around, you can put these shadow box shelves together in a couple of hours. My shadow boxes are 8″ deep, but you can make them as shallow as you like.
I also made three different-sized shadow boxes. You can see how easy it is to adjust the plan to the size you need.
What you need:
Want more ideas like this? Subscribe today to get our weekly Ideas in Your Inbox newsletter plus other exclusive gifts and offers — all for FREE!
Tools to build the shadow box shelves:
- Miter saw/chop saw
- Table saw (optional see cutting tip below if you don’t have one)
- Router in a router table
- 3/8″ straight cutting bit for the router
- Finish nail gun
- Hammer
- Drill/Impact Driver with Phillips #1 and #2 bit sizes
- Spirit level
- Stud finder
Supplies to build the shadow box shelves:
- Wood glue
- Painters tape
- 1 1/4″ finish nails
- Wood or mdf for the shadow boxes
- Sand paper 120 and 220 grit
- Paint or stain to finish your shadow boxes
- Optional: 1/8″ spacer tabs like felt furniture rounds or cabinet door stoppers
- PicGenie123 for 50 lb loads
Shadow Box Shelf tips:
Cutting your wood for the shelves
If you don’t have a table saw, you can buy pre-primed mdf boards . Choose boards that are the depth you’d like your shadow boxes to be. For example, my shadow boxes are around 8″ deep. I could have used 1×8 mdf or solid wood boards.
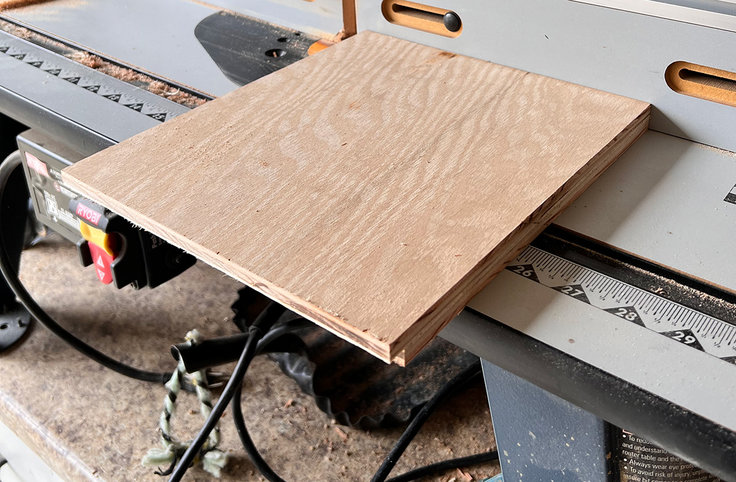
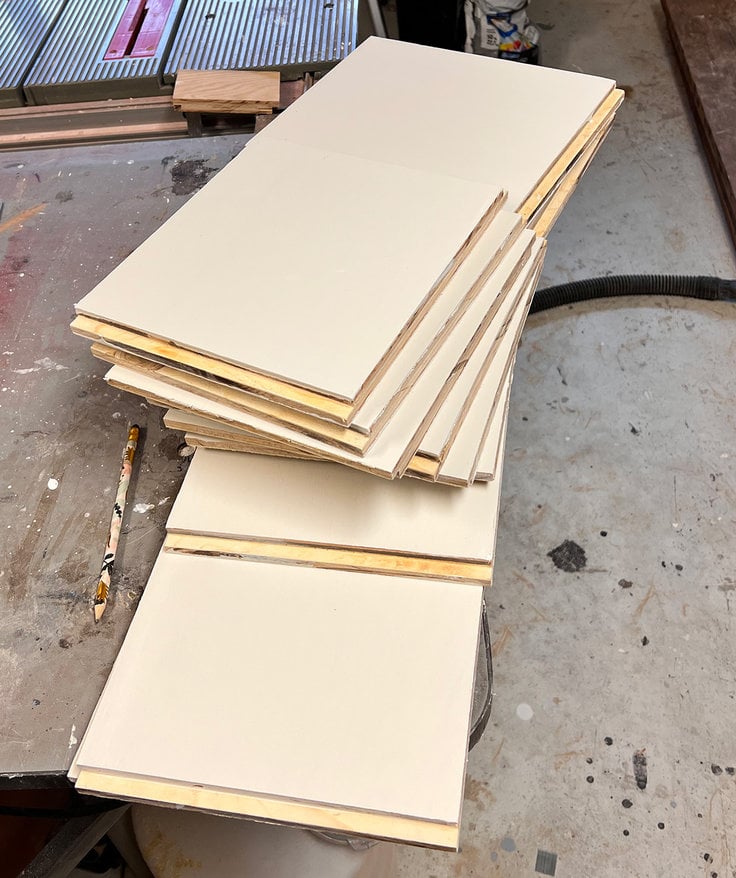
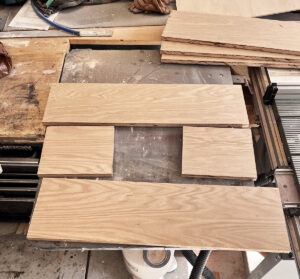
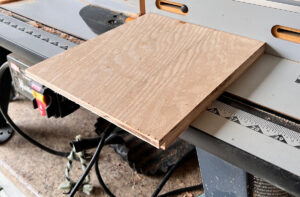
However, I had enough 3/4″ oak veneer plywood left over from another project to build my shadow boxes. I ripped my plywood sheet down to 8″ wide strips.
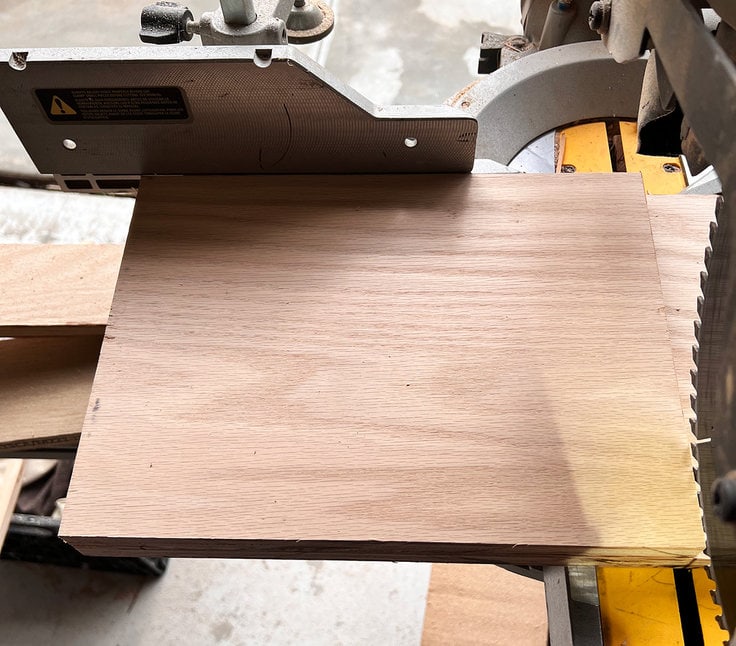
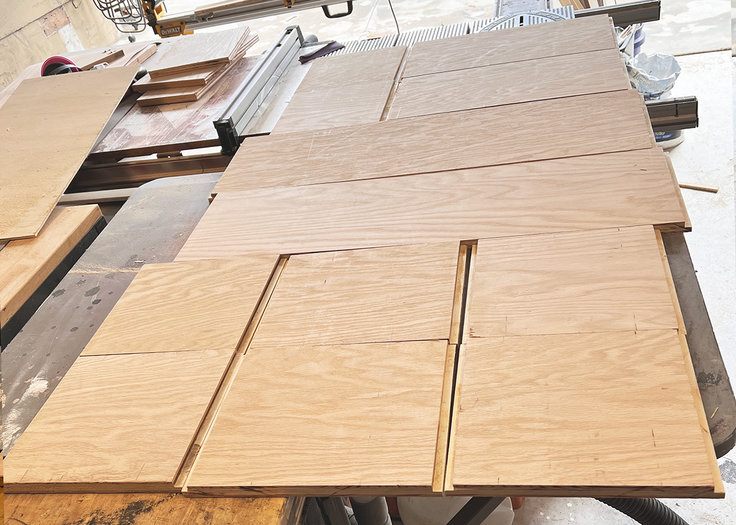
Then I cut them to size on my miter saw. I cut the top and bottom boards to the length I wanted my shadow boxes to be. Which in my case is 32″, 19 1/2″, and 11″. The sides were all cut to 10 1/4. When the boards are joined together they are all 11″ tall.
Use one of your boards as a template for cutting
When cutting your wood, instead of measuring every single piece, measure and cut the first piece. Then use that piece as your guide for all the other pieces that will need to be that size. In my case, I was making three shadow boxes all different sizes, but all the same height.
Three shadow boxes = 6 sides (2 sides each). Each shadow box is a different size. However, each one has a top and bottom that need to be the same length.
I cut one board to 10 1/4″ . Then placed it on top of the next board. I aligned the ends of the boards together so that they were flush. I positioned the boards so that the blade would cut the next board the same size. For the top and bottom pieces, I measured and cut the top board first. And then used it as a measuring tool to line up and cut the matching bottom board.
Doing it this way, instead of measuring each board individually, ensures that the top and bottom will match as well as left and right sides. Having them exactly the same length will make squaring them up quick and easy during assembly.

Cutting your Lap Joint
It is possible to make this cut on a table saw. But it is much easier and faster to make it with a router on a router table. When cutting a lap joint, you are removing the same amount of wood – exactly half – from each end. This way, when you join them together, their thickness will be the same as the original piece of wood.
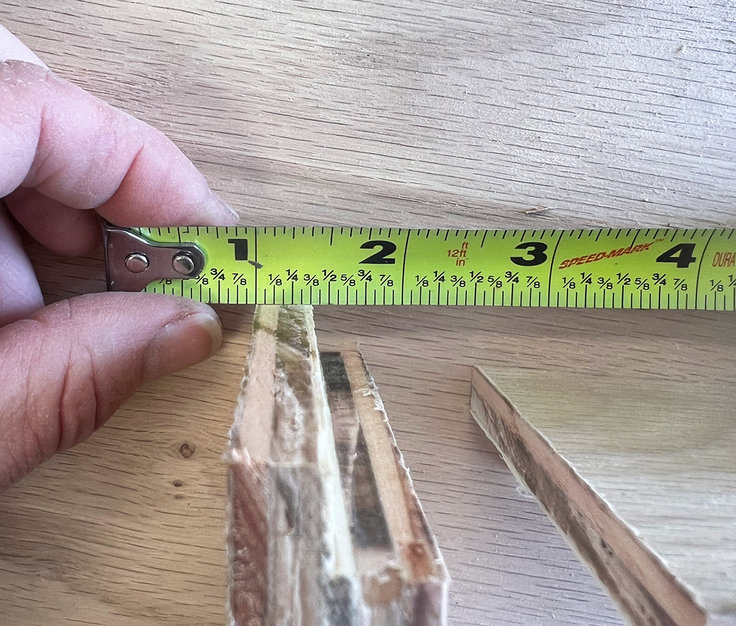
See how the wood removed is 3/8″? This is because 3/8″ is half of 3/4″. By removing 3/8″ of material, when I join it to the other board, it will create a joint that is 3/4″ thick.
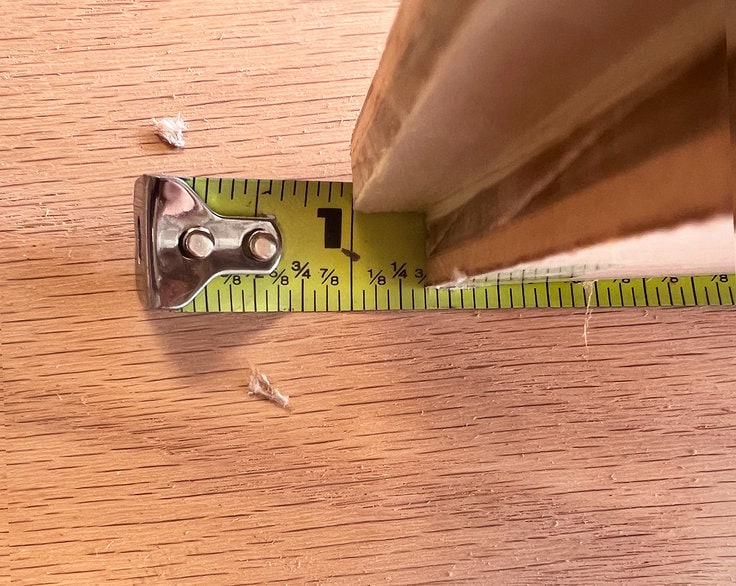
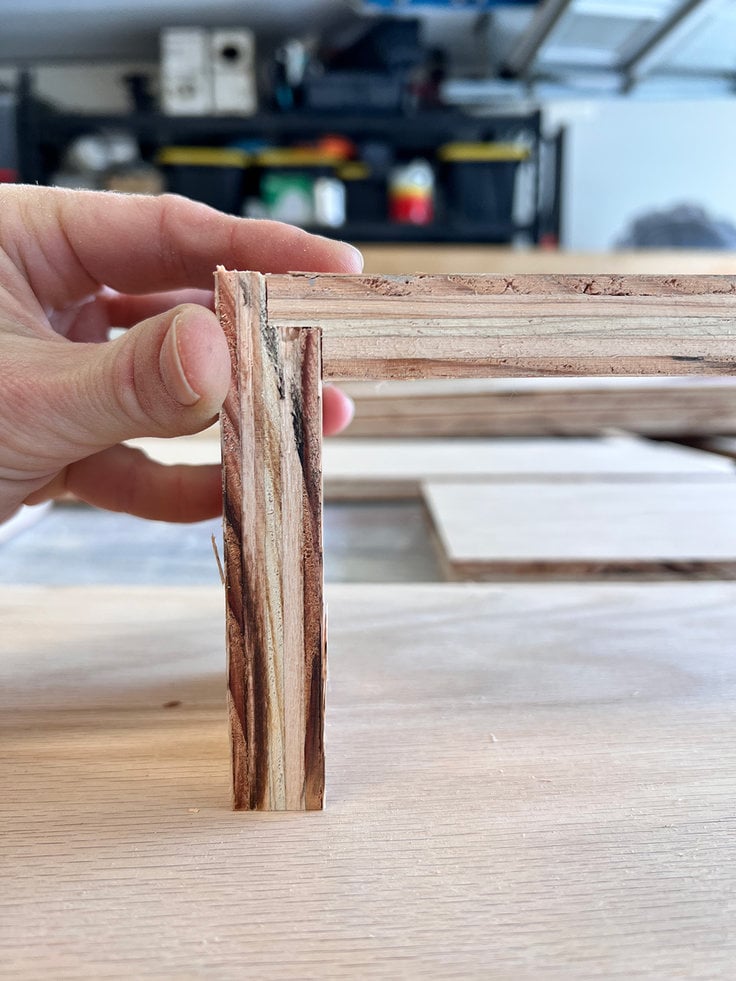
Raise your router bit to cut the wood 3/8″ high. Move your router table fence so the bit will remove 3/8″ of meat from the ends of your boards. You should end up with the ends of your boards looking like L’s. The height of the L = 3/8″ and the depth of the L = 3/8″.
To set up my router, I used two scrap pieces of the same material. I carefully adjusted the router bit until it made the perfect cut/joint.
Once my router was set up I ran each edge board through the router. I passed each board two or three times to really get a nice, evenly routed edge.
Lightly sand to clean the lap joint
You may notice your boards will have tear out on the backside of the board. This is caused by the blade pushing through from the top of the board down. This is okay; just make this side the inside of your shadow box. When you run that through the router, the tear-out will get removed for the lap joint. Make sure you run your boards so that the inside of the board is facing down.
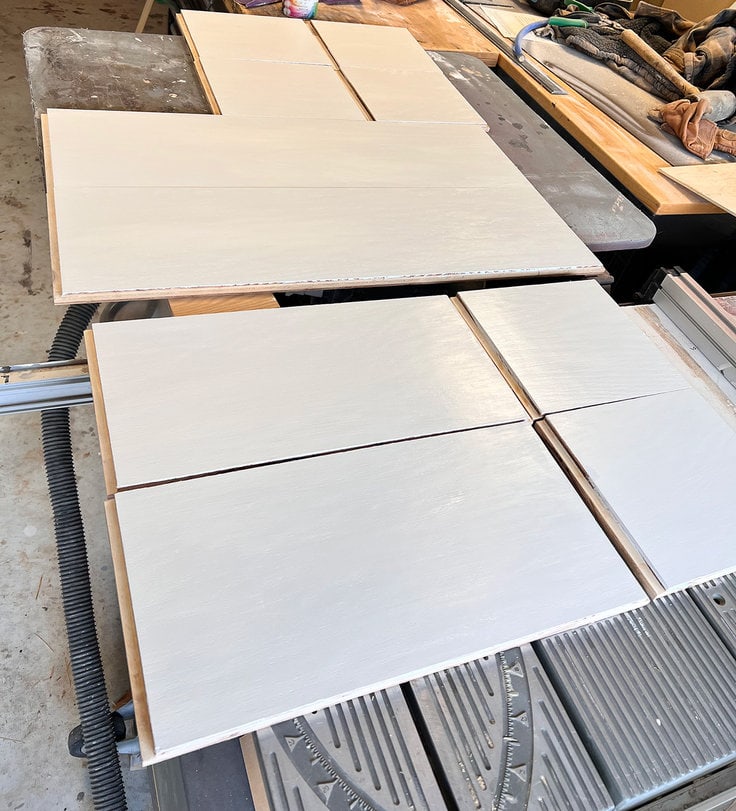
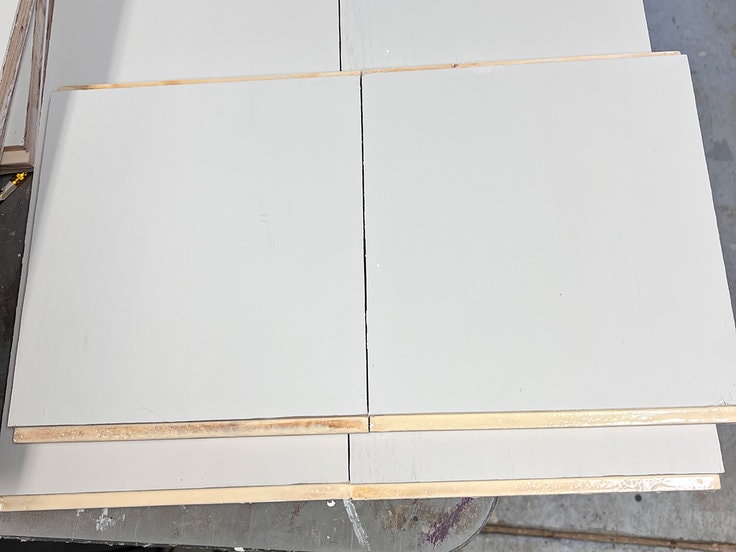
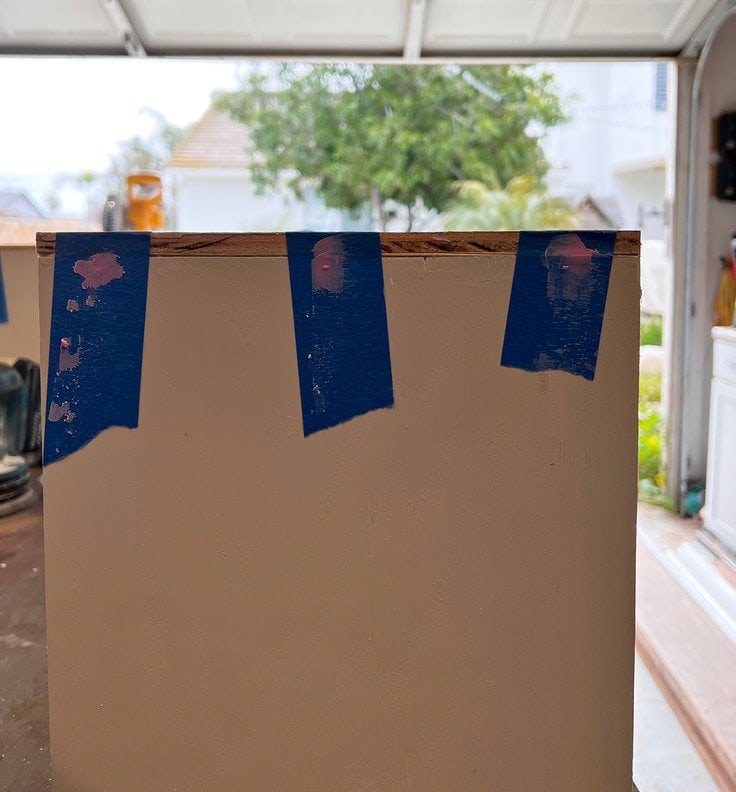
Pre-finish your Shadow Box Shelves prior to assembly
It may feel tedious and boring to paint your boards before assembly. I promise it is a lot easier to paint them now, laying flat, rather than when they are boxes.
The top and bottom boards of the shelf are the ones that have their ends exposed. Remember to finish those ends too. If you get any finish in the lap parts of the joint, remove it quickly by wiping it away. You can sand the joint if you miss any finish that got into it. However, if you need to sand, be careful not to be too aggressive. You don’t want to remove any wood from your joint. You only want to remove the excess finish that would skew your joint.
Joining Your Shadow Box Shelves Together
Applying glue to the shadow box lap joint
Turn all of your boards over so that the inside of your box shelves is facing up. Line them up so that the ends of the boards are side by side. Then spread glue evenly along all of the flat parts of the lap joint. By placing all of your boards together, you save time while gluing.
The top and bottom boards cover the exposed ends of the side lap joints. Wood glue creates a strong shadow box joint that can hold plenty of trinkets and books.
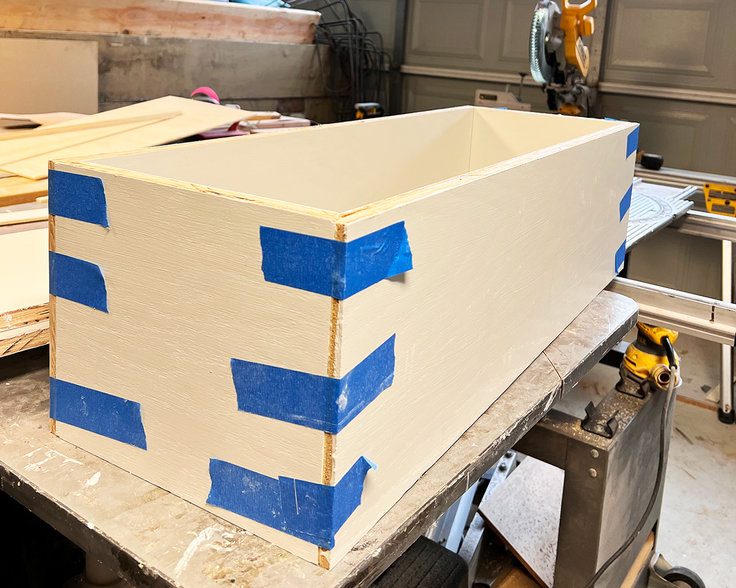
Joining the top and bottom to the sides
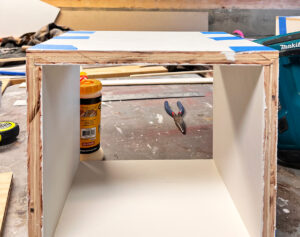
I like to cut a square piece of scrap and use it as a squaring-up tool. First, I place it in each corner as I tape the joint together. Then, I press the two sides I am joining against the scrap, so they don’t have space between them.
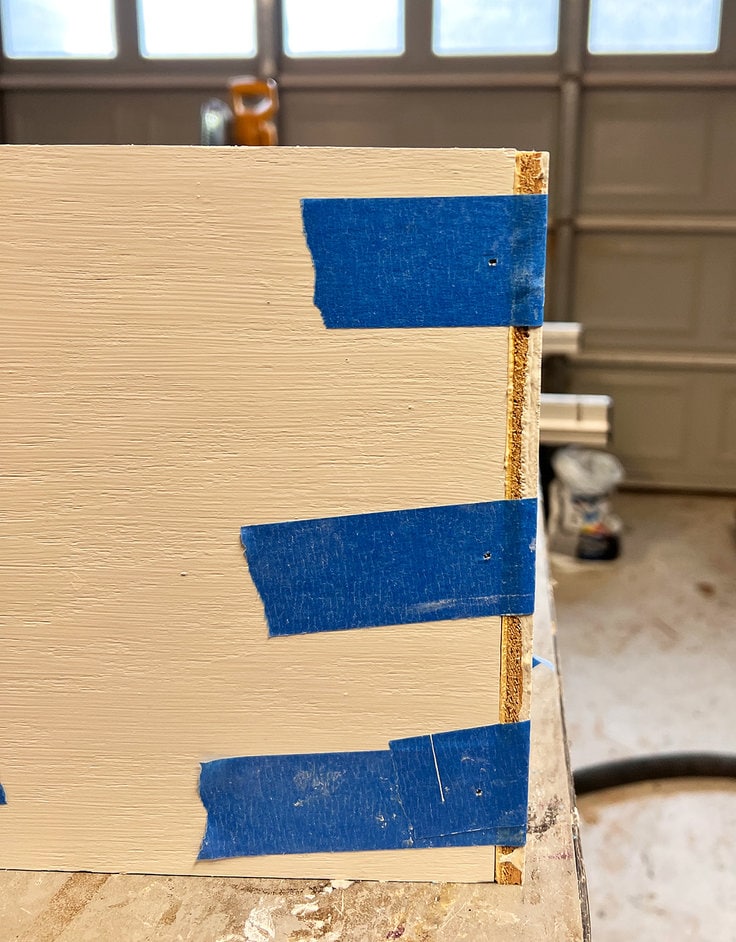
Once all of my corners are taped, I take my nail gun, and nail through the tape. The nails go on the sides of the shadow box. Make sure to nail into the lap of the top and bottom boards. I nail three nails on each end. The nails secure the joint while the wood glue cures. I fill the nail holes with wood filler and let everything dry.
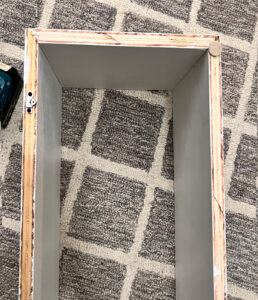
Finishing Your Shadow Boxes
Once your shadow boxes are joined together, peel back the tape and lightly sand the wood filler. Touch up the wood filler areas with paint or stain then hang on the wall using appropriately sized wall hangers.
Hanging the shadow boxes on the wall
I used a new product I have never used before, it’s called PicGenie123.

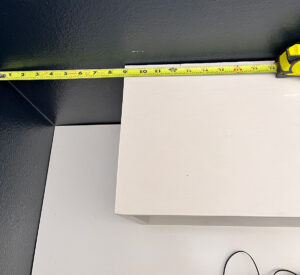
I decided where my shadow boxes would hang, and then I measured where the studs in my wall land. I marked where those studs landed on the backs of my shadow box shelf frames. Then I attached the hardware to the backs of my shelves on those stud mark locations.

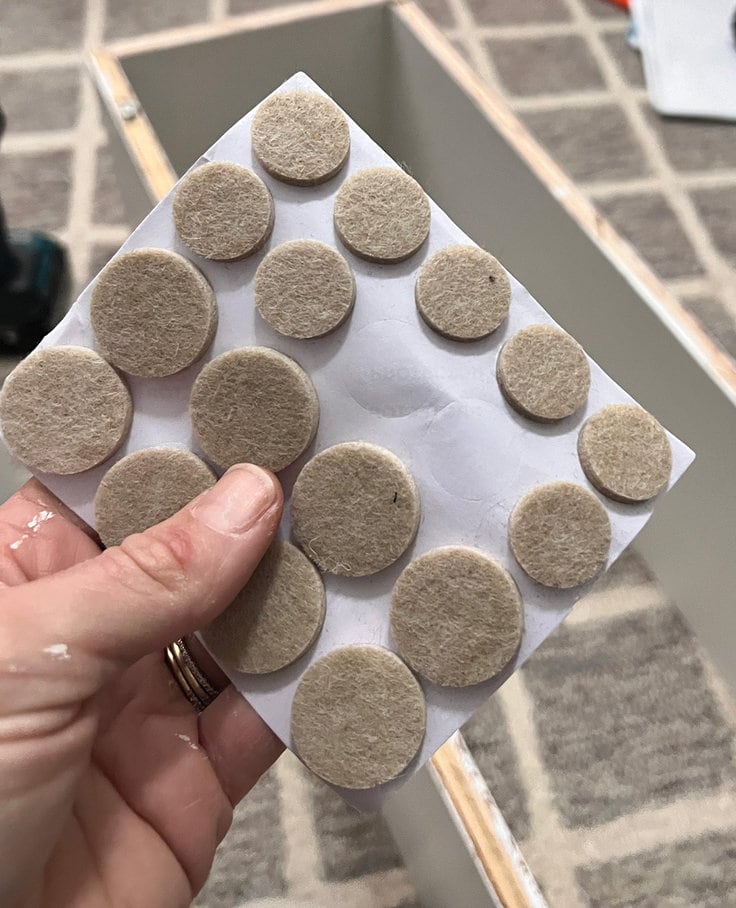
Add Spacers to The shadow boxes
The hangers make the shelves hang 1/8″ away from the wall. I added these felt protectors to the bottom of the frame so the shelf was level front to back.
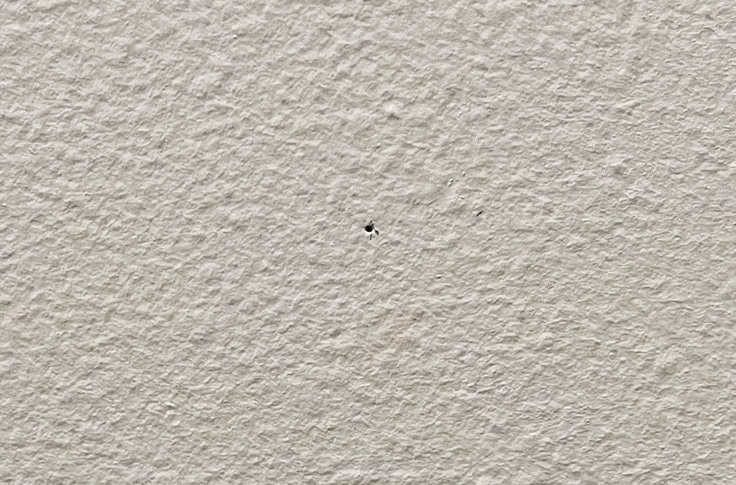
Marking your hanger locations on the wall
Making sure my shadow box was level, I pressed it against the wall where I wanted it to be hung. The PicGenie123 made a mark on the wall right where the mounting hardware needs its fastener to go. I used the nail that came in the kit for attaching the hanger to the studs. For the two smaller shadow box shelves there was only one stud behind each of them. I followed the instructions for hanging with the supplied drywall screws that came in the kit.
I was able to hang all three shadow box shelves, without a single mistake in 10 minutes.
I hung the bottom shelf first to get the spacing right between the bottom and top shadow box shelves. Then, I set the next two box shelves on top of the first box. I placed a piece of 1 1/2″ board between them. Then I pressed them into the wall, marking the spot with the hardware. Then hung them following the package directions.
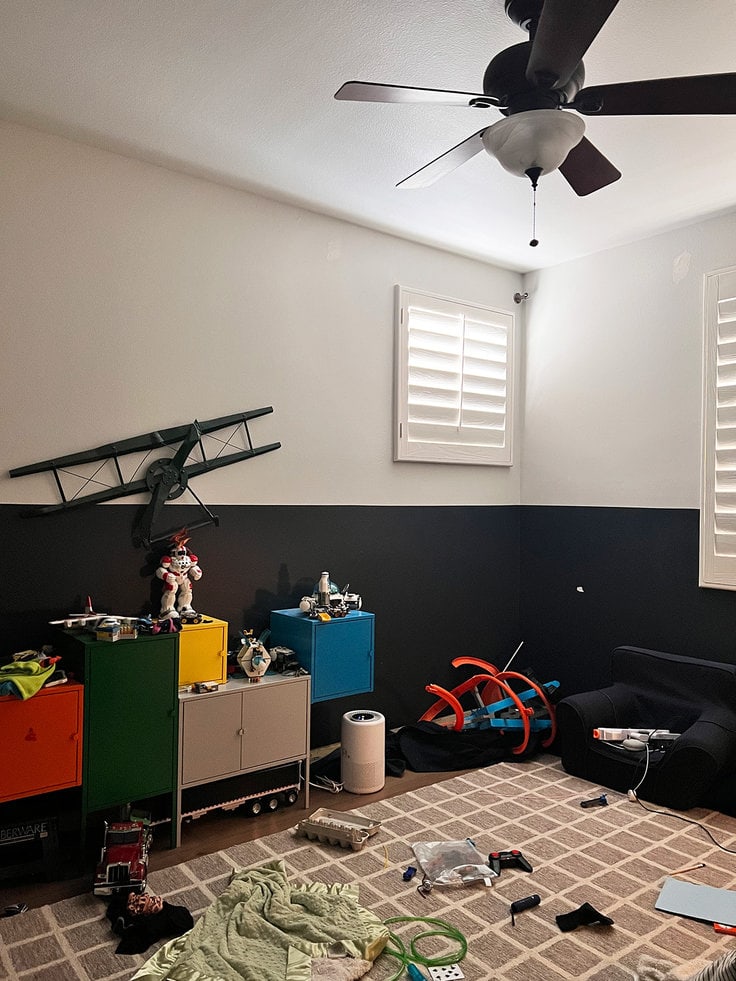
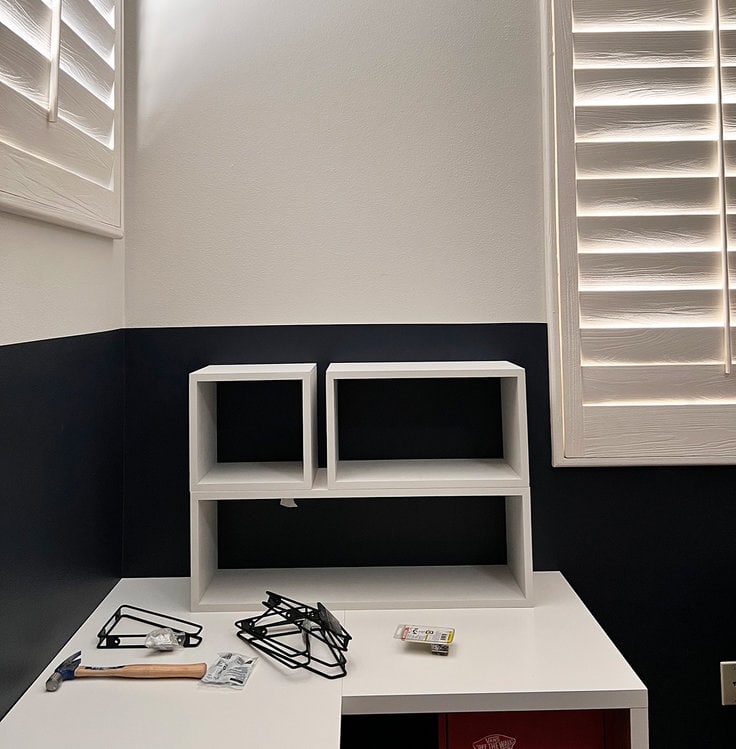
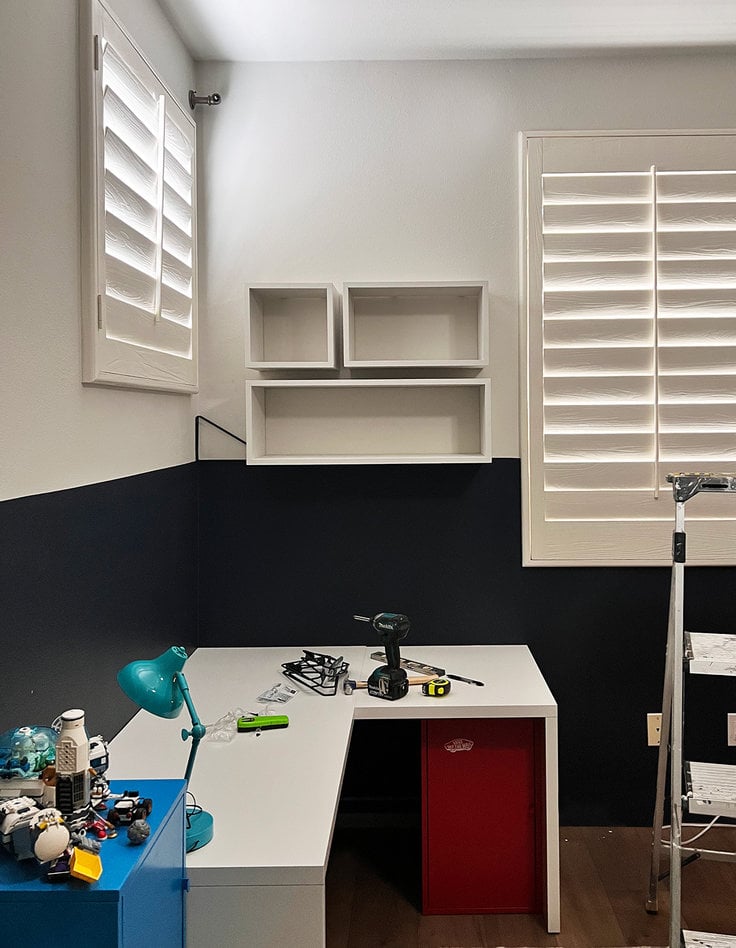
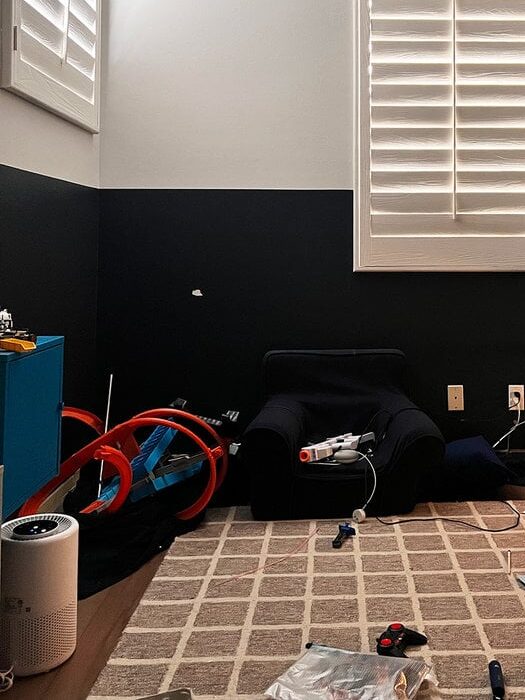
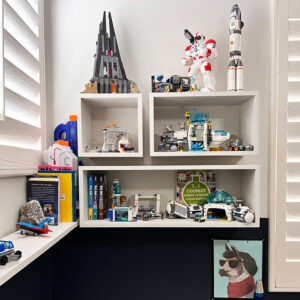
Before Shadow Box Shelves:
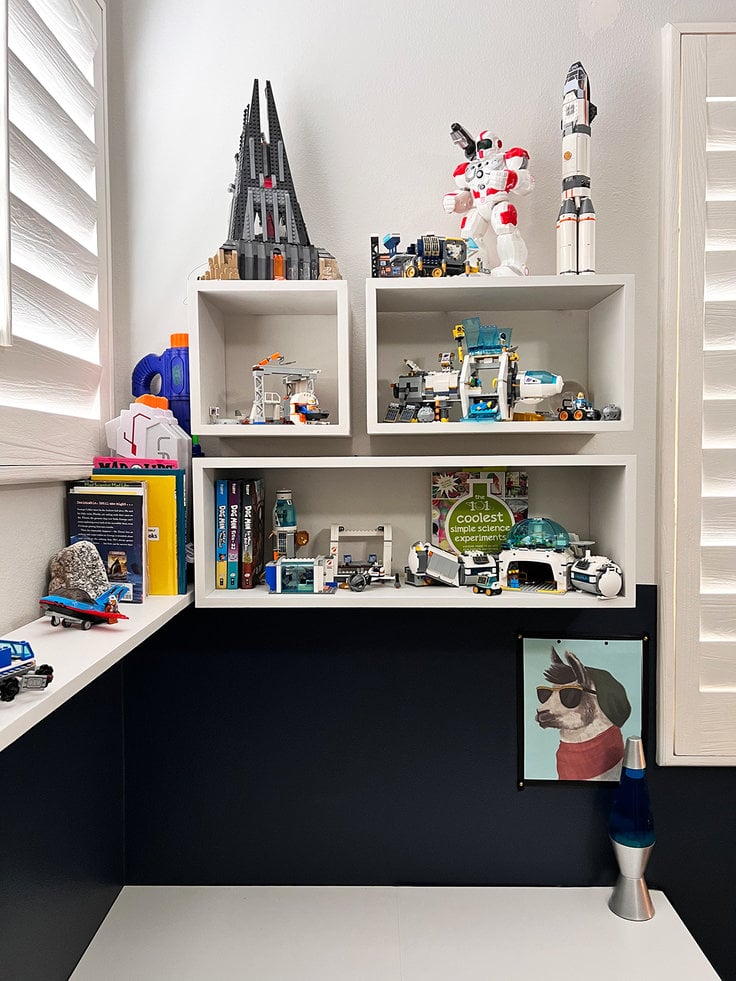
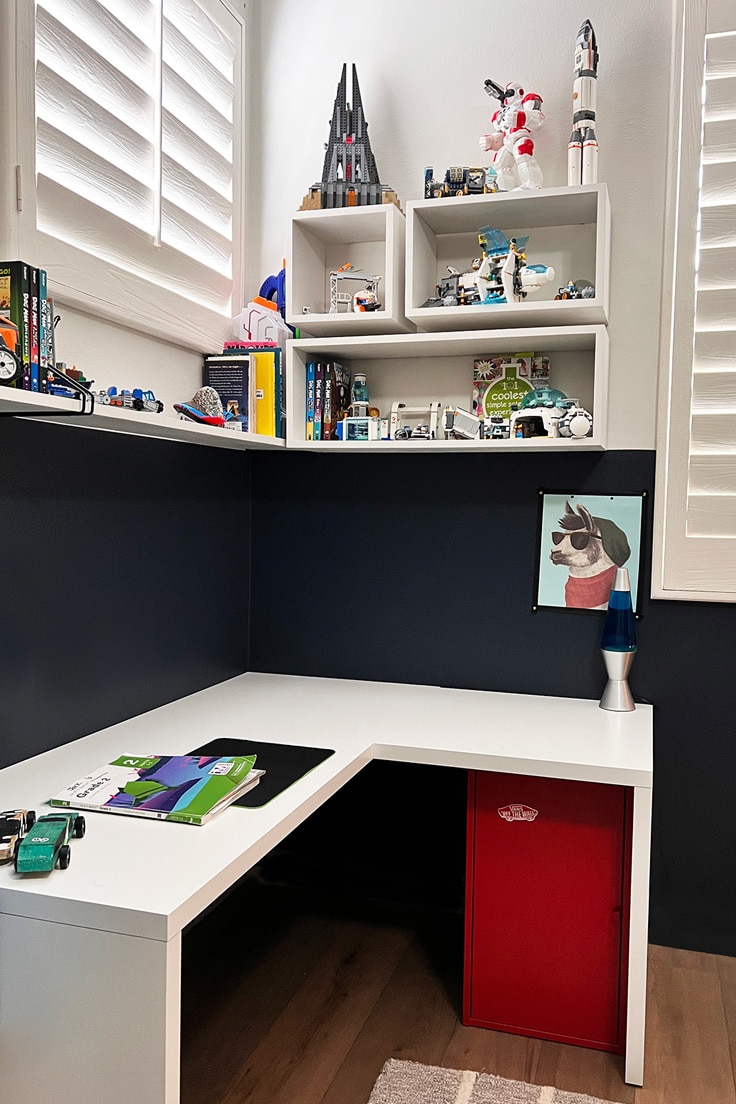
After Shadow Box Shelves:

How to Build Shadow Box Shelves
Equipment
- 1 Miter saw or chop saw
- 1 Table saw optional see tip in post
- 1 Drill/Impact Driver
- 1 Phillips #2 drill bit
- 1 Phillips #1 drill bit
- 1 Spirit level
- 1 Sander
- 1 Finishing supplies
- 1 Stud finder
- 1 Measuring tape
- 1 Pen or pencil to mark stud locations
Supplies
- 1 board Length of wood, plywood or mdf. Long enough for two sides and a top and a bottom; My longest shelf was made from an 8' long board. The depth you'd like your shadow boxes to be, I used 1 x 8 (3/4" x 7 1/2")
- 1 bottle Wood glue
- 1 roll Painters tape
- 1 ream 1 1/4" finish nails
- 1 container wood filler
- 2 discs Sand paper 120 and 220 grit
- 8 ounces Paint or stain to finish your shadow boxes
- 1 package PicGenie123 50 lb+ 2-3 hangers per shelf. Easy to find at Home Depot or Amazon.
- 2 pieces 1/8" spacer tabs. I used felt furniture rounds. Cabinet door dampeners would also work 2 per shelf
Instructions
Determine What Size Shelf You Need
- My 32" long shelf was cut from an 8' long board that was 7 1/2" wide. Your needs may be different, but the process is the same.
- Cut your top and bottom boards the same length. You want them to be the exact length of the shelf you need.

- Cut your left and right side boards. These will be the height you need minus 3/4" – this will take in to account the amount of length added when the boards are joined together.
Create Your Lap Joints
- Set your router up in your router table. Place a 3/8" router bit into your router to cut 3/8" high and 3/8" deep. See tips above for extra help. Run the ends of your shadow box boards face up on the router table. Run them a few passes to make sure you have removed all the material you need to to make a proper joint. Lightly sand off any tear out on the edge of the routed profile.

Pre-finish Your Shadow Box Shelf
- Prime and paint the tops and bottoms of all of your boards. Make sure you also finish the edges on the top and bottom boards of your shadow box. If you are staining, then stain and seal your boards.


Join Your Boards together
- Spread glue along the flat edges of your lap joint.
- Join the boards together so that the top and bottom board edges are exposed but the side edges are hidden by the top and bottom boards.

- Use painter's tape to pull the joints together. I used three pieces of tape per joint.
- Once you have all of your joints pulled together with tape, nail finish nails 3 per side through the tape into the lap joint being careful not to go through into the shadow box.
- Let the glue cure.
Finish Shadow Boxes
- While the glue dries, fill the nail holes with wood filler.
- When the wood filler and glue are dry. Remove the tape and sand the filled holes smooth.

- Touch up paint or stain.

Attach the PicGenie Hangers and felt pads
- Using a stud finder, find the studs in your wall where the shadow box will hang.
- Measure and mark on the back of your shadow box where the stud will fall.

- Place your PicGenie hanger centered on the mark and screw into place using a Phillips #1 drill bit and the screws provided in the kit.

- Place a felt pad on each of the bottom corners of the shadow box shelf.
- Use two or three per shelf. For anything over 30" I would use three shelf hangers. Consider 4 hangers for anything 48-60".
Hang Shadow Boxes on the Wall
- Using a level, place your shadow box on the wall where you would like it to hang. Once it is level, press the box against the wall so that the tabs on the PicGenie push into the wall.
- Remove the shadow box and set aside.
- Using the screws or nails (nails for studs, screws for drywall) install into the pilot holes created by the PicGenie tabs. The wall screws require a Phillips #2 drill bit.
- Remove the tabs from the PicGenie hanger using the silver nail in the kit.
- Hang shelf onto the nails/screws in the wall.

Love the ideas you see here on Ideas for the Home by Kenarry®? Subscribe today to get our FREE DIY & Craft Planning Calendar, plus our weekly Ideas in Your Inbox newsletter filled with creative tips and exclusive offers!
What’s Next?
If you enjoyed this shadow box shelf tutorial then you’ll enjoy these home DIY tutorials I have on our blog too.
How I added a panel to a Standard Dishwasher
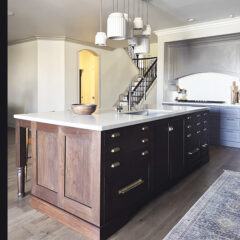
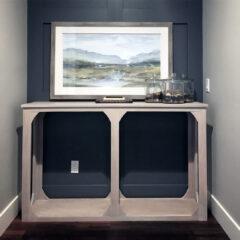
Free Plans to build this beautiful oak console table!
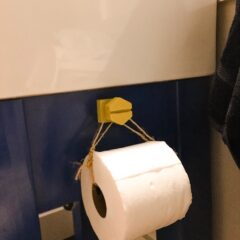
Easy, Cute and Cheap Kid’s Bathroom Toilet Roll Paper Holder
You may also enjoy these spring update ideas on Ideas for the Home by Kenarry® –