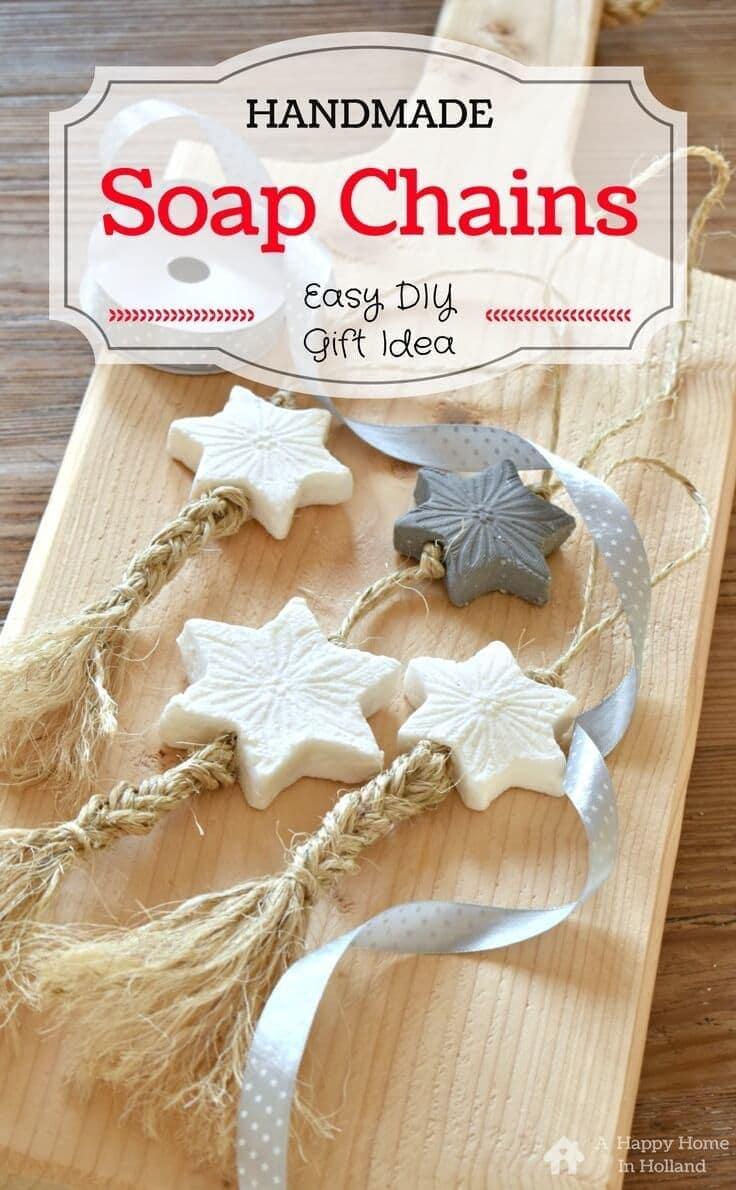
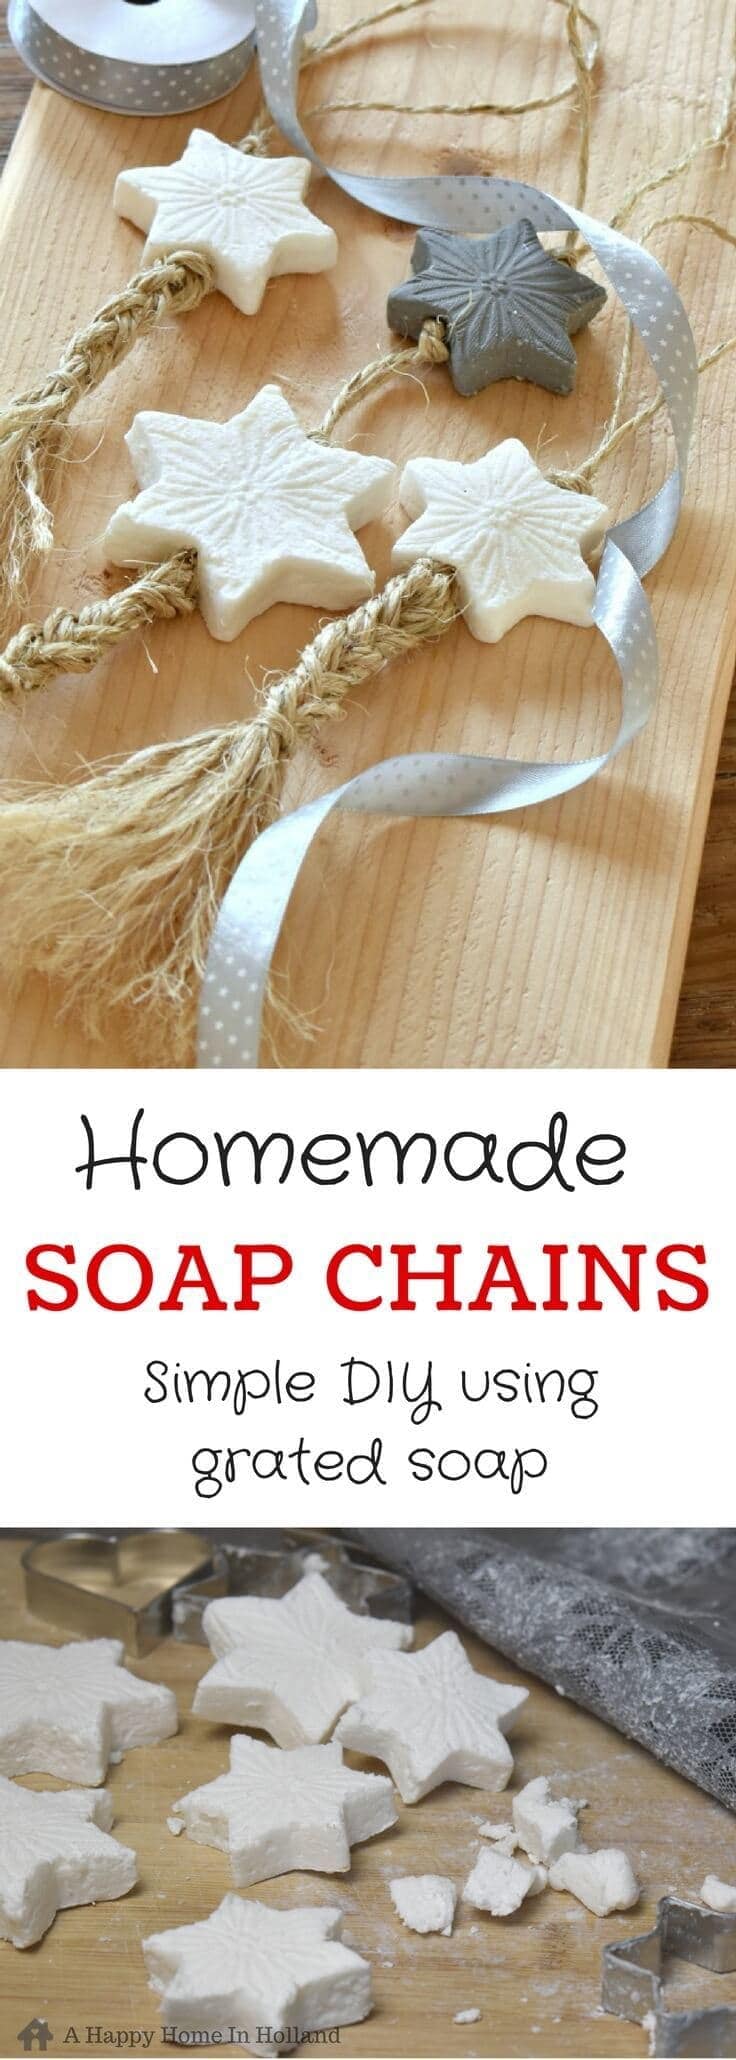
Handmade Soap Chains: Easy DIY Gift Idea
THIS POST MAY CONTAIN AFFILIATE LINKS. PLEASE SEE OUR FULL DISCLOSURE POLICY FOR DETAILS.
These Handmade Soap Chains make great gifts for the holiday season and what’s more, they are super easy (and cheap) to make!
You don’t need any expensive ingredients or fancy equipment to make these (like you normally do with handmade soap), just ordinary bars of soap and things you probably already have lying around the house.
Hello Kenarry readers, it’s me Sam from the A Happy Home In Holland blog back with my second post here on Kenarry.
Since I shared a very traditional Dutch Recipe last month I thought I would continue along the Dutch theme and share a tutorial on something that is very popular here in the Netherlands.
Zeep Kettingen! (Handmade Soap Chains)
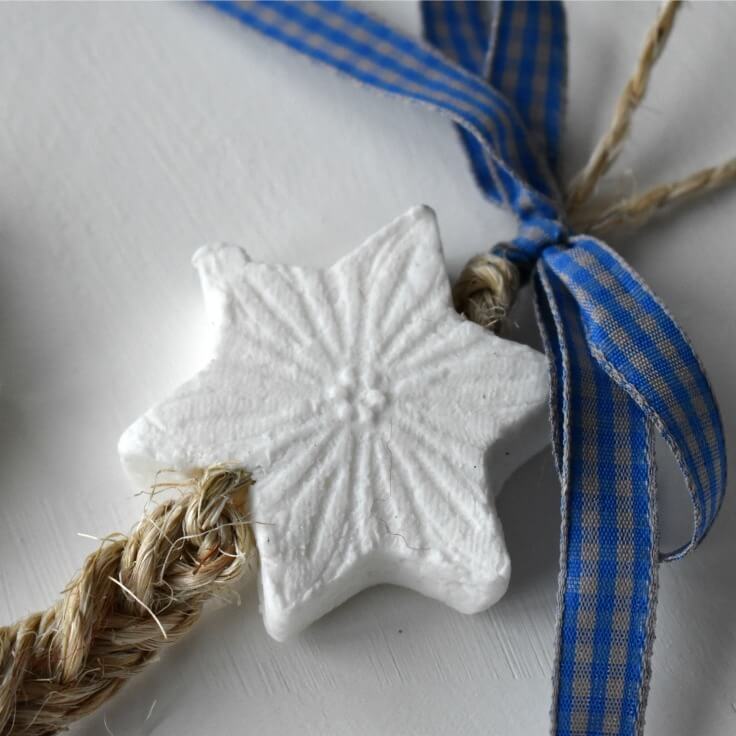
Every other home seems to have them. The Dutch people often have them displayed in their downstairs wc / bathrooms.
And not only do they look cute but they smell good too!
Disclosure: This blog post contains affiliate links for products or services we think you’ll like. This means if you make a purchase from one of these links, Ideas for the Home by Kenarry® will make a small commission at no additional cost to you so we can keep the great ideas for the home coming your way. All opinions expressed are derived from personal experience.
What You Need:
Materials
- 2 bars of fairly soft soap (I used Dove)
- Liquid hand soap (the creamy sort)
- Water
- Twine, string, cord or ribbon
- Beads and embellishments with opening wide enough to put you string/ribbon through (optional)
- Stone look air drying clay (optional)
Equipment
- Cheese Grater
- Freezer Bag (not too thin)
- Cookie Cutter Shapes
- PVC Embossed Dinner Mat (or anything else with a raised pattern you can use to make an imprint)
- Bamboo Skewer
- Plastic Straw
- Scissors
Instructions
There are two sets of instructions, making the soaps and then creating the chains.
Make the Handmade Soap Shapes
1. Grate the bars of soap. First, finely grate your bars of soap. Initially, for my first batch, I used a cheese grater to do this – but me being me (a bit lazy 😉 ) thought I’d take the easy route and threw it in an old food processor, it made a bit of a racket (well a lot actually) but did the job.
Warning About Using a Food Processor to Chop Up Soaps
*Warning* depending on how hard your soap is there is a risk of damaging the blades of the machine so I wouldn’t do this if you have a smart new machine – if you do want to try this then at least make sure you only use a fairly soft soap and cut it into smaller pieces first.
2. Put it in a freezer bag. Next, put grated soap into freezer bag.
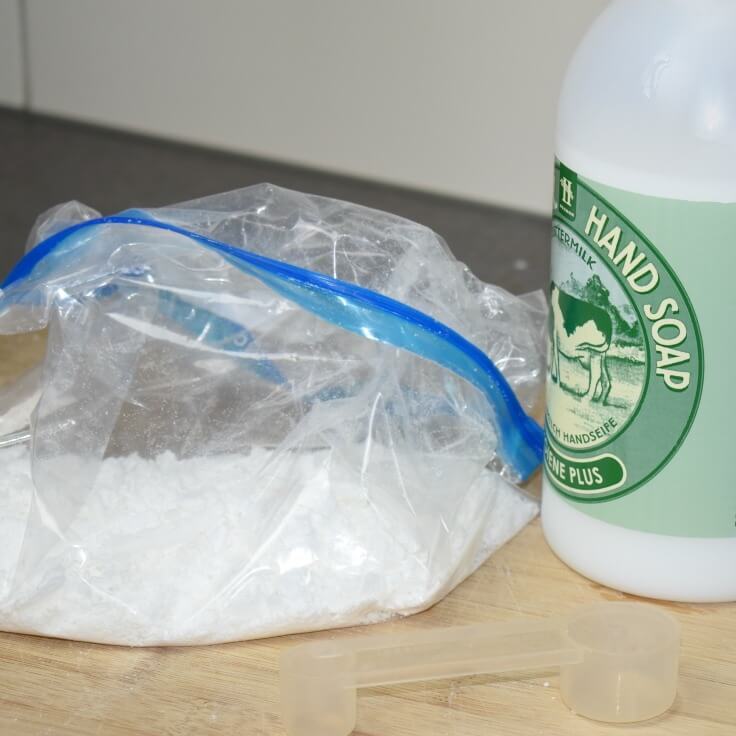
3. Mix soap and water in the bag. Add 1 tablespoon of the liquid soap and approx 3 tablespoons of water (I would add this a little at a time as you do not want the mixture to get too wet – every soap brand will react differently).
Seal the bag and knead with your hands until it becomes smooth and begins to stick together.
4. Flatten the soap mixture. Take a large chunk of the mixture out of the bag, knead it to soften it a bit more, and then shape into a ball and flatten to about 1 inch with your hand.
5. Roll out the soap mixture. Using your mat (or whatever you have) and a small rolling pin roll the imprint into the soap – make sure you don’t roll your clay out too thinly – aim for approximately 3/4 of an inch thickness (it needs to be thick enough that you can make a hole the size of a straw without destroying the shape).
6. Cut out the shapes. Now use a cookie-cutter shape and cut out a shape
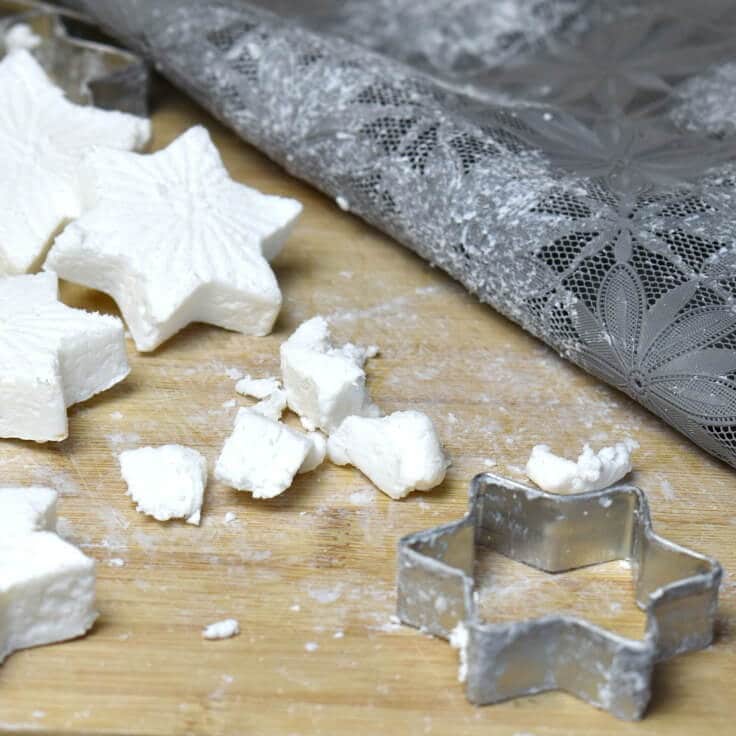
Re-roll and repeat until you have enough shapes and have used all your soap.
7. Poke a hole in the top of the soaps. Take a skewer and carefully make a hole down the centre of the soap and then push it through a few more times to widen the hole.
Now take a plastic straw and carefully push through the hole to create a larger and cleaner hole that will be big enough to put your string through (if your soap crumbles you either need to knead it a little bit more or make your shape slightly thicker).
If you want to use the air-drying clay shapes together with the soap I did this using the exact same process as with the soap (knead, form a ball, flatten, imprint your pattern, cut shape out and make a hole through the center).
Allow the soap/clay shapes to dry a day or two.
Assemble the soap chain
Now you can assemble your soap chains – this is where you can go crazy and thread any combination of shapes, beads, and embellishments on to your chain.
Initially, I had another design in my head using large natural wood beads and either a thin red gingham or burlap ribbon but was not able to find these items locally. I didn’t want to wait so I decided to create something using the stone look air drying clay and some twine which I already had at home.
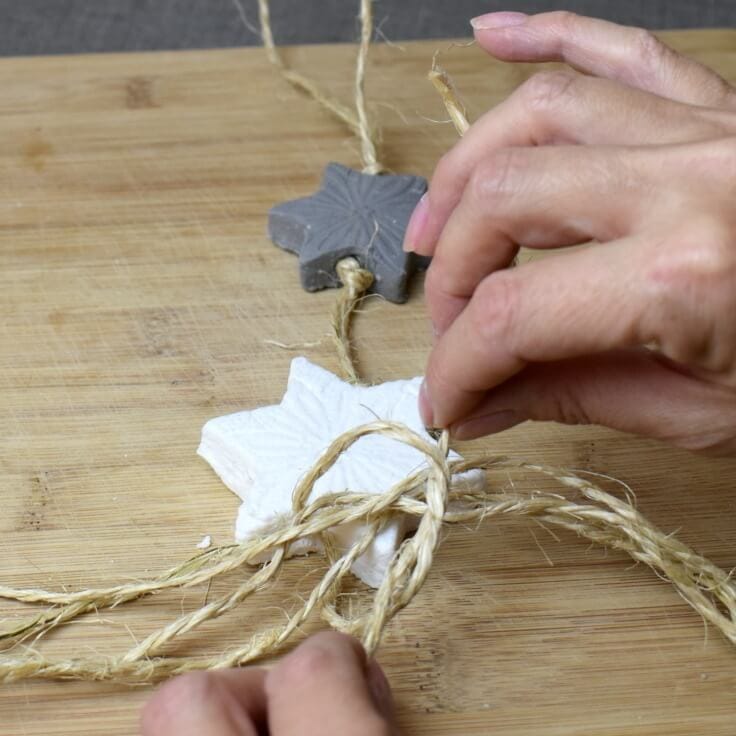
1. Make your hanging loop. Take approx 1 yard of your twine, fold in two and knot about 4 inches down from the top to create your hanging loop.
Thread the two ends of the twine through the soap and pull the soap up to the knot.
If you want to add more shapes or embellishments knot under the soap and repeat.
2. Make the tassels. To make the tassels cut 4 x 15 inch lengths off of the twine and lay underneath the soap and tie with the two pieces of twine.
3. Make a thinner piece of twine. Cut another 8-inch length of twine and unravel and split the strands so that you have a thinner piece of twine.
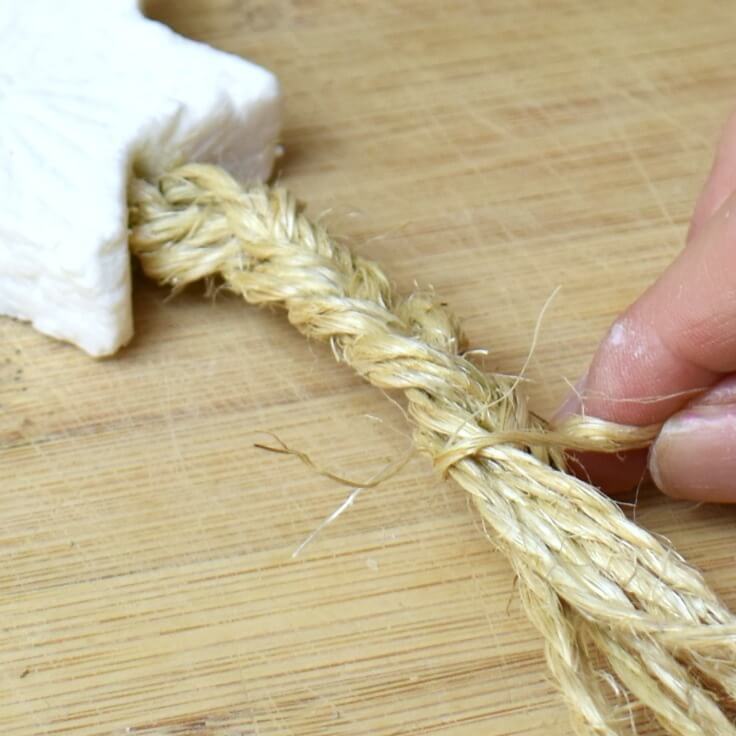
4. Braid the twine. Now you should have 10 pieces of twine hanging down which you need to split into 3 sections (3/4/3), plait or braid these as neat as you can.
When your plait or braid is long enough, use the thinner piece of twine to secure (I knotted mine securely at the front then repeated again at the back).
5. Create the tassel. Now unravel the ten lengths of twine to create a tassel on the end, then trim to neaten.
As you can see these are pretty easy and once you have made your handmade soap shapes you can let your creative side go wild and come up with all sorts of combinations and fab designs.
I love the simplicity of these handmade soaps and think that they make fabulous gifts. Perfect for the Holidays!
You can find more of my creative ideas and recipes over on the A Happy Home In Holland blog
I’d really love to see you over there!


Stencilled Pom Pom Cushion Tutorial
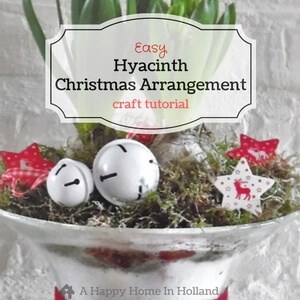
Hyacinth Christmas Arrangement
Love the ideas you see here on Ideas for the Home by Kenarry®? Subscribe today to get our FREE DIY & Craft Planning Calendar, plus our weekly Ideas in Your Inbox newsletter filled with creative tips and exclusive offers!
What’s Next?
Need more DIY gift ideas? Check out these fun projects on Ideas for the Home by Kenarry® – T