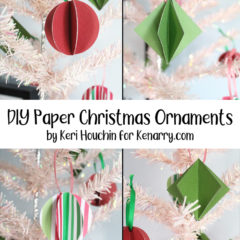
How to Make Paper Ornaments for Christmas
THIS POST MAY CONTAIN AFFILIATE LINKS. PLEASE SEE OUR FULL DISCLOSURE POLICY FOR DETAILS.
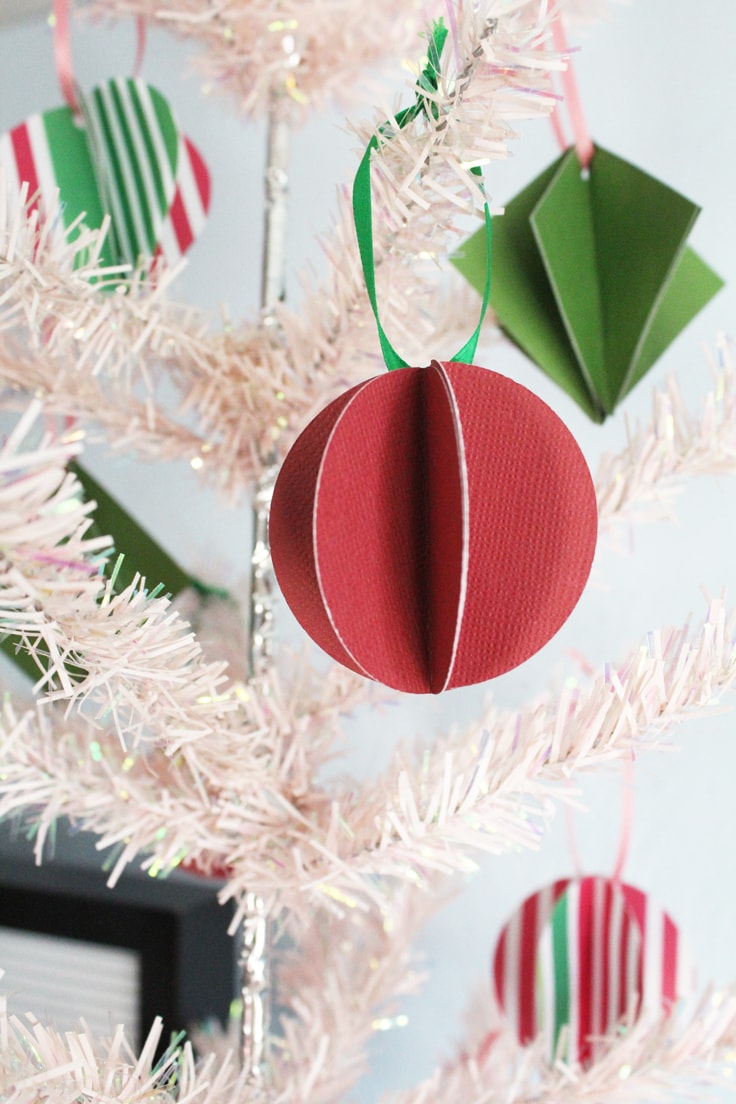
Decorate your Christmas tree with a collection of pretty paper ornaments using scrapbook paper in your favorite colors and patterns.
Hello! I’m Keri from One Mama’s Daily Drama and this month I’m celebrating the craftiest time of the year! I love decorating for Christmas, especially if I can spend time making crafts like these paper ornaments with my family.
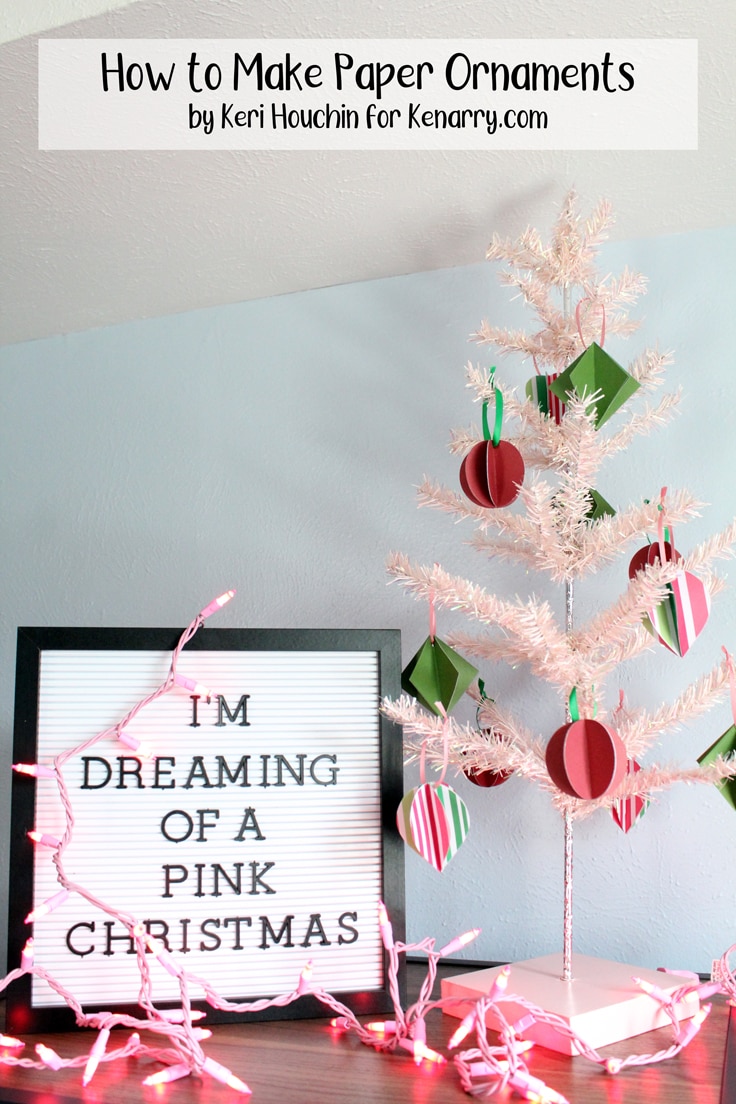
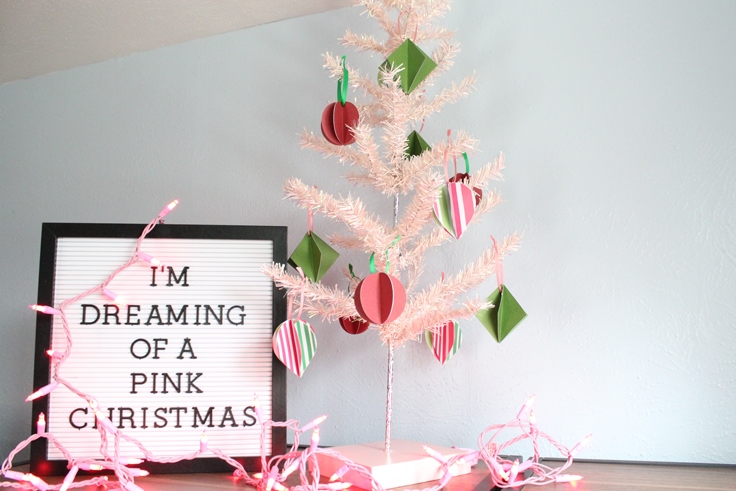
I love this little pink tree and it has kind of inspired my Christmas crafting this year. If you’re not a fan of bright colors or you just prefer something more traditional, you can make these ornaments in any colors that you like.
If you want to make these with your kids, you can either draw the shapes and let them cut everything out or just precut the circles, squares, etc. and let the kids assemble.
How to Make paper ornaments
Each ornament starts out as a simple shape, which means you can try just about anything. Trace objects from around the house or try freehand drawing retro ornament shapes.
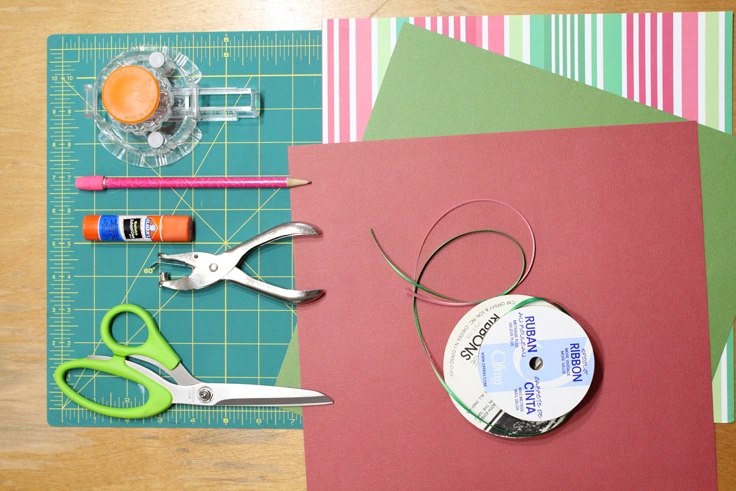
What you need:
Want more ideas like this? Subscribe today to get our weekly Ideas in Your Inbox newsletter plus other exclusive gifts and offers — all for FREE!
Craft Tools Needed:
Supplies Needed:
- 12×12-inch scrapbook paper in festive Christmas colors
- 1/4-inch green ribbon and/or 1/8-inch pink ribbon
- Glue stick
Instructions:
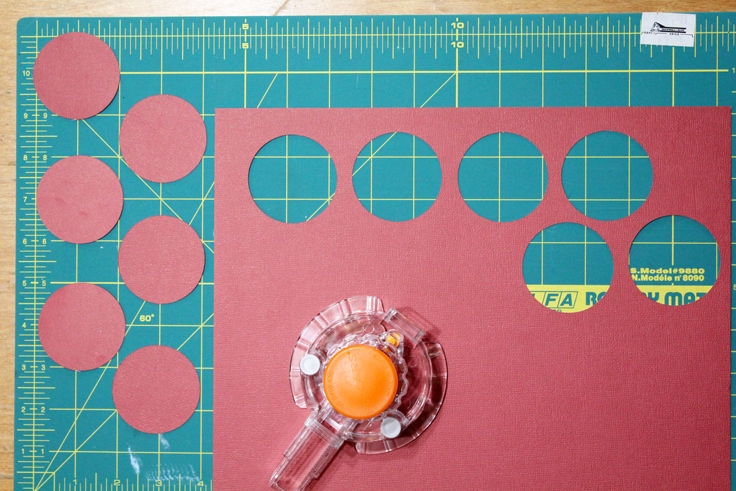
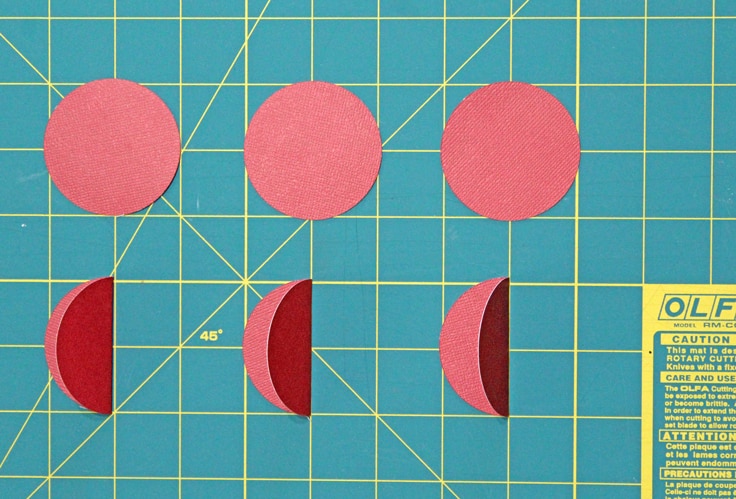
1. Make the circle paper ornaments.
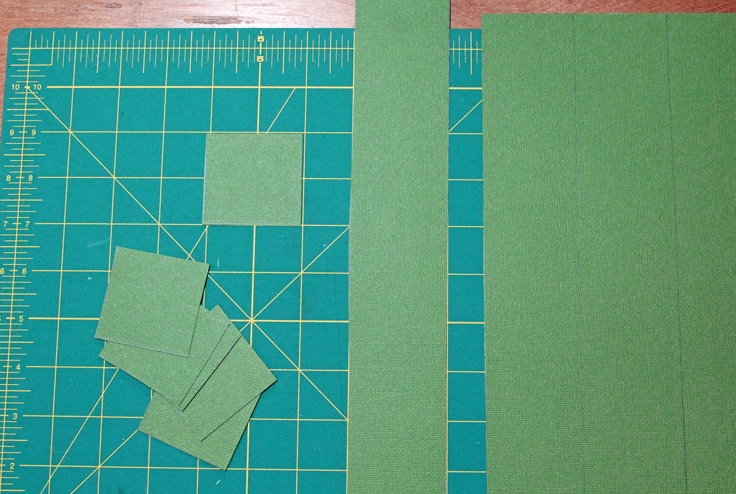
Use a circle cutter to make several 2-inch circles from the scrapbook paper. Each ornament needs 6 circles and I was able to get 24 circles from a single page.
If you don’t have a circle cutter, you can trace an object from around your house with a pencil and cut out with scissors.
2. Fold the circles.
Next, fold each circle in half and put them in groups of 6. If your paper has a “right” side, make sure it is on the inside of the fold.
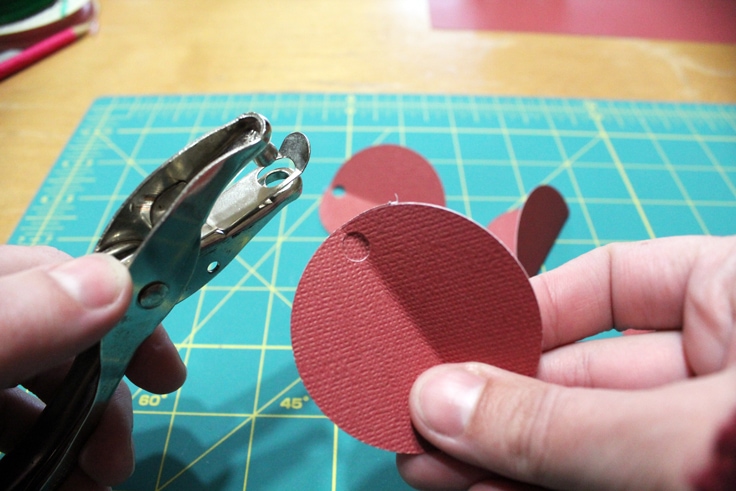
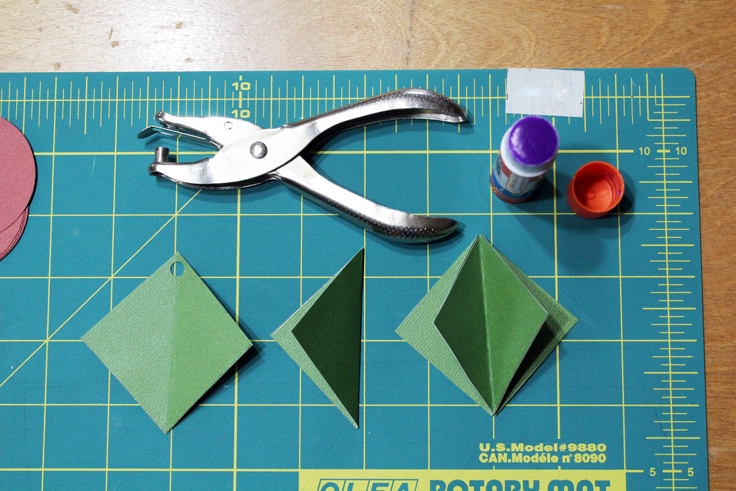
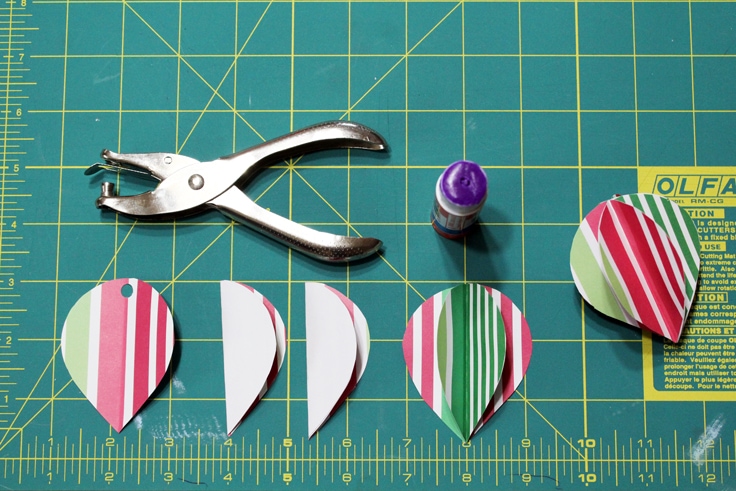
3. Punch holes for the ribbon.
For each group of 6 circles, take 2 and punch a hole near the top. This is where you’ll thread the ribbon through to hang later.
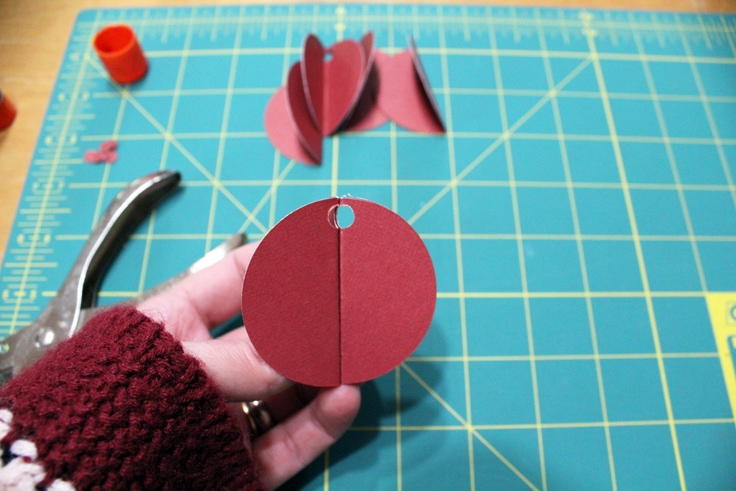
4. Glue the folded circles.
Take each folded circle and coat one side with glue, then attach another folded circle. Glue all 6 together, lining up the edges. As you assemble, make sure the circles with the holes are across from each other.
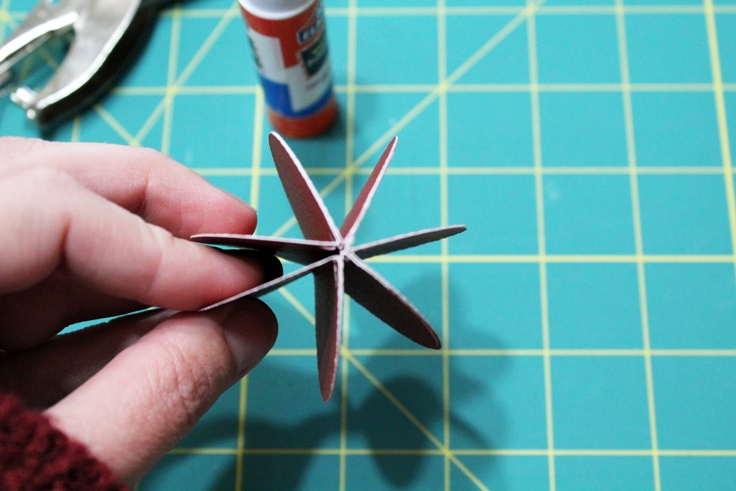
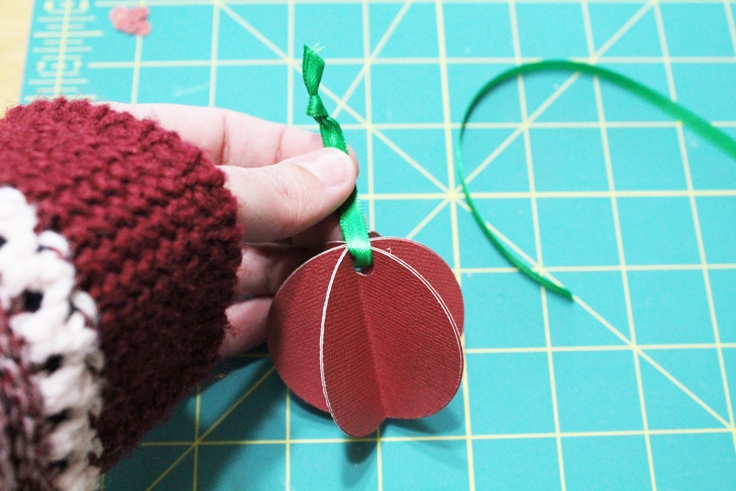
5. Add the ribbon.
Cut a piece of ribbon about 7 inches long. Then thread it through the holes in the paper ornament and tie the ends together at the top.
Set each ornament aside to dry while you work on the next one.
paper ornaments with other shapes:
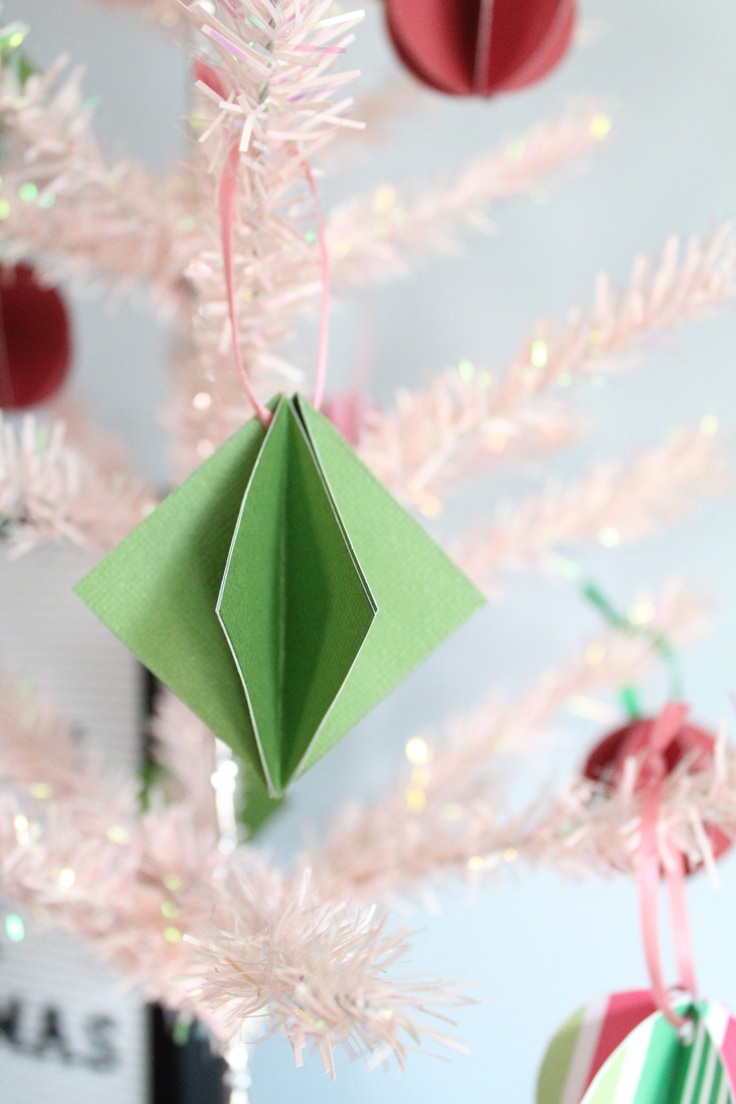
Square/diamond paper ornaments
To make square/diamond paper ornaments, use a ruler and pencil to mark 2×2-inch squares. Cut them out and punch the hole in a corner.
Assemble them the same way you did the circles – fold and glue. Thread a 7-inch ribbon through the hole to hang.
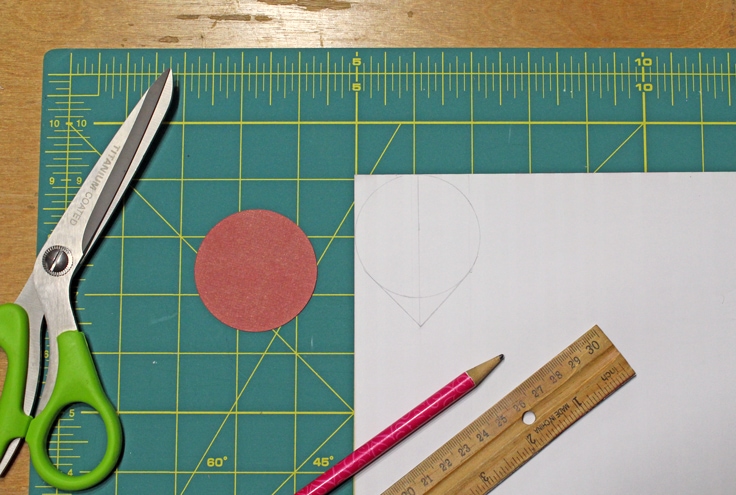
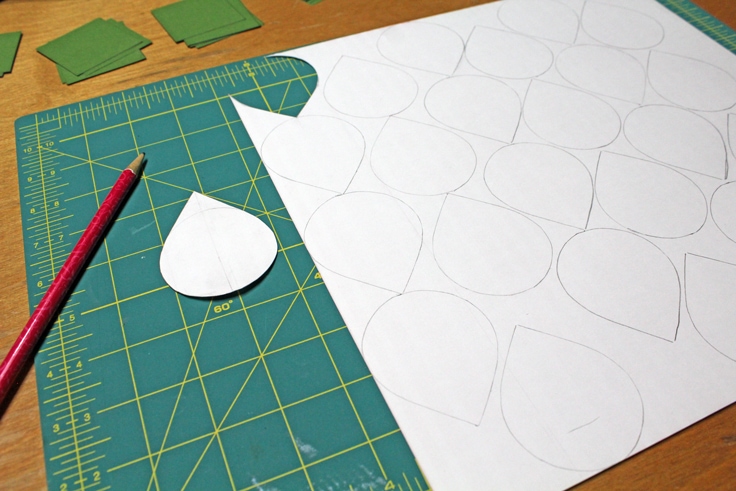
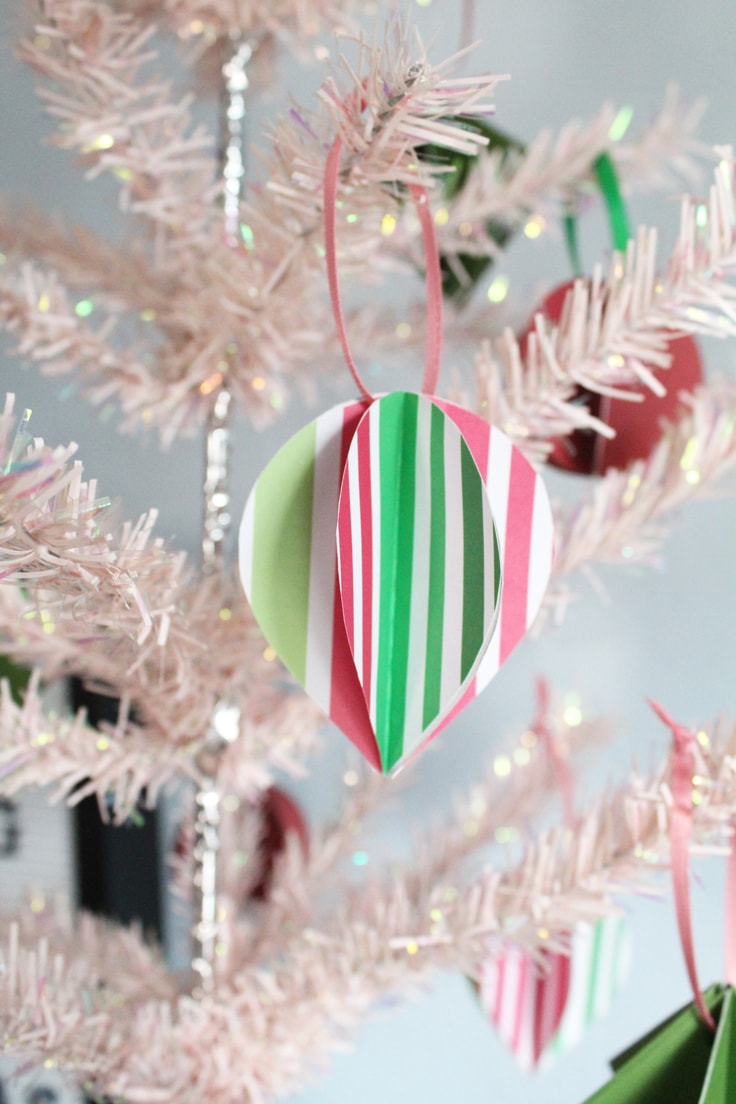
Teardrop paper ornament
To make the teardrop ornament, I traced a circle and then used the ruler to add a point to the bottom that meets 1/2-inch below the circle. After cutting out one, I traced it to make the others.
It worked really well on this particular scrapbook paper because it was white on the back.
Again, fold, punch a hole in 2, and glue 6 together. I punched a hole in the large end to hang pointing down, but you could also do the other end up.
Trim the tree with paper ornaments

What’s Next?
If you enjoyed making paper ornaments then you’ll enjoy these other handmade ornament tutorials too.
25 Creative Ideas for FIlling Clear Plastic Ornaments
20 Handmade Christmas Ornaments
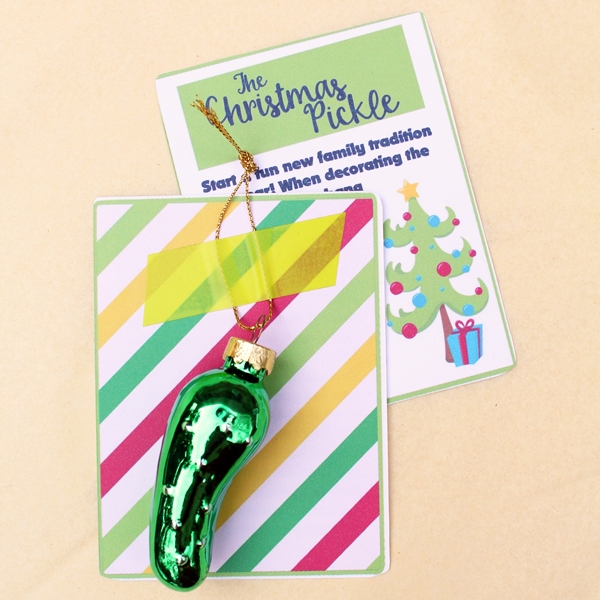
Christmas Pickle Ornament with Printable Card
You may also enjoy these Christmas ideas on Ideas for the Home by Kenarry® –