Create Art with Sand Painting
THIS POST MAY CONTAIN AFFILIATE LINKS. PLEASE SEE OUR FULL DISCLOSURE POLICY FOR DETAILS.
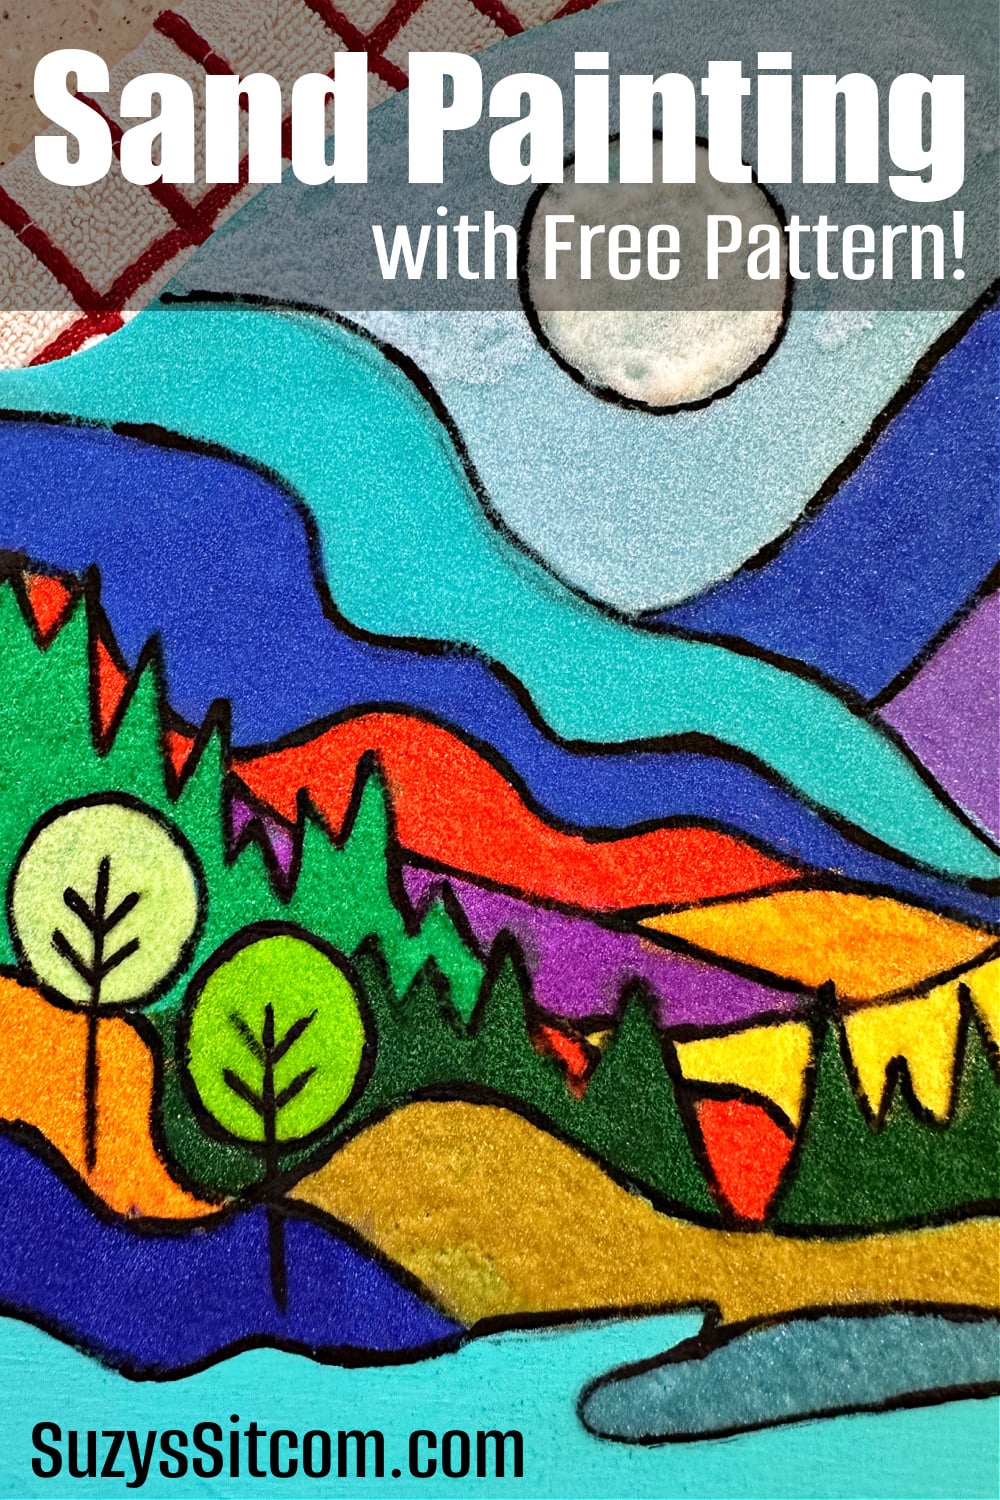
Create beautiful art with sand painting. Use colored sand to create a mountain landscape. This simple project even includes a free pattern!
Lately I have been inspired by Navajo Sand Painting and decided to create a beautiful landscape sand painting that emulates the amazing techniques practiced by the Navajo. This project is a lot of fun to make using brightly colored sand.
What is Navajo Sand Painting?
Usually created in connection with healing ceremonies, sand paintings are symbolic pictures created by trickling small amounts of sand or other dry materials. The sand is colored with natural materials and the paintings are symbolic representations of stories in Navajo mythology
We are currently in Arizona and recently visited the Navajo Nation where I was inspired by their beautiful sand paintings. I decided to create landscape art that is loosely based on their technique. For this project I used colored sand and glue and created my own sand painting. And I am including the free pattern if you would like to try it too!
What you need:
Want more ideas like this? Subscribe today to get our weekly Ideas in Your Inbox newsletter plus other exclusive gifts and offers — all for FREE!

Supplies Needed:
These are the ingredients you’ll need. All the exact amounts are in the printable card at the bottom of this post.
- Colored Sand
- Tacky Glue
- Free Landscape Pattern
- 9″ x 12″ Unfinished Wood Plaque
- Acrylic Paint
- Carbon Transfer Paper
Sand Painting Tips:
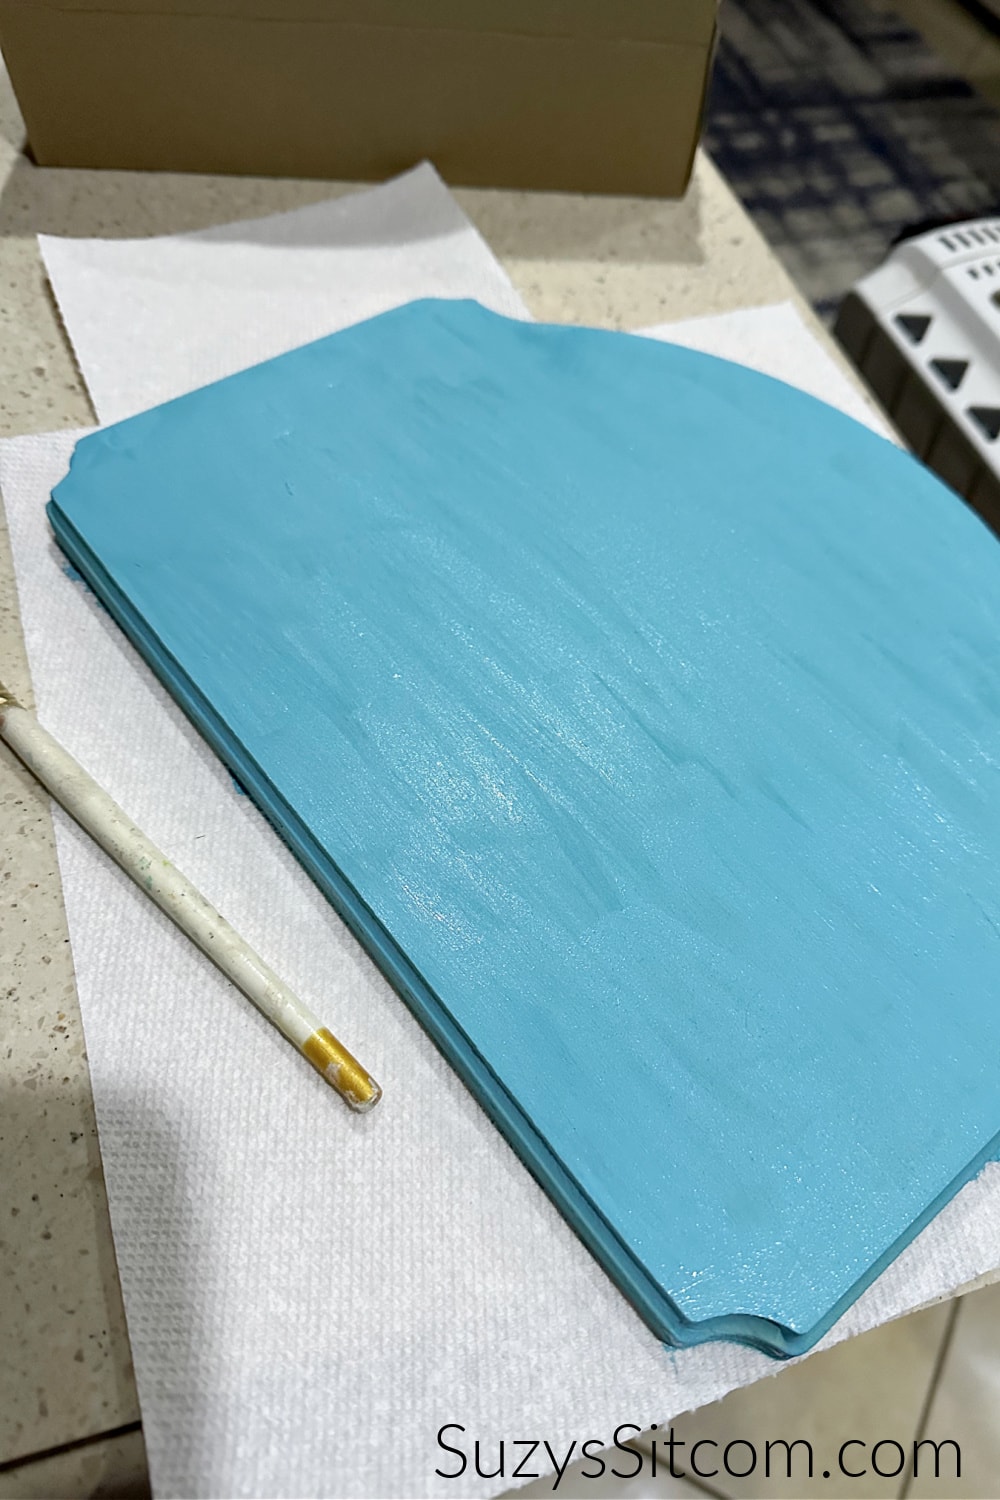
Paint a Base Color on the wood
Using a nice blue, paint the top and sides of the wooden plaque. Allow the paint to fully dry before going to the next step.
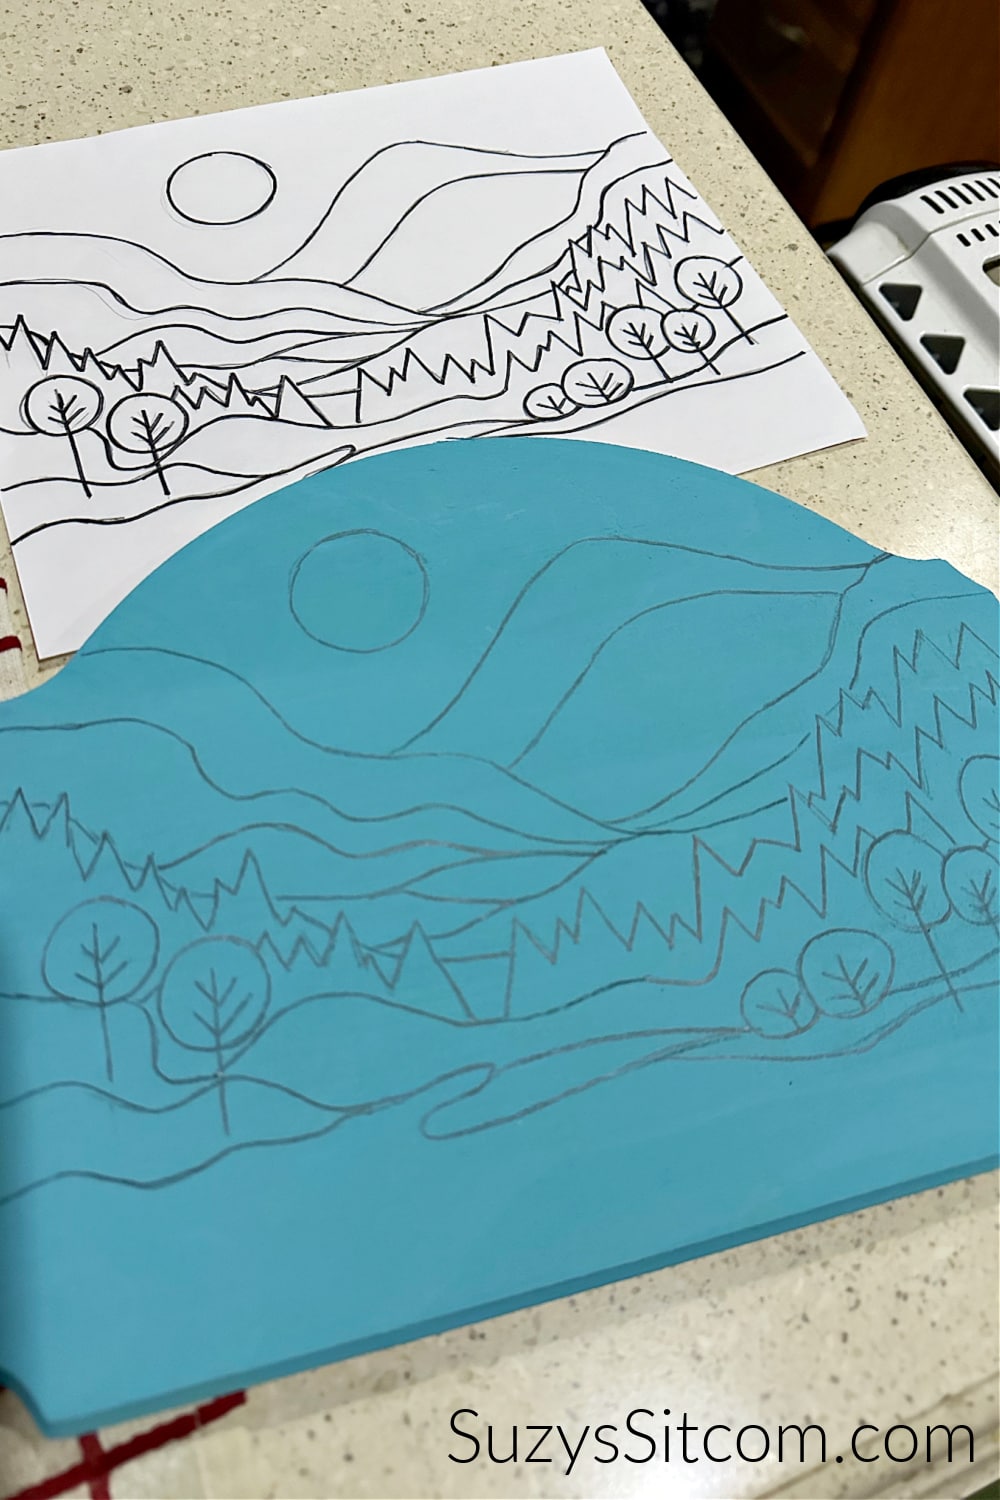
Trace the pattern
Use carbon transfer paper to trace the landscape pattern onto the painted wood.
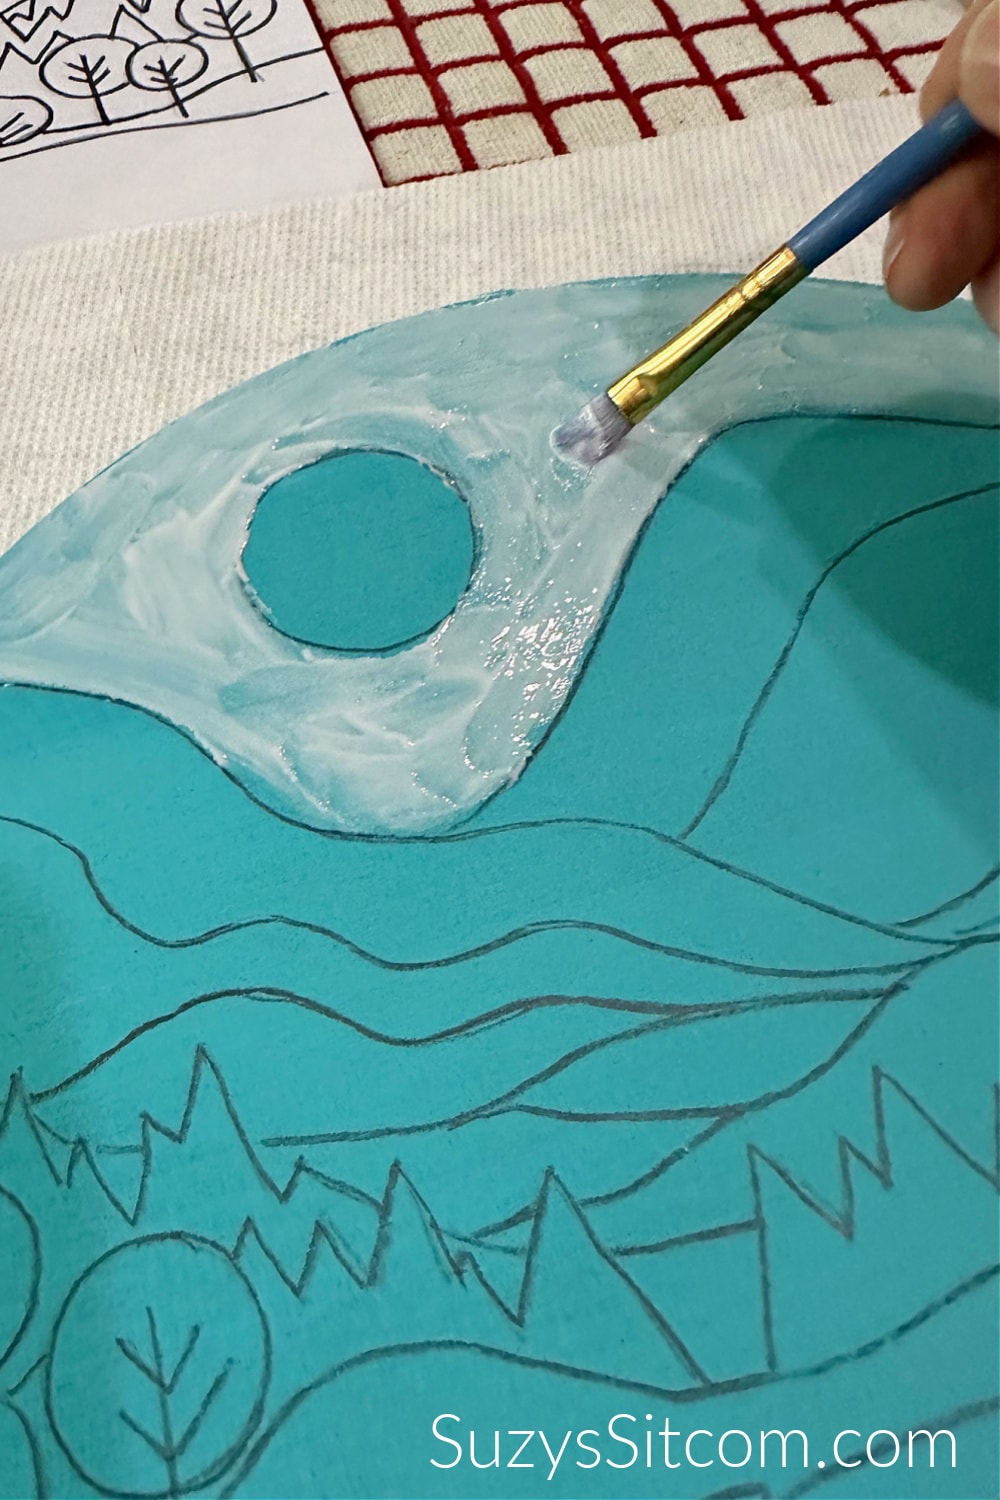
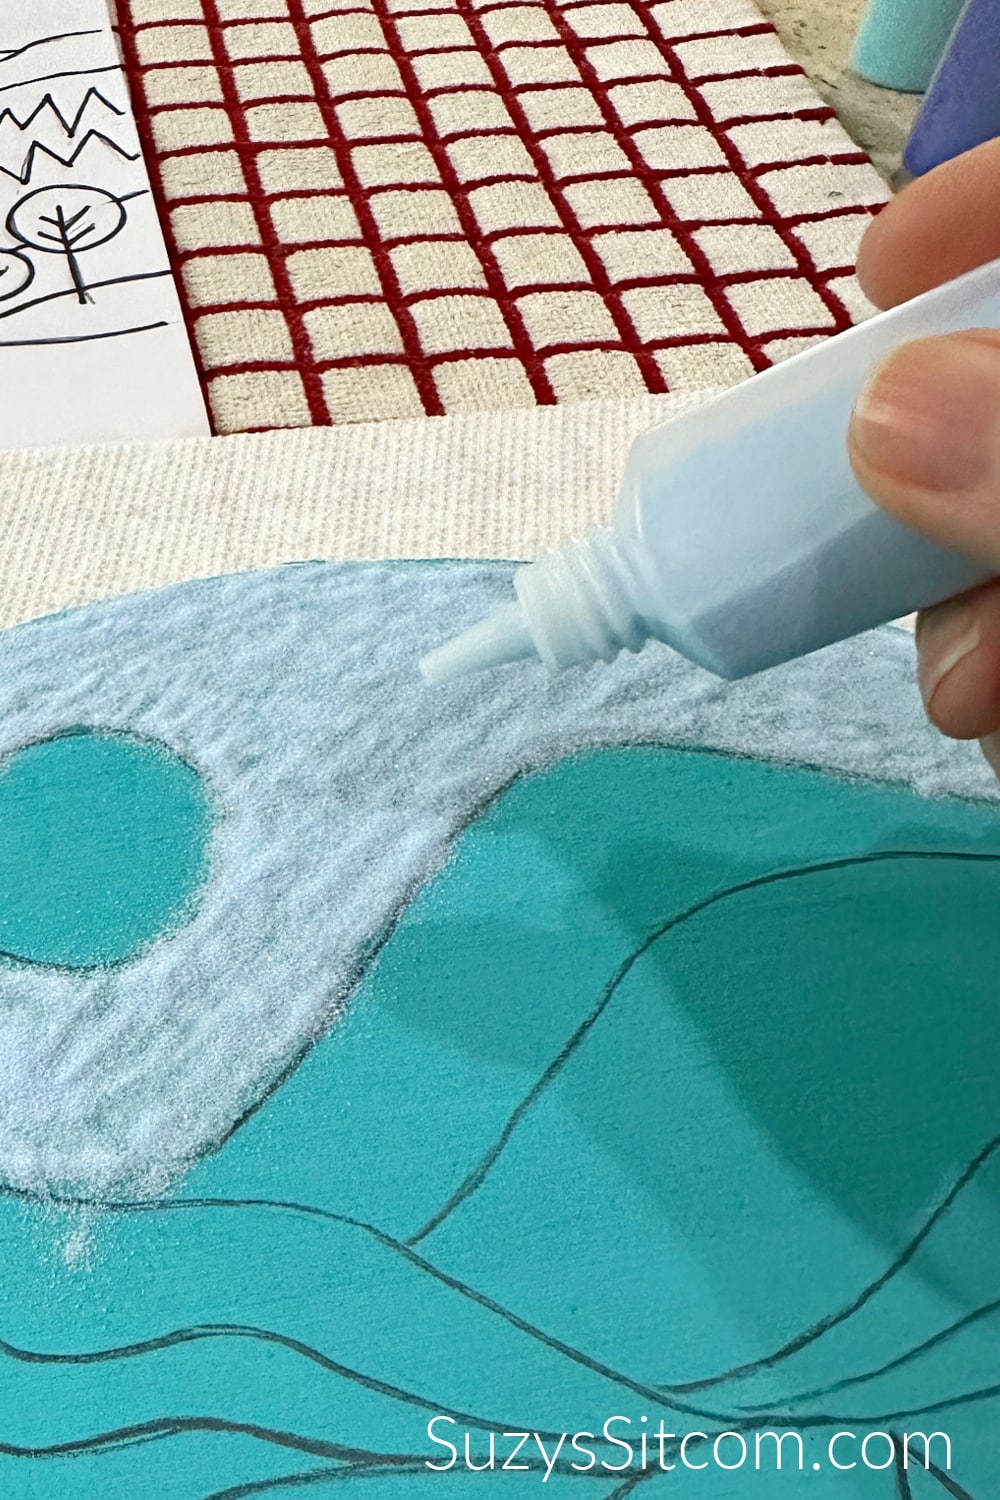
Add Glue to a section
Start at the top of the picture and add glue to one section using a brush, being sure to keep within the lines. I found it a little easier to spread the glue by adding just a few drops of water to the glue before brushing it on.
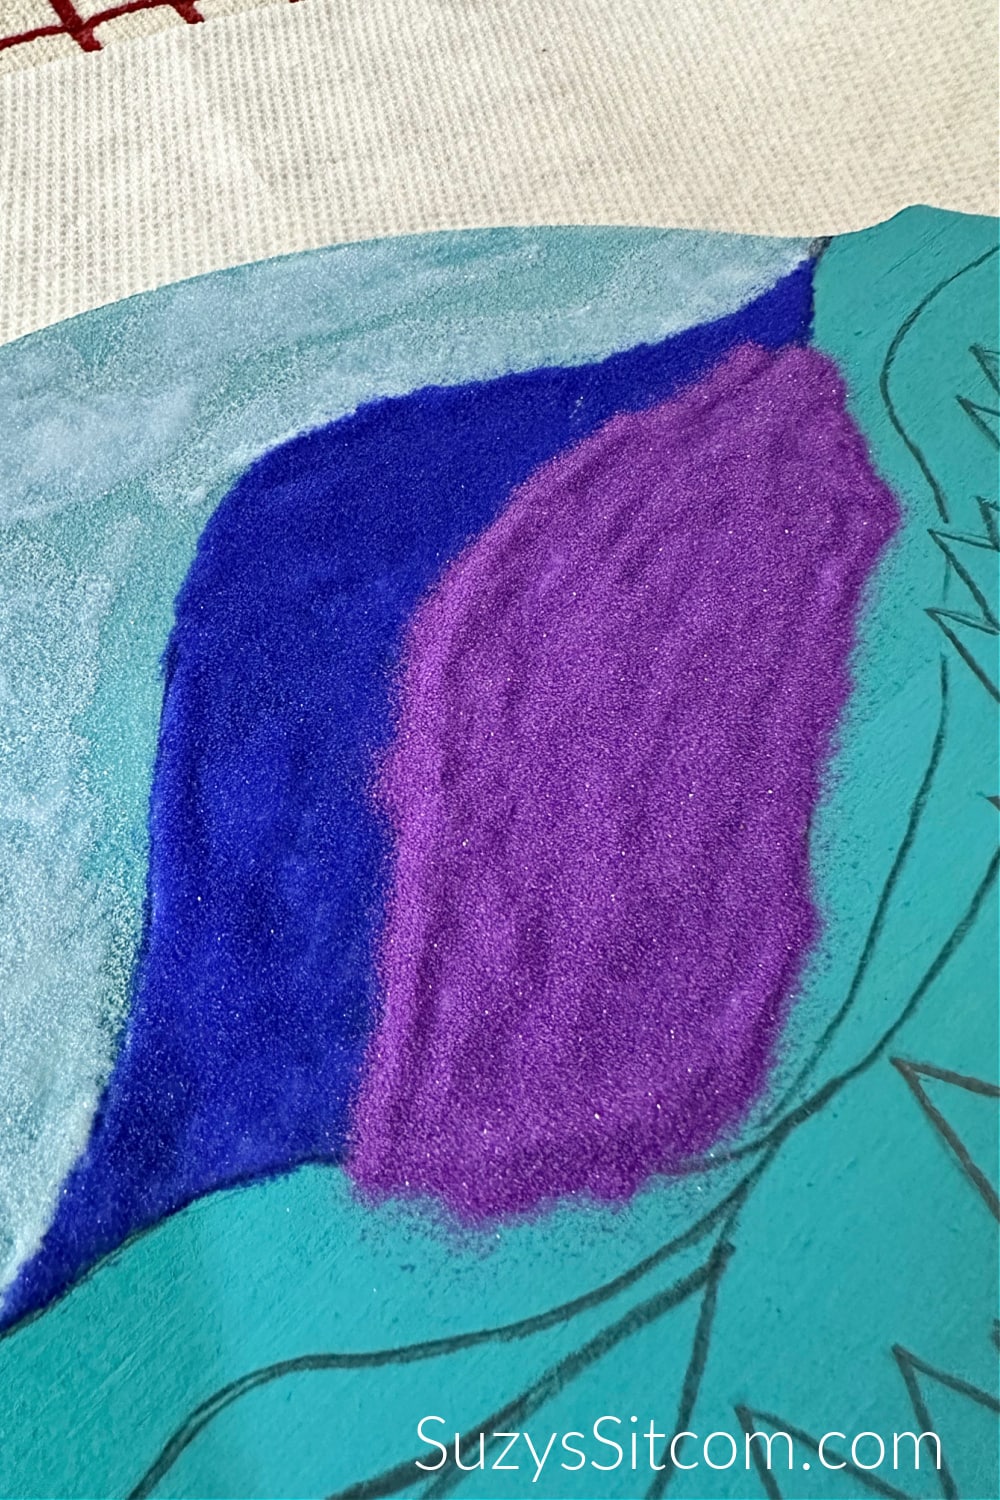
Add the colored sand
The colored sand that I used for this project came in small plastic bottles that were perfect for easy application of the sand. Choose a color for the section that you are working on and then add a thick coating of colored sand. Once all the glued area is covered, gently tap the extra sand off of the project.
Move onto the next section (working your way from top to bottom), repeating the two steps above.
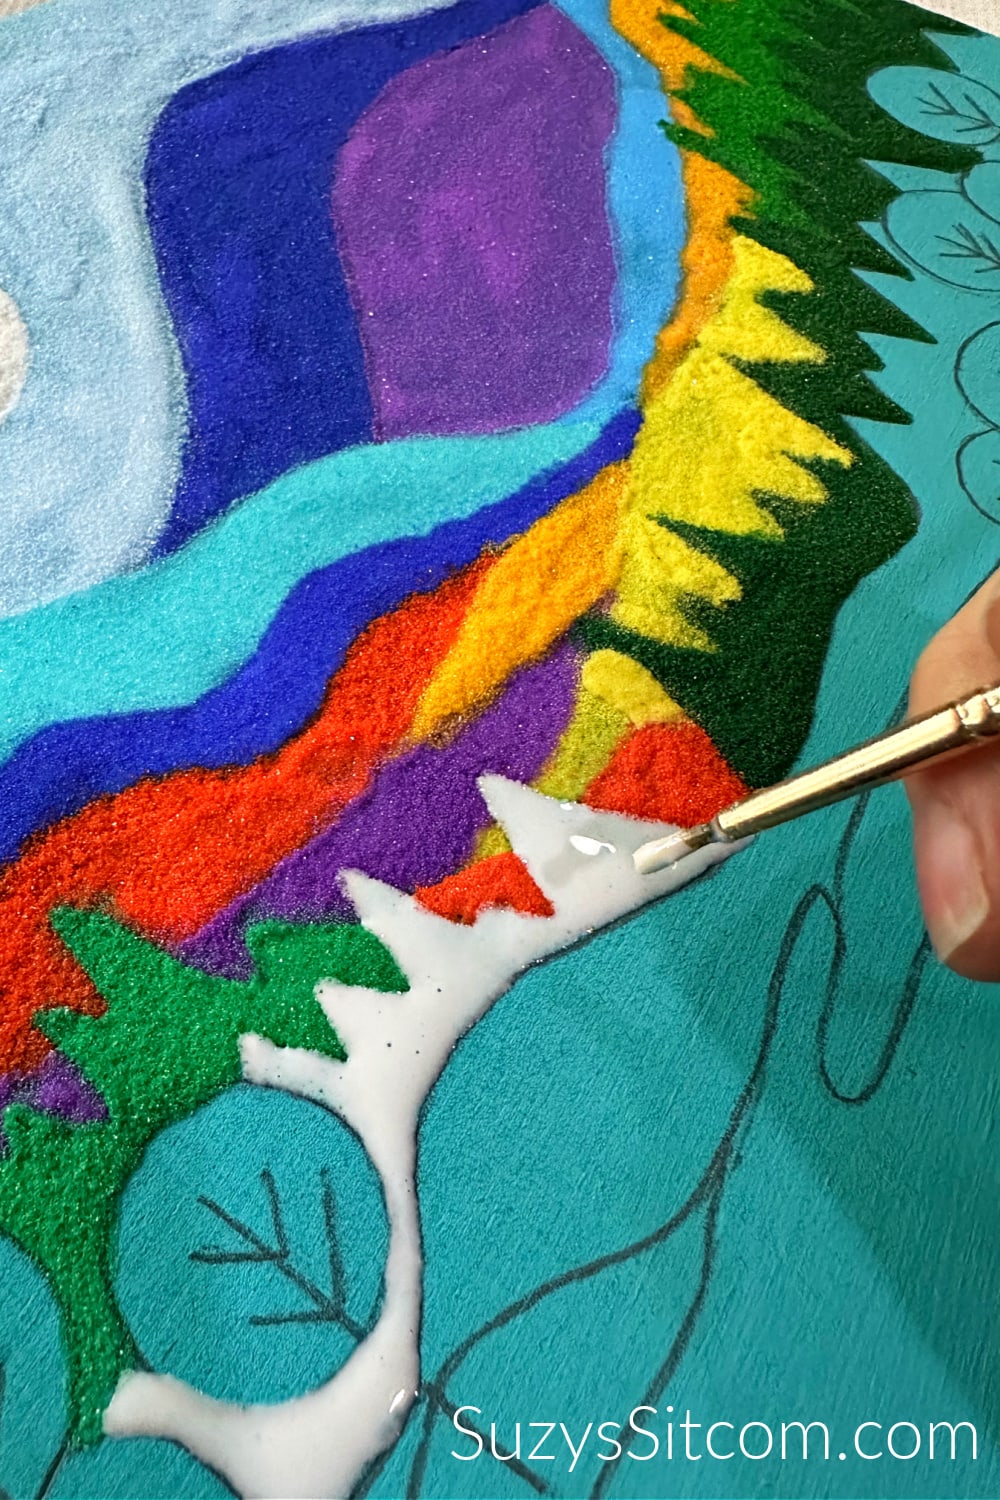
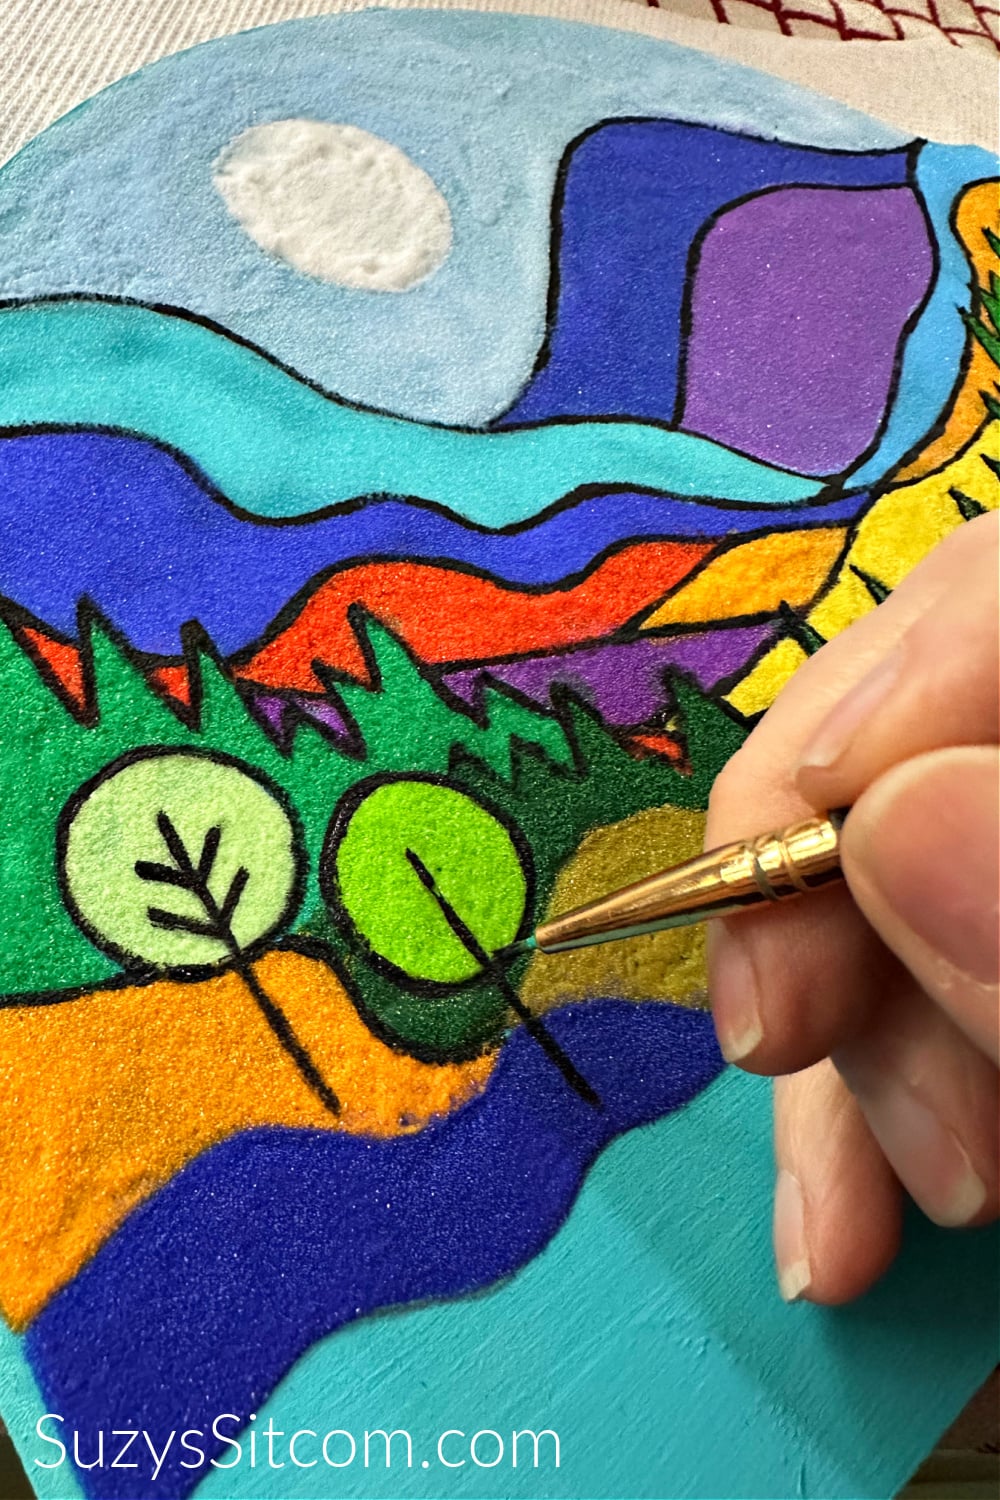
Working on the smaller Sections
I found that using a smaller brush helped to add in the smaller details of the sand painting. Simply follow the easy steps above as you work down to the bottom of the landscape art.
Experiment with bright colors! A mix of beautiful colors adds depth and interest to your sand painting.

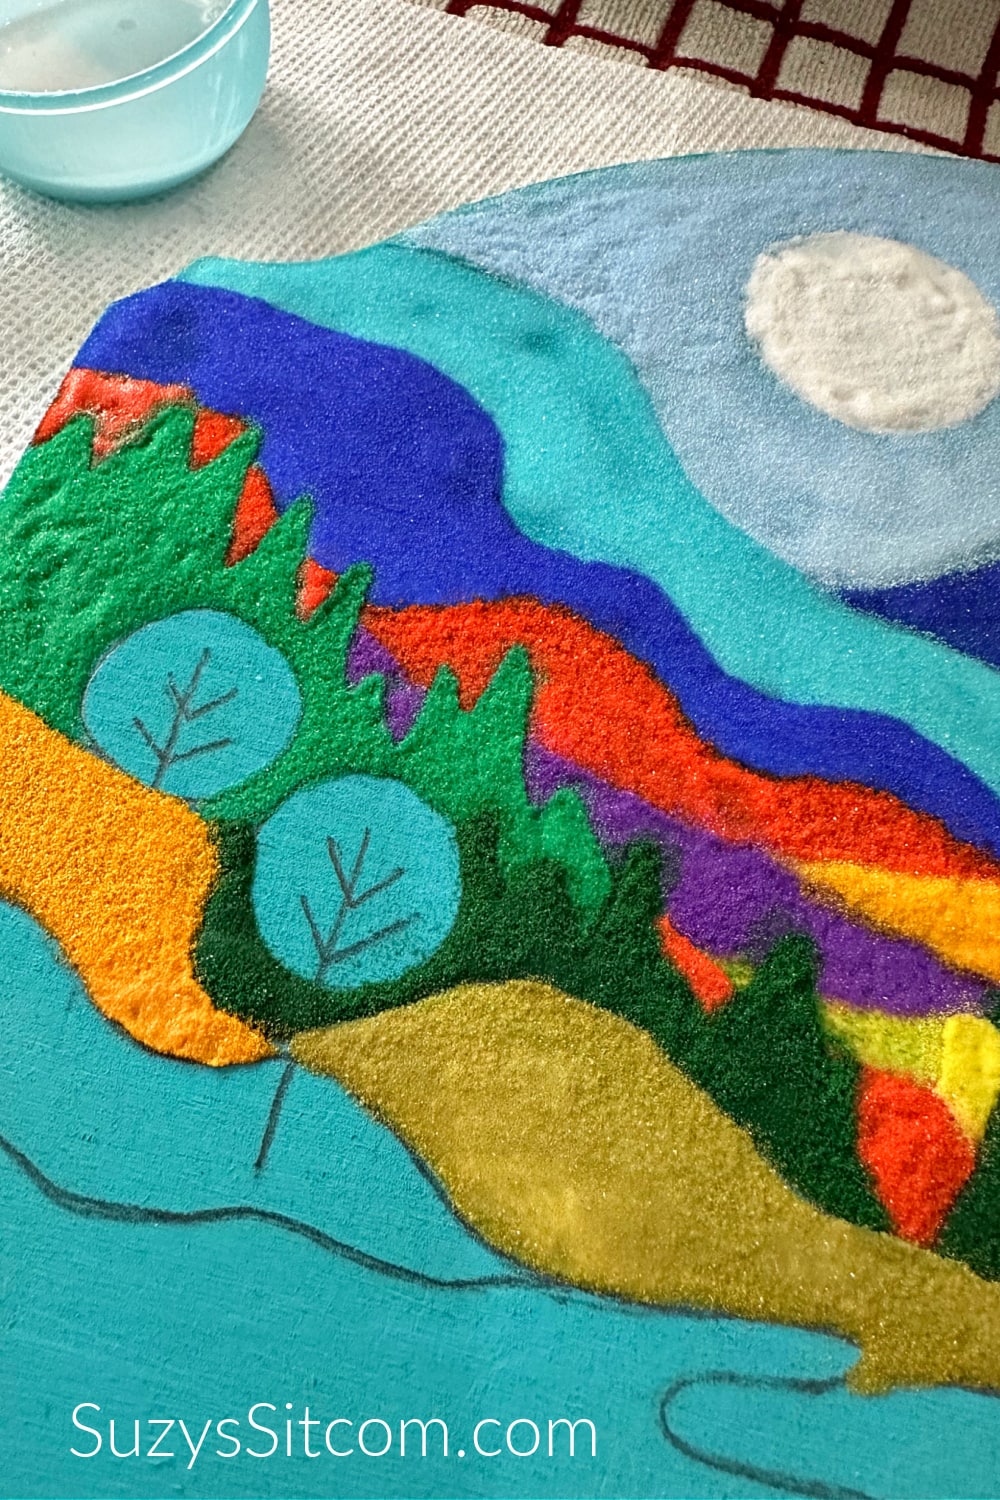
Once all the sand has been applied, allow the project to dry before going to the next step.
Adding an outline to the sand painting
If we were doing this project in the true Navajo style, we would then outline with a thin layer of black sand. This requires a whole lot of skill. Since this is an emulation of the style, I chose to create the outlines with black acrylic paint.
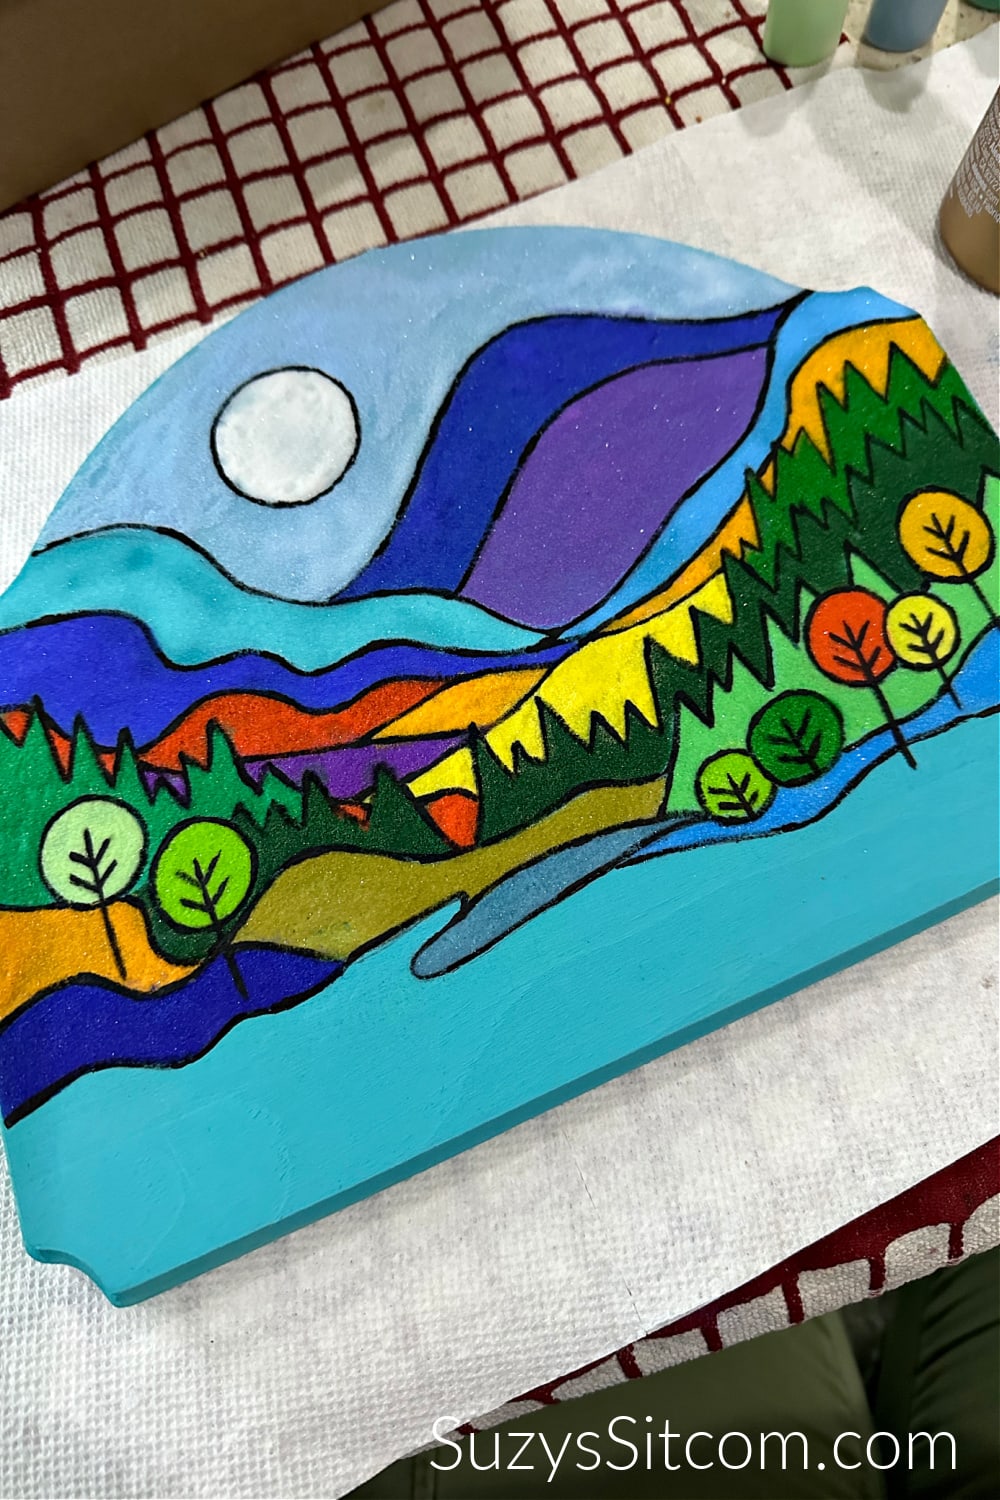
The finished piece of art is a bright happy landscape. I plan on adding a row of hooks to the bottom and use this as a key holder in my rv. I think it will not only brighten up the room, but be very useful at the same time.

Create a beautiful landscape with colored sand and glue!
Create Art with Sand Painting
Supplies
- 1 set Colored Sand
- 1 ea Landscape Pattern
- 1 bottle Tacky Glue
- 1 ea 9" x 12" unfinished Wood Plaque
- 1 set Acrylic Paint I used blue and black
- 1 ea Carbon Transfer Paper Needed to transfer the pattern
Instructions
- Use blue acrylic paint to paint the sides and top of the wooden plaque. Allow to dry.
- Transfer the landscape pattern onto the wooden plaque using the Carbon Transfer paper.
- Begin at the top of the picture and add glue to the top section with a paint brush. (Add a few drops of water to the glue before painting it on).
- While the glue is still wet, add the colored sand of your choice in a thick coat. Tap off extra sand.
- Work down from top to bottom, adding glue to a section and then sand. Tap off extra and then move to the next section.
- Experiment with bright colors for more interest.
- Once all the sand is dry, use black acrylic paint and a small brush to add in outlines.
Love the ideas you see here on Ideas for the Home by Kenarry®? Subscribe today to get our FREE DIY & Craft Planning Calendar, plus our weekly Ideas in Your Inbox newsletter filled with creative tips and exclusive offers!
Love Unique Craft Ideas?
If you enjoyed this Sand Painting project, you might enjoy some of the other unique craft ideas from my website, SuzysSitcom!
Make Beautiful Painted Paisley Stones

Painted Chickens made from Gourds

Paint Cute Muppets Tic Tac Toe

You may also enjoy these 3 ideas on Ideas for the Home by Kenarry® –
Can you spray it with a craft spray to keep the sand from falling off
Hi Carol,
Great question! You can most definitely spray it with a craft spray – although the creator of this craft, Suzy (one of our amazingly talented creative contributors), says she never ran into any issues with it falling.
We hope this helps! Happy crafting!
– Lisa, Ideas for the Home by Kenarry Customer Care