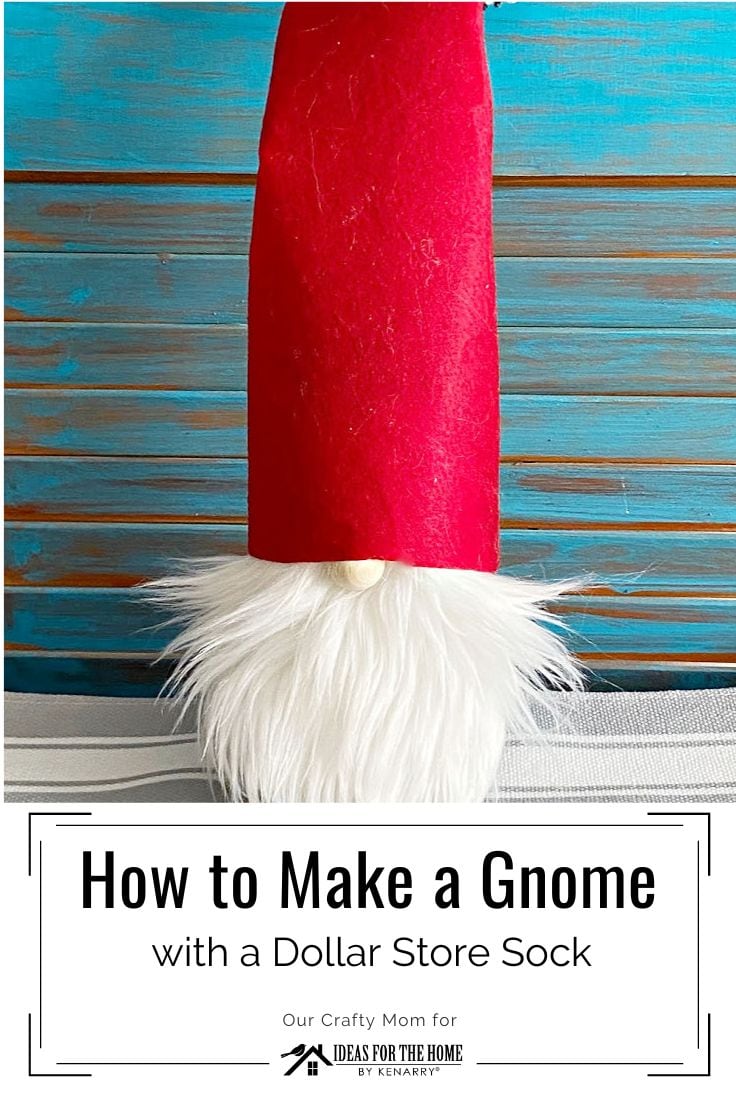
How To Make The Cutest No-Sew DIY Gnome
THIS POST MAY CONTAIN AFFILIATE LINKS. PLEASE SEE OUR FULL DISCLOSURE POLICY FOR DETAILS.
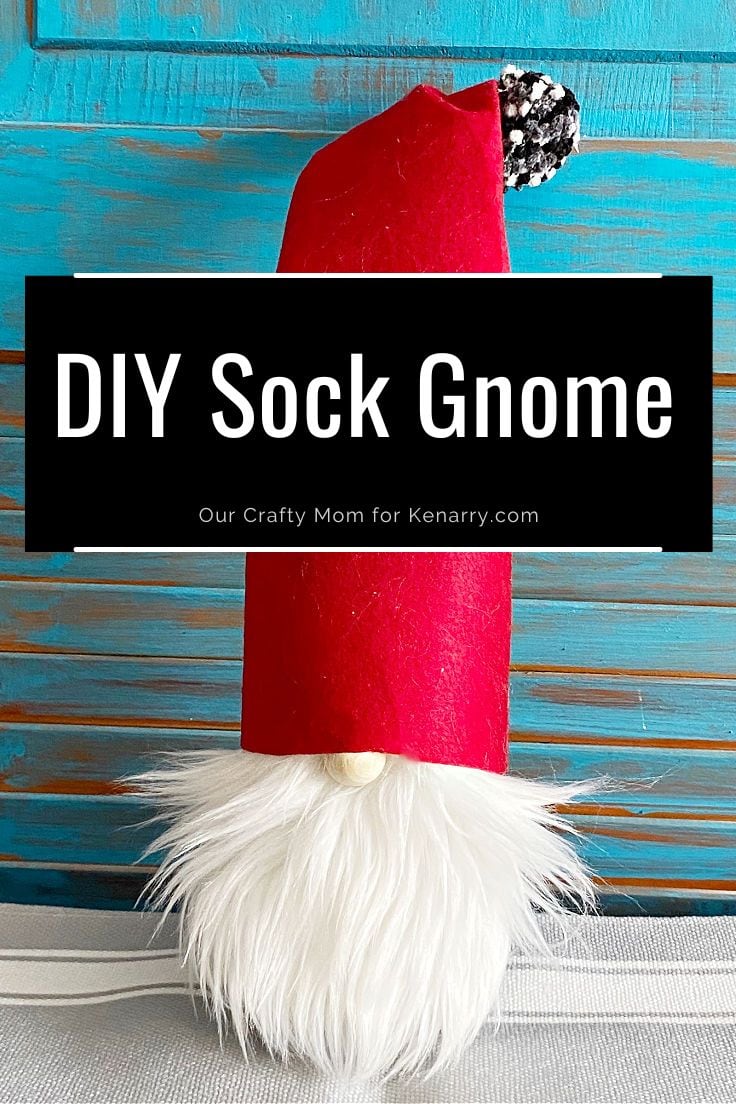
Learn how to make a no-sew DIY gnome using just a few basic craft supplies. It can be made for under $5 in less than 30 minutes!
Hello! Michelle here from Our Crafty Mom sharing the cutest no-sew gnome made with a dollar store fuzzy sock.
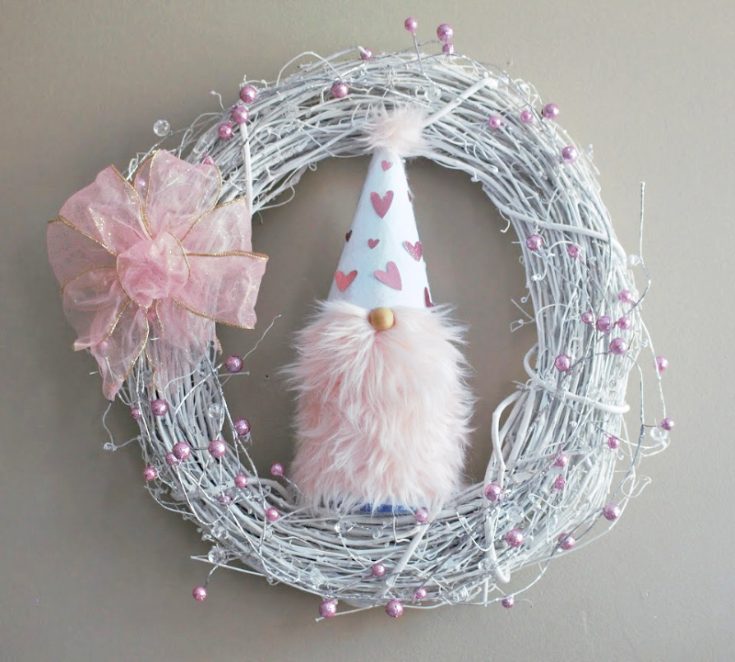
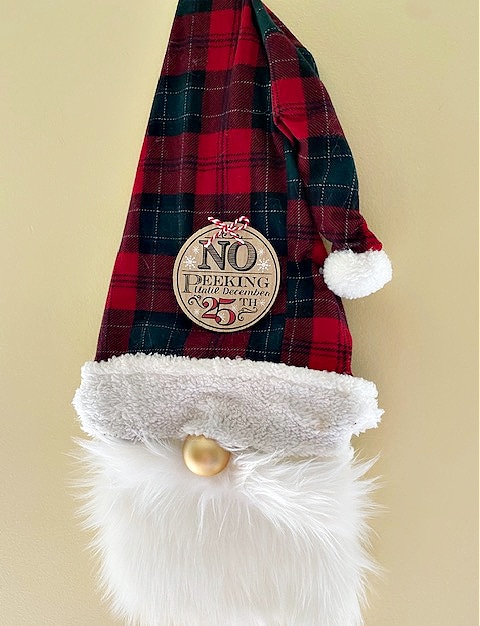
You can use this basic DIY gnome tutorial to make any color combination that you like. Make a gnome to go with your home decor that you can use all year long or make holiday gnomes for any occasion.
Once you see how easy this gnome is to make you will want to make several! They are a budget-friendly craft too.
How to Make A dIY Gnome
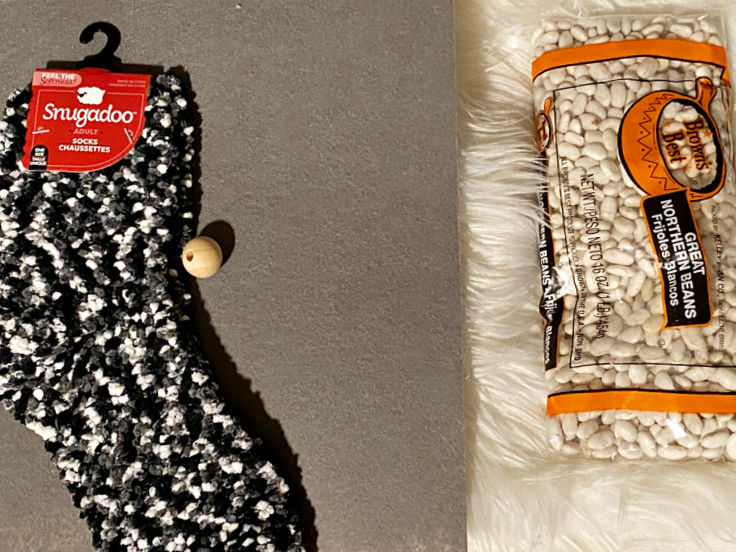
Gather your supplies and let’s get ready to make a sweet little DIY gnome.
What you need:
Want more ideas like this? Subscribe today to get our weekly Ideas in Your Inbox newsletter plus other exclusive gifts and offers — all for FREE!
Craft Tools:
Supplies:
- Felt – whatever color you like
- Pipe Cleaner
- Faux Fur
- Wood Bead
- Pair of Fuzzy Socks
- Elastic
- Bag of beans
DIY Gnome Craft Tips:
Fill the sock
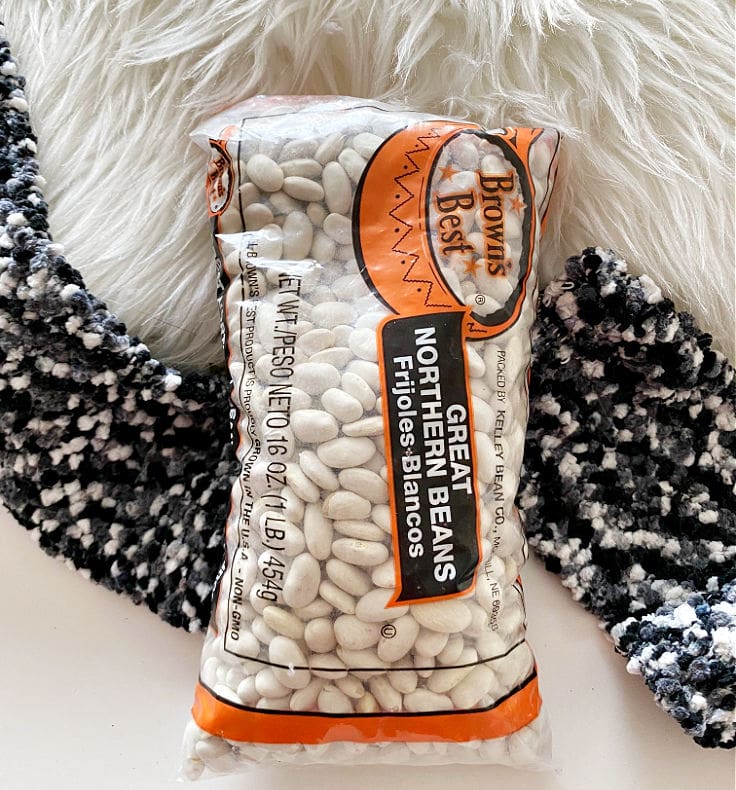
The easiest way to make a gnome is to use a bag of beans. I used northern beans from the dollar store.
You can also use rice, but I have read about little critters getting in with rice, so I prefer beans.
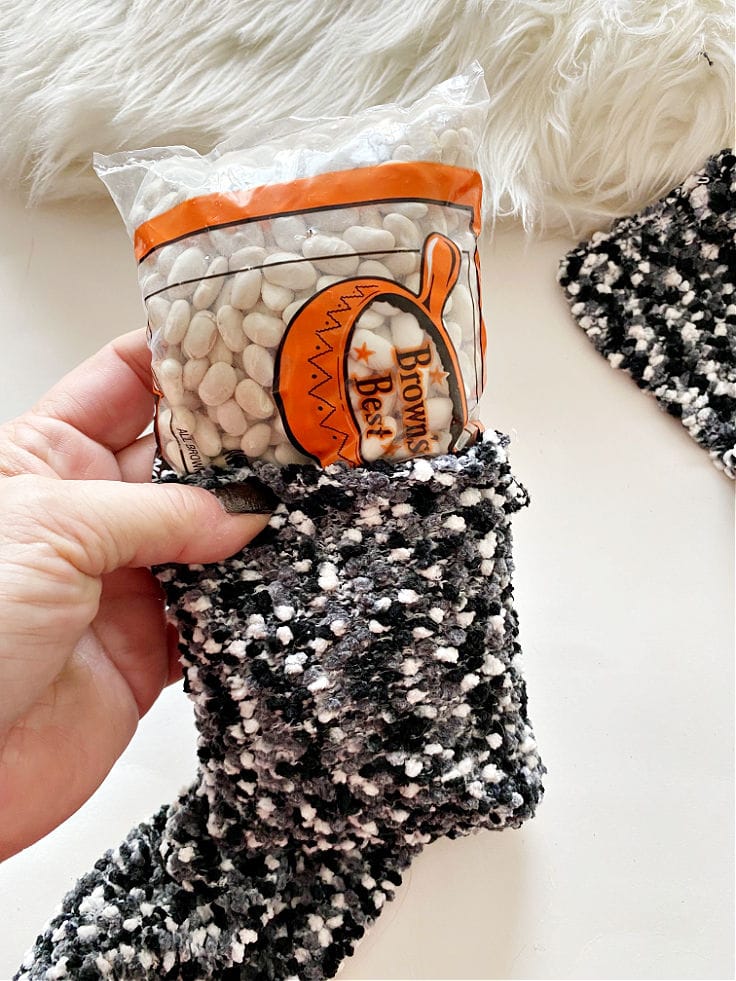
You don’t even have to take the beans out of the bag, just put the entire bag into the sock.
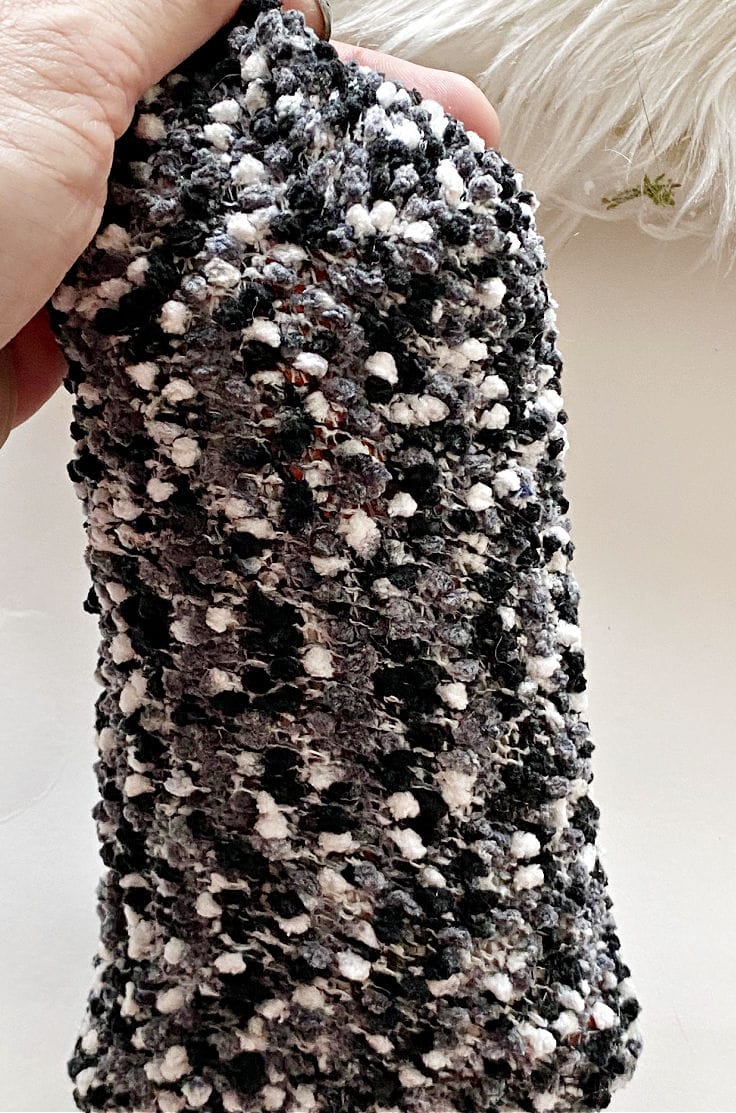
Tie off the top of the sock with an elastic. You can have fun with the design of the sock you use. They have so many different styles and colors.
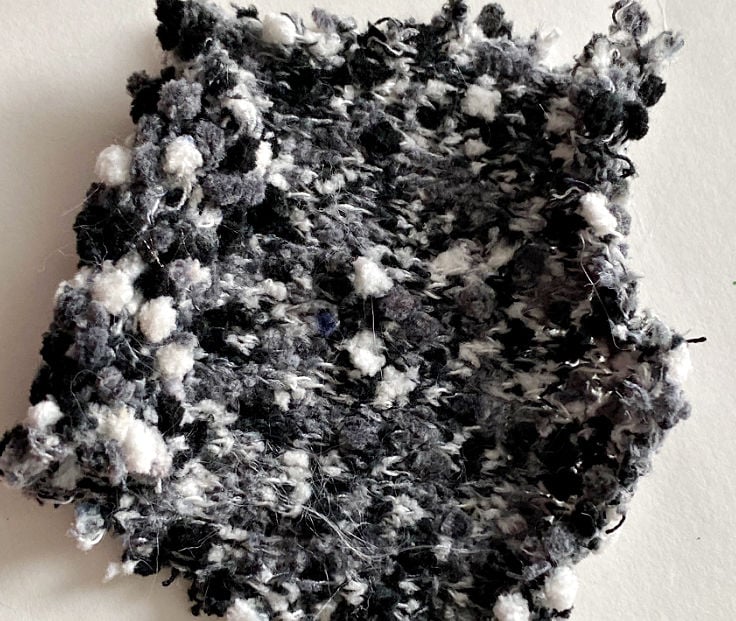
Cut the gnome fur
There is an important tip for cutting gnome fur. You want to use a craft knife to slice just the fabric backing of the fur.
If you cut it with scissors straight across, the fur will look unnatural.
You want the end of the fur to have long natural ends as shown below:
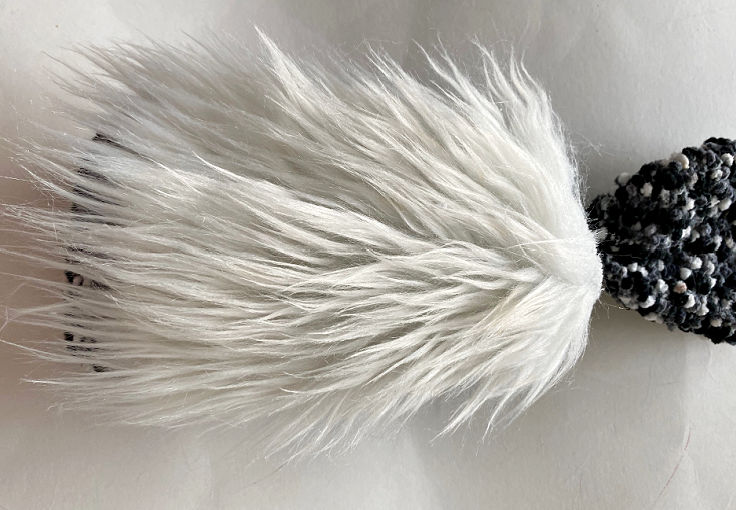
Once the fur is cut, run a bead of hot glue along the top to attach it to the sock body.
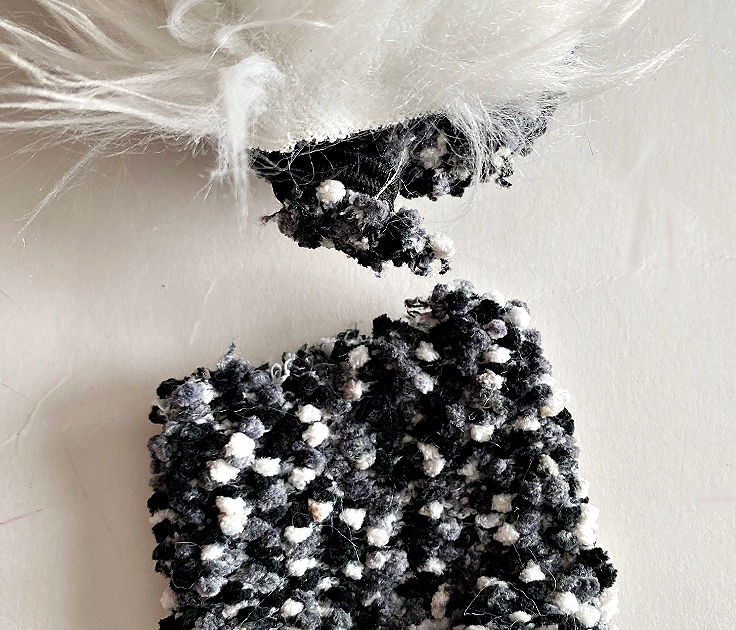
Cut off the top of the sock above the elastic. Set aside as we will use this later.
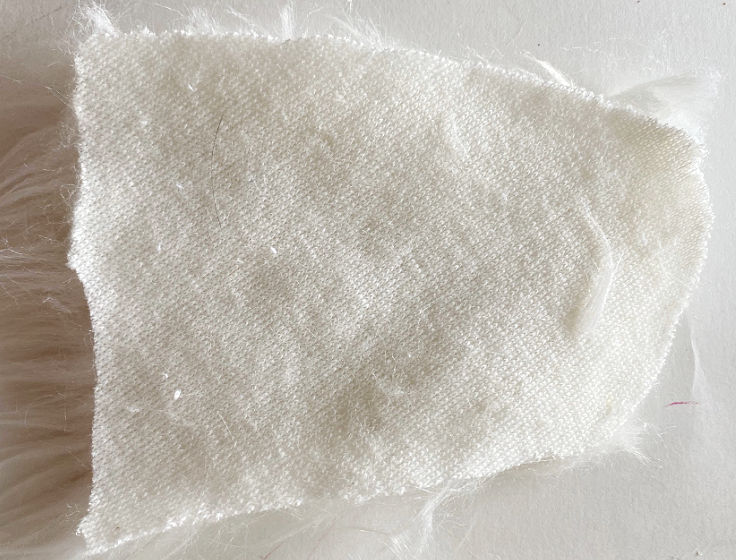
Cut the Felt Hat
Now it’s time to make the gnome hat. Felt works great for this! Use any color that you like.
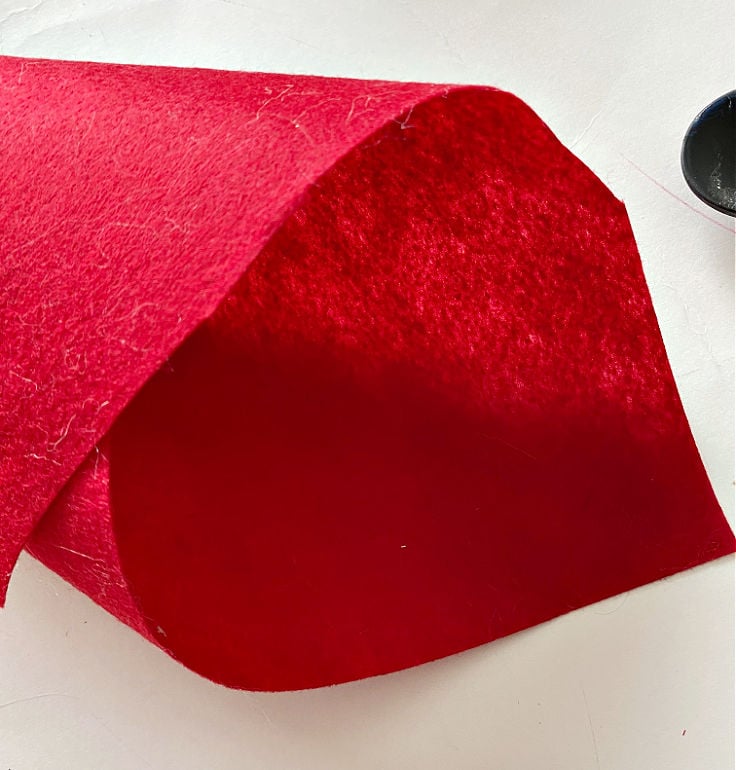
Fold the felt in a triangle shape and cut off the bottom for the base of the hat.
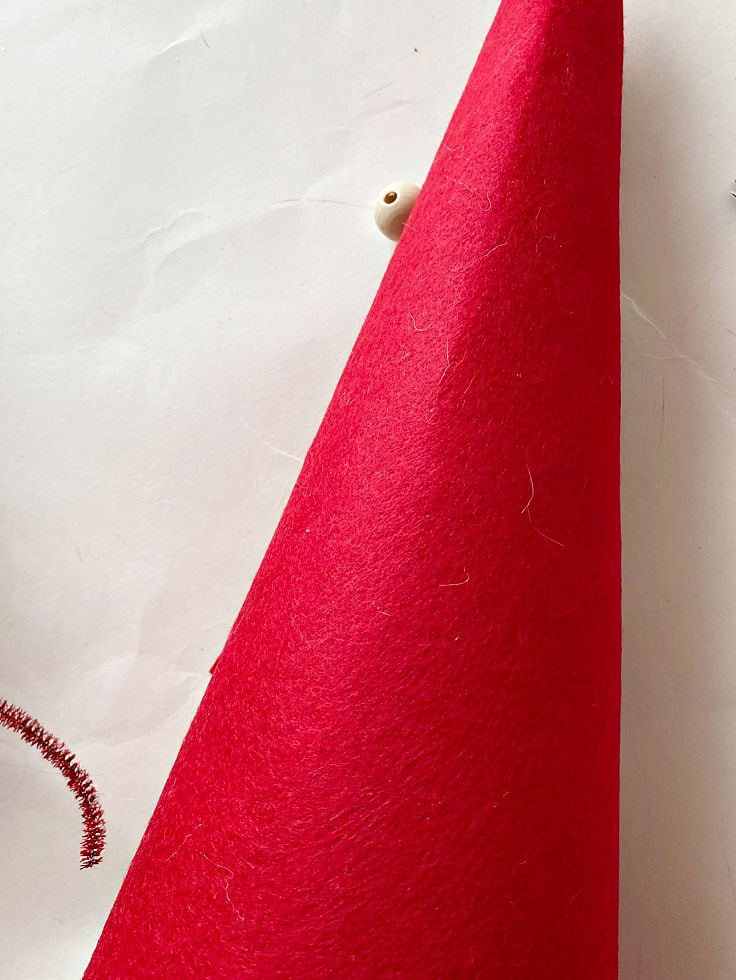
To make the hat bendable hot glue a pipe cleaner along the edge of the hat. This gives you versatility with how the hat will stand.
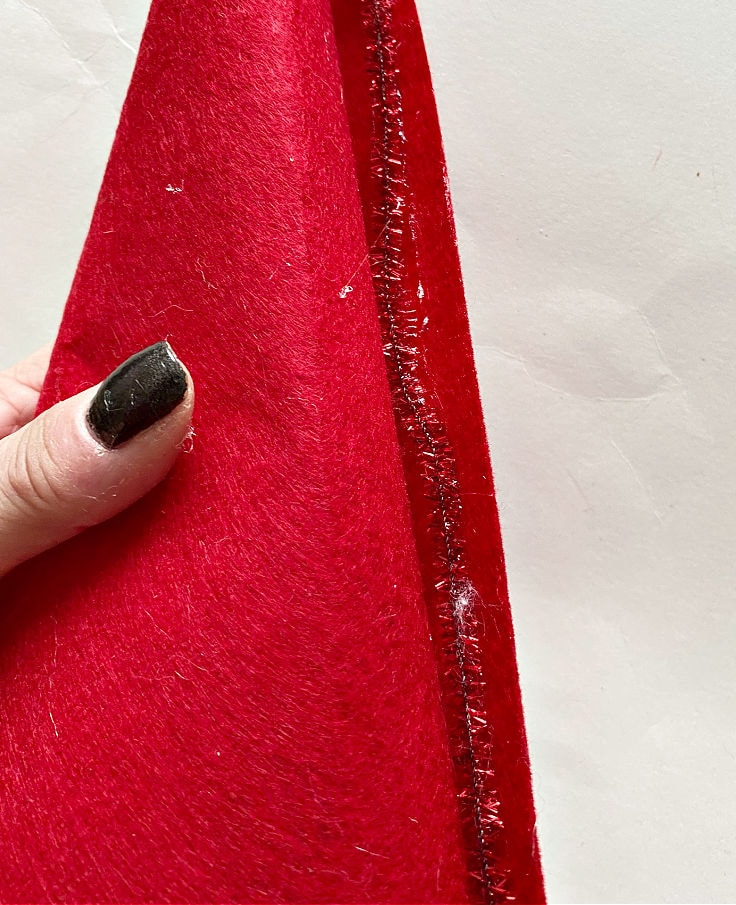
Glue the hat shut with hot glue and bend it however you like. You can fold it over so it is more of a slouchy hat, or leave it nice and tall.
Add a Pompom
Remember that piece of sock I told you to set aside? That will be used as a pompom.
Just hot glue it to form a ball and secure it to the top of the hat. So cute!
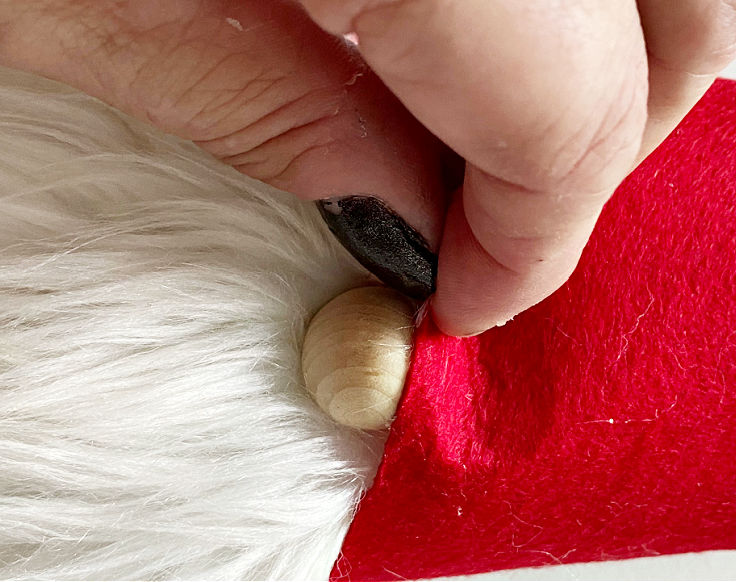
Secure the nose
The last step is to add a nose just under the hat. I love to use wood beads, but you can also use a pompom or even a piece of the sock.
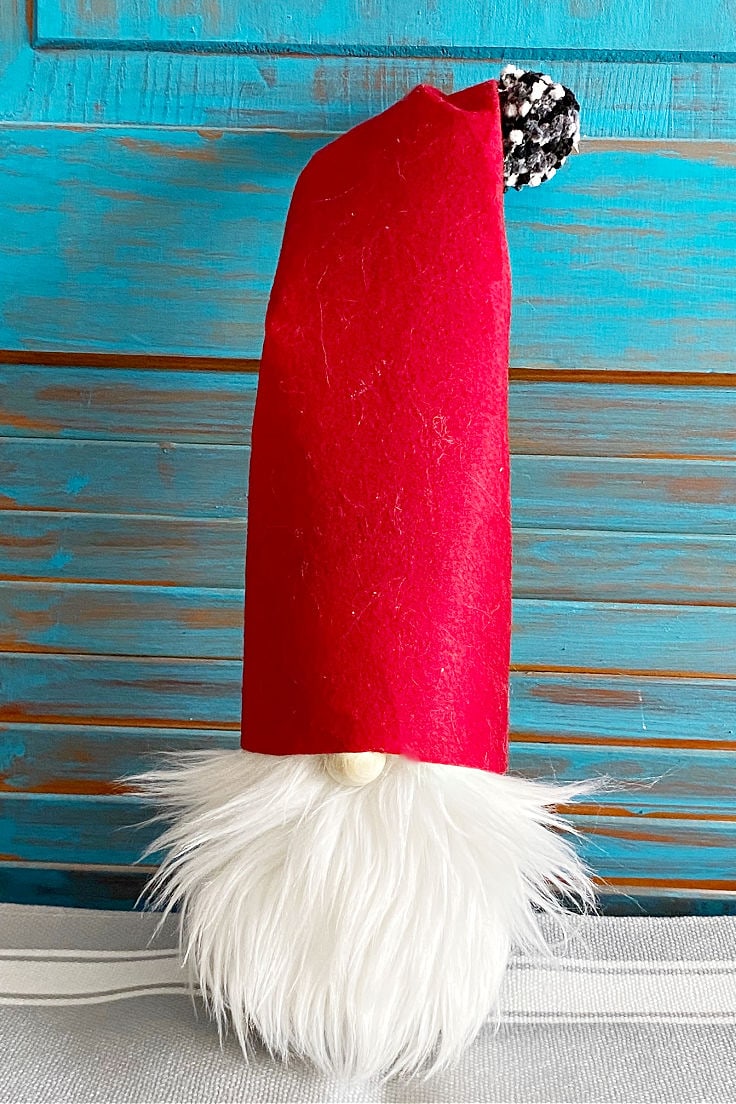
That’s all there is to it! An adorable little gnome made for under $5. You can’t beat that.
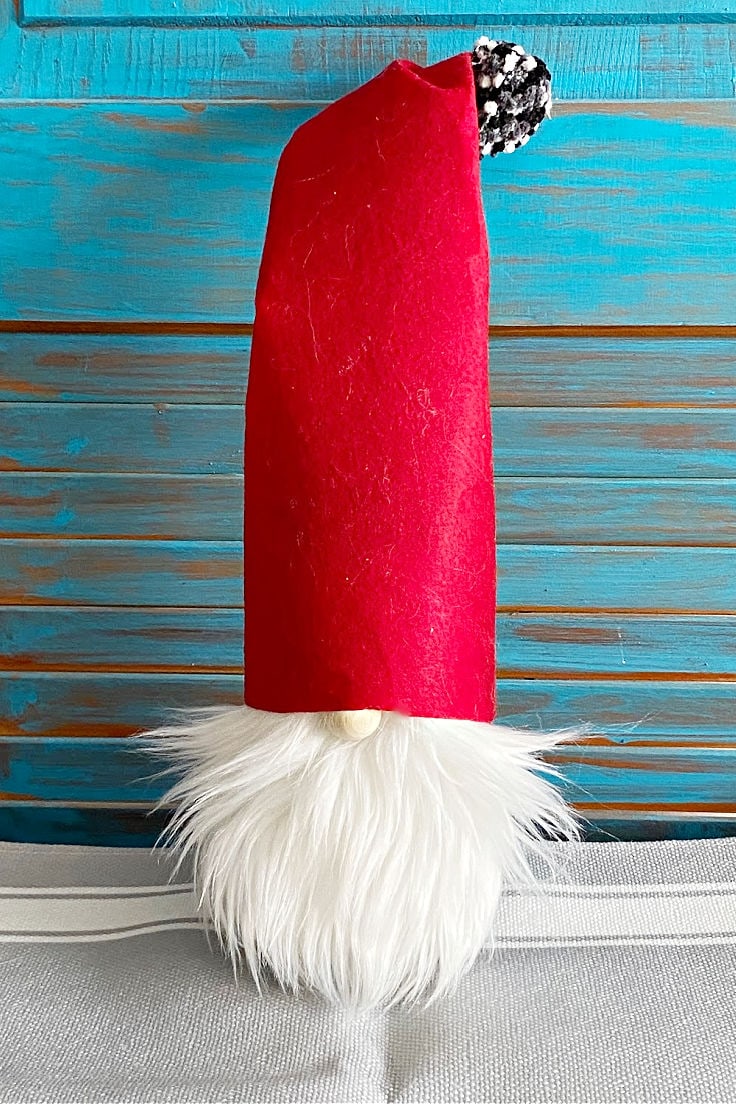
Think of the color combinations and holiday gnomes you can make with this super simple DIY tutorial. Let us know if you give this craft a try.
How to Make a DIY Gnome
Equipment
- Pair of scissors
- Craft Knife
- Hot Glue Gun
Supplies
- Felt
- Rubber Band
- Fuzzy Socks
- Bag of Beans
- Faux Fur
- Wood Bead
Instructions
- Place the enite bag of beans into one of the socks.
- Tie an elastic around the top of the sock to close it shut.
- Cut the faux fur into an oval shape with a craft knife.
- Hot glue the fur to the gnome body. Cut off the top of the sock above the elastic. Set aside.
- Make the hat using a square of felt. Fold it into a triangle to create a pointy hat.
- Hot glue a pipe cleaner along the edge of the hat and glue it shut.
- Create a pompom using the leftover sock. Just form into a ball and glue it to the top of the hat.
- Glue a wood bead under the hat for the nose.
Love the ideas you see here on Ideas for the Home by Kenarry®? Subscribe today to get our FREE DIY & Craft Planning Calendar, plus our weekly Ideas in Your Inbox newsletter filled with creative tips and exclusive offers!
What’s Next?
Another great place for your keyword. If you enjoyed this DIY gnome then you’ll enjoy these gnome ideas too.
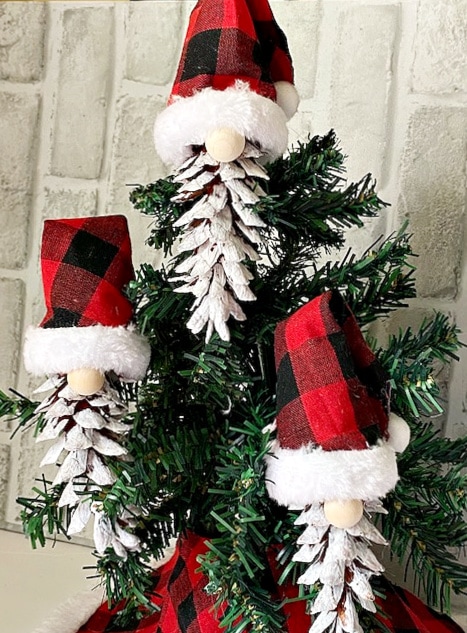
Christmas Gnome Pine Cone Ornaments
You may also enjoy these craft ideas on Ideas for the Home by Kenarry® –