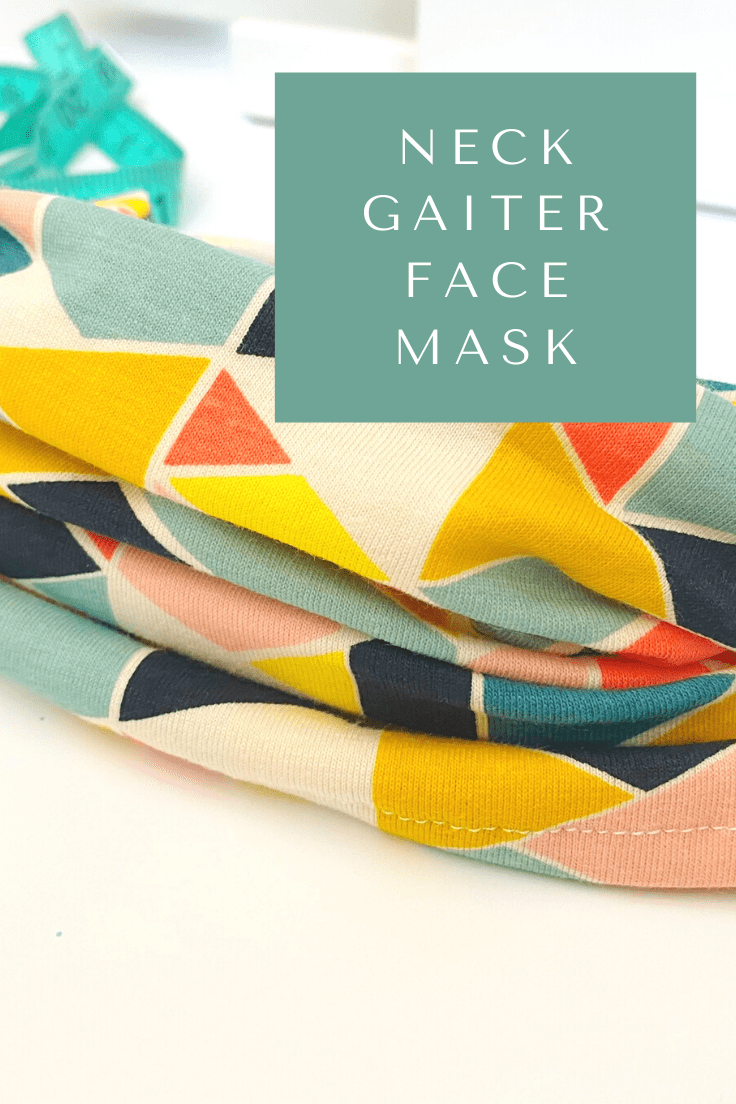
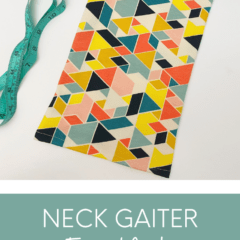
How to Sew a Neck Gaiter Face Mask
THIS POST MAY CONTAIN AFFILIATE LINKS. PLEASE SEE OUR FULL DISCLOSURE POLICY FOR DETAILS.
Learn how to sew a neck gaiter face mask with one piece of fabric. Neck gaiters are a great option for face masks, you can wear them around your neck and pull them up as needed.
Hi everyone! It’s Erica bringing you a fun and easy sewing project. Having only basic sewing skills myself, I always love the patterns that say for beginners or easy. From scrunchies, dog toys, to neck gaiters. I love that my Mom taught me to sew, that way I can create amazing and useful items from a piece of fabric.
Disclaimer: This post is for personal use. These masks are not designed or intended to prevent, mitigate, treat, diagnose or cure any disease or health condition, including COVID-19/Coronavirus. Please talk to your health care provider for information about the best type of mask and ask them any questions you have about disease prevention.

How to Sew a Neck Gaiter Face Mask
When you know how to sew neck gaiters and face masks, it makes wearing them fun. You can make them match your outfits and accessories. You can never have enough face masks, keep them in your car, purse, or bag so that you always have them on hand.

What you need:
Want more ideas like this? Subscribe today to get our weekly Ideas in Your Inbox newsletter plus other exclusive gifts and offers — all for FREE!
Craft Tools Needed:
- Sewing machine threaded with white thread
- 1/2 yard jersey knit fabric
- Sewing scissors
- Measuring tape
- Sewing pins
Neck Gaiter Face Mask Tips:
Measure your fabric
Measure out a piece of fabric 17″ x 18.5″ and cut out using sewing scissors.
fold and pin your fabric
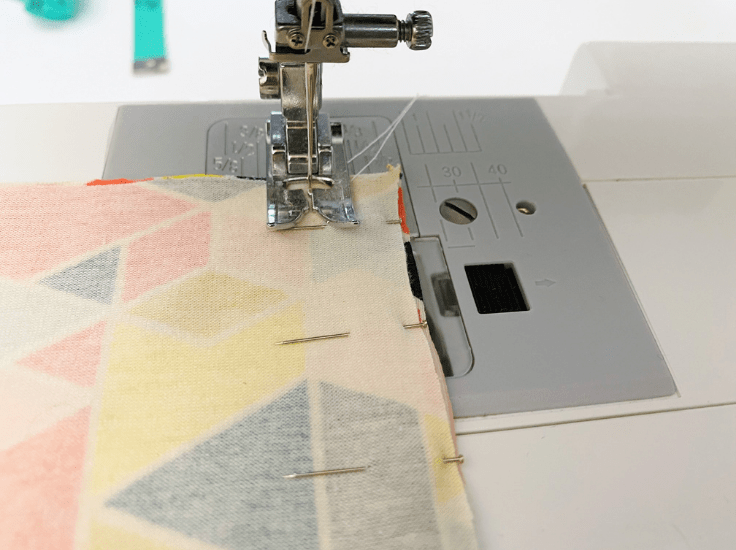
Fold the 18.5″ side of the fabric in half with the print sides facing each other and pin the 17″ sides together. The gaiter will be 9.25″ x 17″ once folded and pinned. The 9.25″ ends will be the openings.
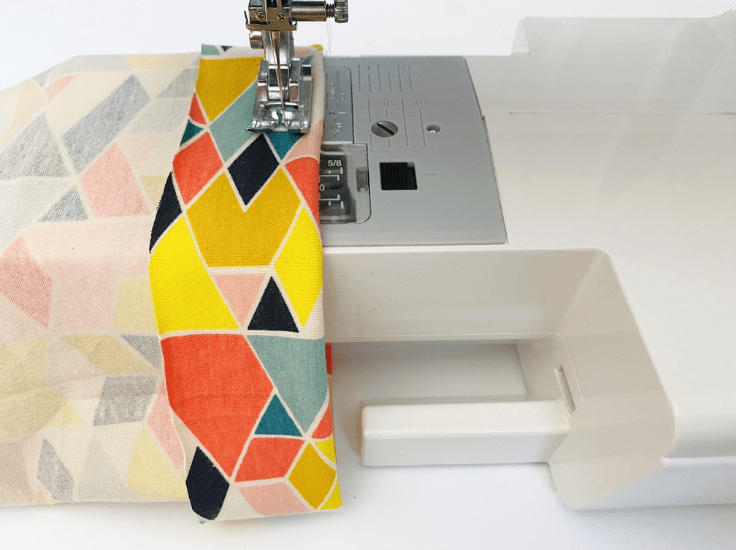
Start sewing
Sew the pinned edge together using a straight stitch, make sure to backstitch the beginning and the end. Turn the open edges over about 1″ on both sides, pin, and use a zig-zag stitch to sew together. Make sure to not sew closed, you want both ends to stay open like a tube.
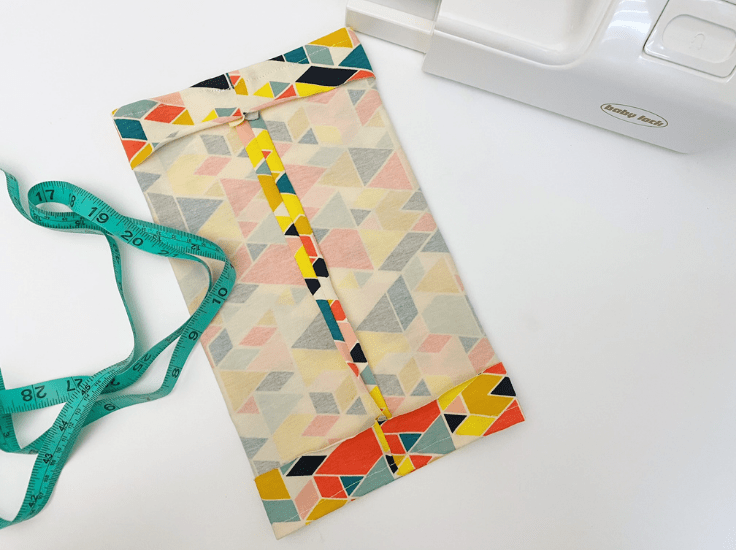
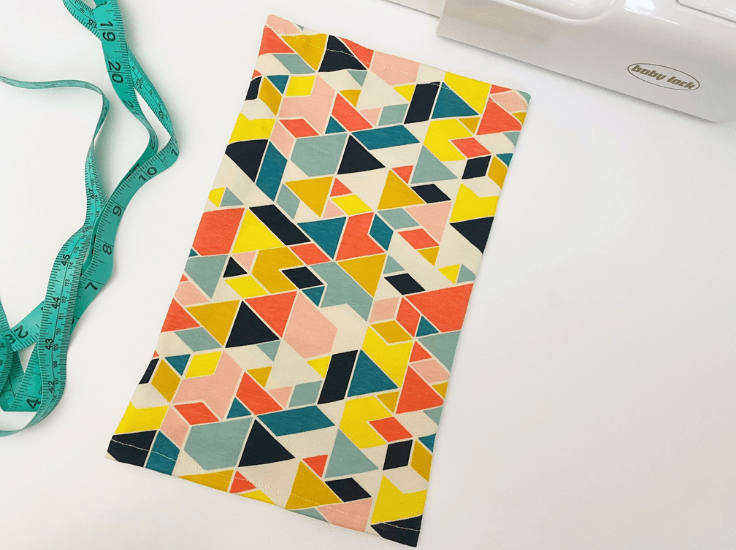
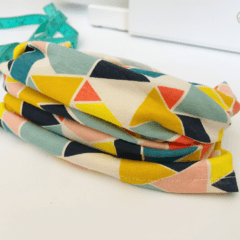
Finish the gaiter
Trim and loose threads, turn right side out, and slip the gaiter over your head.
**This mask should not be used as a medical grade mask.
what type of fabric should i use?
A jersey knit fabric works the best for neck gaiters. It is stretchy in all the right places and is easy to slip over your head.
How to Sew a Neck Gaiter Face Mask
Equipment
- Sewing machine threaded with white thread
- Sewing scissors
- Measuring tape
- Sewing pins
Supplies
- 1/2 yard Jersey Knit Material
Instructions
- Measure out a piece of fabric 17" x 18.5" and cut out using sewing scissors.
- Fold the 18.5" side of fabric in half with the print sides facing each other and pin the 17" sides together. The gaiter will be 9.25" x 17" once folded and pinned. The 9.25" ends will be the openings.
- Sew the pinned edge together using a straight stitch, make sure to back stitch the beginning and the end. Turn the open edges over about 1" on both sides, pin, and use a zig zag stitch to sew together. Make sure to not sew closed, you want both ends to stay open like a tube.
- Trim and loose threads, turn right side out, and slip the gaiter over your head.
What’s Next?
You may also enjoy these easy sewing ideas on Ideas for the Home by Kenarry® –
- DIY Rice Hand Warmers: A Simple Sewing Project
- DIY Lap Desk: Easy and Simple Sewing Project
- Catch-All Fat Quarter Fabric Tray: Simple Sewing Tutorial