How To Transfer Photos To Stone: Simple Tutorial
THIS POST MAY CONTAIN AFFILIATE LINKS. PLEASE SEE OUR FULL DISCLOSURE POLICY FOR DETAILS.
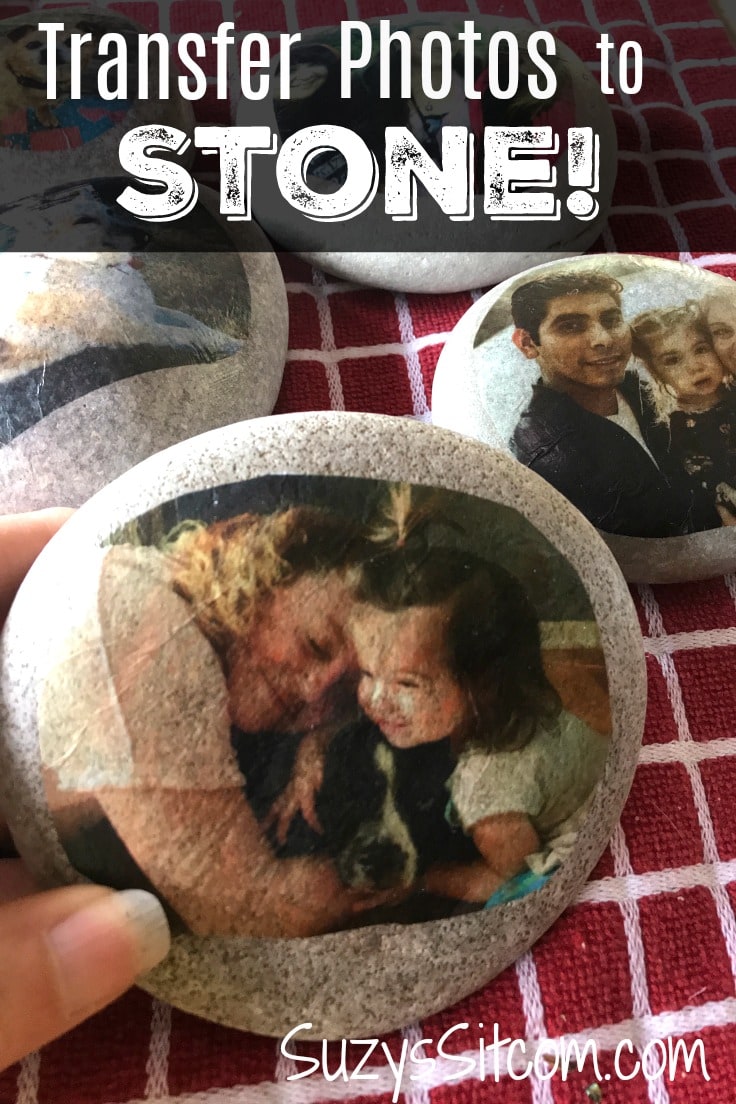
Create a beautiful memory that can last a lifetime! This tutorial will show you how to easily transfer photos onto stone. Transfer photos, quotes, illustrations, or anything that you can print on a simple printer!
This is Suzy from Suzy’s Sitcom! We are full-time travelers living in our RV, and many of my projects are inspired by our current surroundings. We are currently in upstate New York on Lake Ontario. It seems that this part of New York has its share of wonderfully smooth stones that have been polished by Lake Ontario. It came to me that I should try to transfer photos onto stone. A great keepsake of the area and a beautiful memory saved forever!
We are currently working at a campground on Association Island and have been exploring the area near Thousand Islands. There is so much to do here in the summer. Fishing, swimming, boating, sightseeing….
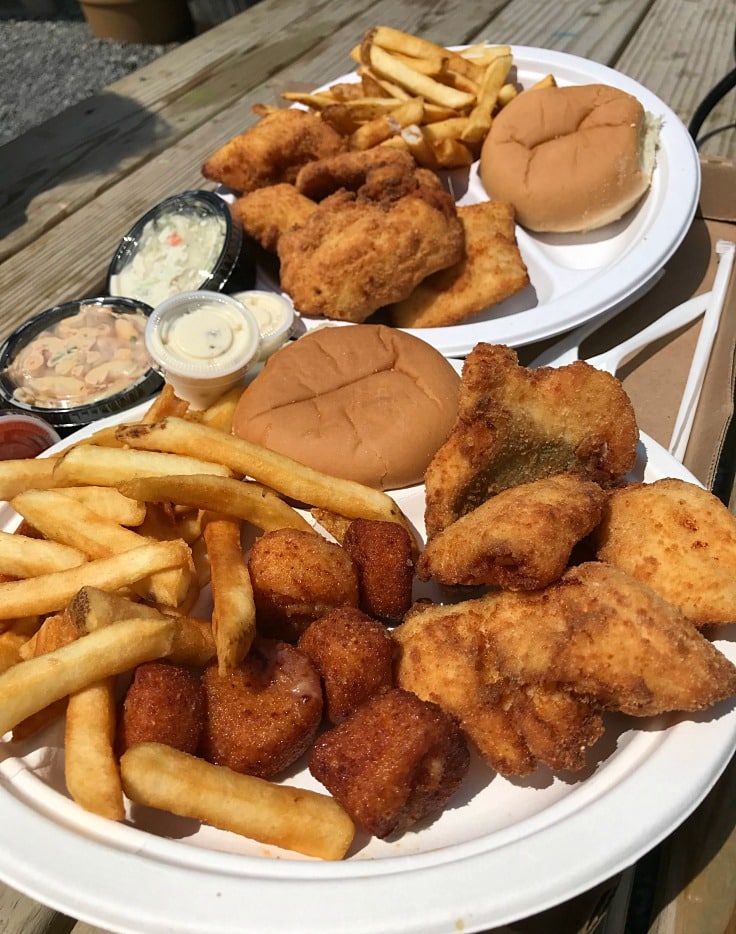
…eating lots of great food. We found a rustic seafood restaurant right on Lake Ontario in the town of Oswego, NY. It is called Rudy’s and apparently, it is not only popular with visitors, but it is a regular local attraction. Rudy’s sits right on the water and you can enjoy your meal outside under umbrellas in the sun.
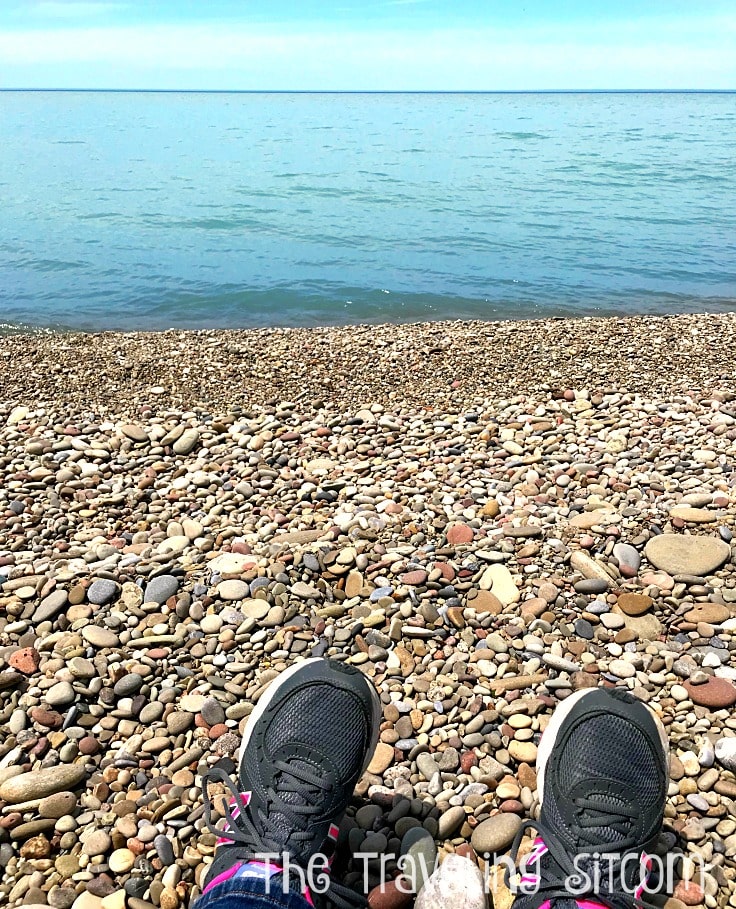
After enjoying our dinner, we sat along the shore and watched the water. And what did I spy? Thousands of beautiful stones polished by the waters. I gathered quite a few with no idea as to what I was going to create.
I got the eye from the husband who was immediately trying to calculate where the heck I would store them. He would get over it. A project was forming in my head….
How to transfer photos to stone
Transferring photos to stone turned out to be a simple project, although I have to tell you that it was my third attempt that was the charm. This project uses many things that you might already have around the house. You just have to find a nice smooth stone and start creating!
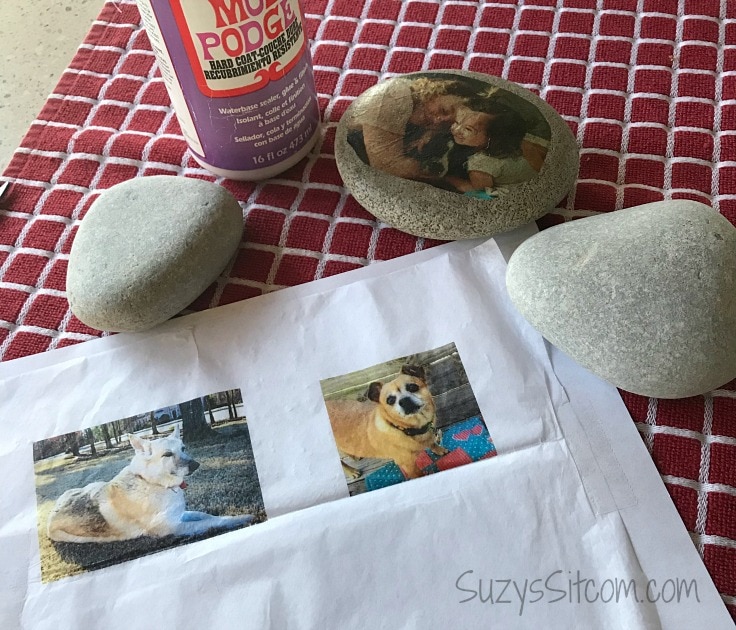
What you need:
Want more ideas like this? Subscribe today to get our weekly Ideas in Your Inbox newsletter plus other exclusive gifts and offers — all for FREE!
- Smooth stones
- Tissue Paper
- Copy paper
- Ink Jet Printer
- Mod Podge
Instructions:
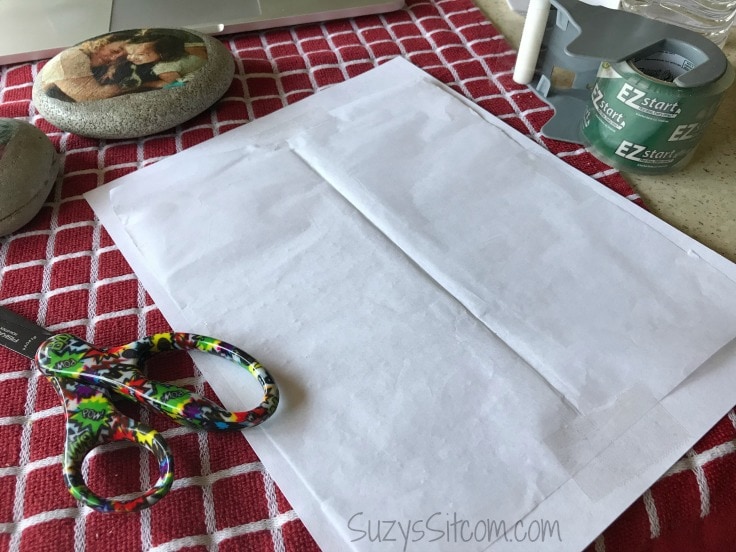
1. prepare the tissue paper
In order to easily print on tissue paper, tape the tissue paper to a sheet of copy paper. You will need to place tape on all four sides so that it will not bunch up in your printer. Don’t ask me how I know this.
2. Print the photos onto tissue paper
Using an inkjet printer, print your chosen photos. You can choose to print in color or black and white. Either way will work for transferring onto stone.
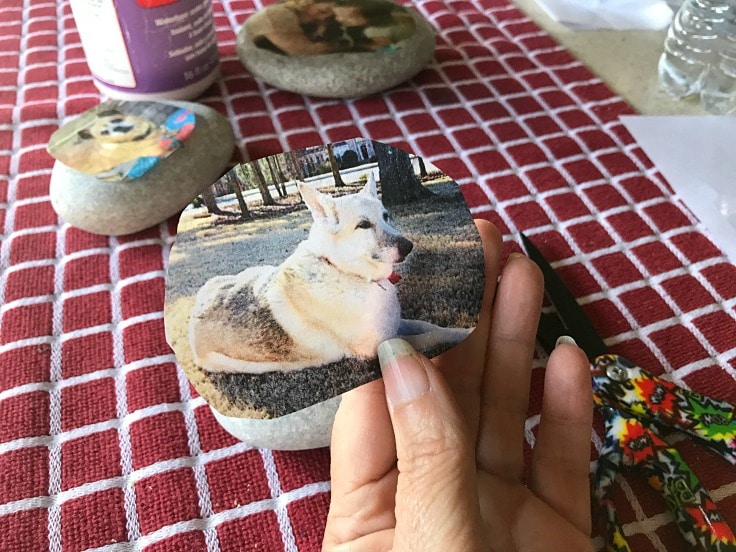
3. prepare the photo for transfer
Remove the tissue paper from the copy paper and then trim your photo to fit the selected stone.
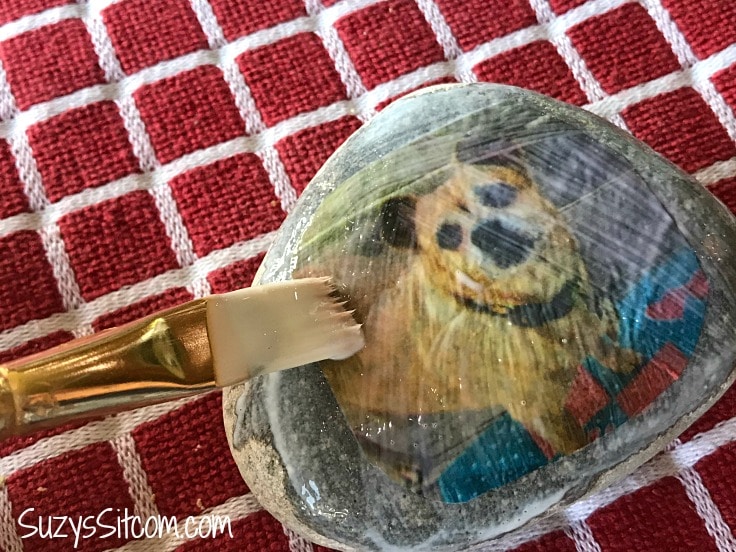
4. transfer the photo to stone
Paint a layer of Mod Podge onto the top of the stone and then carefully place the tissue paper photo over the Mod Podge. Smooth the photo down onto the stone with a paintbrush, adding a thin coating of Mod Podge on top.
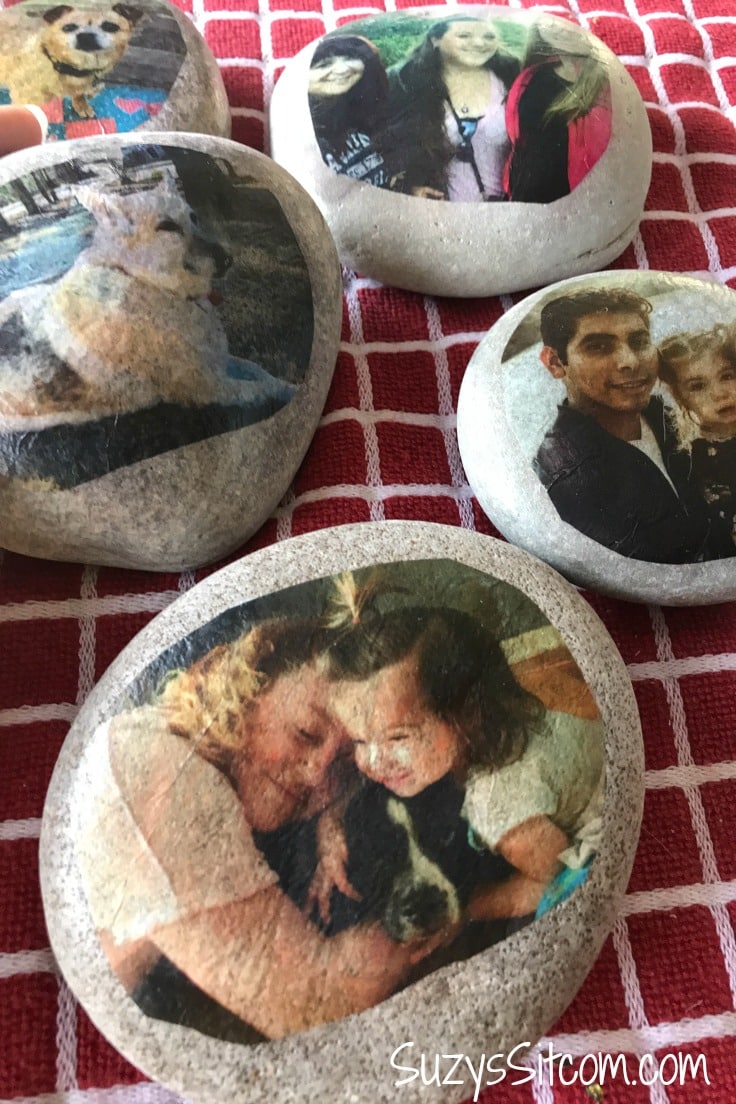
As the Mod Podge dries, the tissue paper will become translucent, allowing the various colors of the stone to show through. Your photo will take on the appearance of a painting.
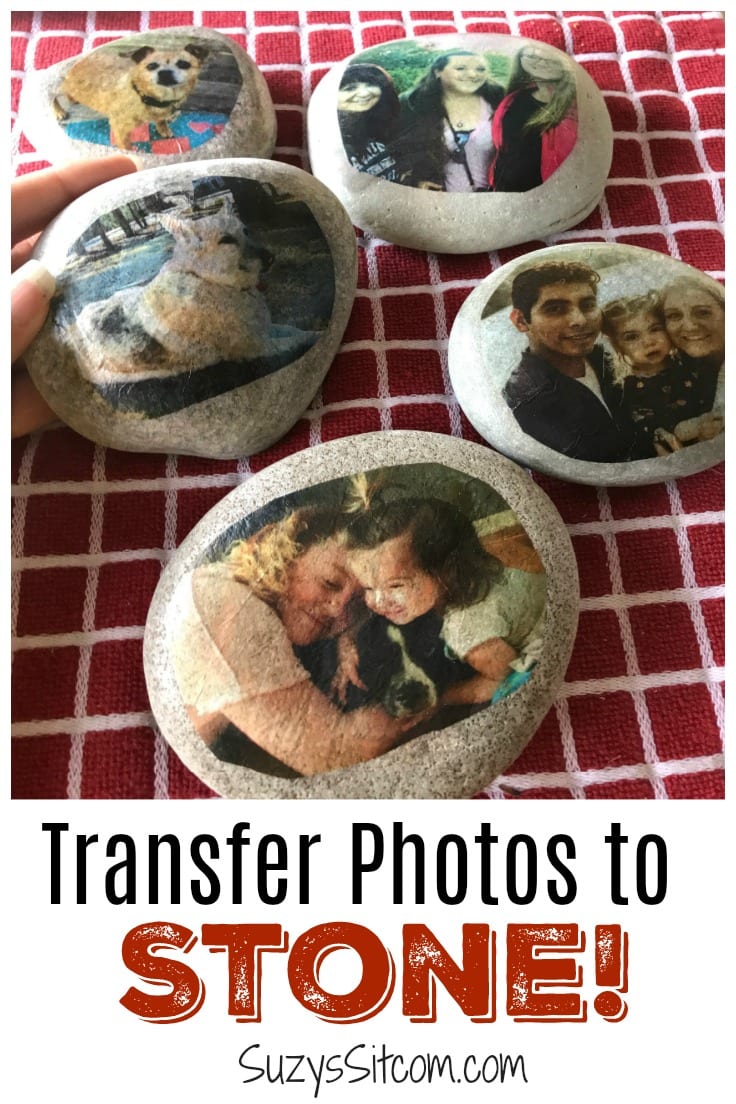
Such a simple project! The final result is a beautiful memory that can be kept a lifetime!
Love the ideas you see here on Ideas for the Home by Kenarry®? Subscribe today to get our FREE DIY & Craft Planning Calendar, plus our weekly Ideas in Your Inbox newsletter filled with creative tips and exclusive offers!
Do you love unique craft ideas?
If you enjoyed this tutorial on how to transfer photos to stone, then you may like some of my other unique craft ideas!
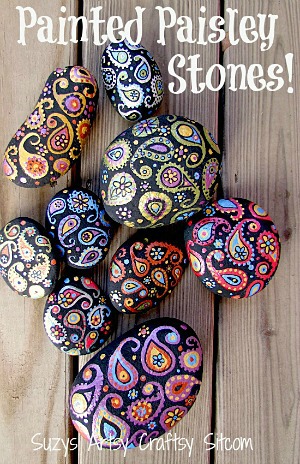
How to Paint Paisley Stones for your Garden!
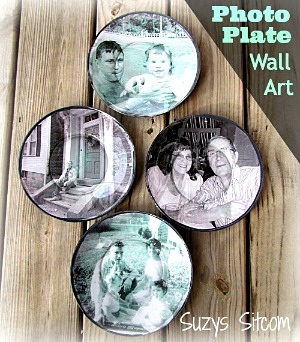
Make Pretty Decoupage Photo Plates!
You may also enjoy these 3 craft ideas on Ideas for the Home by Kenarry® –
Your process 4 the stone would that work for the mugs that’s u see people do with the modpoge and the expoxy? My niece and I are attempting to do a couple and that would be a neat idea to try?
Hi Mikki! My daughter makes those also! I would definitely try it! Keep in mind that the tissue paper becomes translucent. That would mean that any color in the mug would show through where there is no ink. So I would go with a white or stainless steel cup. It would also be fun to experiment with black and white prints! Would love to see what you make!
These mugs would not be washable then with jyst modge podge right?
Hi Debbie!
I am not sure if you’ve heard of Dishwasher-Safe Mod Podge, but it does the same type of sealing/gluing, and you can put it on the top-rack of your dishwasher (as opposed to traditional Mod Podge). However, keep in mind that any sort of Mod Podge is NOT food grade/safe, so when you’re using it on things like cups, mugs, wine glasses, etc., to leave space for your lips for drinking – OR better yet, use it more as a decorative piece!
– Lisa, Ideas for the Home by Kenarry Customer Care
Your stones look wonderful!I have a laser printer, can you Mod Podge with a laser print image?
Hi MaryLynn! A laser printer would work fine for this project! I’d love to see what you make!
Can you easily tear the edges of the print so it is not so straight ?
Hi Dianne,
It’s tissue paper, so yes – you could tear the edges of the print so it’s not so straight! I would just caution you to be careful and go slowly so you don’t tear off more than you intend.
Thanks for checking and good luck with your project! Suzy and I would love to see photos of how it turns out – please share on FB or Instagram and tag me @kenarryideas so we can see your awesome creation!
Thank you so much!
Best wishes,
Carrie
The best way to tear the tissue paper is to use a brush and water where you would like to tear
Thanks for the tip, Isabel!
Best wishes,
Carrie
Ideas for the Home by Kenarry
on the tissue paper do you print on shiny side or dull side?
Hi! The tissue paper that I used did not have a shiny side. With that said, I would say to print on the dull side. Hope that helps! Suzy
Hi Suzy!
I wonder if any tissue paper would get stuck in a printer. I have a home ink jet printer. What tissue paper did you use (table paper napkin, kithchen tissue…)? Did you use ordinary printing paper as the background while printing? Plaese, expalain. If it gets stuck inside the printer, I can only cry!
Thank you!
Hi Danka,
Read through the tutorial for step-by-step instructions and tips for how to keep the tissue paper from getting stuck inside the printer. Suzy used tissue paper like you would use for stuffing gift bags. You’ll find a link for it under the supply list. Do not use paper napkins or facial/kitchen tissue. She also used ordinary printer or copy paper for this project.
Make sure you place tape on the edges of all four sides so that it will not bunch up in your printer.
Happy crafting!
Best wishes,
Carrie
Ideas for the Home by Kenarry
What is Mod Podge please?
Hi Pat,
Mod Podge is the specific brand name of a glue like substance that’s used for decoupage and other types of crafting. If you look on Amazon or ask at a craft store, they’ll direct you to the Mod Podge. Hope that helps!
Best wishes,
Carrie
Ideas for the Home by Kenarry
Is this project waterproof afterwards? (Can you put it outside, in the shade) or should this be kept strictly indoors.
Mod Podge makes an outdoor version of the sealant. However, they advertise that it is water resistant rather than water proof. So my answer would be to keep them indoors. Hope that helps.
white glue mixed with water cost is a lot less then mod podge.
Hi Glen,
Thanks so much for sharing! We haven’t tried this process with white glue mixed with water. Please let us know how it works out for you!
Best wishes,
Carrie
Ideas for the Home by Kenarry
White glue with water could make the image cloudy., when dry. FYI
Hmmm. This isn’t actually a “transfer” where you modpodge the stone and place the photo ink side down and rub the photo (transfer) onto the stone, removing the paper. Both ways work but the title of your article is a little confusing.
That’s what I was thinking, since the tissue paper actually remains on the rock. So more like decoupage than transfer. Still looks nice though.
I was wondering what was your preparation of the Stone before you started your transfer? Also can the stone be painted first before transfer?
Hi Belinda,
Great question! Suzy used smooth stones that were polished smooth by the water. If necessary you could scrub your stone with soap and water first, but then allow it to dry completely. I believe you can paint the stone first before you do the transfer. Give it a try and let us know how it turns out.
Best wishes,
Carrie
Ideas for the Home by Kenarry
Can u use just regular printer paper instead of tissue paper ? Also I have a Brothers all in one printer and not sure if it’s the kind of printer your talking about? Can I use it ?
Hi Tammy,
It would be best to use tissue paper rather than regular paper for this project. When you use tissue paper, it conforms to the surface of the rock better than regular paper. Also, when you glue it on to the rock with Mod Podge, the tissue paper becomes translucent/clear so you can actually see the texture or pattern of the rock through the photo.
A Brother All-in-One printer can be a laser or ink jet printer depending on your model, but either could work for this project.
Good luck and happy crafting!
Best wishes,
Carrie
Ideas for the Home by Kenarry
We tried doing this – and the picture smeared on the tissue paper 😬 and can’t even tell it’s a photograph. Any tips ?
Hi Airka!
Thanks for letting know how your project went – I’m sorry to hear that the pictures smeared 🙁 We double-checked with the team and we do have a few tips for you!
It could be possible that the ink was not dry yet on the printouts. If you’d like to try again, we suggest painting the stone with Mod Podge, laying the photo down, and allow it to rest a few minutes until the bottom layer starts to dry and then coat the top.
Let us know how that goes! Of course, we are always here to help, so don’t be shy to reach out if you have any more questions. We love hearing from members of our community!
Best wishes,
Lisa, Ideas for the Home by Kenarry Customer Care
Wouldn’t printing on waterslide decal produce the same effect? Instead of rock, I have used 2″ self cover buttons. Printed photo image onto china silk and then assembled the button, adding gathered cotton lace edging tape
around the perimeter of the back piece before snapping it down. It’s a sepia tone of my mother I wear it on mother’s day.
Hi Sally,
We haven’t tried it with waterslide decals and aren’t familiar with them enough to know if it would work. What a beautiful idea to use that technique to create a special pin to honor your mother each year.
Best wishes,
Carrie
Ideas for the Home by Kenarry
Love this idea and loved Rudy’s haven’t been there in years.
We want to place printed words on rocks. DO we have to seal the rock before placing the tissue paper on it. What product do we use to seal? Ok, then we place the printed tissue on the rock. And What coating do we use on this step? After the tissues dries and we remove the tissue, what can we seal the letters with? Or does it need to be sealed?
Hi Janet,
First, coat the rock with a thin layer of Mod Podge then place your tissue paper on top. You do not need to seal the rock before placing the tissue paper on it, the Mod Podge will do that.
Once the tissue paper is on the rock, coat it with Mod Podge again. As the Mod Podge dries the tissue paper becomes translucent. You do not remove the tissue paper from the rock.
You do not need to seal the rock after the Mod Podge if you’re just going to display it indoors on a shelf or table.
Hope that helps! Happy crafting!
Best wishes,
Carrie
Ideas for the Home by Kenarry
This is a great idea and super simple!! Thanks for sharing.
I also commend you for your patience with people…. ?
Glad you like the idea, Shelley! We’d love to see how your stones turn out.
Best wishes,
Carrie
Ideas for the Home by Kenarry
Stone project looks great – I do have one question “Can a color laser printer be used instead of an ink jet printer – I use my ink jet so seldom the jets get clogged?”
A laser printer would work fine for this project! I’d love to see what you make! Suzy
Hi Suzy,
I love this project and plan to try it, but I want something that can stay outdoors in a garden. Is there something I could seal it with when I finish that won’t cause the image to blur or run?
I have not tried it, but I would assume that several coats of clear polyurethane sealant may protect it enough to put outdoors. However, I believe that the bright sun may eventually fade your photos. I would recommend it more for an indoor project.
I was so happy to see you enjoyed Association Island. We have camped there a few times and it is beautiful. We are from the Lake Ontario area and it is just wonderful. Love the picture stones idea.. the stones on the shores of Lake Ontario are so smooth and wonderful.
Hi Jan!
Thank you for your kind message – these picture stones are one of our favorite DIYs, so we’re happy that you enjoyed it too! If ever you end up making them (all thanks to the beautiful stones of Lake Ontario! :)), please let us know! We’d love to see your creation.
– Lisa, Ideas for the Home by Kenarry Customer Care