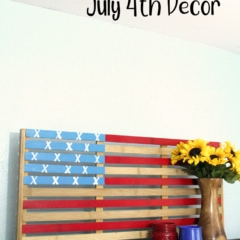
July 4th Decor: Painted American Flag
THIS POST MAY CONTAIN AFFILIATE LINKS. PLEASE SEE OUR FULL DISCLOSURE POLICY FOR DETAILS.
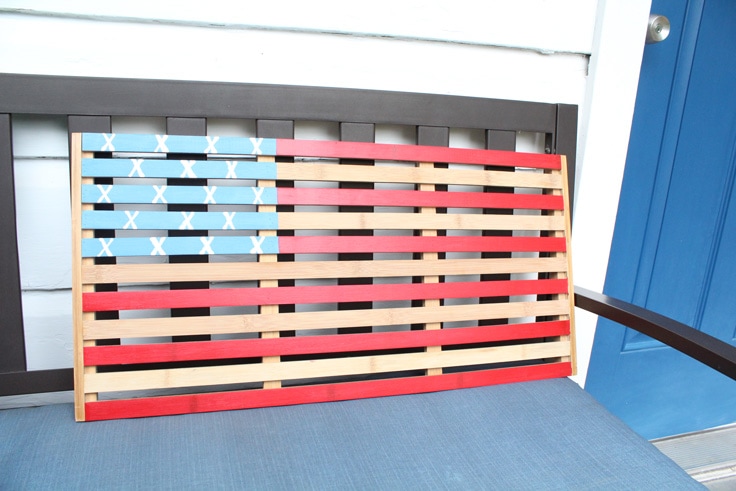
This beautiful painted American flag makes the perfect July 4th decor. You’d never guess that it’s made from a wooden bath mat!
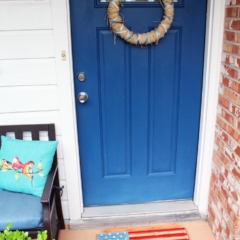
Hello! I’m Keri from One Mama’s Daily Drama. Last year I had the crazy idea to paint a wooden bath mat in rainbow stripes to use as a welcome mat on my front porch. It turned out so cute that I just had to try it again this summer. This time, I painted a wooden mat to resemble the American flag for July 4th decor.
And if you enjoyed this porch decor, then make an American Flag keychain to go with it!
My rainbow welcome mat gets a lot of foot traffic, but it’s held up perfectly. You could use this July 4th decor on your front porch or display it anywhere as a 4th of July decoration. Wooden bath mats are naturally waterproof and if you use outdoor paint, your artwork will be fine outside.
This one makes a beautiful piece of July 4th decor for your front porch, a patio, or on a mantle. The unpainted wood gives it a wonderful natural look that’s similar to Americana art.
For another fun summer craft, make this DIY popsicle stick decor summer sign! Or paint a wood craft for a DIY condiment caddy.
How to Make July 4th Decor From a Bath Mat
Although I think using a bath mat is quirky and fun, you could do this project with a mini wooden pallet or any other craft wood if you’re displaying it instead of using it as a welcome mat.
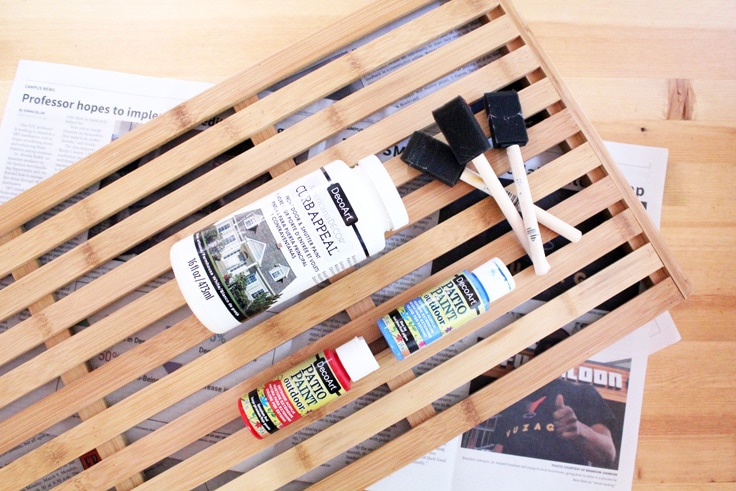
What you need:
Want more ideas like this? Subscribe today to get our weekly Ideas in Your Inbox newsletter plus other exclusive gifts and offers — all for FREE!
Craft/DIY Tools Needed:
- 1-inch foam paintbrushes
- sandpaper or Ryobi JobPlus multi-tool
Supplies Needed:
- wooden bath/shower mat
- newspapers
- painters’ tape
- red paint – I used DecoArt patio paint in geranium red
- white paint – I used DecoArt outdoor paint in picket fence white
- blue paint – I used DecorArt patio paint in blue jay
Instructions:
1. Sand the wooden bath mat.
Start by lightly sanding the wooden bath mat to remove any finish. I had my husband do it with his Ryobi multi-tool, but you could use sandpaper instead. I only sanded the top slats where I planned to paint, not the outside edges. Be sure to wipe off any sawdust with a dry cloth.
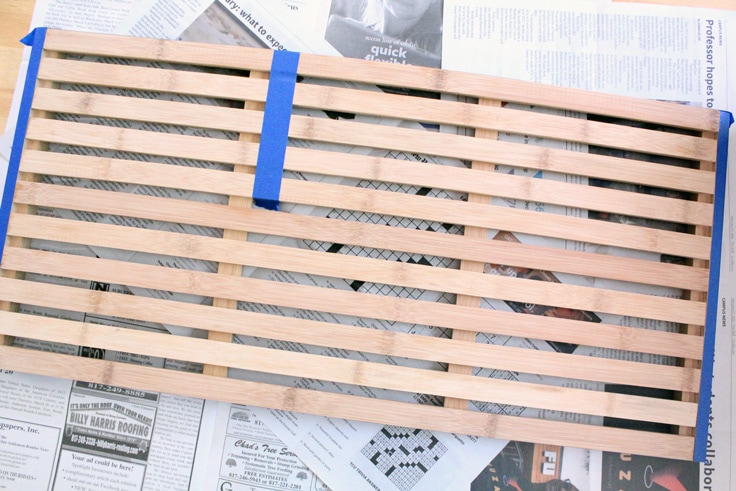
2. Tape the edges and mark the corner.
Then cover your workspace with newspapers in case your paint drips. Use the painters’ tape to cover the outside 4 edges where the wood will stay natural. Also tape a section for the blue field of the American flag that includes about 1/2 the height and 1/3 of the width of the flag.
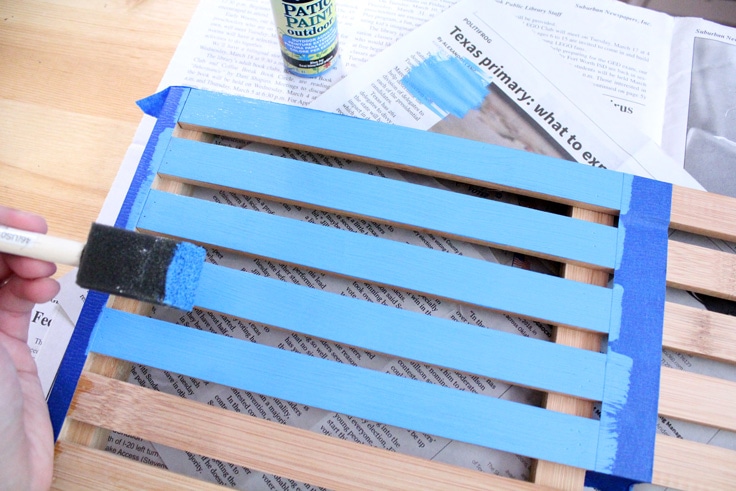
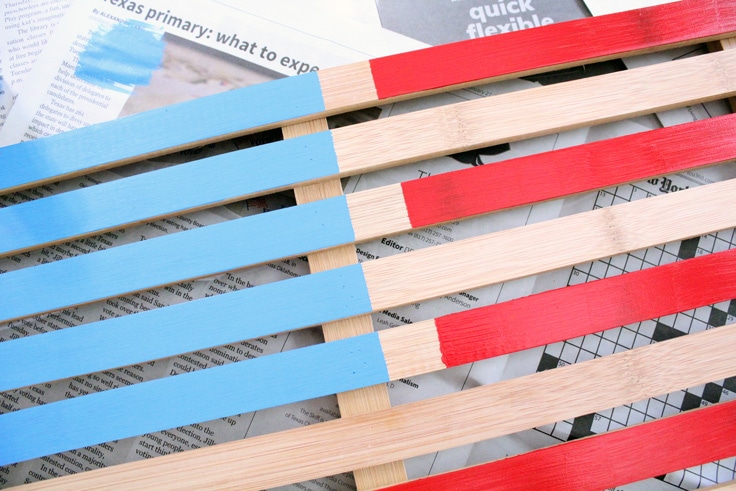
3. Paint the blue field section.
Using the blue paint and a sponge brush, paint the slats in the taped corner blue. Follow the directions on your paint to add a second coat if necessary. I was able to brush on a second coat within a few minutes. Paint the next section while this one dries to the touch.
4. Paint the red bars section.
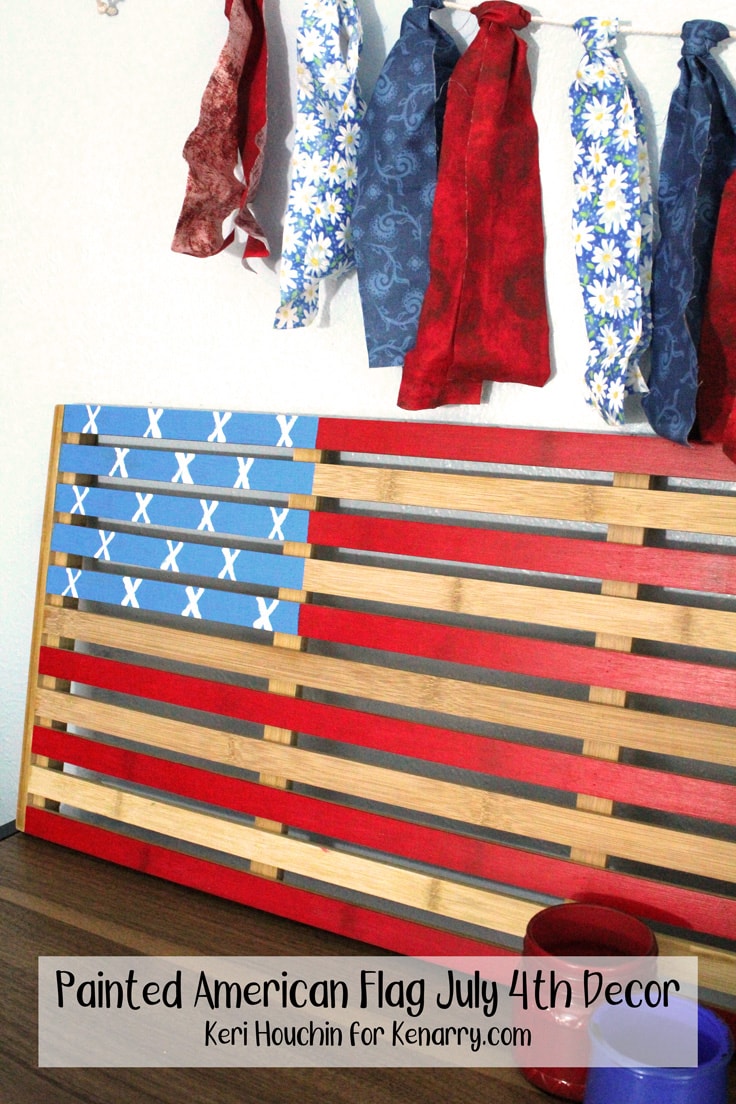
Start with the topmost slat and use a sponge brush to paint every other slat red. While this isn’t an exact replica of the American flag, I wanted it to look mostly accurate. If your bath mat has an odd number of slats, the outside slats should be red. (Mine has 11.)
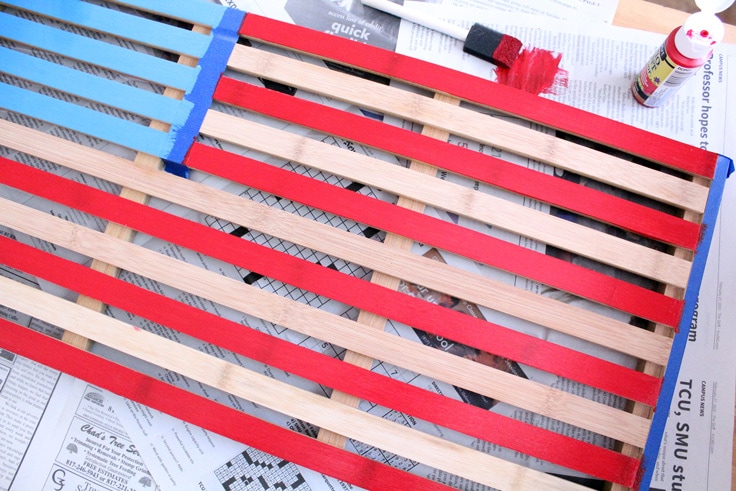
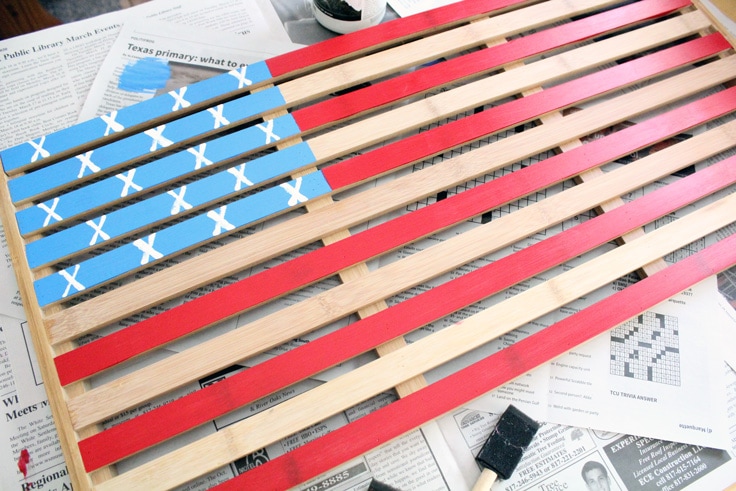
5. Remove the tape and touch up the red.
When the blue paint is dry to the touch, remove all the painters’ tape. You’ll notice a gap where the tape separated the blue and red. Touch up that section by carefully painting red up to the edge of the blue.
You could paint the other slats white, but I really like the natural wood look, so I left mine unpainted.
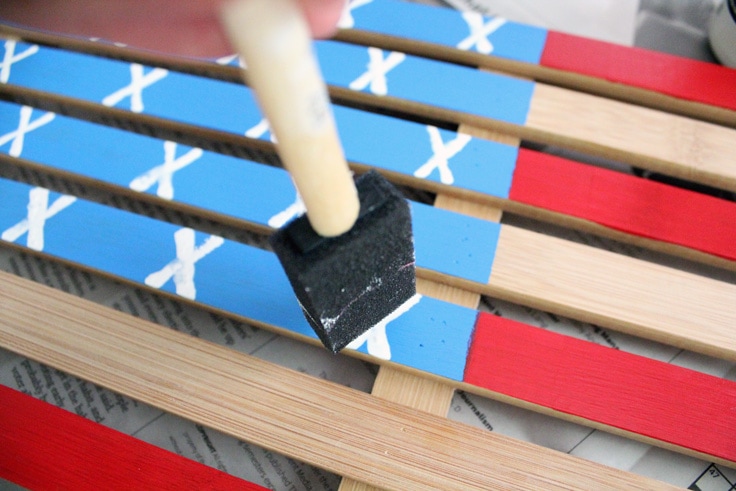
6. Add the white stars.
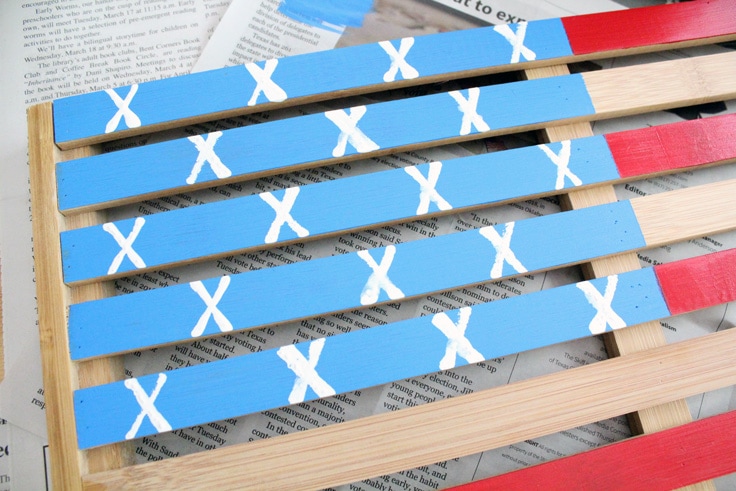
Use a sponge brush to make little Xs where the stars go on the blue field. Dip the tip of the sponge brush into the white paint and gently press it onto the slats, then repeat to make the X. You’ll only need a little pressure to make a mark; you might want to make a practice X on the newspaper before painting them on the flag.
Repeat the Xs in a grid across the blue slats. Mine are in alternating rows of 4 and 3 for a total of 28 Xs.
Let the whole thing dry according to the paint directions, at least overnight. If you’re using outdoor paint or won’t be leaving your July 4th decor outside, there’s no need to add a clear coat finish.

Styling Your July 4th Decor
There are tons of ways you can display your finished painted American flag.
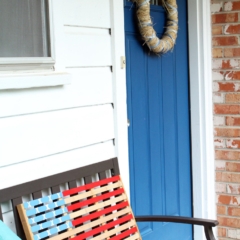
leaning on a table or bench outdoors
This wooden American flag can jazz up your porch. Show it off on a bench or against the wall.
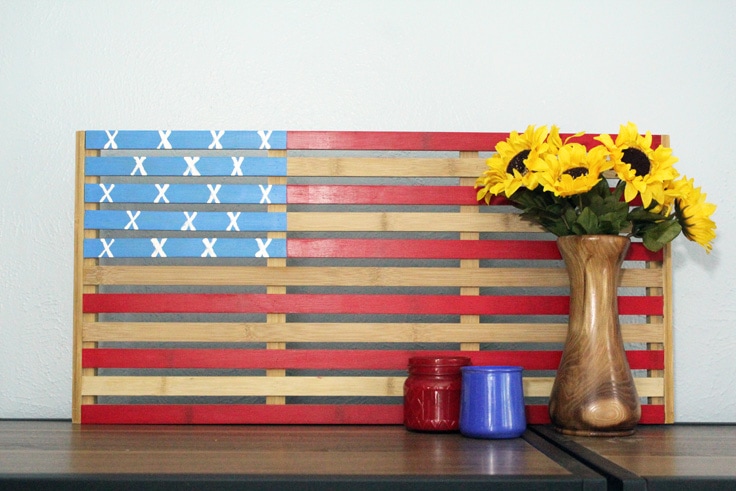
on a mantle or bookshelf
If you want to add some patriotic decor inside, place it on your mantel or bookshelf.
What’s Next?
If you enjoyed this July 4th decor tutorial then you’ll enjoy these other red, white, and blue crafts too.
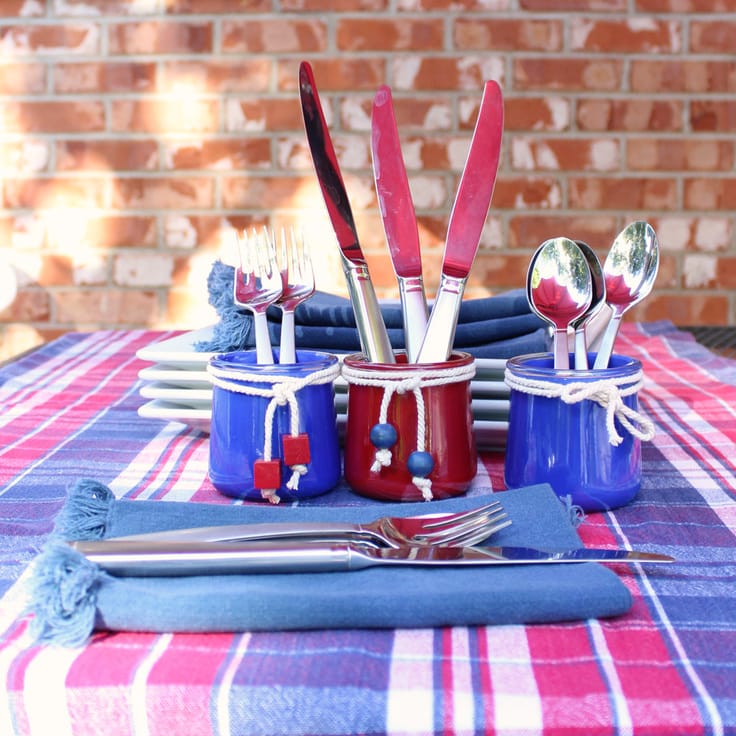
DIY Silverware Holder for Cookouts
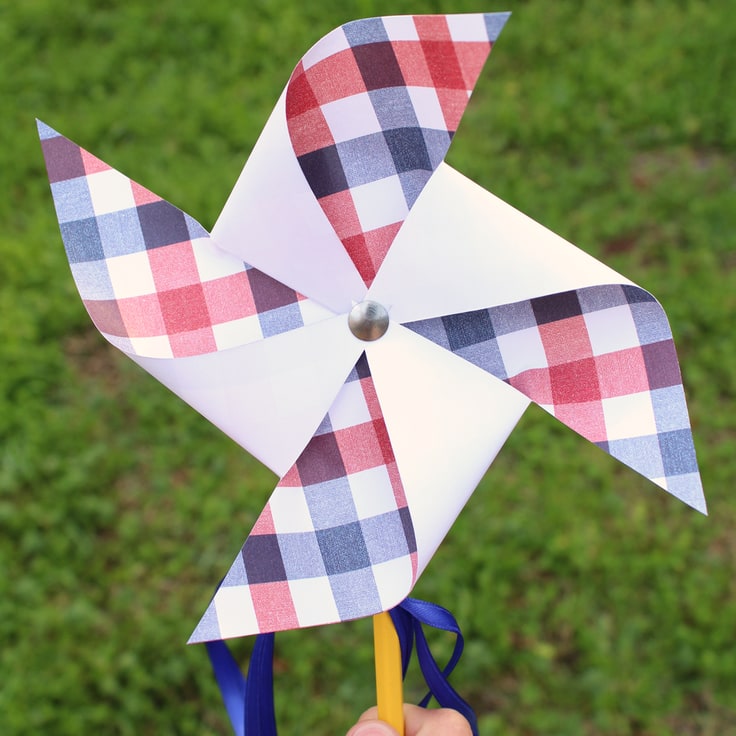
Patriotic 4th of July Pinwheel Craft
You may also enjoy these July 4th ideas on Ideas for the Home by Kenarry® –