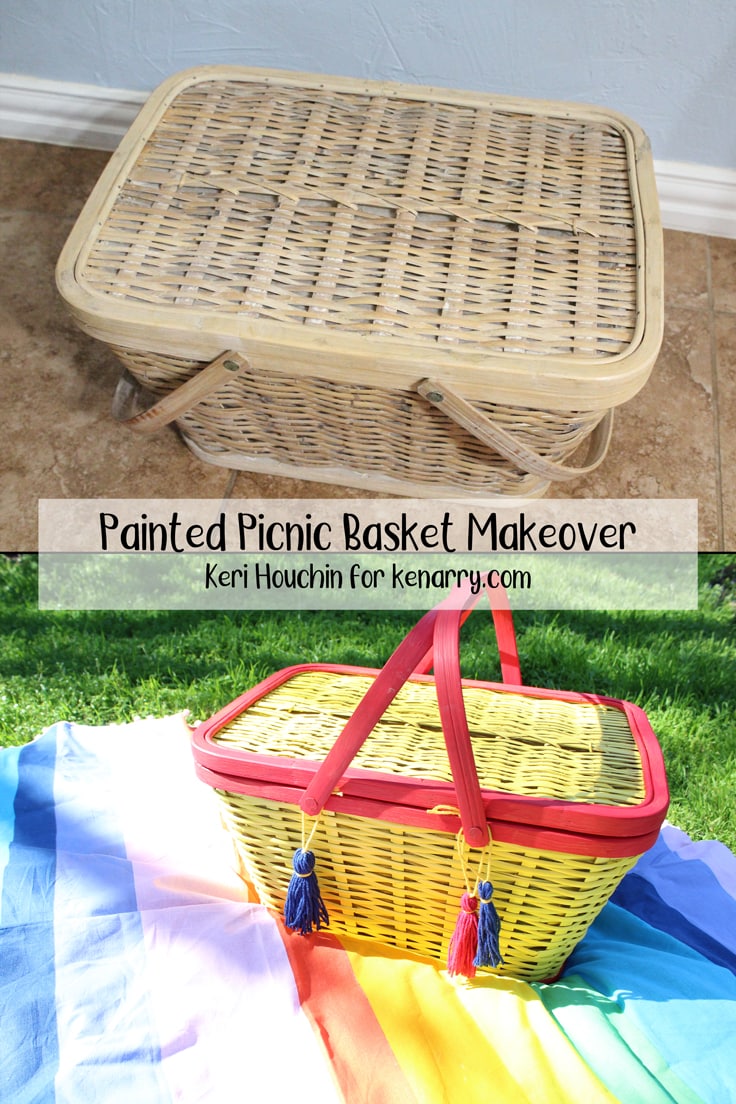
Painted Picnic Basket Makeover
THIS POST MAY CONTAIN AFFILIATE LINKS. PLEASE SEE OUR FULL DISCLOSURE POLICY FOR DETAILS.
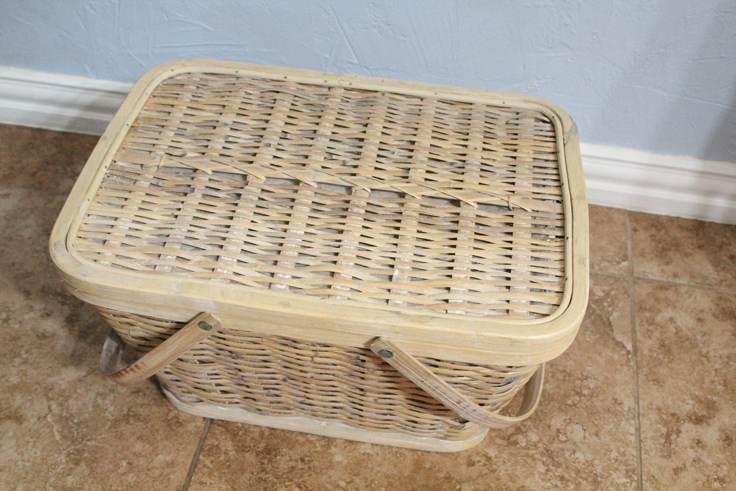
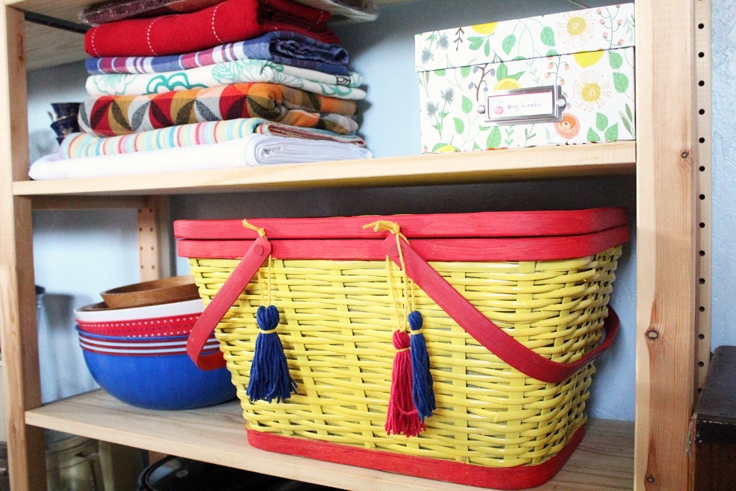
A thrift store find gets a bright, new coat of paint and a new job as a storage bin in this painted picnic basket makeover.
I’m Keri from One Mama’s Daily Drama. I love organizing and colorful decor, so this painted picnic basket makeover was a ton of fun to do. Even if you prefer a more subtle color scheme, I think you’ll find this project inspiring.
Organizing the kitchen can be overwhelming, particularly if it’s the main hub of your home. Mine serves as the place where we cook, eat, and store a lot of the household items like party supplies.
When it comes to any room in the house, sometimes you just have to hide the clutter. That’s exactly what I did when I painted this picnic basket and turned it into party supply storage.
How to update a picnic basket
Of course, this tutorial will work with any type of basket, especially if it has a lid. After I finished this project, I found a few more baskets and painted them to match.
What you need:
Want more ideas like this? Subscribe today to get our weekly Ideas in Your Inbox newsletter plus other exclusive gifts and offers — all for FREE!
Craft/DIY Tools Needed:
Supplies Needed:
- Picnic basket
- Spray paint – I used Rustoleum Paint + Primer Gloss in sun yellow
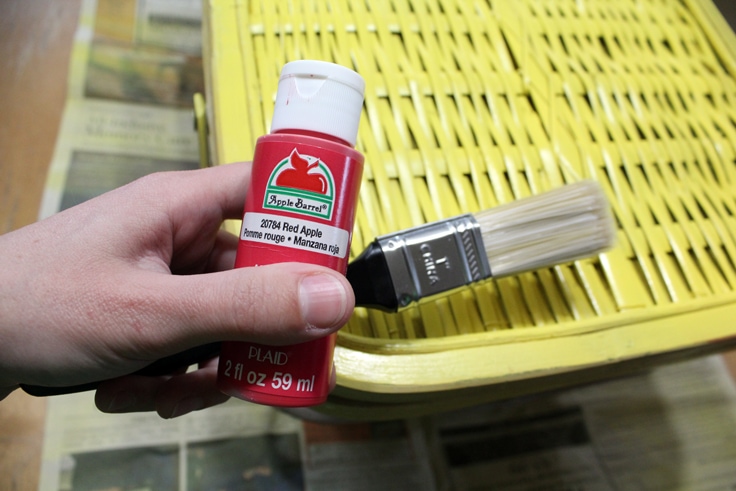
- Craft paint – I used Plaid red apple
- Newspaper, to protect work surfaces
- Cotton yarn in coordinating colors
Instructions:
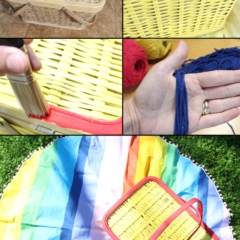
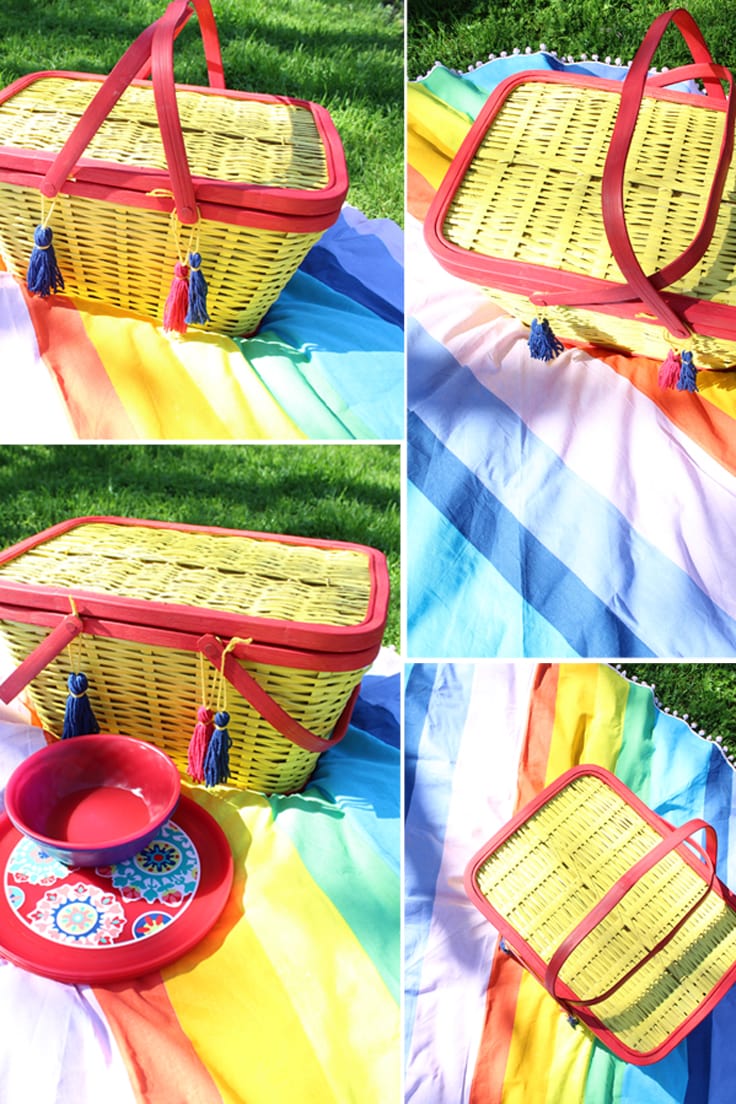
1. Paint the body of the picnic basket
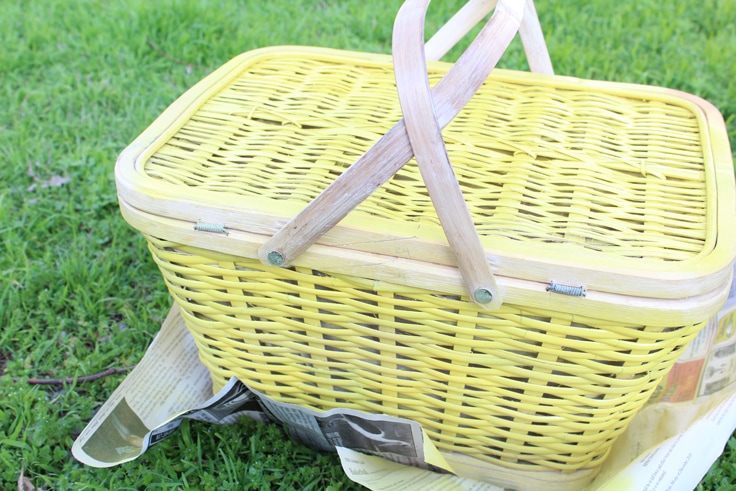
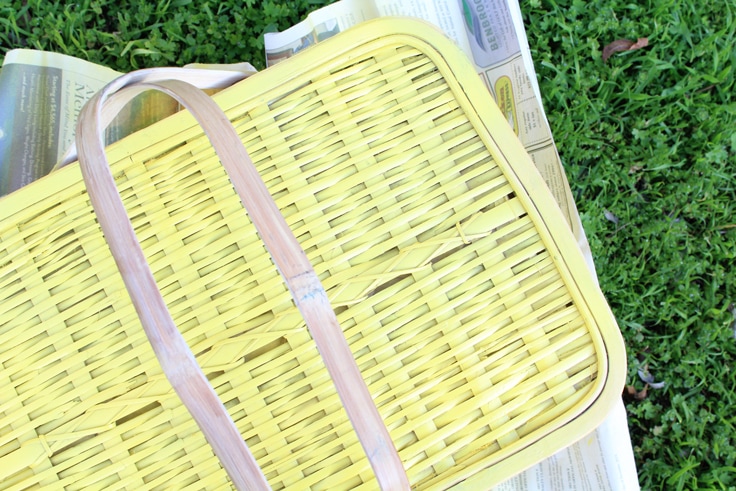
Start by painting the main color on the picnic basket. I set my basket up outside on a few sheets of newspaper, then spray painted it with the Rustoleum sun yellow.
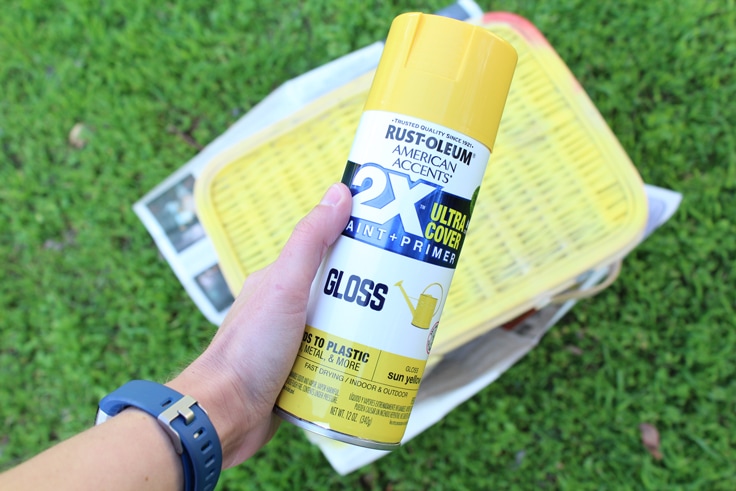
The trick to spray paint is to do several light coats, rather than one heavy coat. I ended up needing just two coats on my basket.
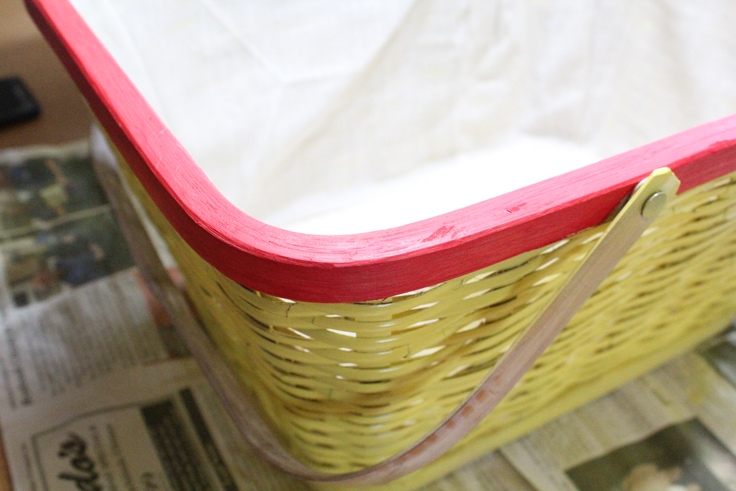
2. Paint the picnic basket accents
Next, paint the trim and any accent details. I moved my picnic basket indoors and painted the top and bottom edges, plus the handle, using a paintbrush and the Plaid red apple.
Let the paint dry according to the package directions. Overnight is ideal.

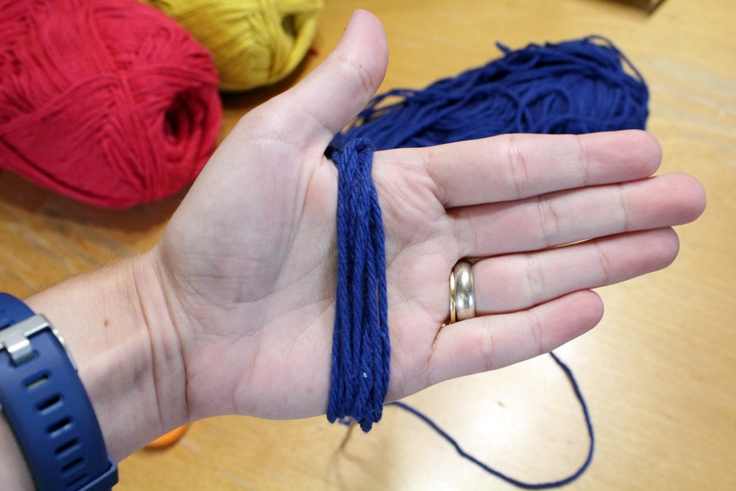
3. Make the yarn tassels
I decided the basket needed a little something more, so I made a few tassels from cotton yarn to hang from the handles.
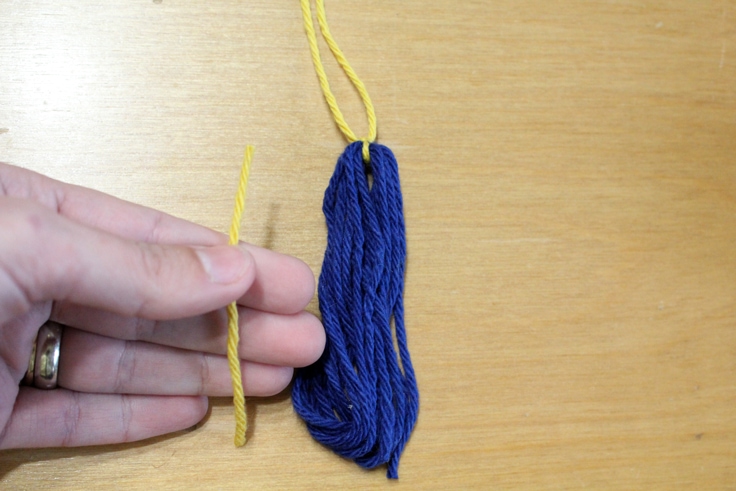
Start by wrapping the yarn around your hand about 20 times.
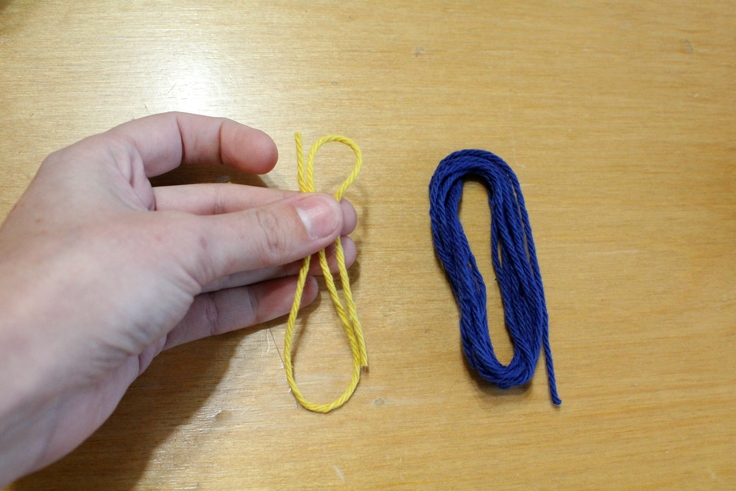
Carefully slide it off and cut a second piece of yarn that’s roughly 3 times the length of the bundle.
Then loop that piece of yarn through the top of the bundle and tie it securely.
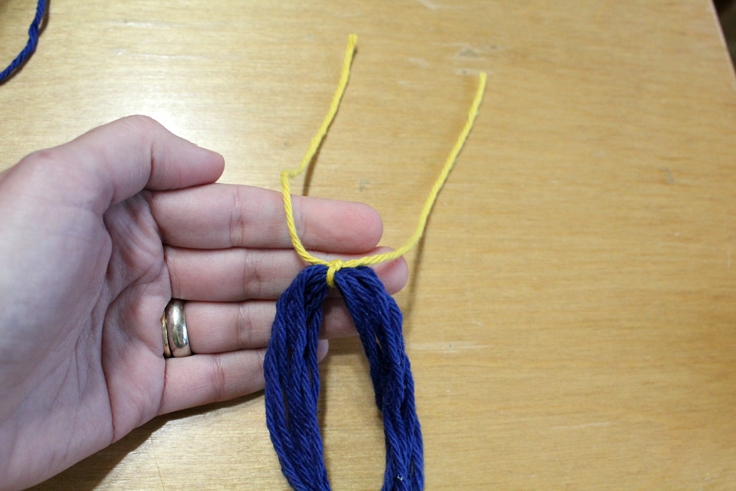
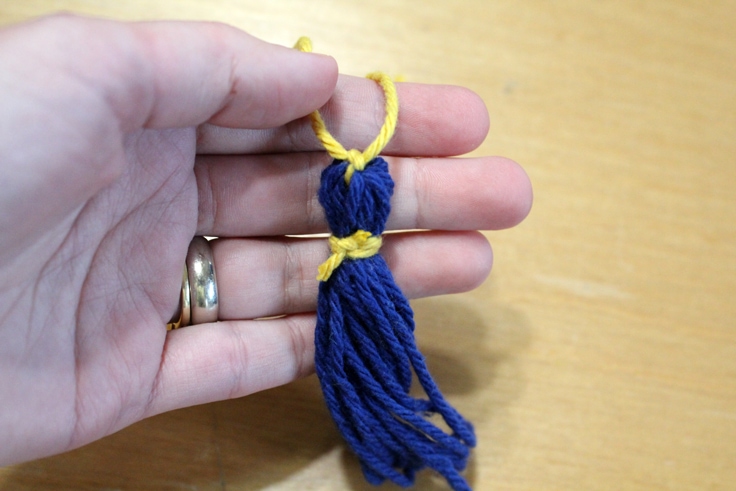
Next, cut a third piece of yarn that’s roughly the length of your tassel.
Shape the top of the tassel and tie the shorter piece of yarn around it, roughly 1/4 the distance from the top.
To finish, use scissors to cut open all the dangling loops and fluff the tassel.

I made 3 tassels for my picnic basket. You can easily vary the size of the tassel, depending on how many times you loop the original yarn around your hand.
As a guide, the tassels below are 10, 20, and 30 times around.

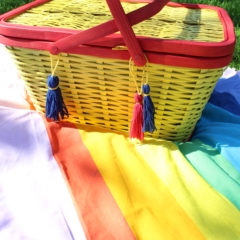
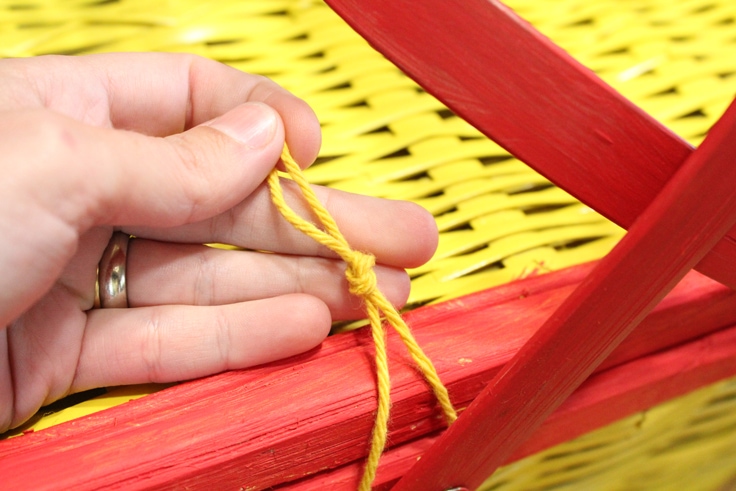
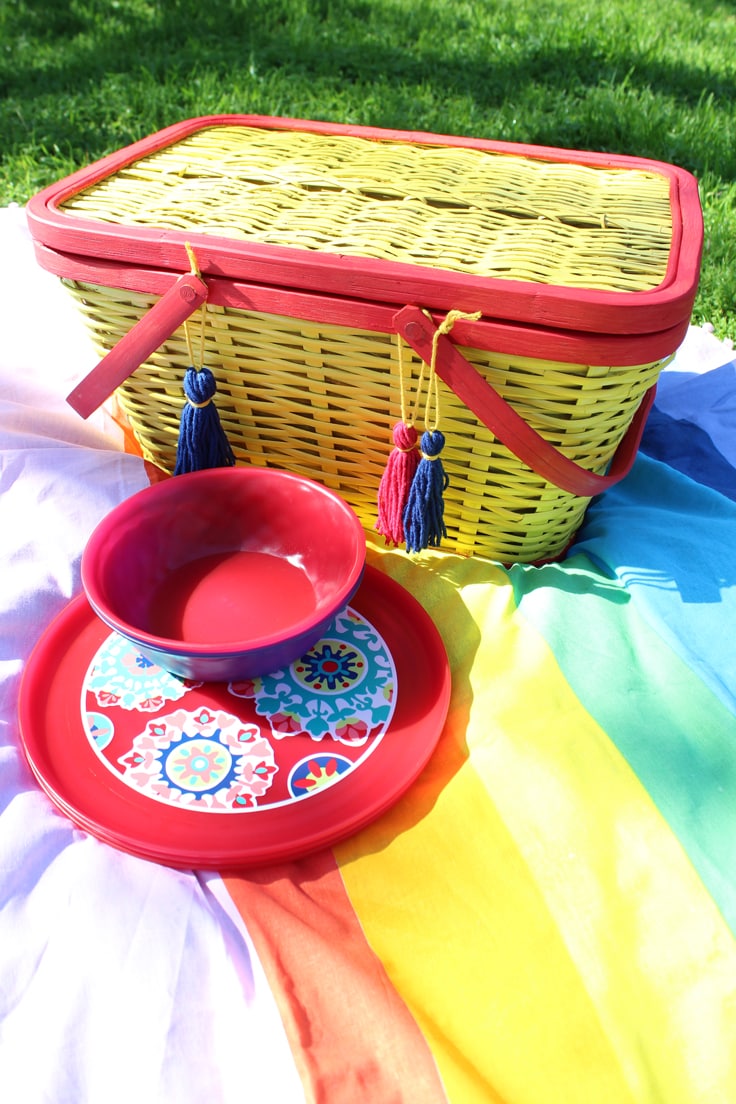
4. Attach the tassels to the picnic basket
Finally, tie each tassel onto the picnic basket.
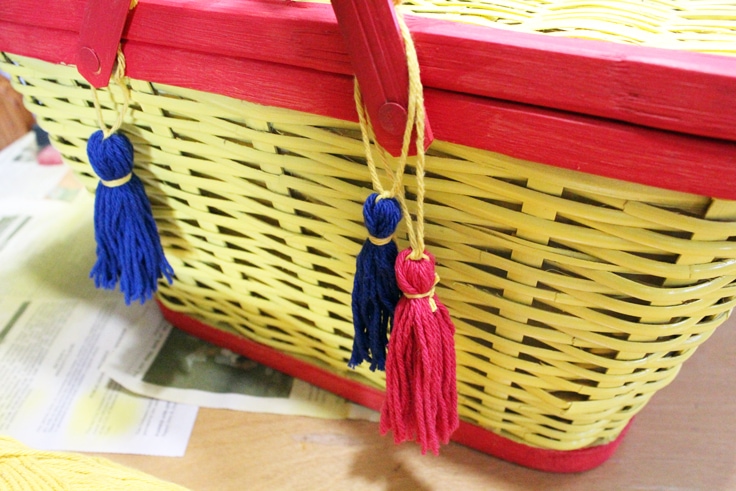
Fill the basket with whatever supplies you need to store. I used mine to store party supplies, but of course, you could still use it as a picnic basket too.
Love the ideas you see here on Ideas for the Home by Kenarry®? Subscribe today to get our FREE DIY & Craft Planning Calendar, plus our weekly Ideas in Your Inbox newsletter filled with creative tips and exclusive offers!
What’s Next?
If you enjoyed this painted picnic basket makeover then you’ll enjoy these other creative ways to organize your kitchen too.
How to Organize Your Refrigerator and Freezer

Printable Herb and Spice Inventory
Sticky Note Menu Planning System
You may also enjoy these kitchen and home organizing ideas on Ideas for the Home by Kenarry® –