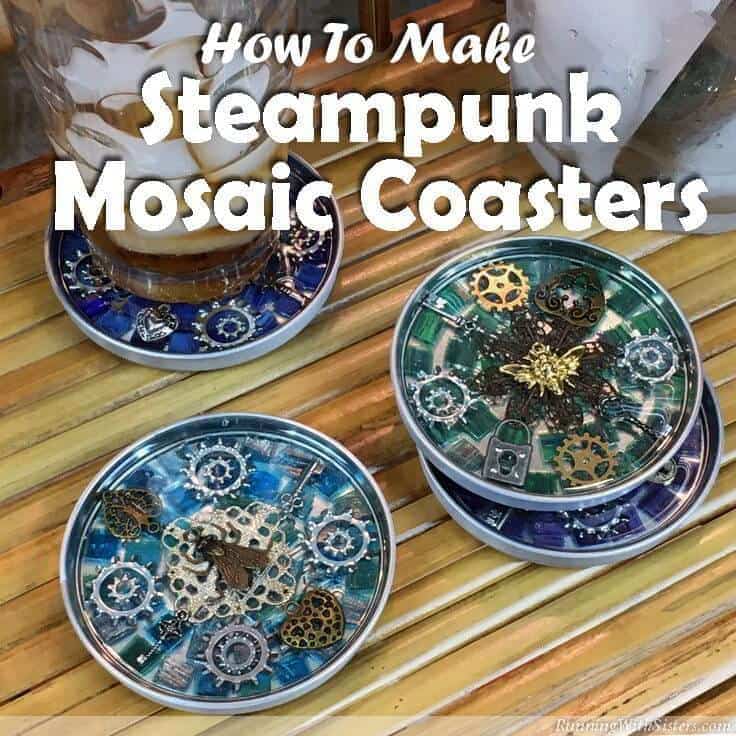
Steampunk Mosaic Coasters: How To Mosaic With Resin
THIS POST MAY CONTAIN AFFILIATE LINKS. PLEASE SEE OUR FULL DISCLOSURE POLICY FOR DETAILS.
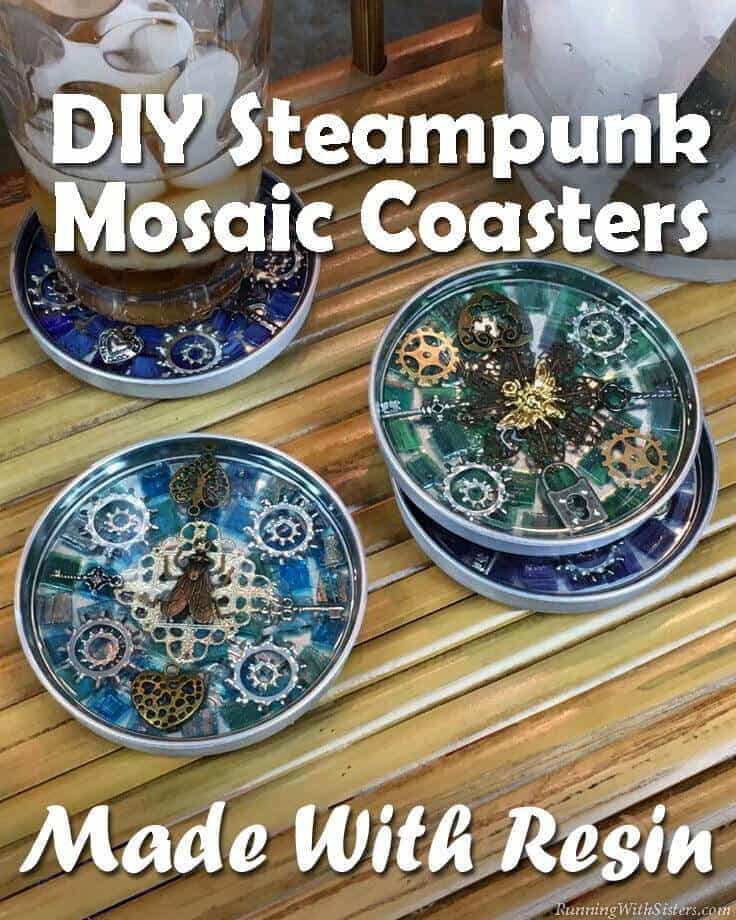
Make DIY Steampunk Mosaic Coasters for your home using clear resin. Learn how to mix and pour resin to show off your steampunk mosaic!
Hello Kenarry readers! We’re Jennifer and Kitty from Running With Sisters, and we have an amazing project to share with you just in time for the holidays! These Steampunk Mosaic Coasters are not only great for entertaining, they make unforgettable gifts!
Want more ideas like this? Subscribe today to get our weekly Ideas in Your Inbox newsletter plus other exclusive gifts and offers — all for FREE!
We love to mosaic with resin because it’s crystal clear, letting the beauty of the tiles and goodies shine through. If you’ve never used resin before, don’t worry––the trick is in the mixing. And we’re going to show you how to get a proper mix every time! We’re even including a video so you can see how to mix the resin step by step. It’s easier than you think! And when you serve your guests on these amazing DIY coasters, you’ll be the toast of the holiday party!
If you want to make your own Steampunk Mosaic Coasters, just follow the steps below. You’ll be amazed at the results!
How To Make Steampunk Mosaic Coasters With Resin
You’re going to love learning how to make mosaic designs with resin. It’s just as easy as making resin bookmarks – and adds flair to your decor.
Materials for each coaster:
- 1 jar lid, 3¼” to 3½” diameter
- 40 vitreous glass mini tiles, 3/8”
- Stamped metal filigree round, 1½” to 2″ diameter
- Stamped metal bee, 1″
- 2 Locking washers, 1″ diameter
- 2 Locking washers, ¼” diameter
- 1 heart charm
- 1 lock charm
- 2 key charms
- 4 self-adhesive felt bumper pads
Supplies:
- Spray paint, silver
- Permanent adhesive glue
- Envirotex Lite Pour-On Finish (resin and hardener)
- 4 straight-sided cups
- 2 paint stirring sticks
- Protective gloves
- Protective goggles
- Timer (we used a cell phone!)
- Toothpick
Here’s What To Do
1. Paint and Prep The Jar Lids
Start by collecting jar lids. We’ve made these coasters using salsa jar lids, cookie tin lids, and peanut butter lids. Just make sure the lids are metal (not plastic) and big enough to rest a glass on! Wash and dry your lids and spray paint them silver. When dry, stick four felt pads to the bottom of each lid.
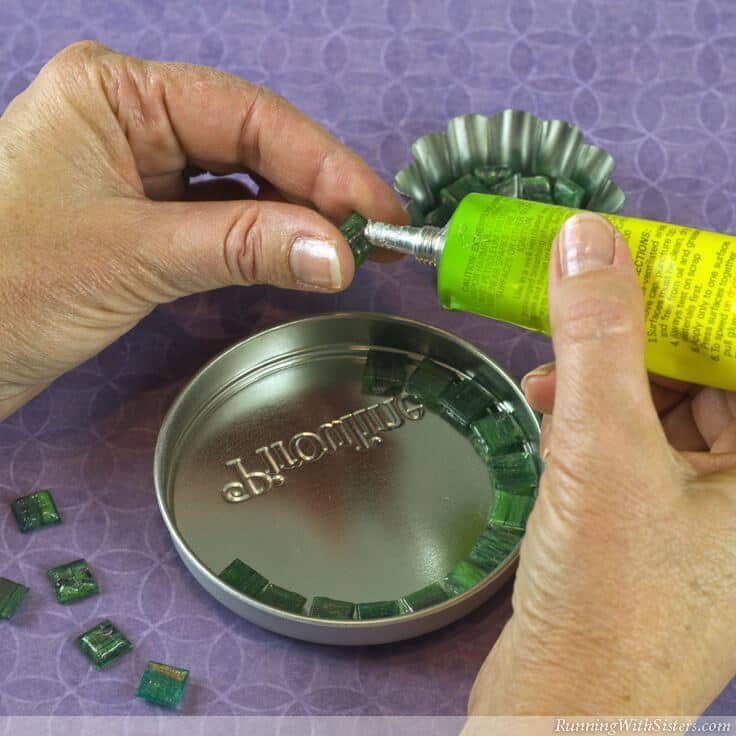
2. Glue Down The Tiles
Next glue the mosaic tiles into each lid. We chose different color tiles for each coaster, but you could make them all match. Put a small dab of glue on the rough side of each tile and arrange them in a circle to make a border. Then glue tiles in the center.
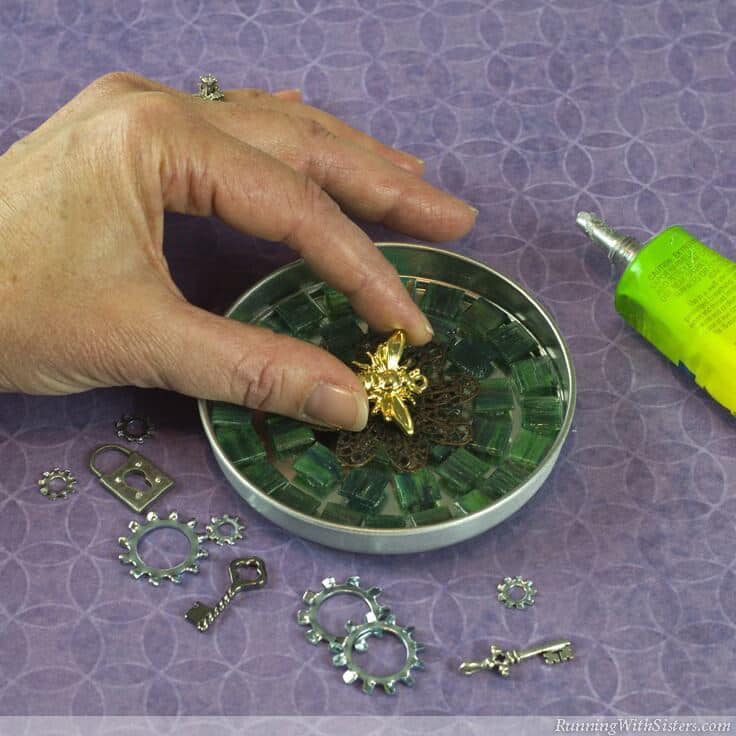
3. Glue On The Steampunk Goodies
We love mixing gears, locks, and keys with brass bees and dragonflies for a little steampunk chic! To layer these goodies into the coasters, start by gluing the filigree on top of the tiles. Then center and glue the metal bee on top. (Or glue down whatever you chose to be your centerpiece. Just make sure the item is below the rim of the lid so it won’t protrude above the resin surface.) Arrange and glue down the locking washers. We love these washers. They look just like gears and are really cheap at the hardware store. Next, glue on the charms.
4. Mix The Resin
Now comes the resin, but before you mix up the magic, make sure you are ready to pour. Once the resin is mixed, you need to pour immediately. So, cover your work surface and make sure it is level. Put on your gloves and protective eyewear. And be sure to work in a ventilated area.
Here’s a video we made showing how we mix the two-part resin.
How To Mix The Resin
Pour the resin in one cup and pour the hardener in another making sure the two amounts are the same. (This is important!) Our coasters used about 2-3 ounces of mixed resin each adding up to about 12 ounces total. This is a lot of resin to blend at once, though, so we did it in two batches. First we mixed up 3 ounces of resin with 3 ounces of hardener to fill two of the coasters. Then we repeated the process. If you do it in batches, be sure to use new, clean cups for every step!
Once you have measured, pour the entire contents of each cup of resin and hardener into a third cup. Stir the mixed resin together with a paint stirring stick for two minutes. Scrape the bottom of the cup during stirring. Also scrape the resin off the stir stick and back into the mix, then continue mixing. After two minutes, pour the mixed resin into a fourth clean cup. Mix again for one minute using a clean paint stirring stick.

5. Pour The Resin
Pour the resin mixture over the contents of the coaster spreading the resin evenly over the tiles and steampunk goodies. Tip the lid to evenly distribute the resin to the edge. Make sure you have covered all the embedments with resin.
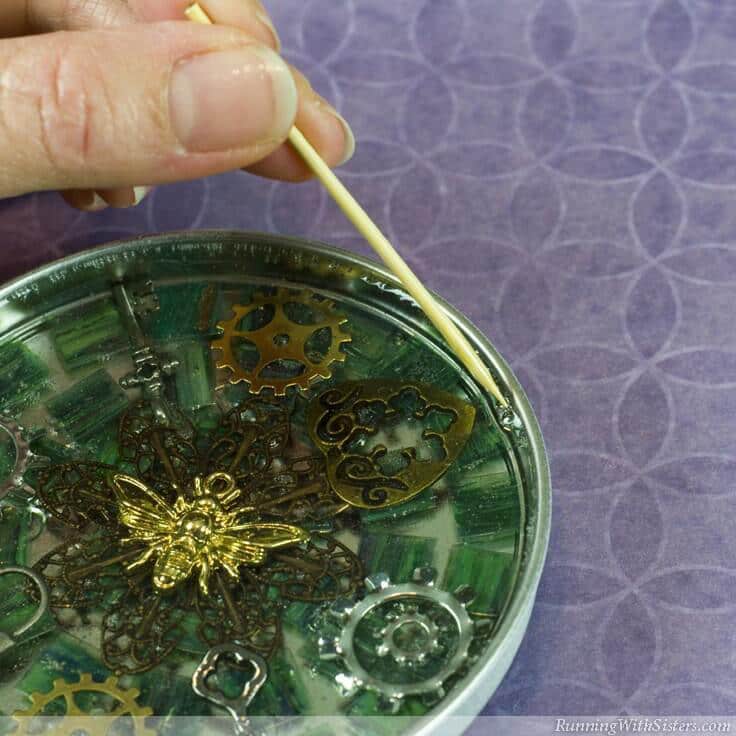
6. Pop The Bubbles
Five to fifteen minutes after pouring the resin, little bubbles will appear. These are part of the process. Exhale gently over the surface of the coaster to release the bubbles. (The carbon dioxide in your exhaled breath releases the bubbles.) You can pop the big bubbles with a toothpick.
Let the coasters cure in a dust-free area on a level surface for 48 hours.
If you’d like to share this idea, you can pin this photo:
We hope you have fun making your own mosaic coasters. And remember if you have any questions or comments while you’re working on your project, you can post a comment and we’ll respond. We’re here to help!
Happy Crafting,
Jennifer & Kitty
Want to see more crafts from the O’Neil Sisters? You might like…
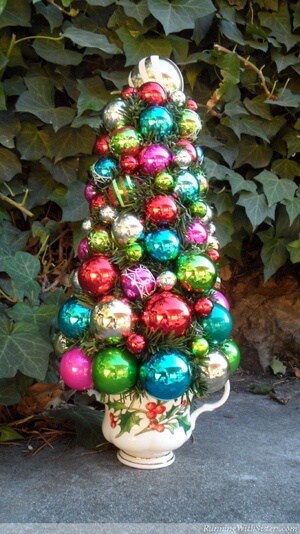
Christmas Ornament Teacup Topiary
Love the ideas you see here on Ideas for the Home by Kenarry®? Subscribe today to get our weekly Ideas in Your Inbox newsletter plus other exclusive gifts and offers — all for FREE!
What’s Next?
While you’re here, be sure to check out other craft projects on Ideas for the Home by Kenarry® –


thankx for the ideas.
another way to get rid of bubbles is a heat gun or maybe a hair dryer will do
Thanks for letting us know, Shawn. That’s a great idea to try.