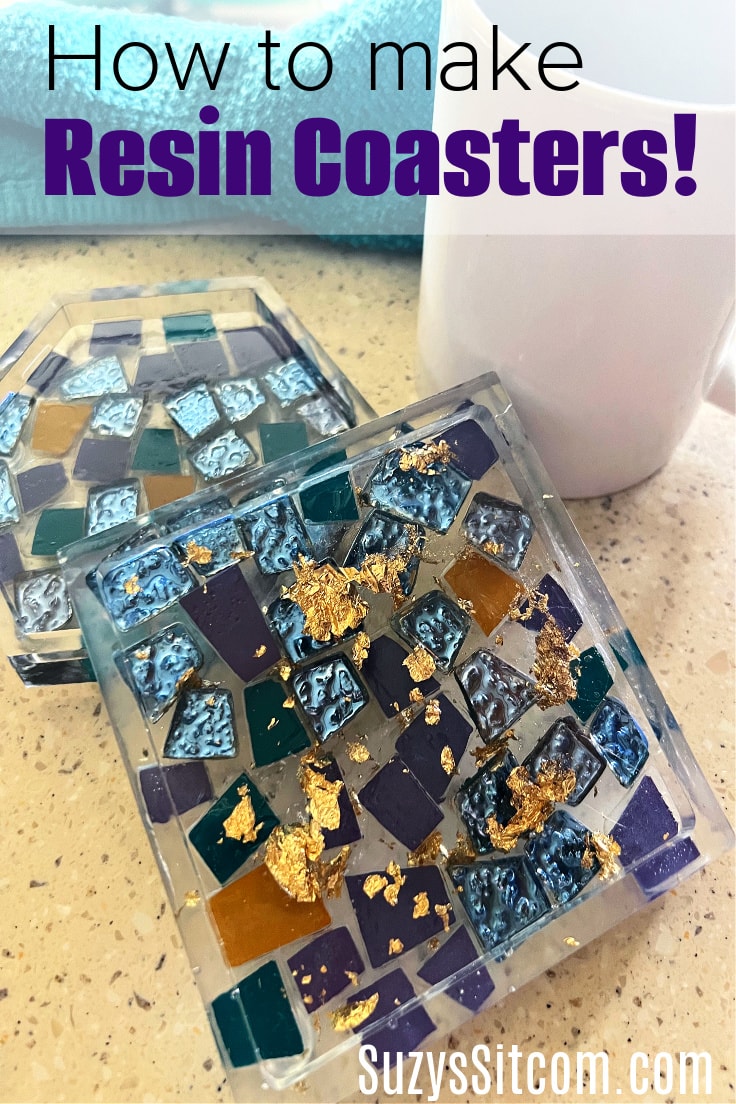
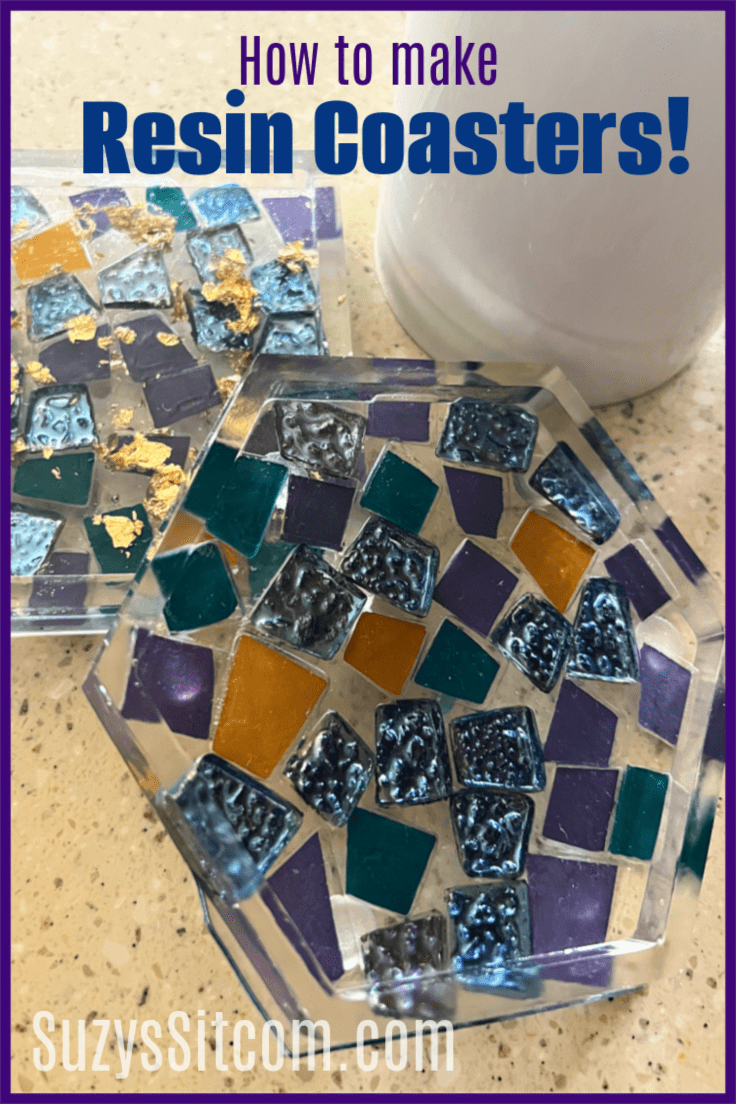
How to Make Resin Coasters
THIS POST MAY CONTAIN AFFILIATE LINKS. PLEASE SEE OUR FULL DISCLOSURE POLICY FOR DETAILS.
Create pretty coasters with resin and tiles. Resin is simpler to use than you might think, and what could be more decorative and useful than a beautiful coaster? Add a unique touch to your home decor with these fun to make resin coasters.
Working with resin is a simple process as long as you closely follow the instructions on the resin, and have some patience with drying time. I tend to take shortcuts on those things and working with resin forced me to work on both following instructions and keeping my fingers off the nearly finished product. In the end, I was rewarded with some beautiful coasters!
This is Suzy from Suzy’s Sitcom and as you may already know, I live and craft in a RV as we travel around the country. Working with resin posed some difficulties as I needed a place to leave my project while it dried and room in the coach is very limited. I had to be creative in more ways than one!
And as a side note, you will see that I started with three coasters and ended up with two. How did that happen? Let me help you learn from my mistakes!
How to make Resin Coasters
Don’t let me discourage you. This is a super fun project! Just go slowly and follow the directions on the resin. Before you know it, you will have some beautiful coasters!
The entire tutorial is in a printable card at the bottom of this post. But first, here is a little bit of info about the tools and supplies you’ll need.
Want more ideas like this? Subscribe today to get our weekly Ideas in Your Inbox newsletter plus other exclusive gifts and offers — all for FREE!
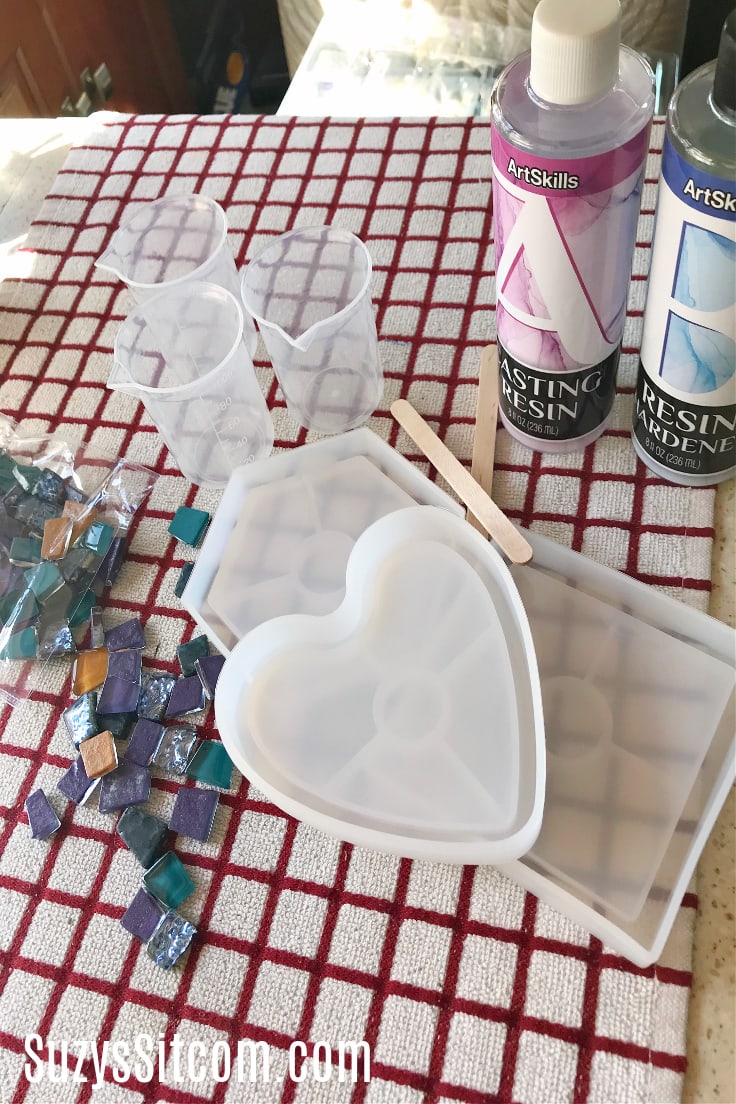
Supplies:
- Epoxy Resin Kit (includes resin, hardener, disposable measuring cups, stir sticks
- Silicone Coaster Molds
- Small glass tiles
- Gold Leaf Flakes (optional)
- Rubber Feet for finishing
Preparing the Workplace
Be sure to begin by covering the area that you are working on. Resin is difficult to remove from surfaces.
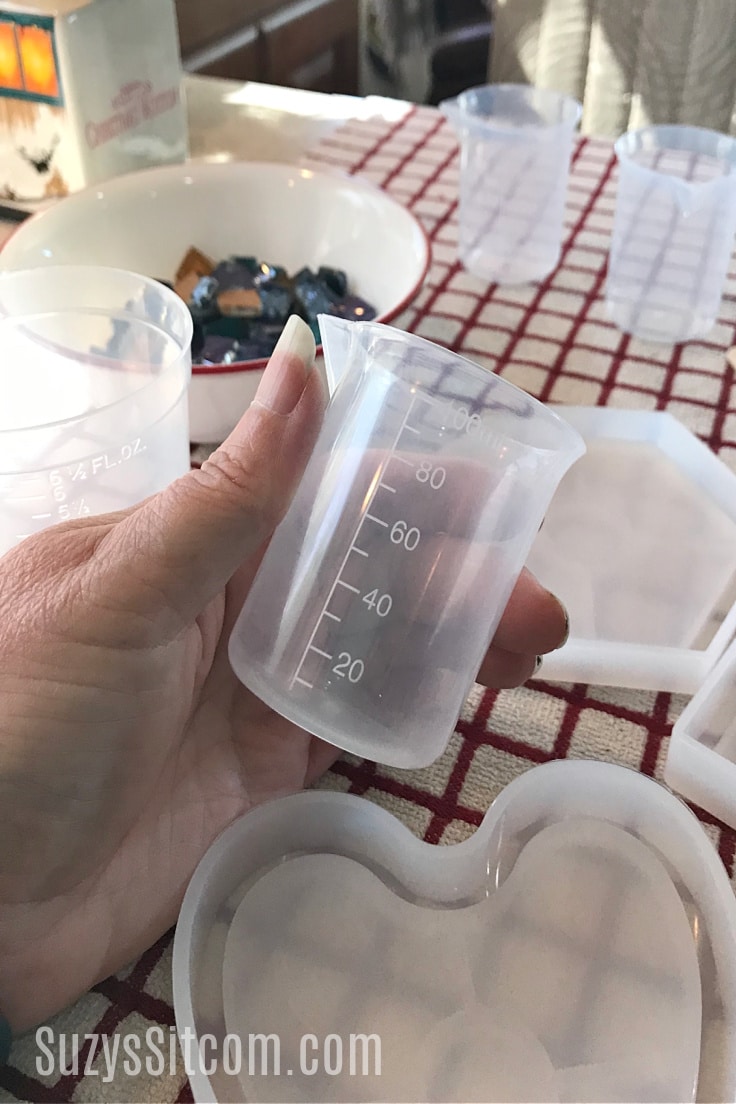
Lay out the silicone molds you would like to work with, your stirring sticks, and three measuring cups. Two will be for measuring your resin and hardener, and the third will need to be large enough to combine the resin and hardener.
Measuring the Resin and hardener
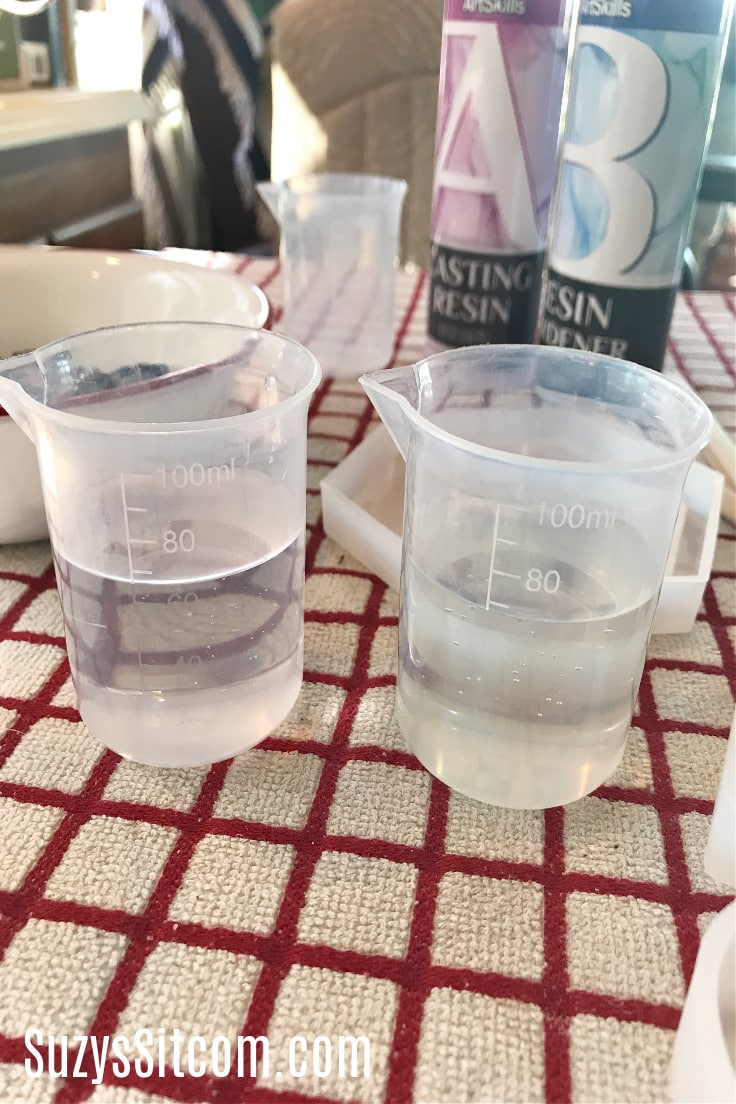
In a resin kit, the resin itself is usually labeled “A”, and the hardener is “B”. Use the measuring cups to measure equal amounts of resin and hardener into each cup.
Mixing the Resin and Hardener

This is an important step and I have to say that this is where my shortcutting tendencies nearly caused a craft fail. Pour the resin and hardener into a third cup. BE SURE to scrape every bit of resin and hardener out of their cups and into the third cup. Use the stir stick to stir both together, scraping the sides for a full 5 minutes.
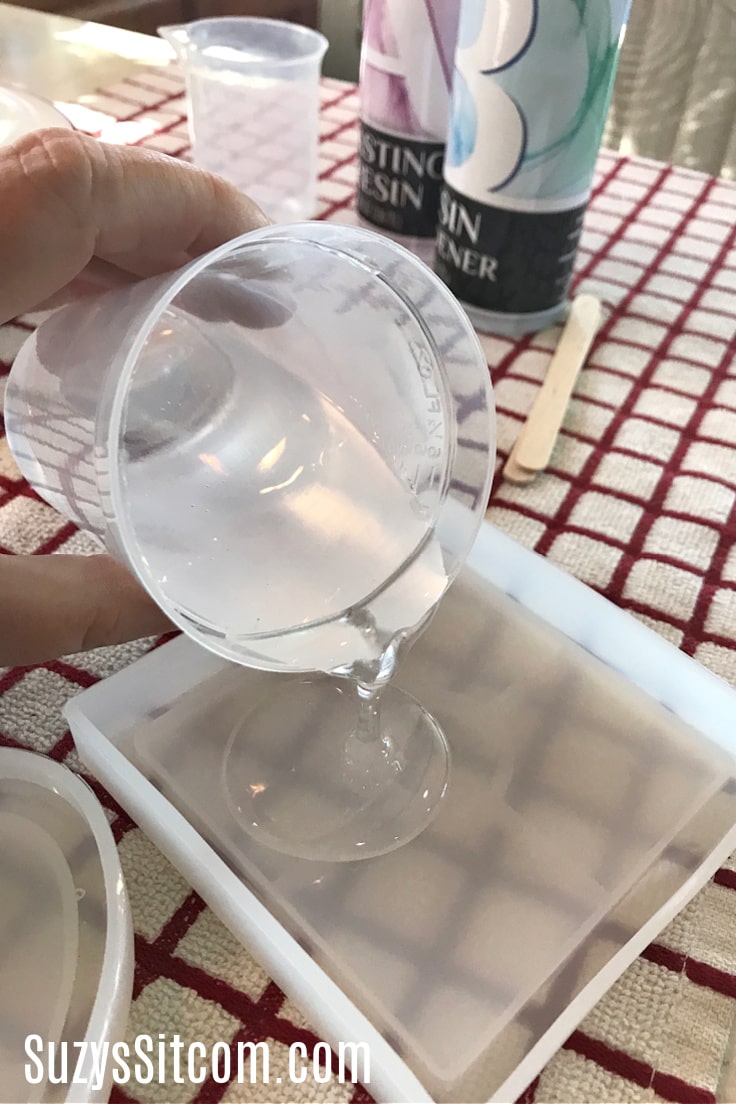
Pouring the Resin
Pour a small amount of resin into the molds, enough to fill the bottom ridges of the mold and about 1/8″ above the bottom, leaving room to add in the mosaic tiles. You can take your time at this point as the resin takes quite a while to dry.
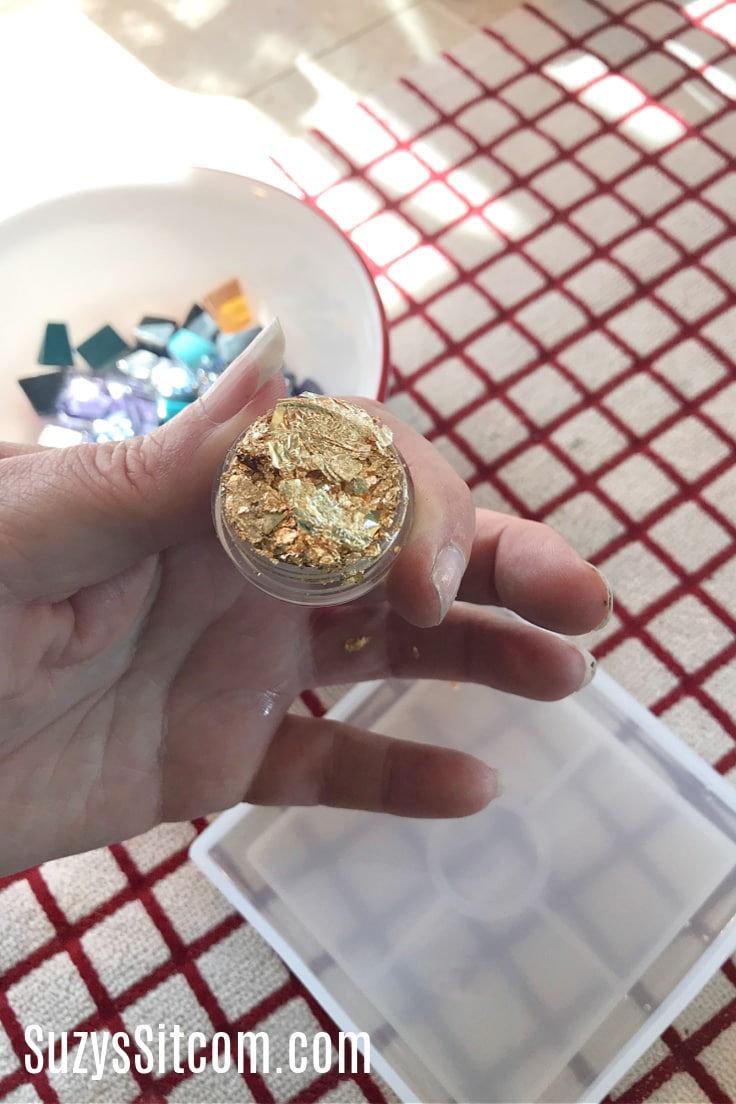
Add tiles and gold Leaf flakes
What you add to your coaster is totally up to you. I added in some gold leaf flakes and ceramic tiles. There are a ton of possibilities here, including beads, dried flowers, shells, pebbles, tiny plastic toys, bottle caps….and so many more ideas.
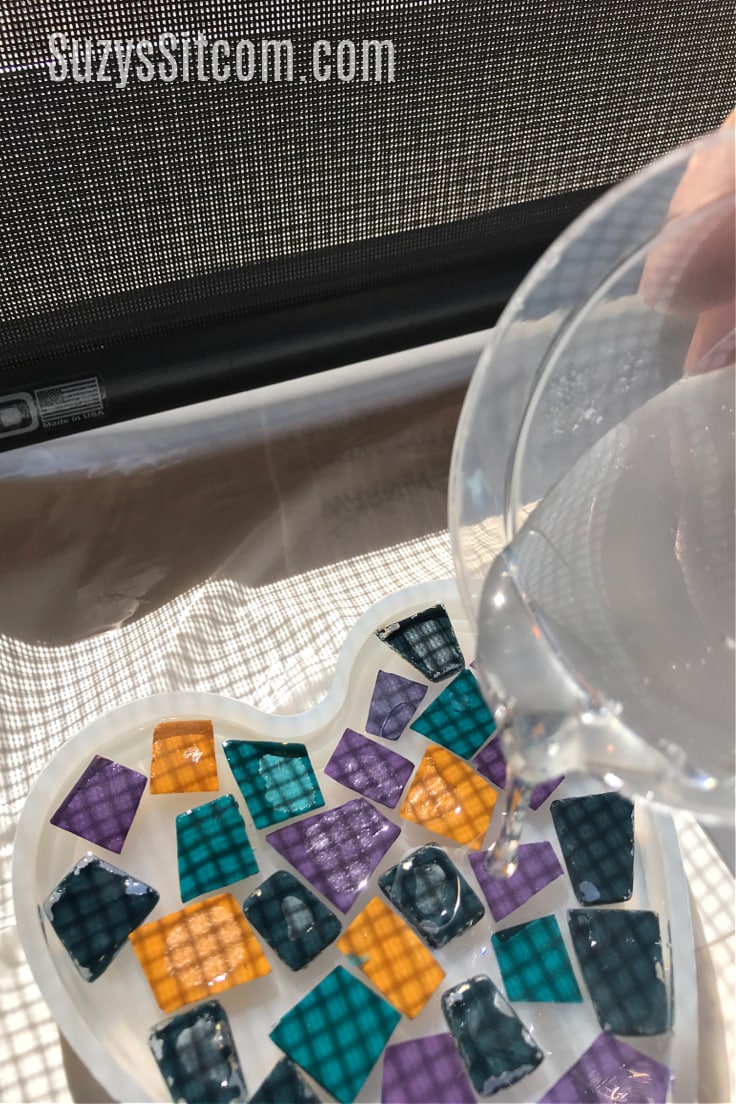
I loved the look of the tiles and placed them in each coaster along with some gold flakes in one. Mix more resin if you need at this point and top off each coaster, filling the resin all the way to the top of the mold.
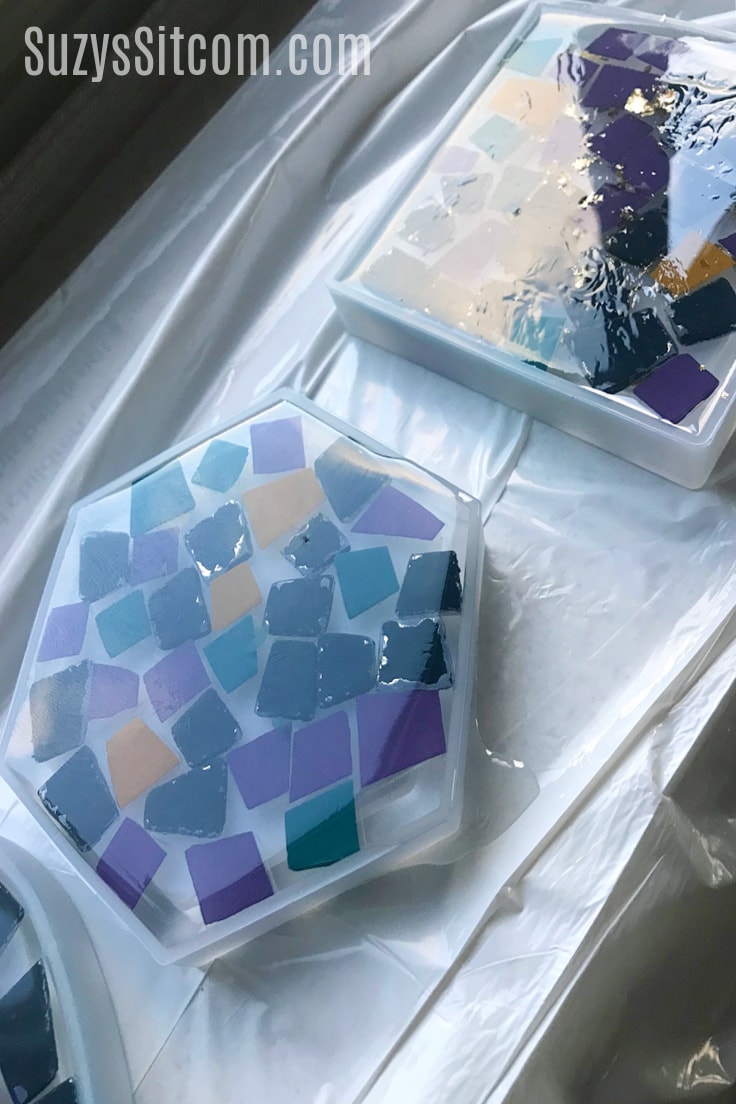
Allow the Resin to Dry
Resin takes about 24 hours to reach the stage where you can unmold it. Another 72 hours to totally cure. So patience is a virtue. Do not touch them periodically as I did! Leave them to dry.
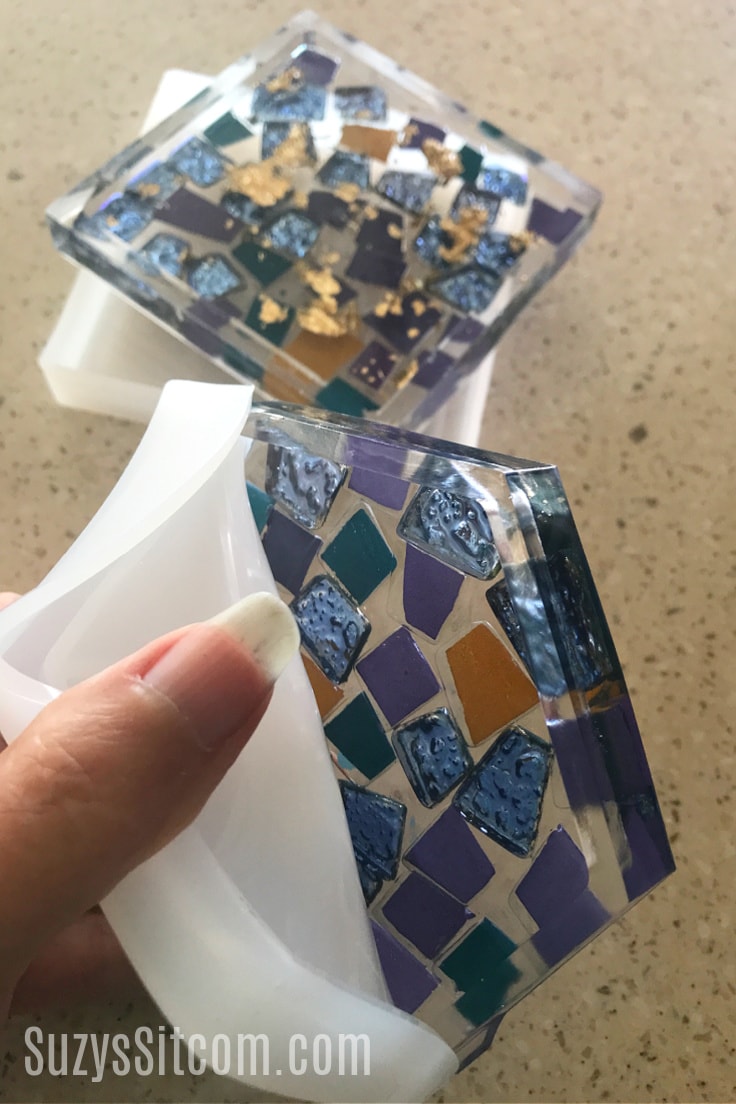
Unmold the Coasters
Once you have allowed the resin to dry for 24 hours, you should be able to remove the coasters from the molds easily. In my case, two came out just fine. The third one was a fail. My problem was that I did not stir the resin long enough for that mold. Since it never mixed well, it never hardened properly. Lesson learned.
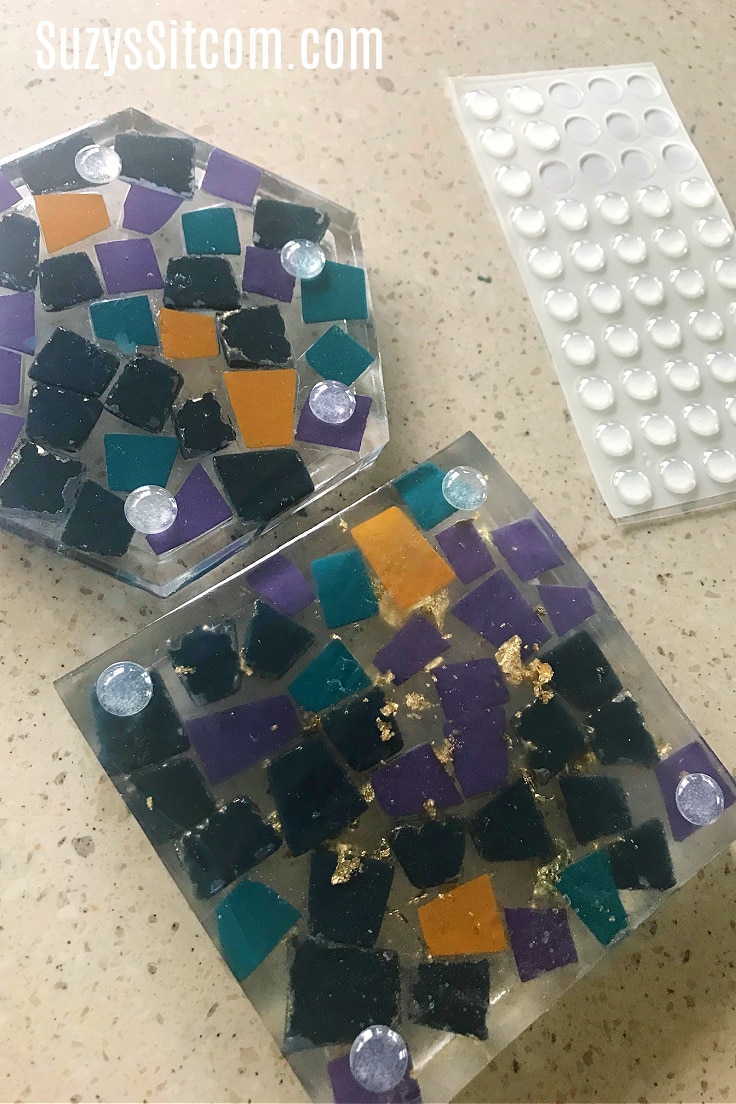
Add Rubber Feet
The finishing touch for these fun coasters was tiny adhesive rubber feet. These protect your furniture and make the coasters look finished.

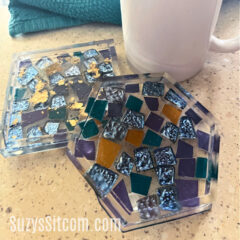
The coasters turned out beautiful! The edges are great for holding any condensation from your glass and keeping your furniture protected.
Make some pretty resin coasters for you home, or give them as gifts. Each coaster is unique and the possibilities with resin are endless.!
How to Make Resin Coasters
Supplies
- 1 ea Epoxy Resin Kit Includes resin, hardener, measuring cups and stir sticks
- 1 bag mosaic tiles Any color
- 1 set Silicon coaster molds Any shape
- 1 ea Gold Leaf flakes (optional)
- 1 set Adhesive rubber feet
Instructions
- Cover workspace and assemble materials
- Use two disposable measuring cups to measure equal amounts of resin and hardener.
- Combine resin and hardener into a third cup. Be sure to scrape sides of the cups with stir stick.
- Stir combined resin and hardener for 5 minutes, scraping the sides.
- Pour a 1/8" layer of resin into the bottom of the molds.
- Add in mosaic tiles and gold flakes.
- Top with mixed resin, filling molds to the top.
- Allow to dry for 24 hours.
- Remove from molds, add adhesive rubber feet.
Love the ideas you see here on Ideas for the Home by Kenarry®? Subscribe today to get our FREE DIY & Craft Planning Calendar, plus our weekly Ideas in Your Inbox newsletter filled with creative tips and exclusive offers!
Love Crafts for the home?
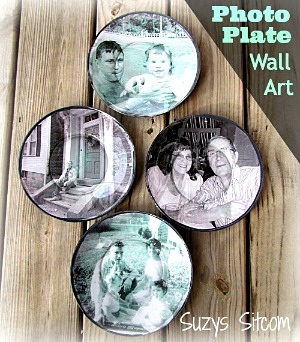
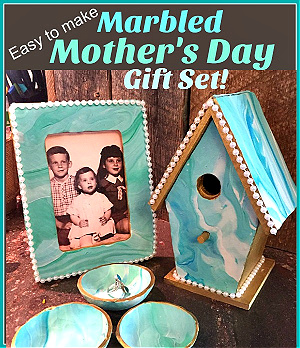
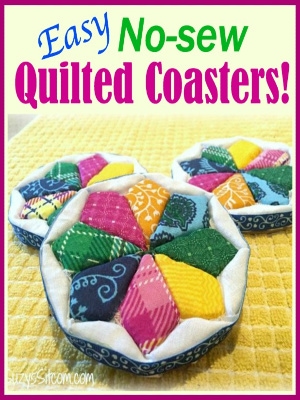
If you enjoyed making resin coasters, then you might like some of these other great ideas on SuzysSitcom!
You may also enjoy these craft tutorials on Ideas for the Home by Kenarry® –