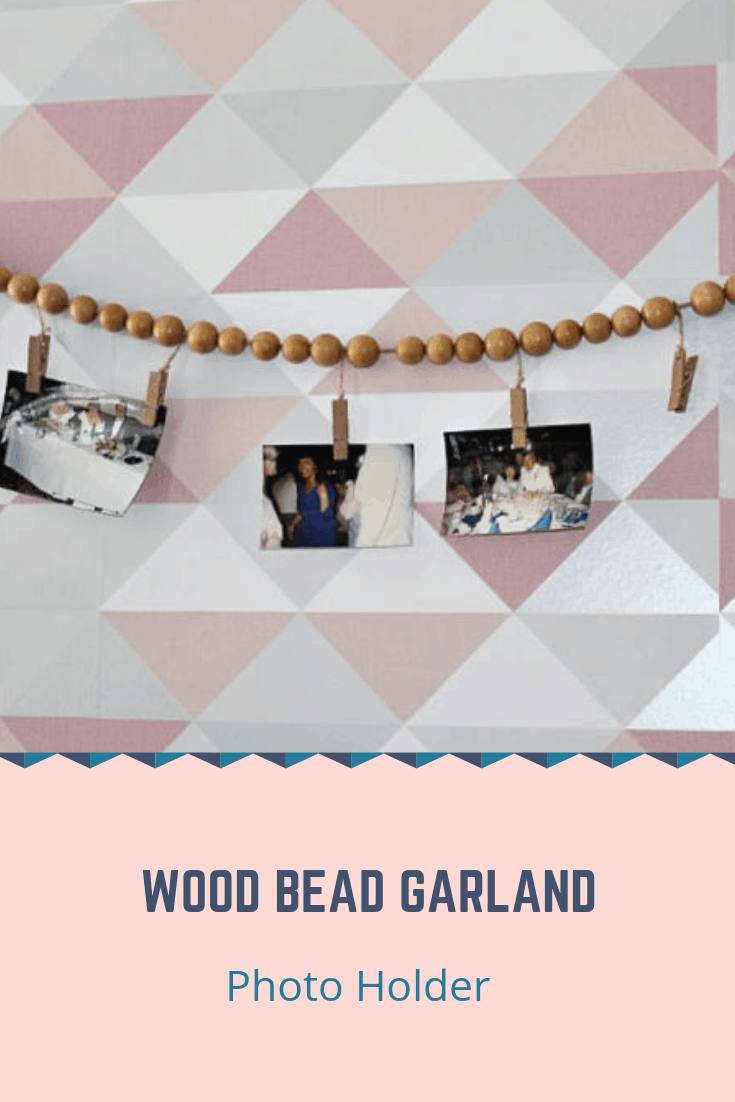
How To Make A Wood Bead Garland Photo Holder
THIS POST MAY CONTAIN AFFILIATE LINKS. PLEASE SEE OUR FULL DISCLOSURE POLICY FOR DETAILS.
Today I will show you how to make a pretty wood bead garland photo holder that you can hang in your office, craft room or even your living room. Change out the photos quickly and easily!
Hi Kenarry friends! I’m Michelle back from Our Crafty Mom. I’m happy to be back again sharing a fun wood bead garland. Wood bead crafts continue to be insanely popular, especially when they have a farmhouse feel, like this wood bead garland photo holder. It is so easy to make and is inexpensive as well! Let me show you what you need so you can make your own. This would also make a nice gift for Mother’s Day!
If you have leftover wood beads, make a wood bead wreath too!
How to Make A Wood Bead Garland Photo Holder
I was inspired to make this adorable garland after seeing a similar style in a home decor store. It was a little too pricey and I knew it could be made easily. So put on a favorite television show, or listen to some relaxing music and get ready to string some wood beads!
What You Need:
Want more ideas like this? Subscribe today to get our weekly Ideas in Your Inbox newsletter plus other exclusive gifts and offers — all for FREE!
Tools Needed:
Supplies Needed:
Instructions:
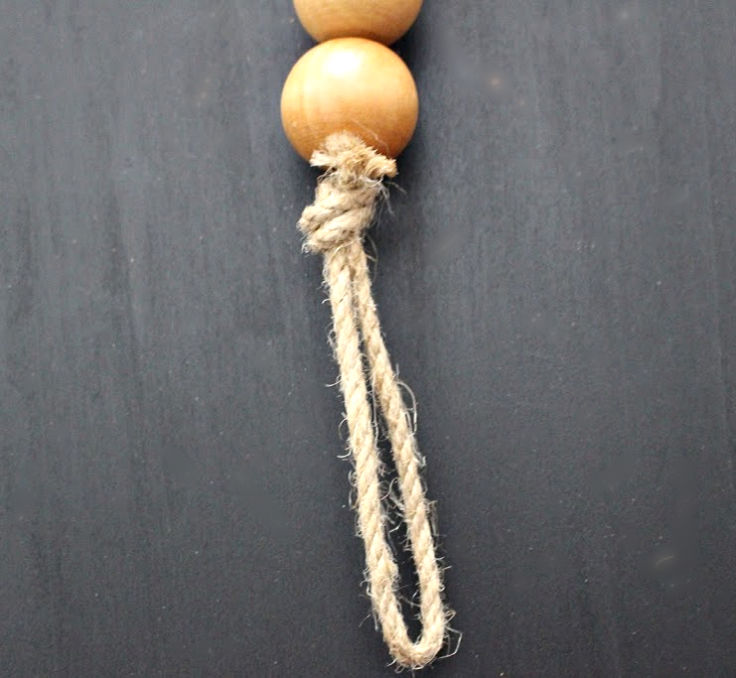
1. Tie Off Knot
Gather the twine and tie off a large knot at one end:
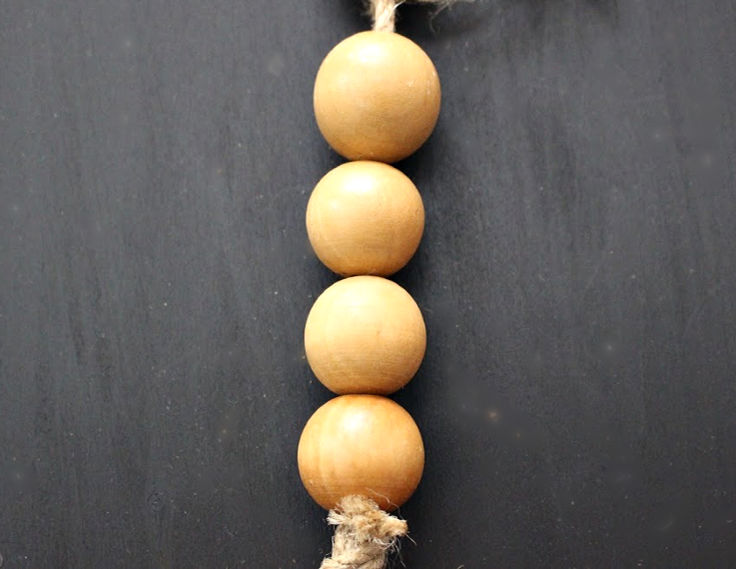
2. String Beads
Start adding the wood beads to the twine. For the size I wanted which was about 48″, I used 44 wood beads. When you get to the last bead, tie another large knot to secure it. As the holes are rather large, you will need to wrap the twine around a few times so they don’t fall out-ask me how I know this :). There is nothing worse than picking up rolling beads, especially when you have a feisty cat chasing after them!
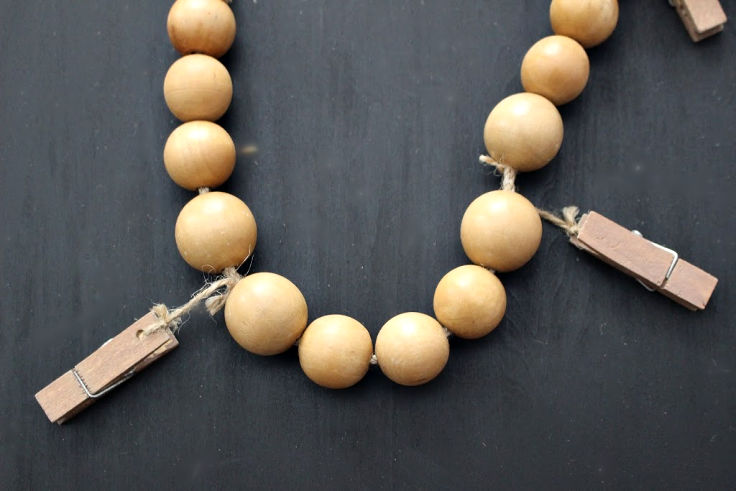
3. Attach Mini Clothespins
At this point, hang the garland up so you can see where to add the mini clothespins. I just used thumbtacks to secure them while I evenly spaced the clothespins.
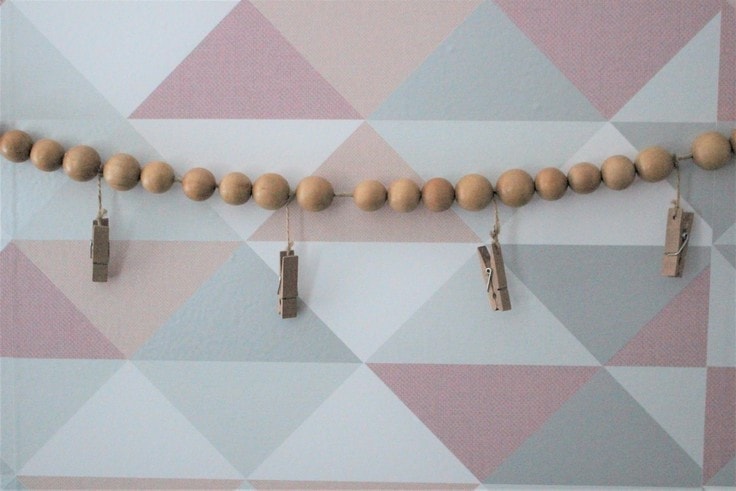
I used 8 clothespins so I spaced them out about every 4 beads. Just tie twine around the end of the clothespin and secure it to the twine of the garland.
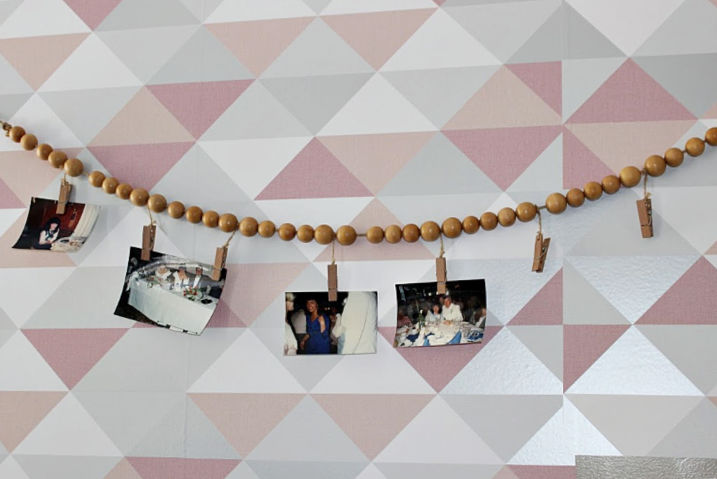
4. Attach Photos
Now you are ready to add photos, post cards, pretty Valentines, anything you like that will make you smile!
Wasn’t that so easy? The thing I love about making this, is there are enough supplies to make at least three. What a great gift these would make. You can change out the pictures for different holidays, or use it to hang cards or postcards. This will be perfect over my desk so I can look up and see pictures that make me happy!
Love the ideas you see here on Ideas for the Home by Kenarry®? Subscribe today to get our FREE DIY & Craft Planning Calendar, plus our weekly Ideas in Your Inbox newsletter filled with creative tips and exclusive offers!
What’s Next:
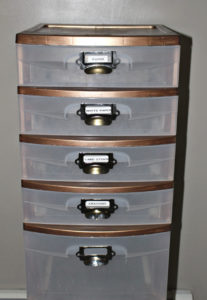
Makeover A Plastic Storage Cart
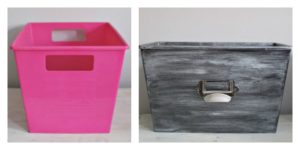
How To Paint Dollar Store Bins To Look Like Metal

Barnwood Picture Frame With Metal Wreath
You may also enjoy these craft ideas on Ideas for the Home by Kenarry® –