Easter Egg Finger Painting Craft for Toddlers and Kids
THIS POST MAY CONTAIN AFFILIATE LINKS. PLEASE SEE OUR FULL DISCLOSURE POLICY FOR DETAILS.
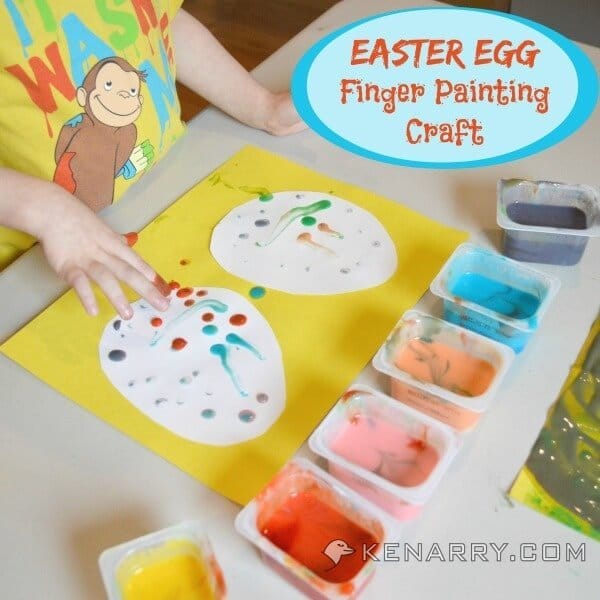
Ready to get messy? Today’s craft idea is an easy Easter Egg Finger Painting Craft you can make with little kids.
Crafts with toddlers and kids can be messy and unpredictable. They often don’t go as planned. This Easter Egg Finger Painting Craft is fun, but no exception.
Ever have one of those moments with your toddler where the craft you envisioned didn’t go as planned? In my head, the Easter Egg Finger Painting Craft was an easy and cute idea. And then I involved my three year old and quickly found his vision was different than mine. When we started the Easter Egg Finger Painting Craft, I pictured two beautiful pieces of art would result from our artistic efforts. One would be painted eggs on a blue background hidden behind green fringed grass. The second would be an egg shape that remained on the paper we used for painting. I’ll be honest. It didn’t go like I expected, but I’m still pleased with the end result.
How to Make the Easter Egg Finger Painting Craft
Disclosure: This blog post contains affiliate links for products or services we think you’ll like. This means if you make a purchase from one of these links, Ideas for the Home by Kenarry® will make a small commission at no additional cost to you so we can keep the great ideas for the home coming your way. All opinions expressed are derived from personal experience.
What you need:
- White construction paper
- Green construction paper
- Construction paper in assorted colors
- Scissors
- Markers
- Glue and/or tape (I recommend creating a glue sponge for crafting with kids.)
- Finger paints (We made our own. See below)
- Patience
Instructions for the Easter Egg Finger Painting Craft
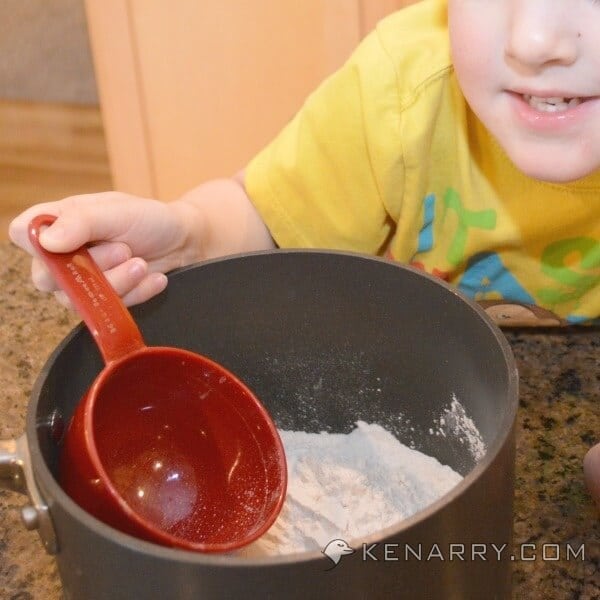
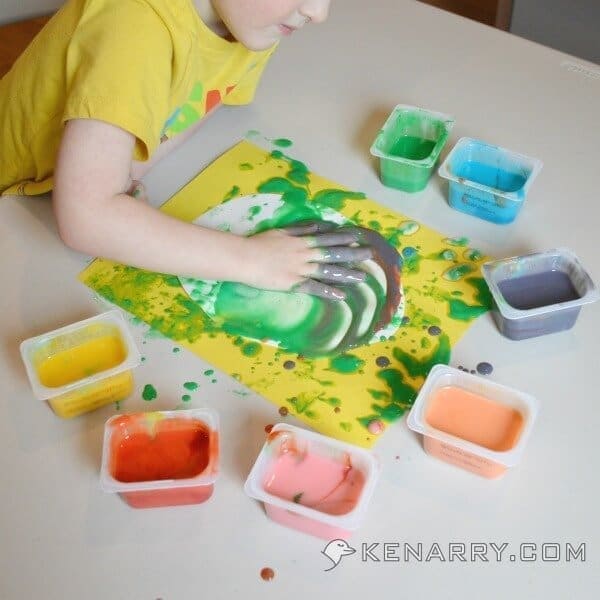
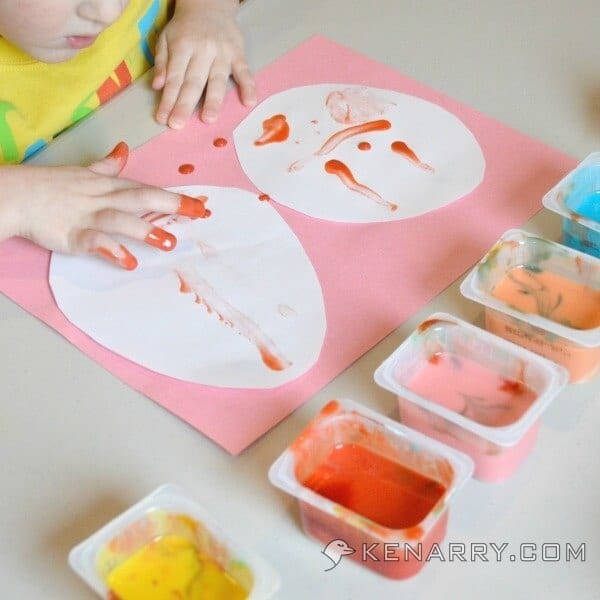
1. Set up your finger paints. I wanted C2, our one year old, to participate in the finger painting craft with us. At this age, whatever you give him goes in his mouth. I’m sure store-bought finger paints for kids are non-toxic, but we chose to make our own instead. We found a great recipe for homemade finger paint on Kids Activities Blog, using flour, water, salt and food coloring.
I put our homemade finger paints in plastic baby food containers with lids. I wanted to be able to save any leftover paint for future art projects. (A note about saving the paints for later: The colors got mixed together while we were creating the Easter Egg Finger Painting Craft. Also a few days later, the finger paint mixture separated a little as the flour and salt settled to the bottom. I was able to gently shake the containers to re-mix the paint.)
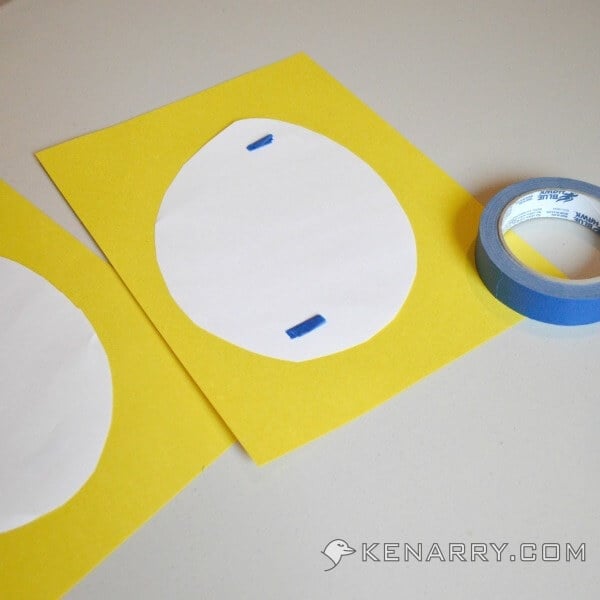
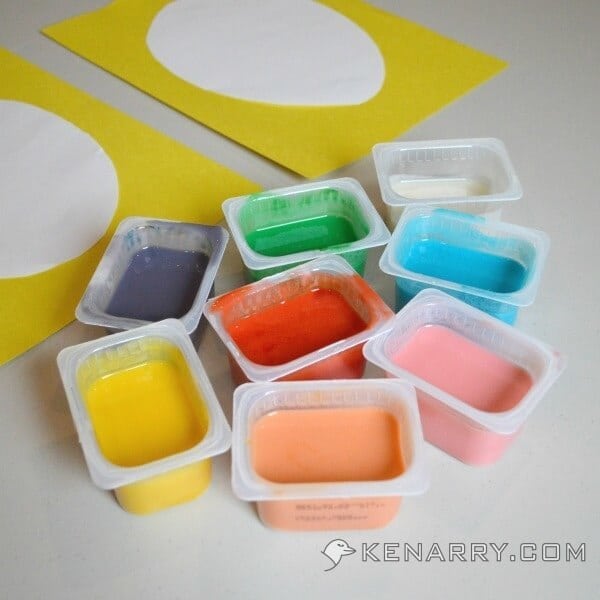 2. Cut egg shapes out of white construction paper. I made Easter eggs by cutting white construction paper into various sized ovals. C1 enjoyed picking which eggs he would paint and which ones he’d let his brother paint.
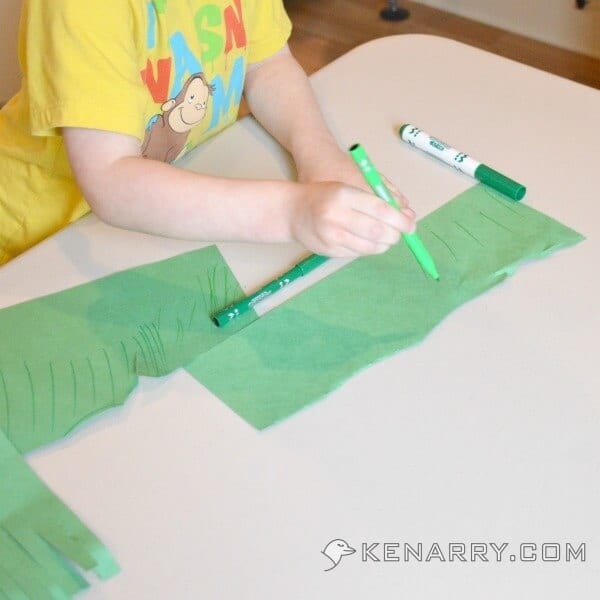
 3. Cut or make green grass. While I was cutting the ovals, I thought C1 could practice using his scissors too. I drew a wavy line across the midpoint on a few pieces of green construction paper for him to follow.

C1 got frustrated, though, when he couldn’t follow the lines perfectly. I tried to assure him that was okay. It was intended to be uneven and fringy, like grass. Before he could break down into tears, I suggested he use green markers to draw grass on the paper instead. He was thrilled with this alternative to cutting.
 3. Tape the Easter eggs on a piece of paper. I taped the eggs on yellow paper before the boys started finger painting. I thought it would be a good way to minimize the amount of paint on the table. It was my intention to separate the egg from the paper after it dried. I thought we could produce two pieces of art from it. Initially, we could mount the colored egg on a fresh piece of paper. The second art piece would be the negative imprint created when the colored art was removed from the original yellow background paper.
 4. Let the kids paint with their fingers. This was the first time I’ve tried finger painting with the boys. I quickly learned to let go of my expectations for the project. There’s nothing neat or tidy about finger painting. I had to let them get messy and experiment. For example, with his first egg, C1 learned how quickly you can oversaturate your paper with paint. He didn’t seem to mind, though. The swirl effect he was making with the paint looked really cool.
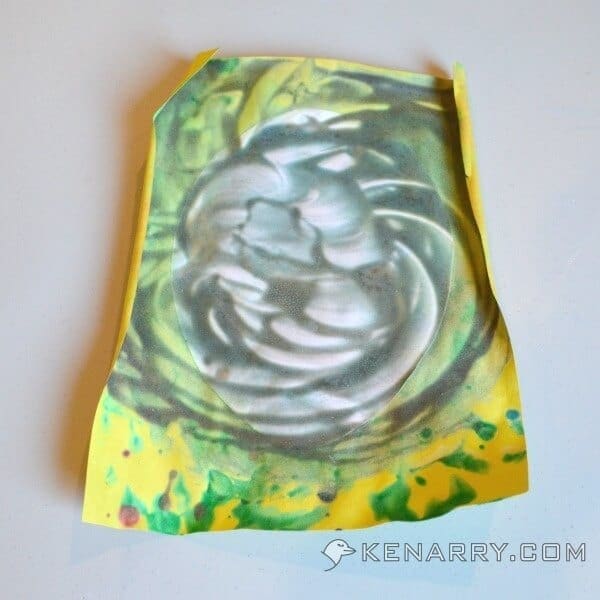
It wasn’t long, though, before he started to exclaim “Look Mommy! I’m making BROWN!” His final egg wasn’t the colorful oval I had pictured in my head. It took days for all that paint to dry. And when it did, the Easter egg couldn’t be separated from the background like I’d hoped.
For C1’s next set of eggs, he took a more conservative approach with his finger paint usage. Thankfully, this gave us other eggs to use for our final Easter Egg Finger Painting Craft display.
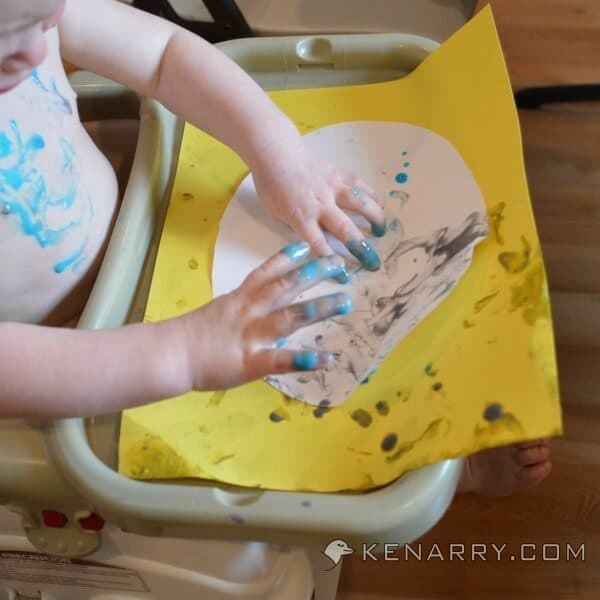
C2, on the other hand, embraced the Easter Egg Finger Painting Craft with both hands. Literally. Within seconds of giving him the paper and paint, I was glad I chose to strip him down to just a diaper. What a mess! Unfortunately, I also tried this craft too close to lunch and nap time so he cried the whole way through and hated getting his hands dirty. By the time we were done, I almost wished we’d never started.
5. Allow the eggs to air dry. Leave the eggs on a table for a day to dry. If your kids use as much finger paint as mine, you may need to allow several days for the paint to completely dry.
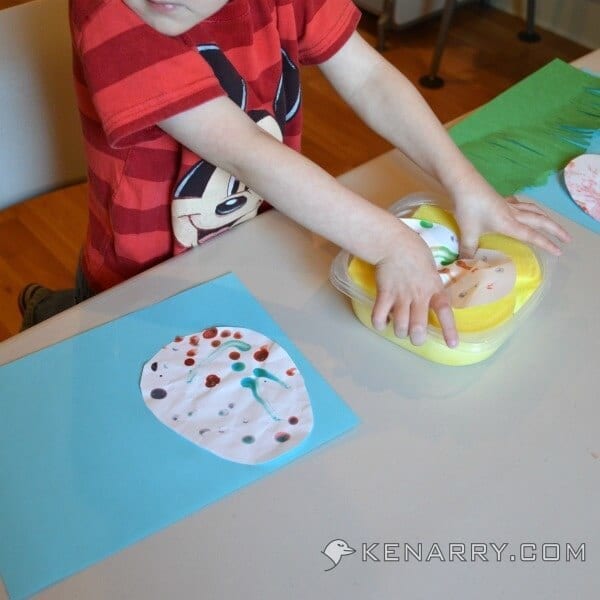
6. Transfer the eggs to fresh paper. Carefully remove the eggs from the yellow paper. Get a fresh piece of construction paper to be the background of the Easter Egg Finger Painting Craft. Have your child put glue on the back of an egg. Place the egg on the new construction paper. Continue putting glue on the eggs and adding them to the pages. You’ll see in the picture, my son is using a glue sponge. My cousin who’s an art teacher taught me this great trick. The glue sponge makes it easier for toddlers and little kids to glue small pieces of paper without getting glue everywhere. See our instructions to create your own glue sponge for more information.
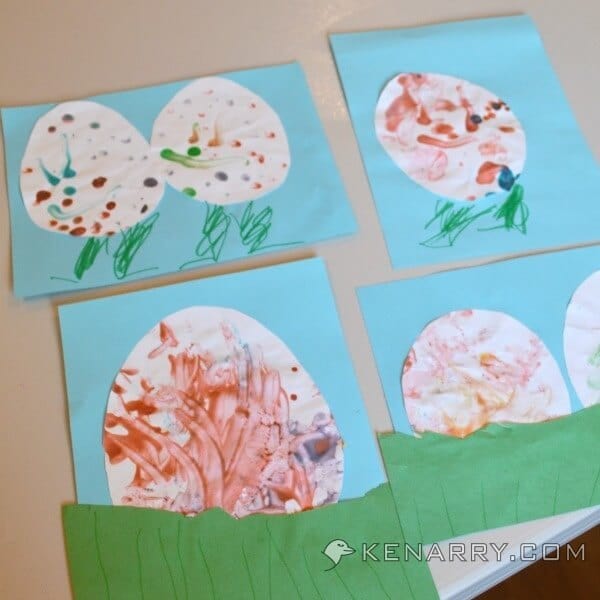
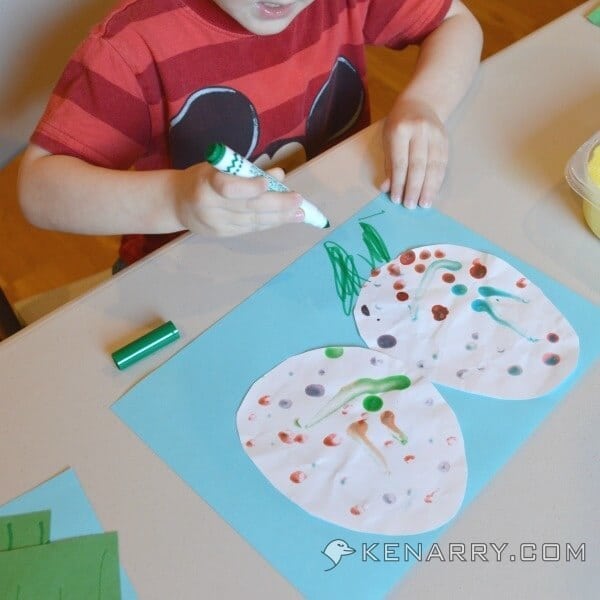
7. Add the final touches to the Easter Egg Finger Painting Craft. After we glued the eggs on fresh paper, I thought we would glue the green fringed Easter grass over top. This would make the Easter eggs look like they were hiding. C1, however, took one look at his eggs on the paper and quickly declared “I need to draw legs and feet.” As I’ve learned through this project, you need to let the artist make his own choices. I gave him a marker and let him add whatever final touches he wanted.
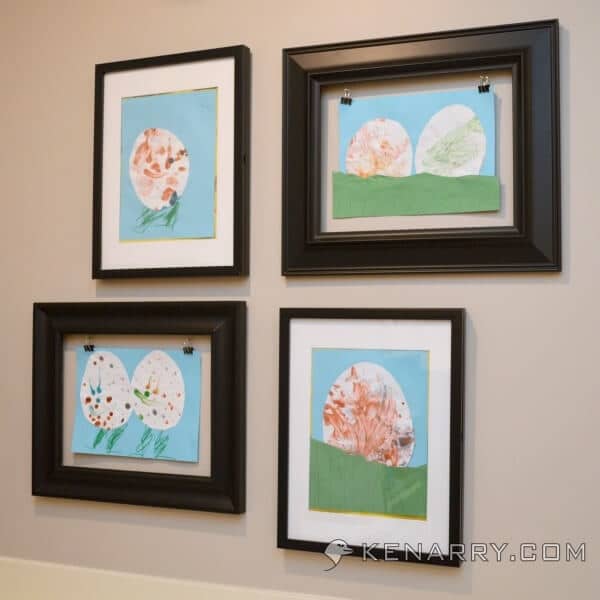
Meanwhile, I glued the green fringed Easter grass to C2’s Easter Egg Finger Painting Craft. At one year old, he doesn’t have much say over his creative art yet. Take a look at our final masterpieces. If you’re curious about the frames on the wall in our art room, you can read more about them in my post about the St. Patrick’s Day Shamrock Craft for Toddlers and Kids.
This Easter Egg Finger Painting Craft was an exercise in compromise and patience as much as it was a lesson in art. It was also a great reminder to let my son express and create his own unique choices when it comes to art. Have you tried finger painting with your toddler or baby? Did you have a similar experience to mine or did yours go according to plan? Please comment below and share. We’d love to hear about it.

What’s Next?
While you’re here, be sure to check out other Easter Ideas on Ideas for the Home by Kenarry® –


I can totally relate to things not going as planned once a toddler gets involved, lol. I’ve only tried finger painting once and my daughter hated it because she didn’t like getting her hands dirty. That was several months ago, and she seems less sensitive to the mess, so maybe we’ll try again soon.
It’s worth a try. I keep hearing how important sensory activities are for kids. I think these paints would work with a brush too, Tiffiny. So maybe try it as finger paint first and if she doesn’t like it, offer her a brush to try instead?
This would be a great activity for my 3 children (and it would buy me some peace while I’m cooking dinner!). Love that you made your own finger paint!
I would love for you to share your creativity at my party: Show-Licious Craft & Recipe Party! Join us on Saturday mornings at 8:00 am EST to show off your awesomeness!
~ Ashley
Thanks for the invite, Ashley! I’ll come by and check it out.
This looks like so much fun. My toddler really likes painting activities and we’re not painting real eggs this year. Pinning.
This will be a fun alternative to tradition eggs for you and your toddler. Enjoy — and thanks for pinning!
Hi Carrie! This looks like SO much fun I want to try it! 🙂 Perfect creative time for the little ones. Thank you so much for sharing at Best of the Weekend and pinning! Have a happy Saturday and a wonderful weekend!
Thanks for visiting. It’s very fun if you don’t mind the mess, Cindy! The finger paint was easy to make too. You’ll want to start early enough to give time for the “paint” to cool before you mix in the food coloring. I didn’t think about that when we started the project mid-morning so we started to run into lunch by the time we were finally painting.
Love this, my little one is sure to love it too. 🙂
Thanks, Christina! Hope you and your little one have a great time painting Easter eggs.
Hi Carrie! Just wanted to let you know I’m featuring this post is my Easter Round-up tomorrow! (If you would rather not be featured, no biggie. Just let me know.) Anyway, this is such a cute idea and I hope I can send a lot of traffic your way.
Have a great week!
Katie @FunHomeThings.com
Thank you, Katie! We’re thrilled to be included in your round up and will look forward to seeing your story tomorrow.
This is cute! The idea to transfer them to new background paper is a great one!
Thanks, Becky!
What a great idea! I nanny a toddler and she will love this. If it involves getting messy, she is always in.
The toddler you nanny will definitely love this craft then! Have a great time with it.
How utterly fun! First, I love how you post tips with links along the way. A glue sponge and art wall with frames are definitely keepers in my book. I really enjoyed my visit here. Found you on SITS.
Thanks, Elizabeth! We’re so glad you stopped by to see us.