DIY Decorated Shadow Box Initial Art
THIS POST MAY CONTAIN AFFILIATE LINKS. PLEASE SEE OUR FULL DISCLOSURE POLICY FOR DETAILS.
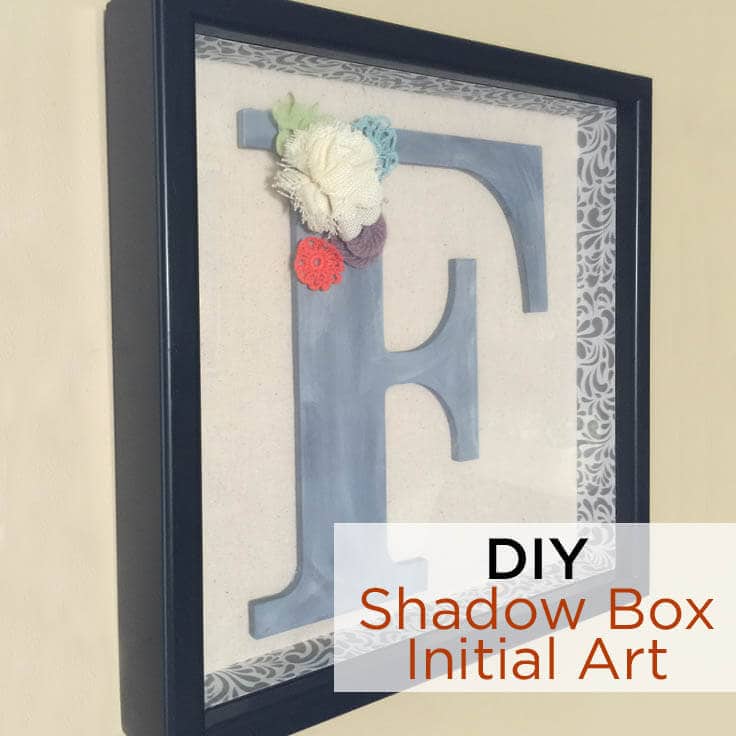
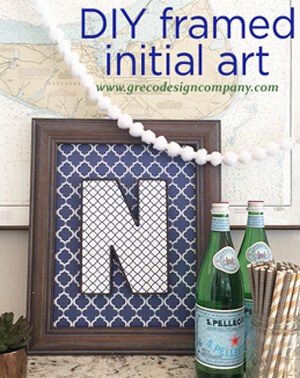
DIY a shadow box with your initial and a few embellishments to create some meaningful, artwork that’s trendy and classic.
Hi Kenarry readers! It’s Lori from Greco Design Company and I’m here today to show you how to turn a regular, boring shadow box into a beautiful, personalized piece of art.
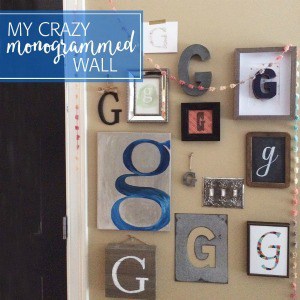
I love initials. I even have a whole wall of G’s in our home. And they seem to be a trend that’s sticking around for a long time. Here are the instructions on how to take a simple shadow box, add your initial, along with some colorful paper and embellishments, and create some meaningful art.
You can even make your own shadow box shelves from scratch for this craft or other home decorating.
Disclosure: This blog post contains affiliate links for products or services we think you’ll like. This means if you make a purchase from one of these links, Ideas for the Home by Kenarry® will make a small commission at no additional cost to you so we can keep the great ideas for the home coming your way. All opinions expressed are derived from personal experience.
Here’s what you’ll need:
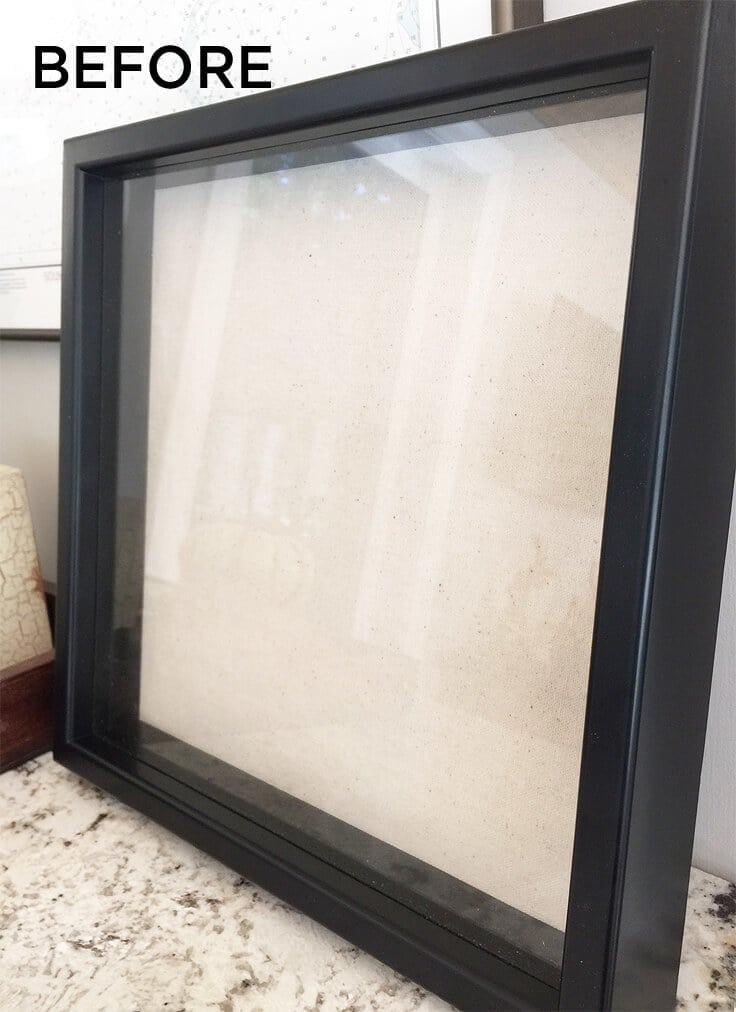
• A shadow box. I found this Better Homes & Garden one at Walmart. It’s 12″ x 12″ with a depth of 1.25″.
• Decorative paper
• Acrylic Paint, black and white
• An initial. I found a 10″ unfinished wood one at Michael’s. You can find an assortment of letters at many art supply stores, home design stores or even Amazon.
• Fabric flowers – like this one. And these.
• Glue gun
• Super 77 Spray Adhesive, or similar
• Scissors or an X-acto knife
Instructions:
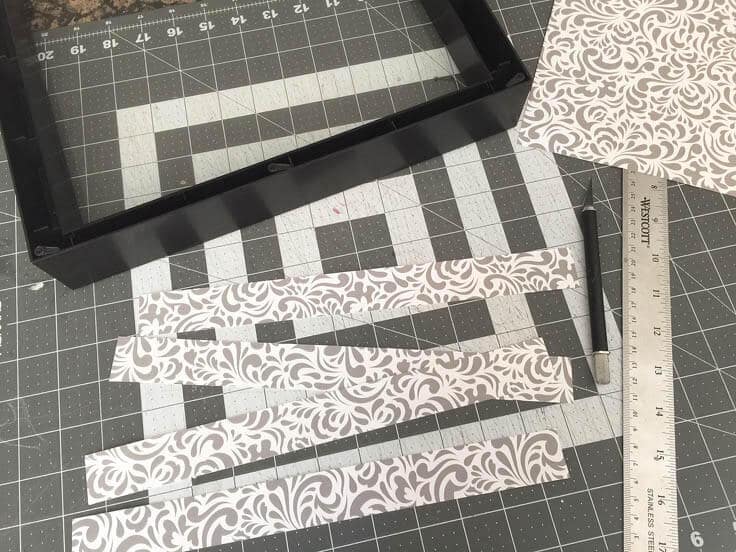
First, I took the back off of the shadow box and I added some color to the inside edges. To do this, I cut 4 strips from my scrapbook paper to fit the dimensions of my shadow box edges. They were each 11.5″ x 1.15″.
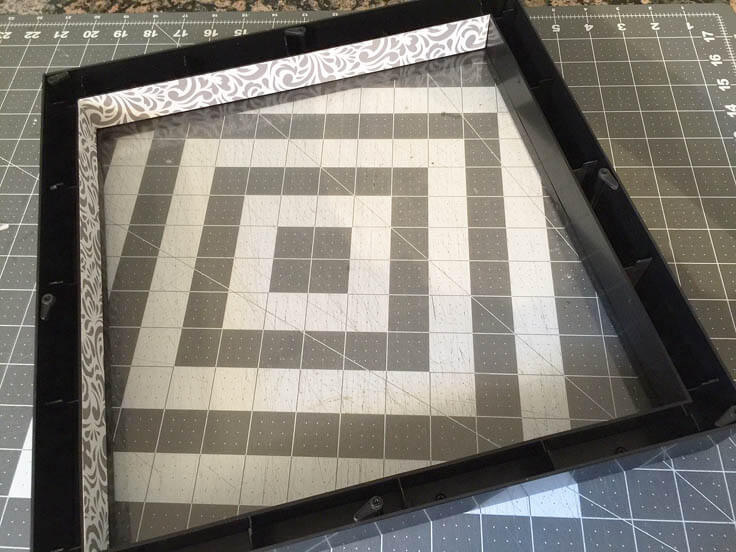
Next, I adhered the paper strips onto the edges with the spray adhesive.
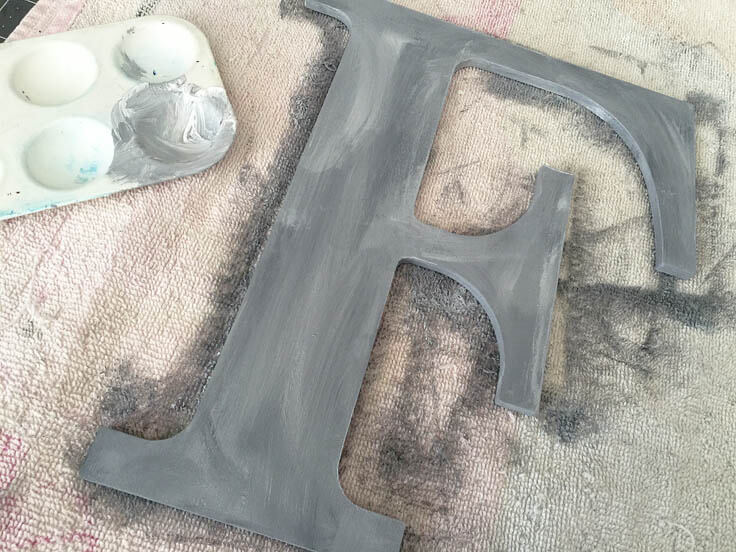
I painted my wood initial gray by mixing black and white Liquitex acrylic paints. I like the rough look of the painted finish.
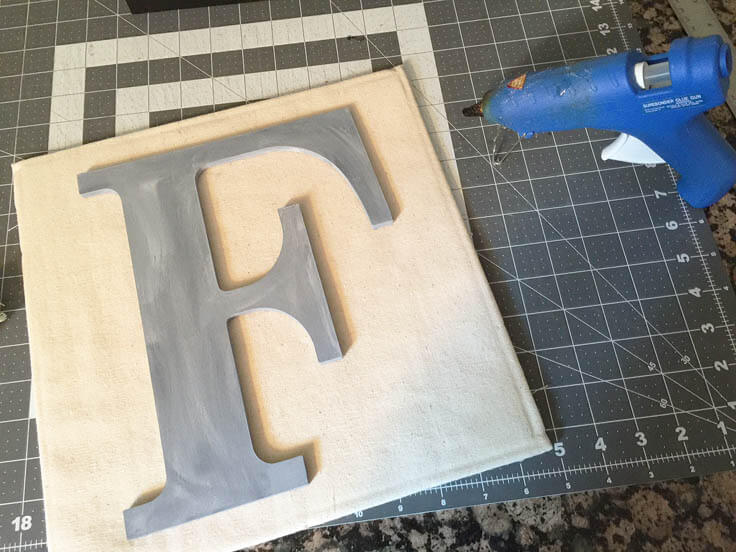
After the paint was dry, I attached the initial to the backing of my shadow box with a glue gun. My shadow box already had a nice beige linen backing. If yours doesn’t have a backing that you like, just attach a different piece of scrapbook paper – or even a piece of fabric.
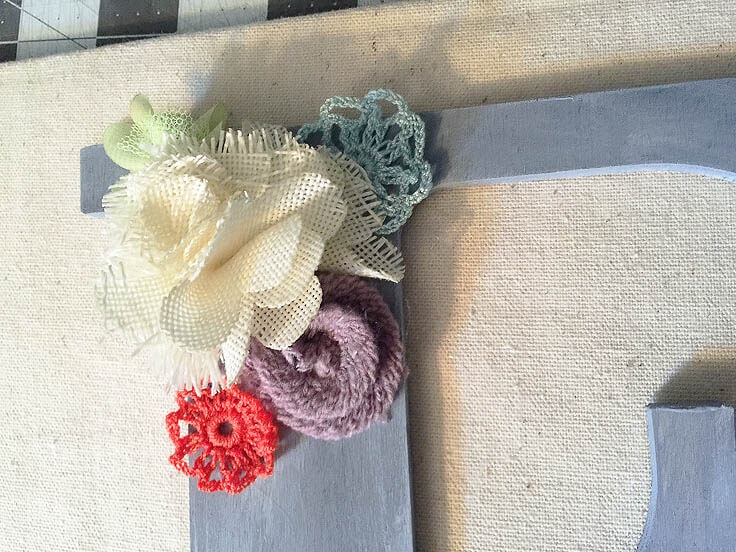
Once the initial is attached, I added the fabric flowers. I like to arrange them in a small group on one corner of the initial. You should use a few different sizes of flowers and vary the colors to work with your decor.
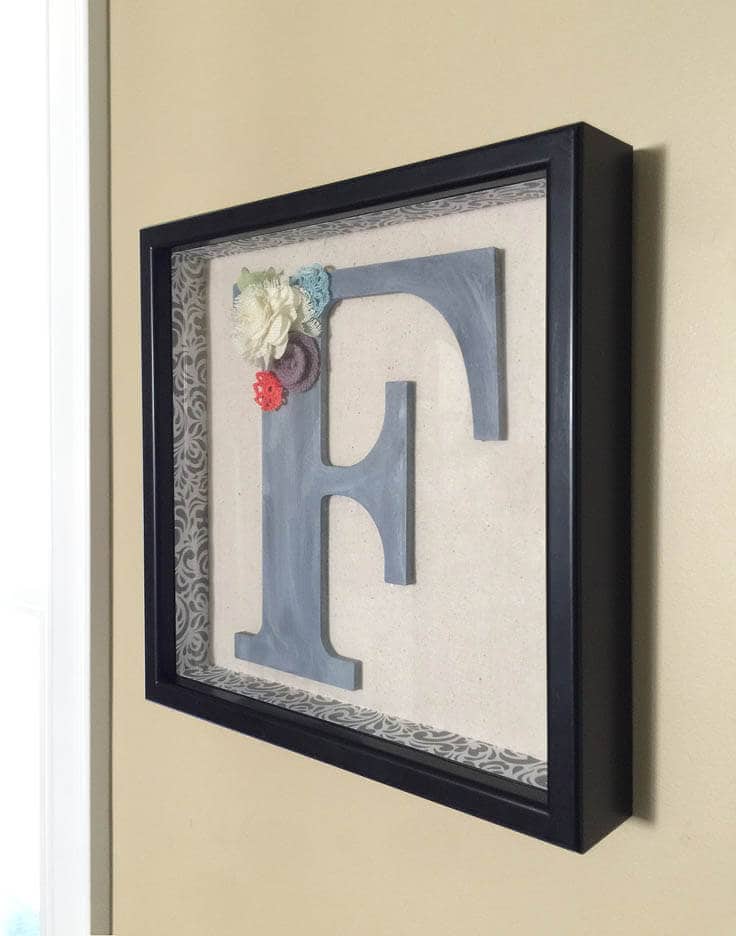
Put your frame back together and you have a pretty and personalized shadow box art!

If you like this project, check out these related posts:
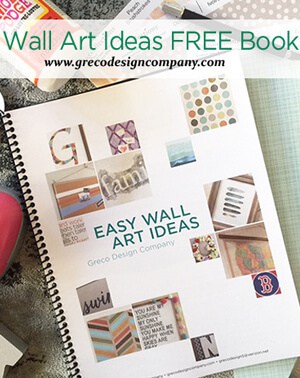
FREE Booklet – Easy Wall Art Ideas
Love the ideas you see here on Ideas for the Home by Kenarry®? Subscribe today to get our weekly Ideas in Your Inbox newsletter plus other exclusive gifts and offers — all for FREE!
What’s Next?
While you’re here, be sure to check out other home decor ideas on Ideas for the Home by Kenarry® –