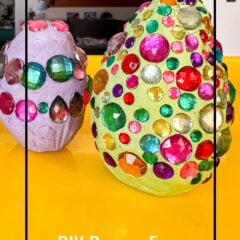
DIY Dragon Eggs
THIS POST MAY CONTAIN AFFILIATE LINKS. PLEASE SEE OUR FULL DISCLOSURE POLICY FOR DETAILS.
Use your imagination and make these extra fun DIY dragon eggs! They can be used in play and storytelling.
Hello, I’m Amy from amylanham.com and I love to create things with my kids. Right now my kids are really into dragons.

Well truth be told, they’ve always been into dragons. And what is not to love about dragons. Every great story has one.
So we decided to make some dragon eggs of our own. They’re really simple to make and the kids had a lot of fun.

How to Make DIY Dragon Eggs
These DIY dragon eggs are simple to make and use only a few craft supplies.
What you need:
Want more ideas like this? Subscribe today to get our weekly Ideas in Your Inbox newsletter plus other exclusive gifts and offers — all for FREE!
Craft Tools Needed:
- Mini Rolling Pin for clay
- Paint Brush (optional)
Supplies Needed:
These are the ingredients you’ll need. All the exact amounts are in the printable card at the bottom of this post.
- Tin Foil
- Air Dry Clay
- Paint (optional)
- Glue (optional)
- Small Gems
- Small Sea Shells
DIY Dragon Egg Tips:
How to Dye the Air Dry Clay?
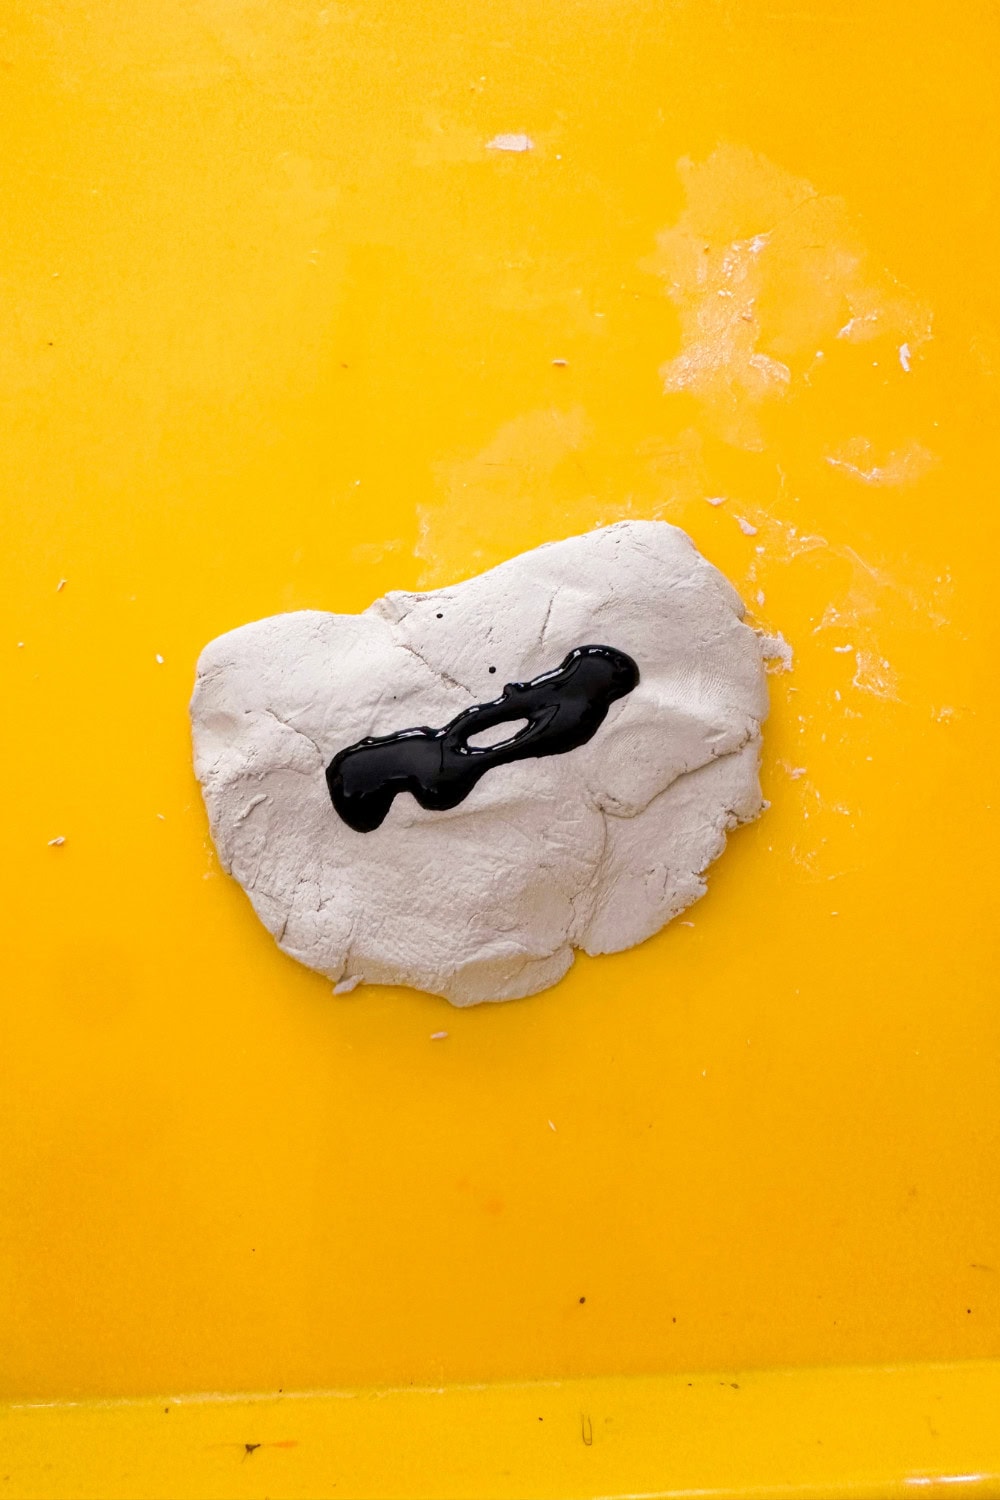
Did you know you can make air dry clay any color you want? All you have to do is mix the clay with a little bit of acrylic paint.
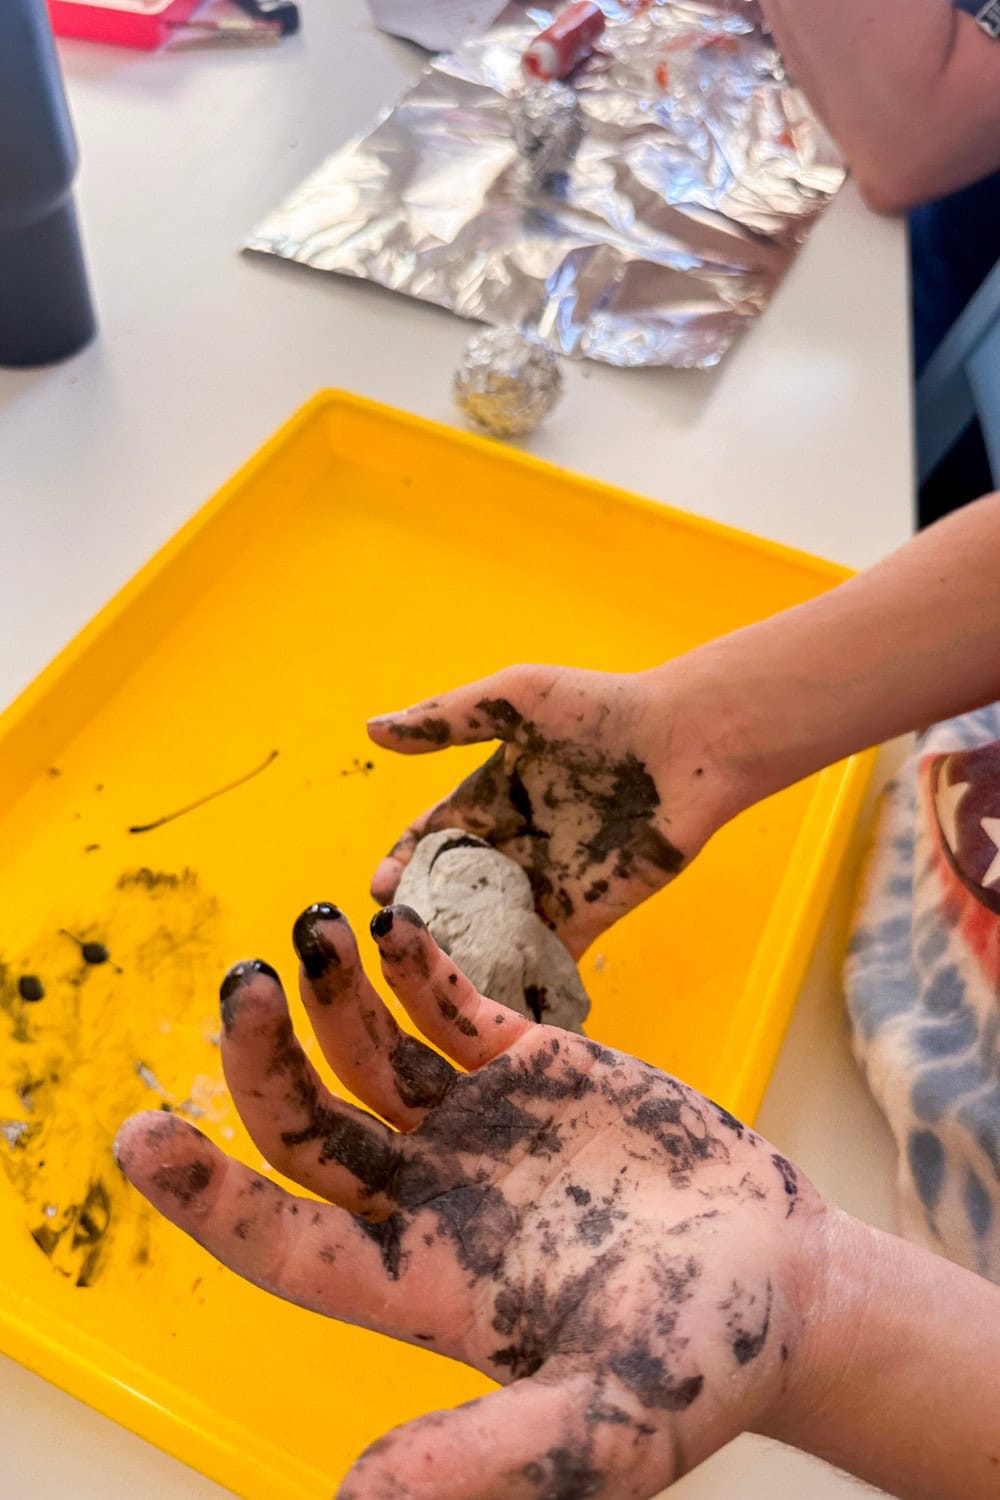
Now this is messy, but thankfully acrylic paint is pretty easy to clean up. Use a washable paint and make sure the knead the clay well.
At first the clay might look a little bit speckled, but if you keep kneading the paint will be fully incorporated and it will be a beautiful muted color.

I Don’t Want to Dye the Clay
No problem! If you think dying the clay is too messy or you want to avoid it, there are a few options.
Keep the clay white. Dragons could definitely have white eggs and the clay can be used exactly how it comes.

Find clay in different colors. There’s plenty of air dry clay colors out there. Buy clay that is already a color you want to use.
Paint once dry. If you only have white clay, follow the steps for making the egg, and then let the air dry clay dry for a day or two.

Once the clay is hardened, paint the egg before attaching your gems.
How to Create the Center of the Dragon Egg
Air dry clay can take a long time to dry if it is too thick. So use aluminum foil for the inside of the egg.
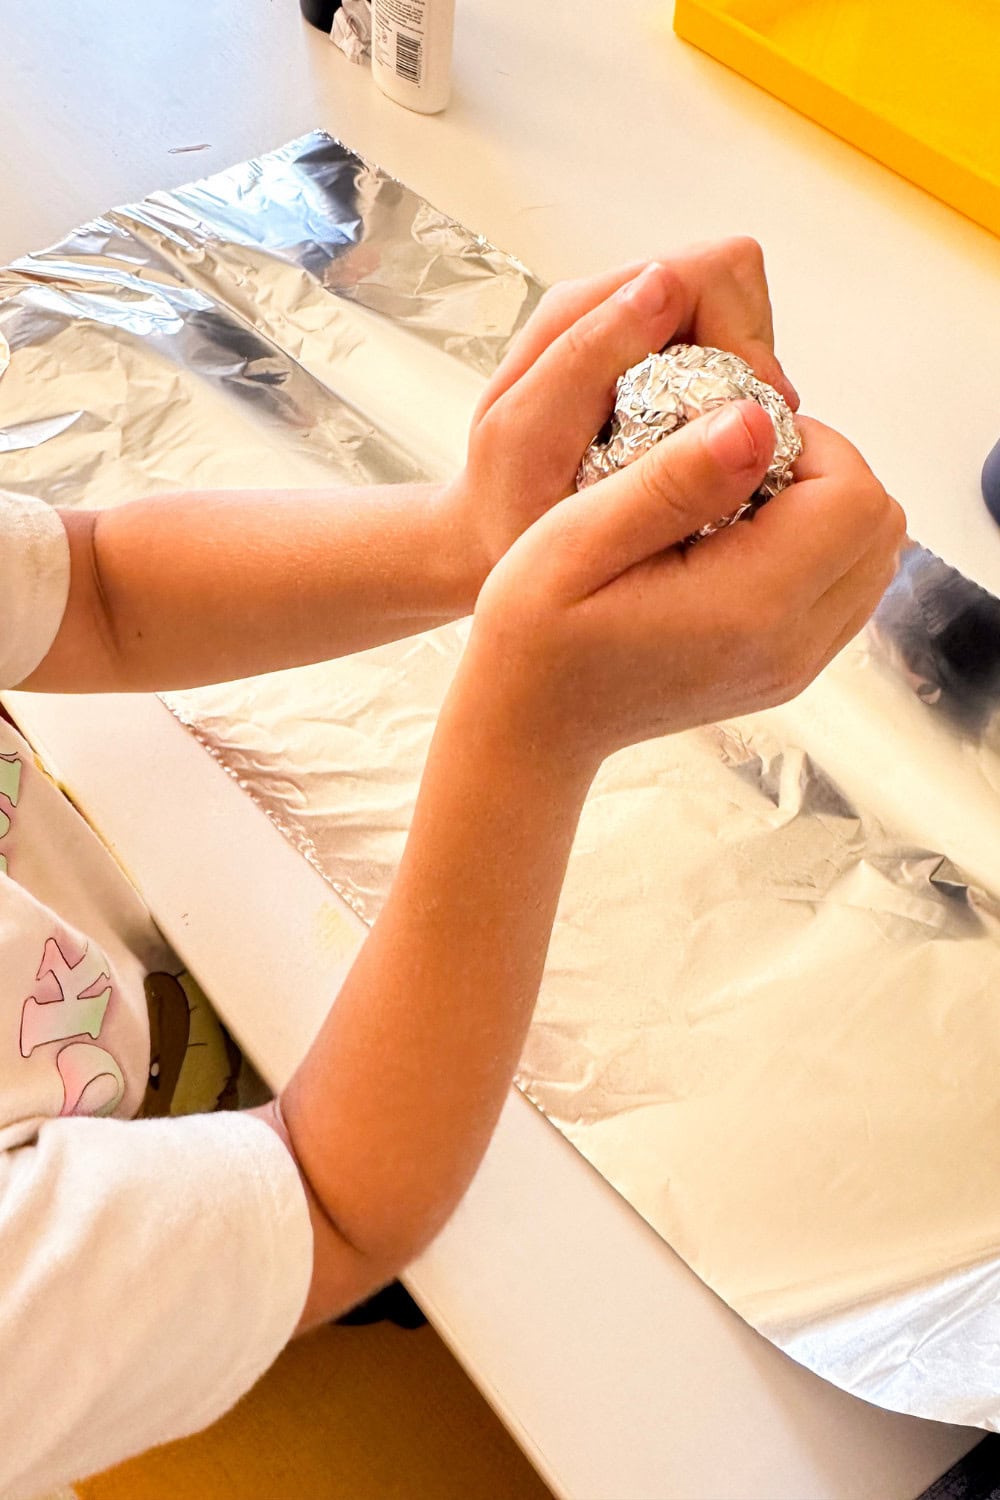
This will allow you to use less clay, meaning more clay for other projects! And also allow the clay to dry in a reasonable amount of time.
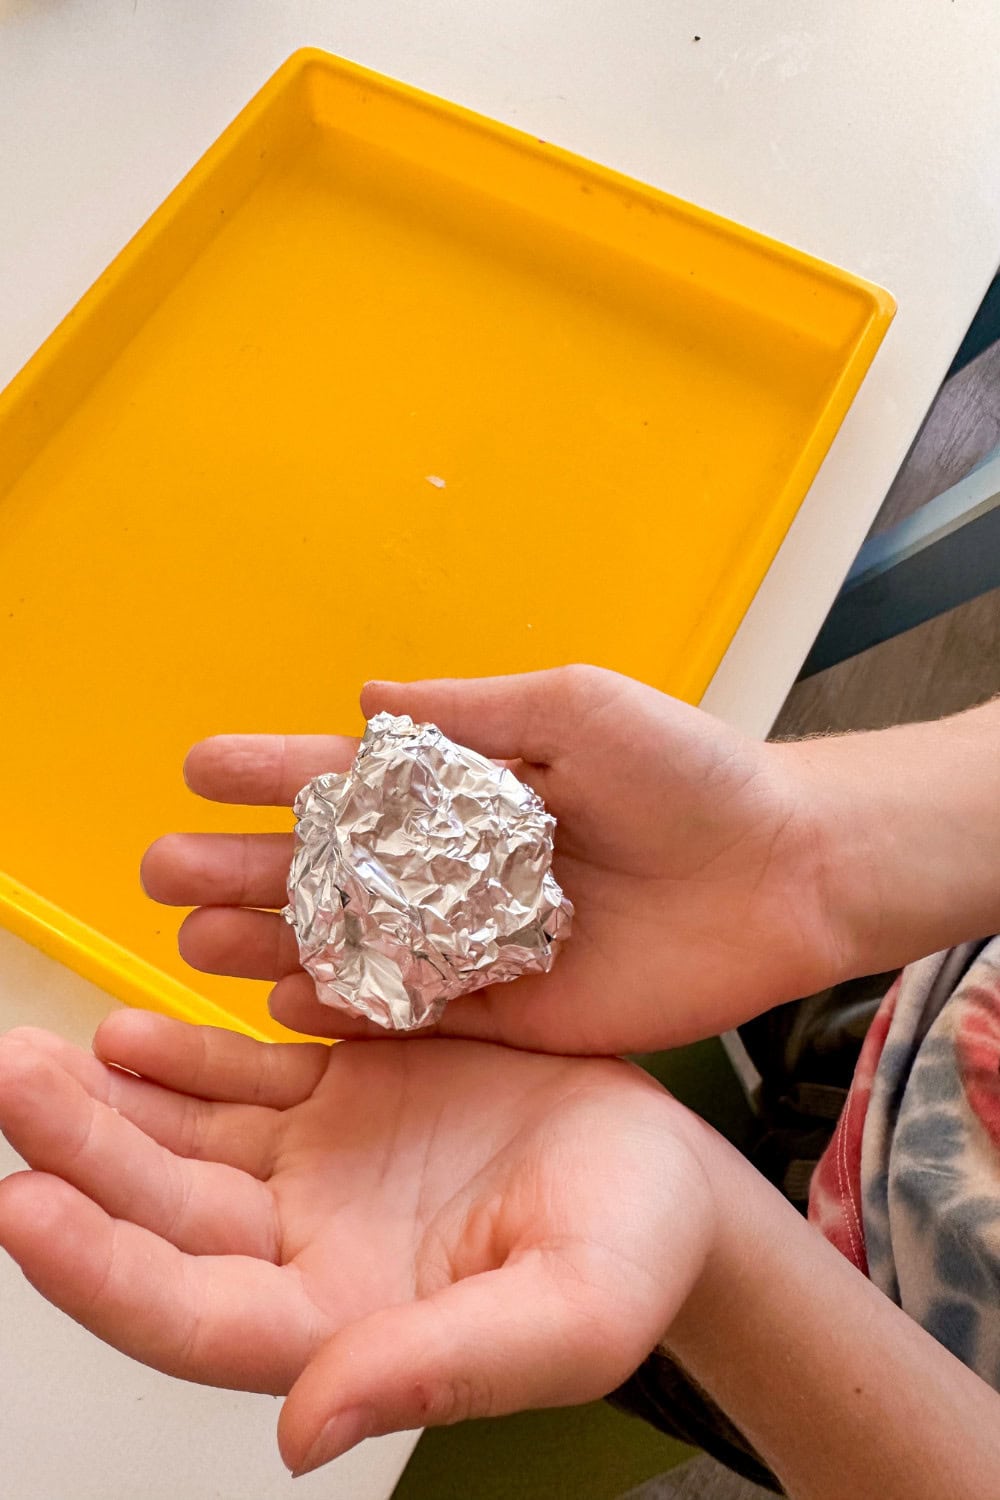
Just take aluminum foil and crumple it up into an egg like shape. Then cover the aluminum foil egg with your clay of choice.

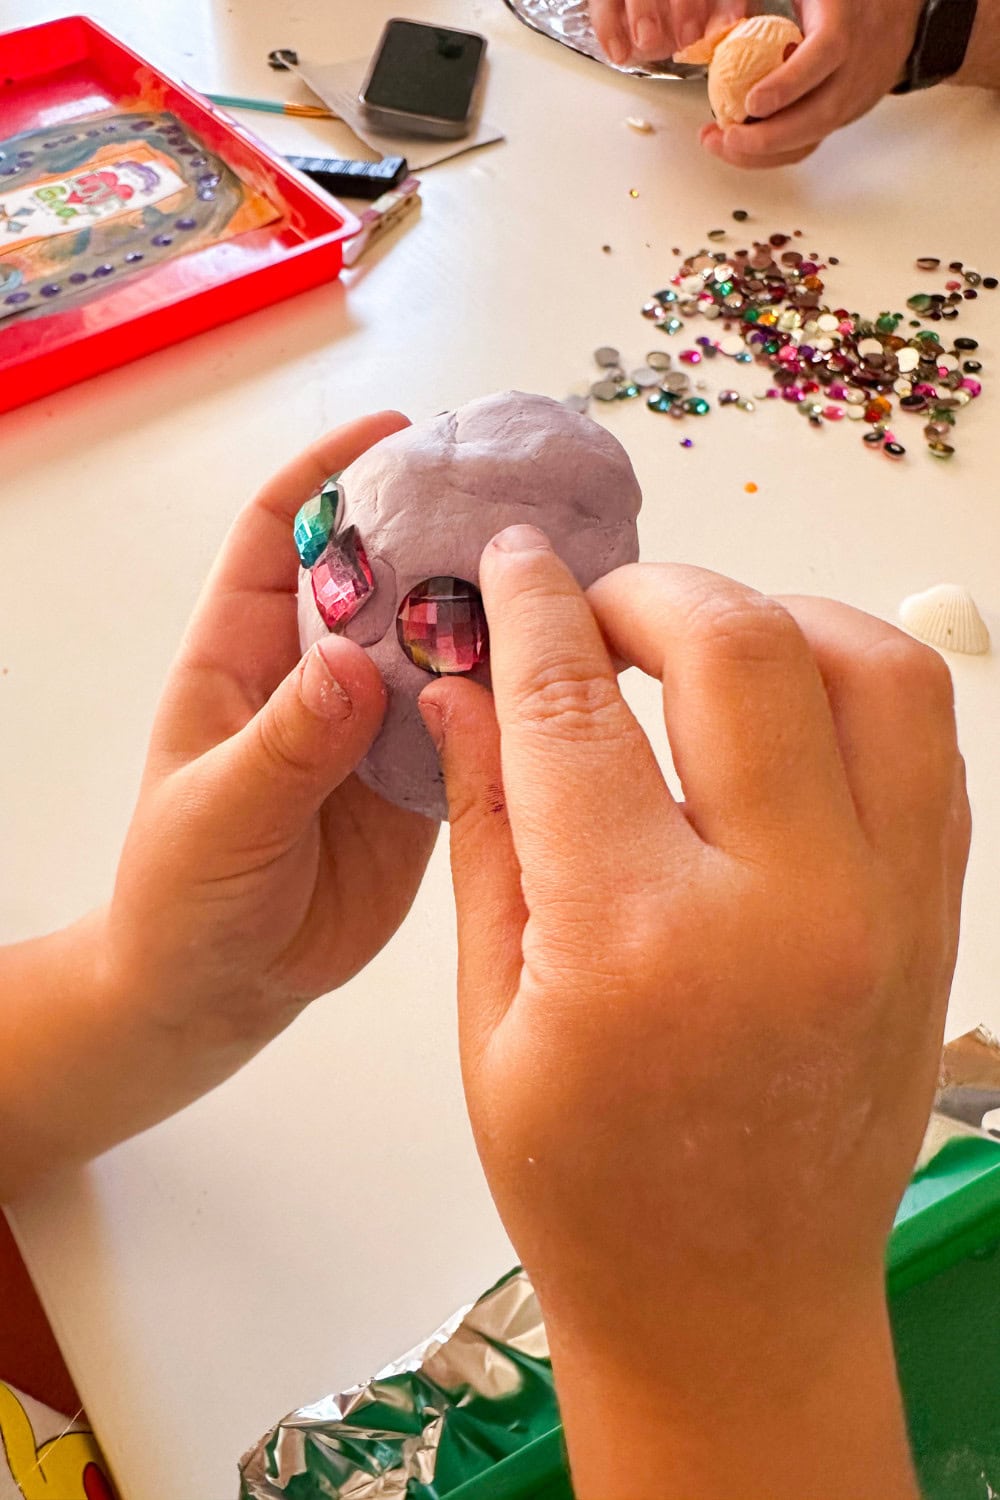
The Gems Keep Falling Off
We just pushed the gems into the clay and that was enough for most of them to stick. But as the eggs dried and the kids wanted to play with them some of the gems started to fall off.
So out came my favorite craft tool: the hot glue gun. We just hot glued on the few gems that fell off. Most stuck right to the clay, but a few needed some extra help staying in place.

If your after the eggs are dry, gems are falling off the DIY dragon eggs, use hot glue to secure them in place.


DIY Dragon Egg
Equipment
- 1 Paintbrush Optional
- 1 Mini Rolling Pin appropriate for clay
Supplies
- Tin Foil
- Air Dry Clay
- Paint Optional
- Glue Optional
- Gems
- Small Sea Shells
Instructions
- Take aluminum foil and crumple it up to create an egg shaped ball. Set aside.
- If you want to dye your clay: take a piece of clay and smoosh it out with your hand. Then add a generous squirt of acrylic paint to the top. Fold the clay over the paint and squish together. Continue doing this and kneading the clay until the color is spread uniformly.
- Roll the clay out. Then take the aluminum foil egg and stick it in the middle.
- Start to pull the clay up over the aluminum foil, squishing it together to secure it to the egg and the clay around it.
- Smooth the clay if wanted and ensure the clay covers all the aluminum foil.
- Start to push into the clay gems and small sea shells. Can also use the sea shells to create patterns in the clay.
- Once covered to your liking, put the eggs aside to dry.
Love the ideas you see here on Ideas for the Home by Kenarry®? Subscribe today to get our FREE DIY & Craft Planning Calendar, plus our weekly Ideas in Your Inbox newsletter filled with creative tips and exclusive offers!
What’s Next?
If you enjoyed these DIY dragon eggs then you’ll enjoy these other kids crafts too.
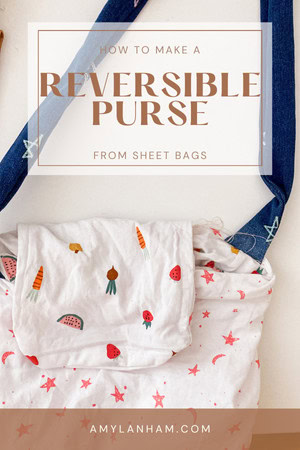
Reversible Purse from Sheet Bags
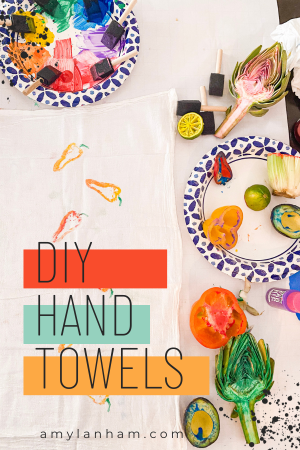
You may also enjoy these kids craft ideas on Ideas for the Home by Kenarry® –