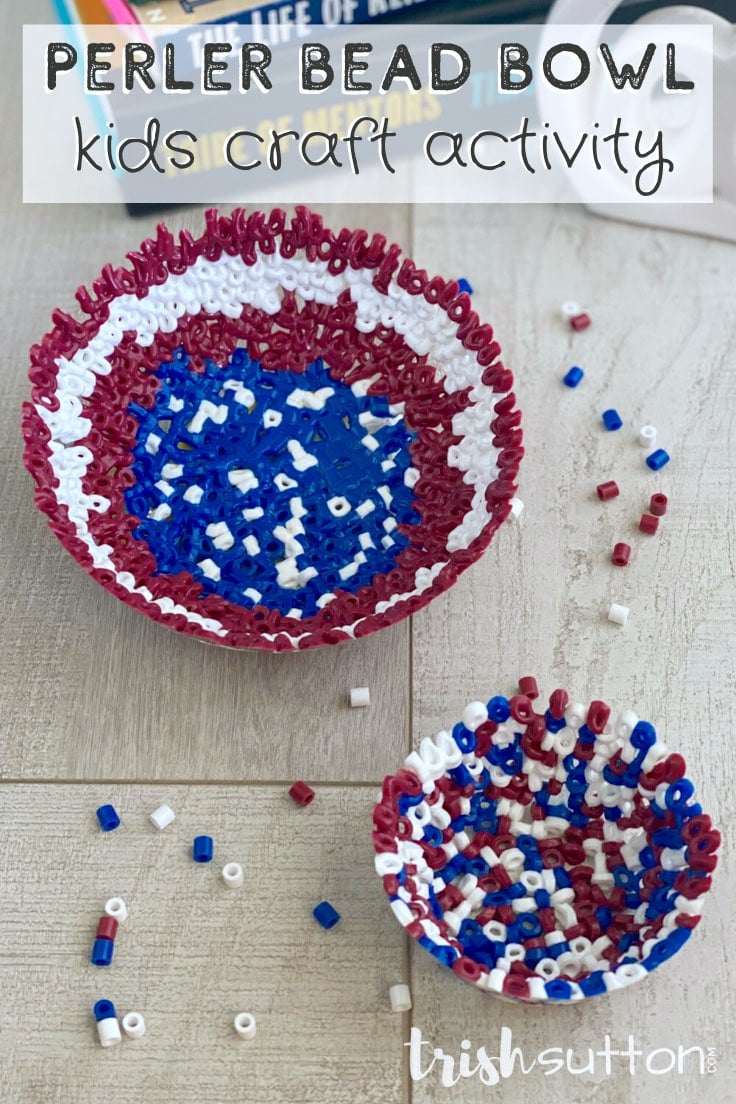
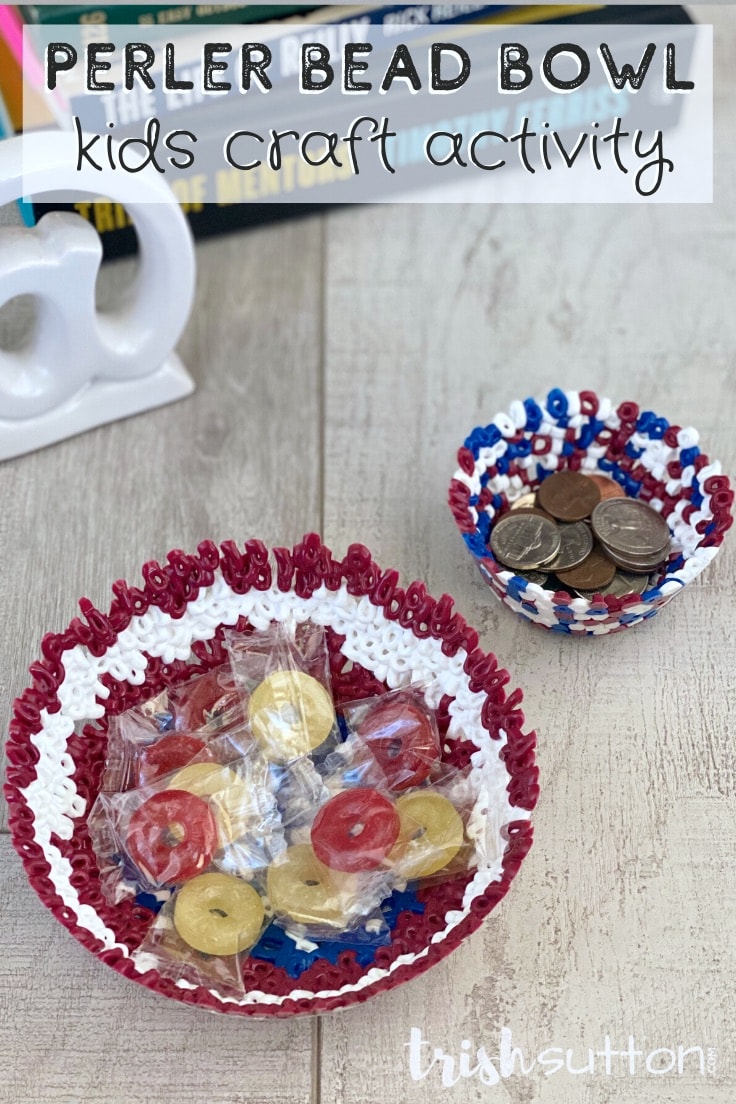
Perler Bead Bowl: An Easy Kids Craft Activity
THIS POST MAY CONTAIN AFFILIATE LINKS. PLEASE SEE OUR FULL DISCLOSURE POLICY FOR DETAILS.
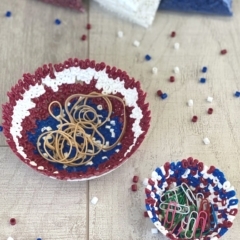
Create a colorful Perler Bead Bowl with kids of all ages! This simple tutorial will walk you through a fun kids craft activity made with Perler beads that is fun to make and adorable to use.
Hey there Kenarry Readers! Trish here with a fun tutorial that both adults and kids alike will enjoy creating. This simple DIY Perler bead bowl kids craft is a great isolation activity and you might already have everything you need to create it.
Don’t worry if you do not have Perler beads on hand! My little guy and I chose patriotic colors in anticipation of summer holidays and Walmart delivered our red, white, and blue beads within a few days of ordering them. However, buying individual colors is not necessary, both Walmart and Amazon offer buckets of bulk beads in a variety of colors.

How to Make A DIY PERLER Bead Bowl
If you are looking for a super-easy craft idea to do with your kids that doesn’t require lots of expensive tools and supplies, then this is the one for you! Other than the beads, you probably already have everything you need at home.
I’ll show you how easy it is to make a cute bowl out of these inexpensive Perler beads.
What you need:
Want more ideas like this? Subscribe today to get our weekly Ideas in Your Inbox newsletter plus other exclusive gifts and offers — all for FREE!
Supplies:
- Perler Beads
- Oven Safe Pyrex Bowl
- Non-Stick Cooking Spray
- Dish Soap
OPTIONAL DIY Tools:
- Baking Sheet
- Bead Tweezers
Instructions:
1. Preheat the oven and prepare the mold.
Begin by preheating the oven to 375* degrees.
Then prepare your pyrex bowl that will be used as a mold by spraying a generous coating of cooking spray inside the oven safe bowl.
2. Design your diy bead bowl.
Next, begin placing the plastic beads into the bottom of the prepared glass bowl, continue to place the beads up the sides of the bowl in your desired design. Be careful not to move the bowl too much. The beads do a fairly good job of sticking to the oil; however, they can shift with movement.
If your desired design happens to be a mix of colorful beads then your bead bowl will be a little easier to create. In this case, you can pour Perler beads into the bottom of the bowl then gently press the beads up the sides of the bowl until you have a single layer of beads.
3. bake your bowl to set the beads.
After you have reached the desired height of your bowl and your beads are all in place carefully place the bowl onto the oven rack. Again, be very careful with any movement.
Bake your DIY bead bowl for 8-12 minutes. Our larger bowl required 12 minutes at 375* degrees; meanwhile, our smaller bowl baked for approximately 8-9 minutes. Remove the bowl from the oven and allow it to rest until it is cool enough to touch then fill the bowl with water. Your Perler bead bowl should loosen from the sides of the glass bowl and you will be able to remove it. Finally, use dish soap and water to clean the oil off the outside of your new creation.
Additional Tips:
- Place the bowl on a baking sheet before putting the baking sheet into the oven. This will make removing your creation from the oven a little easier.
- If you are concerned about the beads moving too much use two matching bowls. Simply spray the outside of a second bowl with cooking spray then gently place it onto the beads.
- If you would like to ensure the inside of your DIY bead bowl is flat, allow the bowl to bake for a few minutes then spray a spatula with cooking spray and gently flatten the beads.
- Bead tweezers will come in handy for those bead bowls with detailed designs.
What’s Next?
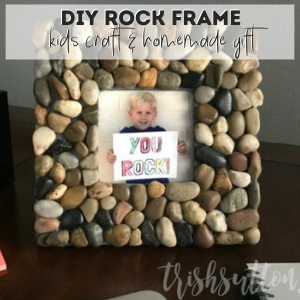
If you enjoyed making this DIY Bead Bowl Kids Craft then you’ll enjoy these creative kids’ crafts that double as homemade gifts.
You may also enjoy these creative DIY craft ideas on Ideas for the Home by Kenarry® –