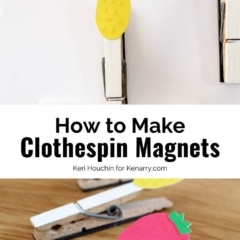
DIY Fruity Clothespin Magnets
THIS POST MAY CONTAIN AFFILIATE LINKS. PLEASE SEE OUR FULL DISCLOSURE POLICY FOR DETAILS.
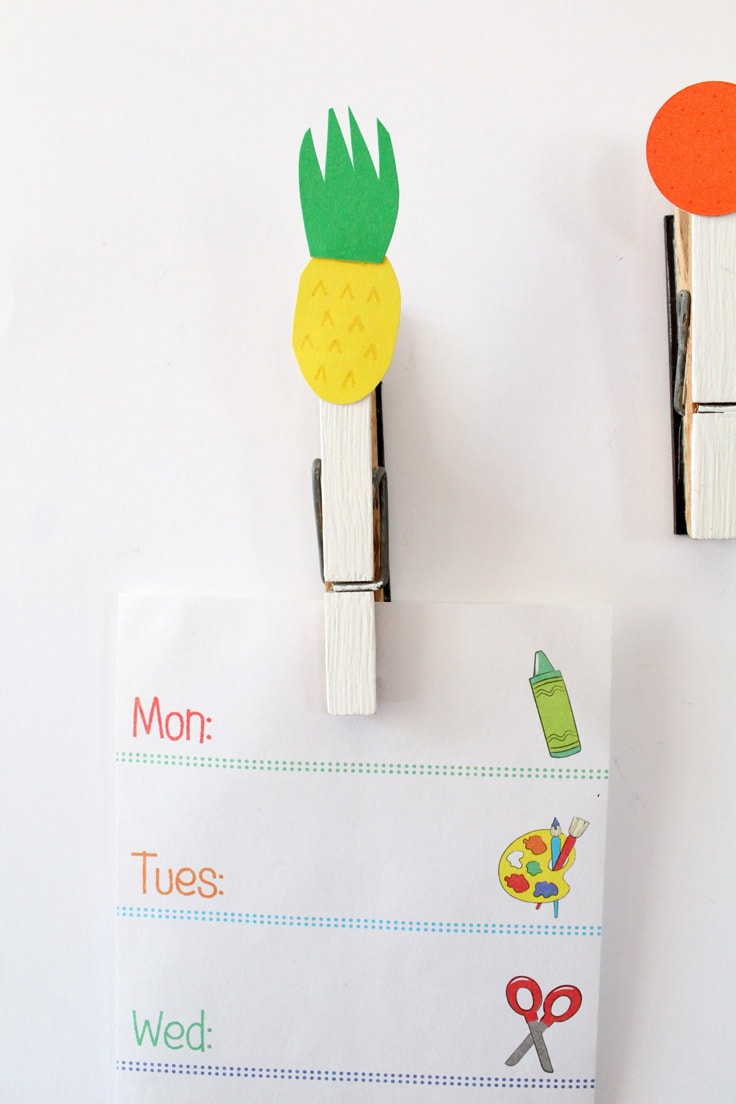
Make clothespin magnets with your favorite fruits or any simple design to hold papers and photos on the refrigerator door.
These easy DIY magnets are a fun way to add some personal flair to your organizing routine. I’m Keri from One Mama’s Daily Drama and I love crafts that are pretty and practical. These clothespins are just that! They look super cute and will help you organize your refrigerator door or any magnetic surface.
Want more ideas like this? Subscribe today to get our weekly Ideas in Your Inbox newsletter plus other exclusive gifts and offers — all for FREE!
If you’ve got kids (and even if you don’t) chances are that there are quite a few papers stuck to your refrigerator door. Let’s be honest. It’s the one place in the house you know everyone will look!
But it’s also easy for the refrigerator door to get a bit cluttered. Make a few of these cute clothespin magnets to hold your important items, like the grocery list, school memos, or family photos.
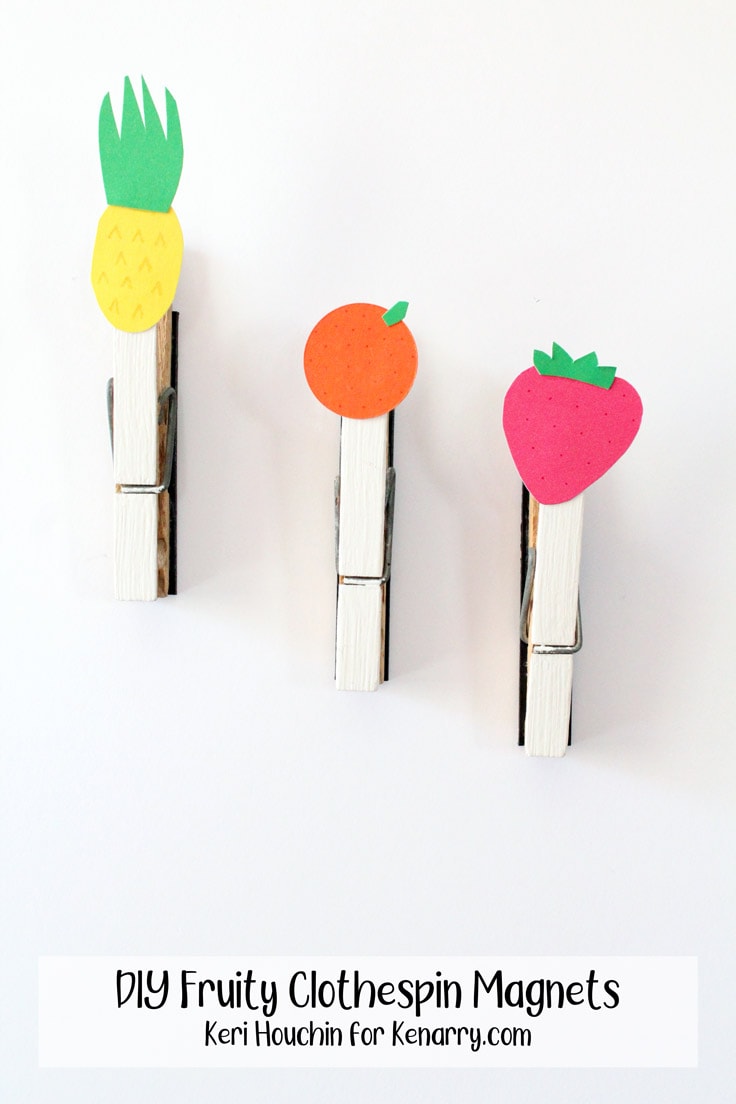
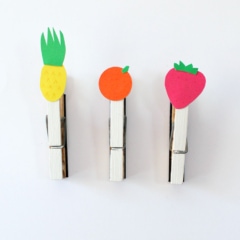
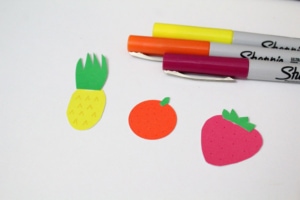
I made these magnets using some of my favorite fruits as inspiration: pineapple, strawberry, and orange. I just cut the shapes from scrap paper, so you can easily use this method to make other fruits – or something completely different.
How to Make clothespin magnets
This is such a versatile craft. Adults will love making them with detailed paper cut designs. For kids, you could also use stickers on card stock, shrinky dinks, or make shapes from modeling clay.
What you need:
Craft/DIY Tools Needed:
Supplies Needed:
clothespin magnet craft Tips:
Wooden clothespin alternatives
I used regular-sized wooden clothespins to make my magnets. You could also do this with larger or smaller ones. Or change it up and use these colorful plastic clothespins and skip the painting.
Choosing a paint
I adore DecoArt for outdoor crafts, but indoors I often use Apple Barrel paint. It comes in a zillion colors. I went with white so that the bright neon colors of the fruit pop, but you could choose a coordinating color instead.
Finishing the magnets
I didn’t use any type of sealant on my finished magnets. However, in a house with young kids, the magnets will probably get handled a lot. To protect the paper from grimy fingers (since it isn’t washable) add a few coats of waterproof Mod Podge to the finished fruit shapes. This will make them stain-resistant and okay to gently wipe clean.
Holding papers
These magnets are cute – but will only hold a few papers or a photo. The strip magnets aren’t strong enough to hold a ton of papers or anything very heavy on your refrigerator door. If you need something a little more industrial, try using button magnets instead.
Clothespin magnets
Equipment
- scissors
Supplies
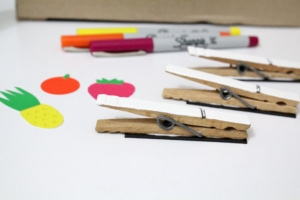
- 3 clothespins
- 1 bottle craft paint white
- 1 sponge paint brush
- cardstock assorted
- 1 bottle craft glue
- 1 roll magnetic tape
- fine-tipe Sharpies assorted
Instructions
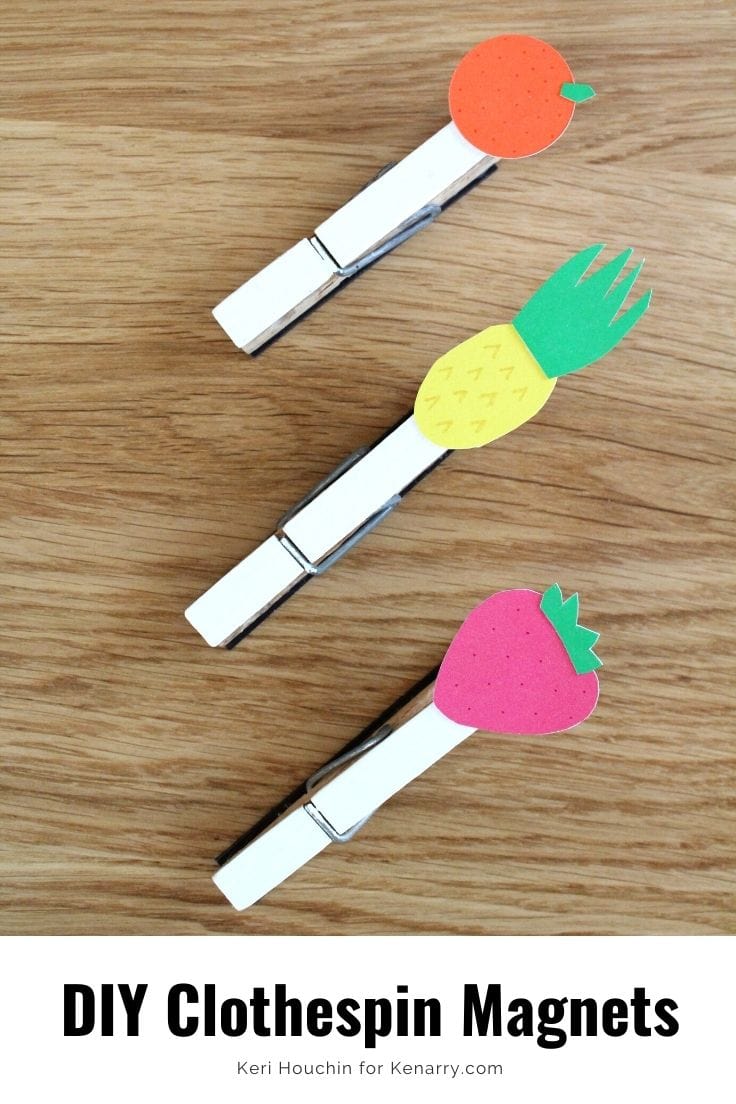
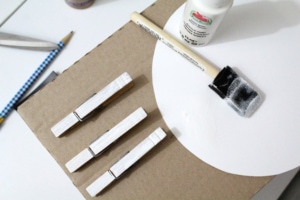
- Paint the clothespins.Start by covering your workspace and painting the clothespins. Mine ended up needing 3 coats and each one dried about 5 minutes before I added the next one.

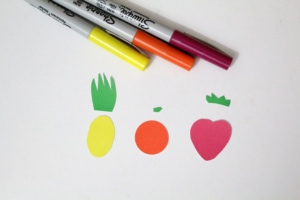
- Cut out the paper shapes.Cut out simple shapes from colorful card stock paper to make the fruit pieces. Most fruits are either round or oval. The strawberry is a heart. Leaves can be made with scrap bits of green.
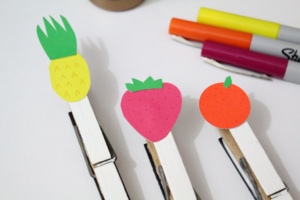
- Assemble the fruit.Glue the leaves in place on each fruit. Use a Sharpie to draw on accents, like the pineapple spikes, strawberry seeds, and orange dimples.
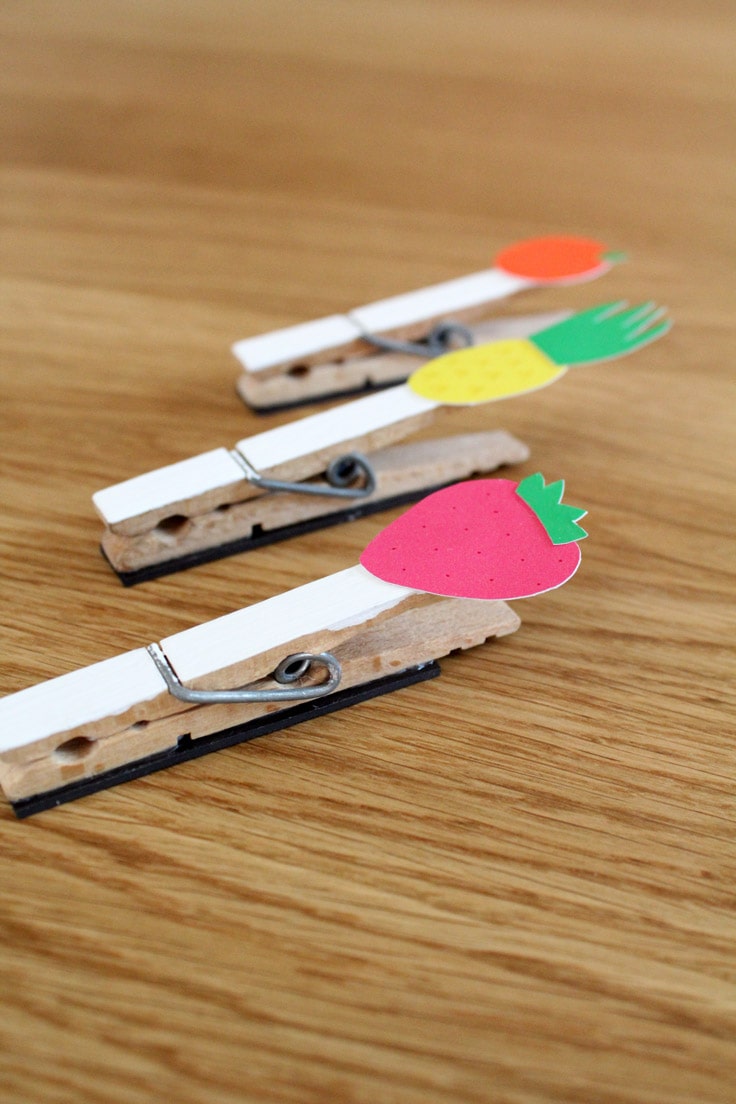
- Attach the magnet strips.Cut the magnet strips to fit the length of the clothespins. Use craft glue to attach them to the unpainted side. Hold each one until it begins to set, then let the glue dry completely.
- Attach the paper fruit.Glue the pieces of fruit onto the front of the magnet at the top. Let dry completely.
Love the ideas you see here on Ideas for the Home by Kenarry®? Subscribe today to get our FREE DIY & Craft Planning Calendar, plus our weekly Ideas in Your Inbox newsletter filled with creative tips and exclusive offers!
What’s Next?
If you enjoyed this DIY clothespin magnet tutorial then you’ll enjoy these fruit craft ideas too.
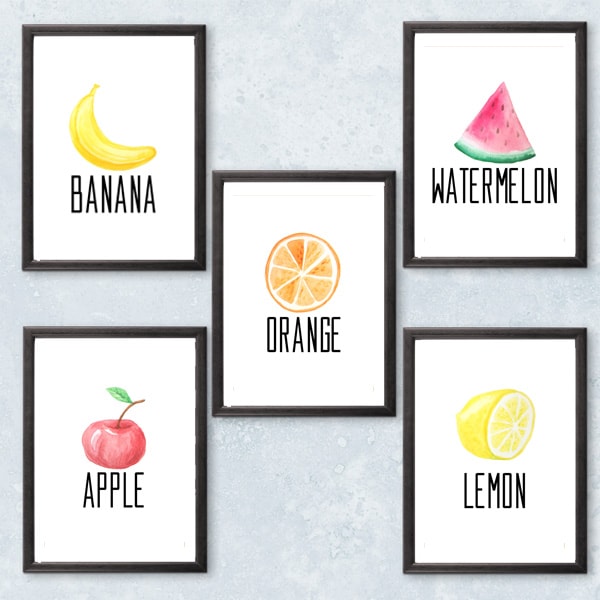

You may also enjoy these craft ideas on Ideas for the Home by Kenarry® –