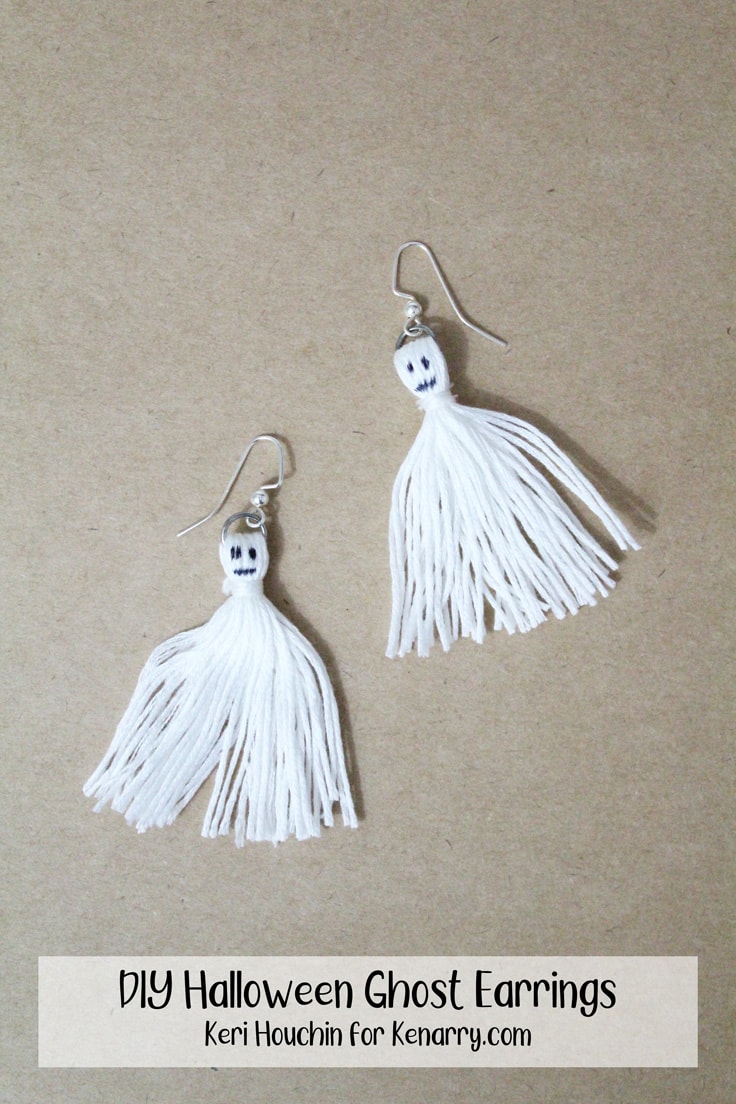
DIY Halloween Ghost Tassel Earrings Tutorial
THIS POST MAY CONTAIN AFFILIATE LINKS. PLEASE SEE OUR FULL DISCLOSURE POLICY FOR DETAILS.
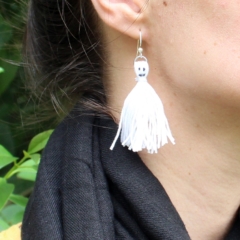
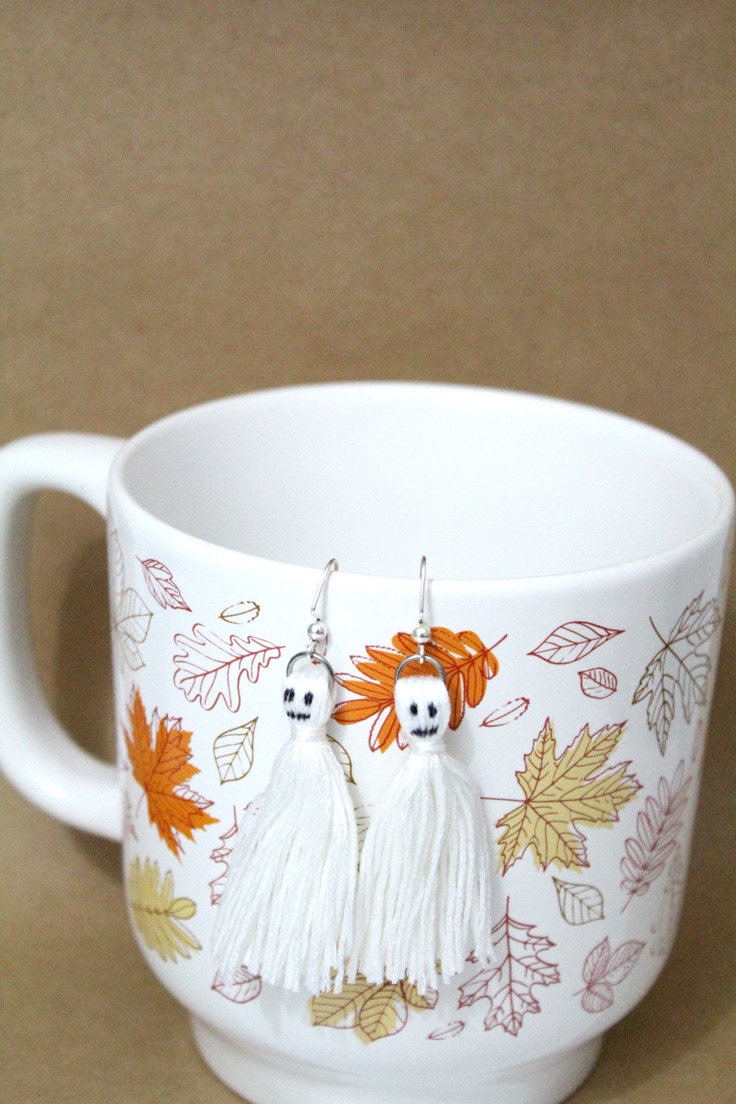
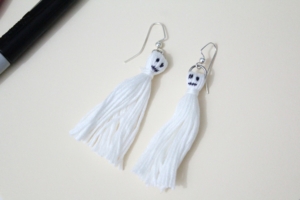
Make a pair of DIY Halloween earrings to wear all October long. These cute little ghost tassel earrings are easy to make in about 15 minutes.
Halloween is one of my favorite holidays to make crafts. I’m Keri from One Mama’s Daily Drama and I love to get ready for fall by making Halloween decor and of course, homemade costumes. It’s even more fun when I can sneak a little Halloween fun into my regular outfits, like with these DIY Halloween earrings.

I love making tassels. It’s one of those things that looks hard, but once you’ve made a few they are so easy! Plus, DIY tassels are easy to customize.
I used a whole skein of embroidery thread cut in half to make the pair, but if you want to make them really chunky, try it out with even more thread. You can also cut them to any length you like.
How to Make DIY Halloween Earrings
I made these ghost tassels white, but I adore colorful Halloween crafts and think these would be cute in other colors too.
What you need:
Want more ideas like this? Subscribe today to get our weekly Ideas in Your Inbox newsletter plus other exclusive gifts and offers — all for FREE!
Supplies Needed:
DIY Halloween Earrings Tips:
Keep track of your small pieces
Jewelry making tends to have a lot of small parts. Gather all your materials and work inside a tray with a lip to keep small items from getting lost.
open tiny jump rings easily
Use two pairs of pliers if you have them get a good grip on both sides of a jump ring. If you make jewelry often, having a second pair will make your projects easier.
Untangle tassels for a picture-perfect finish
Try using a comb with wide teeth to smooth out the end of your tassels before you put on the earrings to make them neater and fix any flyaway threads.
Style your DIY Halloween earrings
If you’re looking for cute outfits to show off your new ghost earrings, a simple black top is perfect. The contrast makes your DIY Halloween earrings stand out. If you’re a color lover like I am, a bright colored top and a black scarf will still add the same nice contrast.

Halloween Ghost Tassel Earrings
Equipment
- scissors
- jewelry pliers
Supplies
- 2 skeins embroidery thread white
- 2 fishhook earrings silver
- 2 jump rings silver
- 1 Sharpie black
Instructions
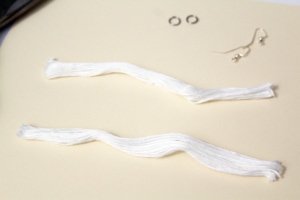
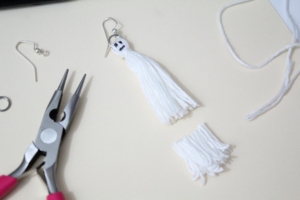
- Cut the embroidery thread.Lay out a whole bundle of embroidery thread and carefully separate the center to make an oval. Use the scissors to cut through each end to create two long bundles. Each of these will become a ghost tassel.

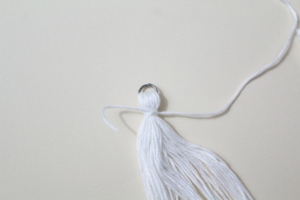
- Make the tassel shape.Carefully put one end of a bundle through a jump ring and slide it down to the middle. Fold the bundle in half with the jump ring at the top.
- Tie the tassel.Cut another length of matching thread, approximately 3 or 4 inches long, and wrap it around the top of the tassel bundle. Pull it snug and tie 2 or 3 knots. Trim the ends.
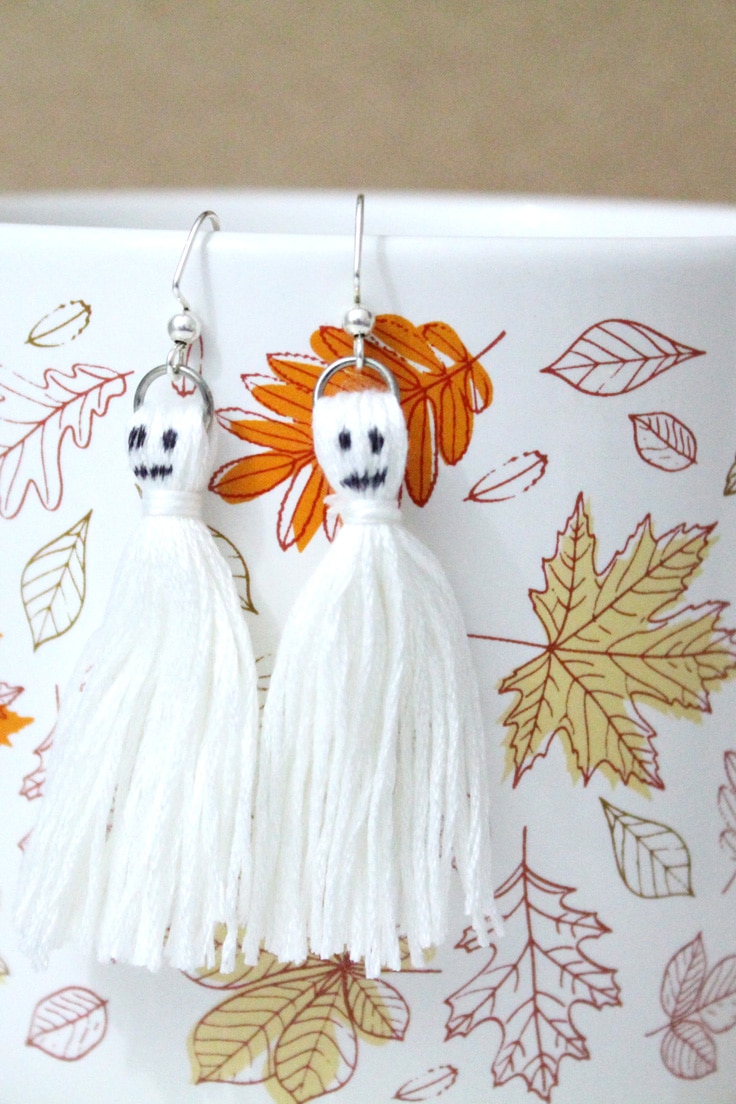
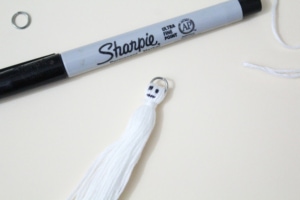
- Draw the ghost face.Use the Sharpie to dot two eyes and draw a mouth for the face of the ghost. Press gently multiple times to make your marks precise without the ink bleeding too much.
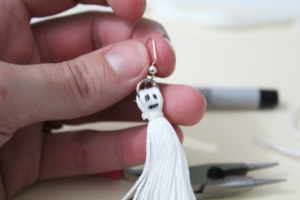
- Attach the fishhook earring.Open the jump ring just a tiny bit using the jewelry pliers. If you don’t have a pair, any needle-nose pliers will work and you may be able to do it with your fingers if the ring is thin.Slide the fishhook onto the jump ring, making sure the ghost is facing forward.Repeat steps 2 through 5 to make a second earring for your pair.
- Finish the ghost tassel.Try on your earrings in front of a mirror and decide how much they need to be trimmed. You might want them long or short. I cut about an inch off of the bottom of mine.
- Fluff up the tassel and you’re ready to wear them!

Love the ideas you see here on Ideas for the Home by Kenarry®? Subscribe today to get our FREE DIY & Craft Planning Calendar, plus our weekly Ideas in Your Inbox newsletter filled with creative tips and exclusive offers!
What’s Next?
If you enjoyed making these DIY Halloween earrings then you’ll enjoy these Halloween costume ideas too.
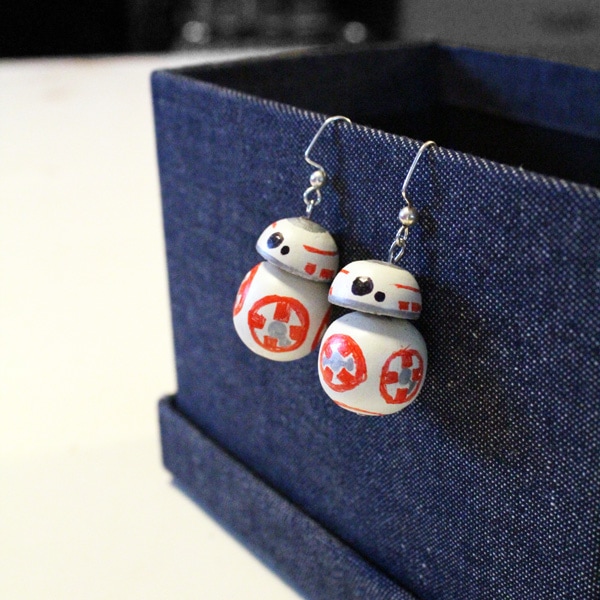
Dress as Rey from Star Wars and make these DIY BB-8 Earrings
Dress as Kiki from Kiki’s Delivery Service and make this Big Red Crochet Bow
No time? Try these Budget-Friendly Last Minute Halloween Costumes

You may also enjoy these cute Halloween craft ideas on Ideas for the Home by Kenarry® –