Tin Can Pumpkins Craft Tutorial
THIS POST MAY CONTAIN AFFILIATE LINKS. PLEASE SEE OUR FULL DISCLOSURE POLICY FOR DETAILS.
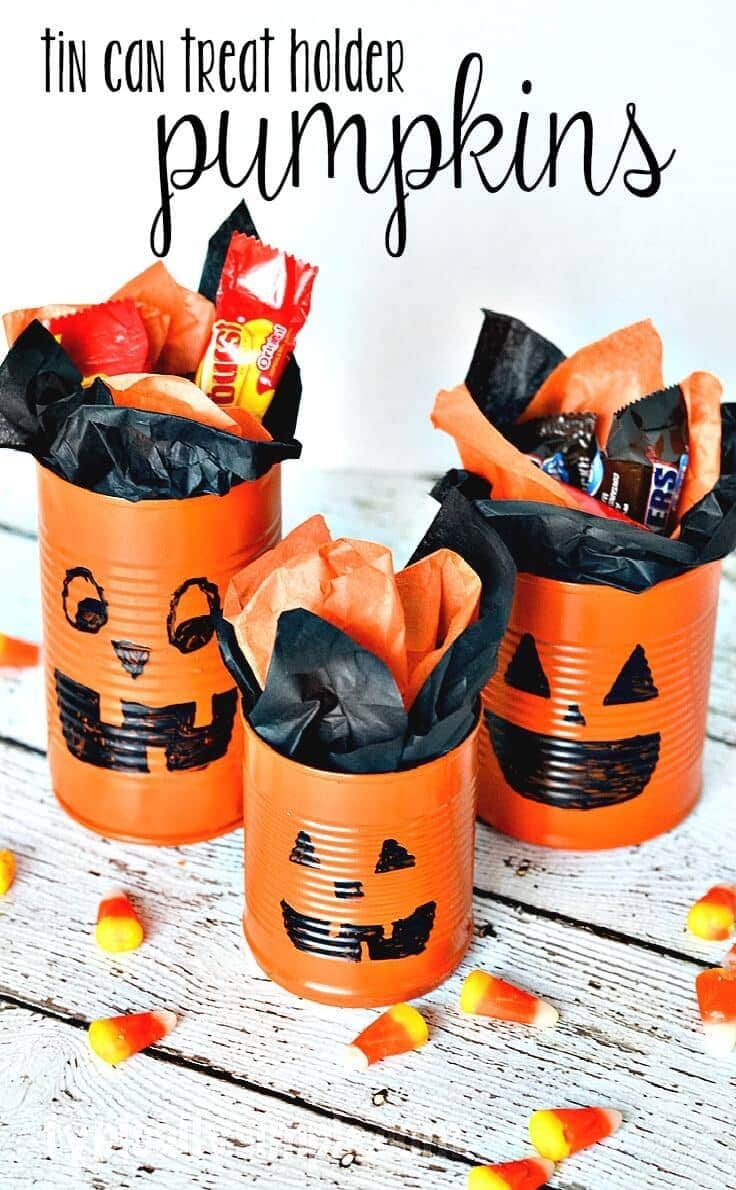
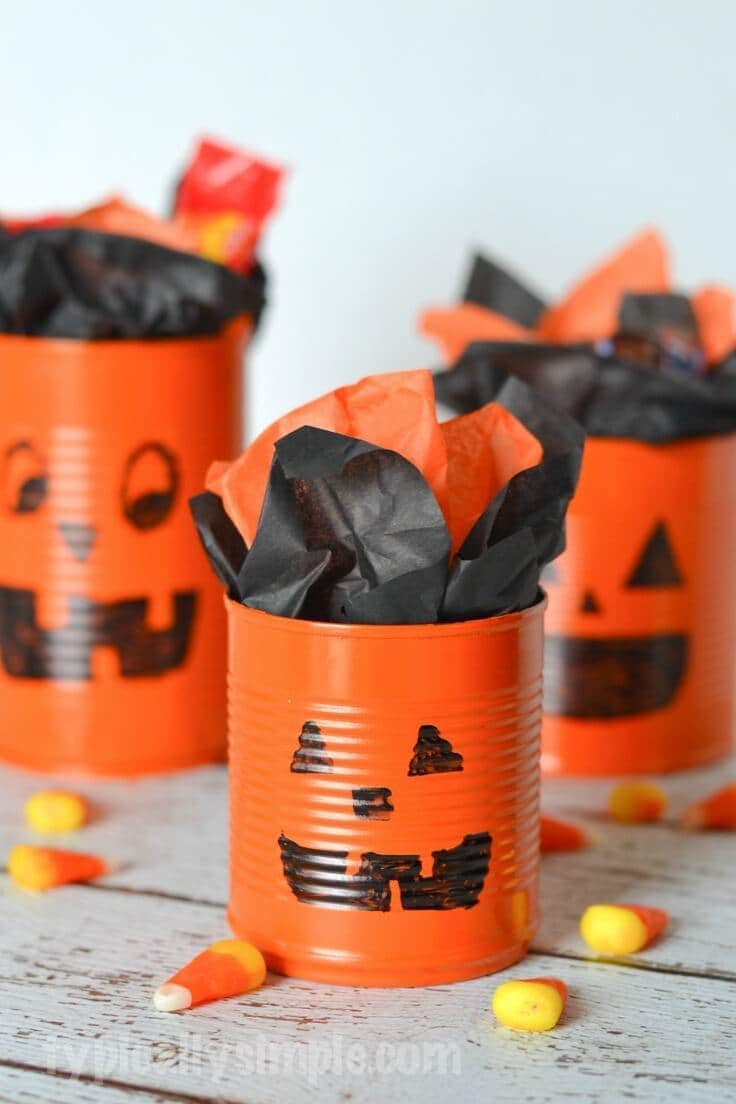
With just a few basic supplies, create these tin can pumpkins to use as cute treat holders for Halloween!
Hi there, Kenarry readers! I’m Kelly from Typically Simple and I’m so very excited to be here! Halloween is one of my absolute favorite holidays to make crafts and decorate for. With everything from skeletons and witches to cute little pumpkins and bats, there are just so many options for projects and decor!
I definitely lean more towards the cutesy side of Halloween decorations and these tin can pumpkin candy holders are just that!
Fun Fall Craft For Kids
These little tin can pumpkins are a fun project to make with the kids! You can fill them with some candy to give as an extra special Halloween treat to friends and family or even use them as centerpieces for Halloween parties. Let the kids get creative with the faces and used different can sizes to make a whole pumpkin family!
Disclosure: This blog post contains affiliate links for products or services we think you’ll like. This means if you make a purchase from one of these links, Ideas for the Home by Kenarry® will make a small commission at no additional cost to you so we can keep the great ideas for the home coming your way. All opinions expressed are derived from personal experience.
HOW TO MAKE TIN CAN PUMPKINS
SUPPLIES
- empty, clean tin cans
- orange spray paint
- black permanent marker
- tissue paper
- candy (optional)

DIRECTIONS
Here is how to make the tin can pumpkins! It’s so easy the kids can help you make them.
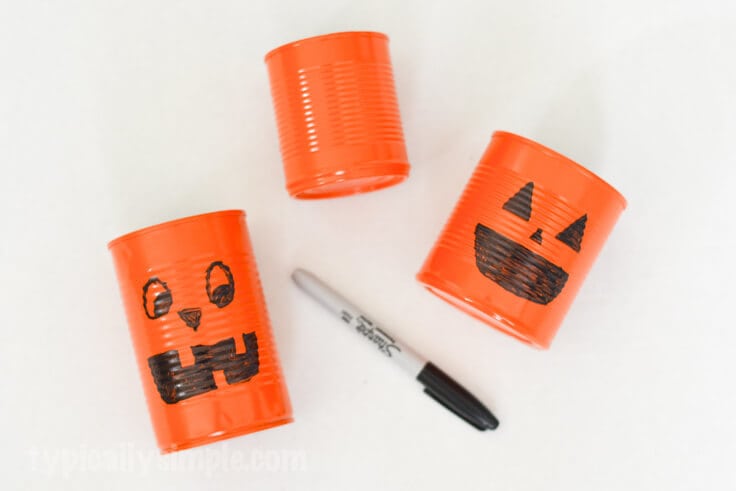
1. Spray Paint the Cans
Start by spray painting the tin cans. I like to use a box lid to catch the overspray and also make it easier to move the cans to a safe place to dry.
After letting the first coat of spray paint dry for about 10-15 minutes, add a second coat to makes sure the cans are covered completely. Let them dry really well before moving onto the next step.

2. Draw Faces on the Cans
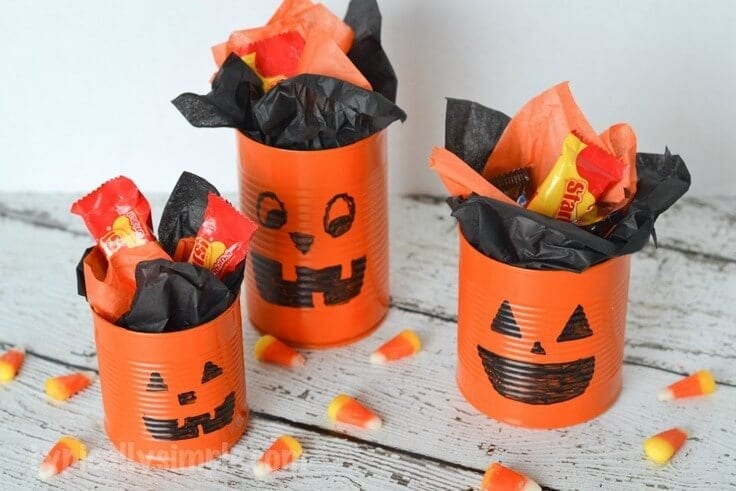
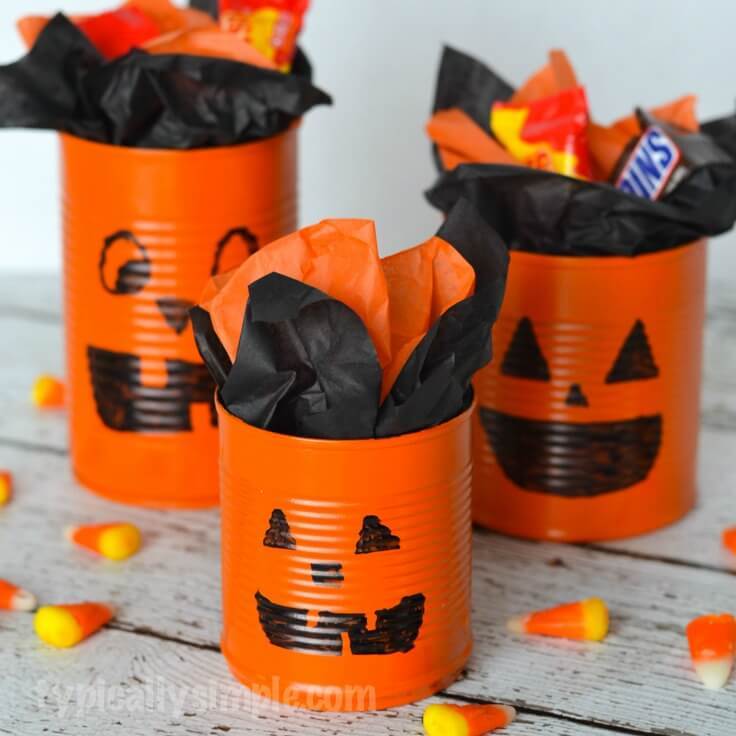
Using a black permanent marker, add faces to the tin cans to create pumpkins.
If you don’t want to go the permanent marker route, you can have the kids cut out faces from black construction paper and glue them on. There are lots of options with this craft to make it age-friendly for your kiddos!
3. Stuff the inside with tissue paper
Once the faces are added, stuff the inside of the cans with some tissue paper. You can also add some candy if you would like to give this as a cute, Halloween gift.
If using it as a centerpiece, arrange the cans on the table and scatter some candy corn or Halloween confetti around them. A simple, yet fun way to decorate the table!
Looking for more Halloween project ideas? Be sure to check out these fun activities & crafts on Typically Simple!
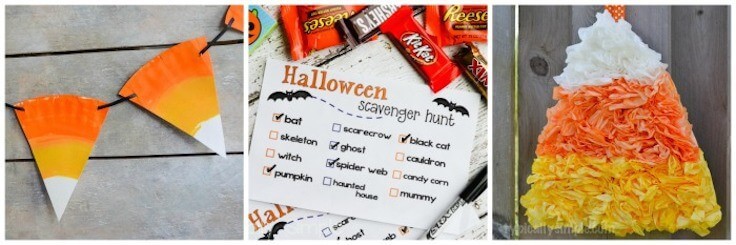
Paper Plate Candy Corn | Halloween Scavenger Hunt Printable | Coffee Filter Candy Corn
More Halloween Ideas
You may also enjoy these Halloween ideas on Ideas for the Home by Kenarry® –
Originally published October 2016. Updated October 2018.
2 Comments