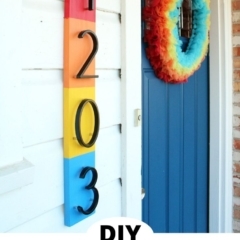
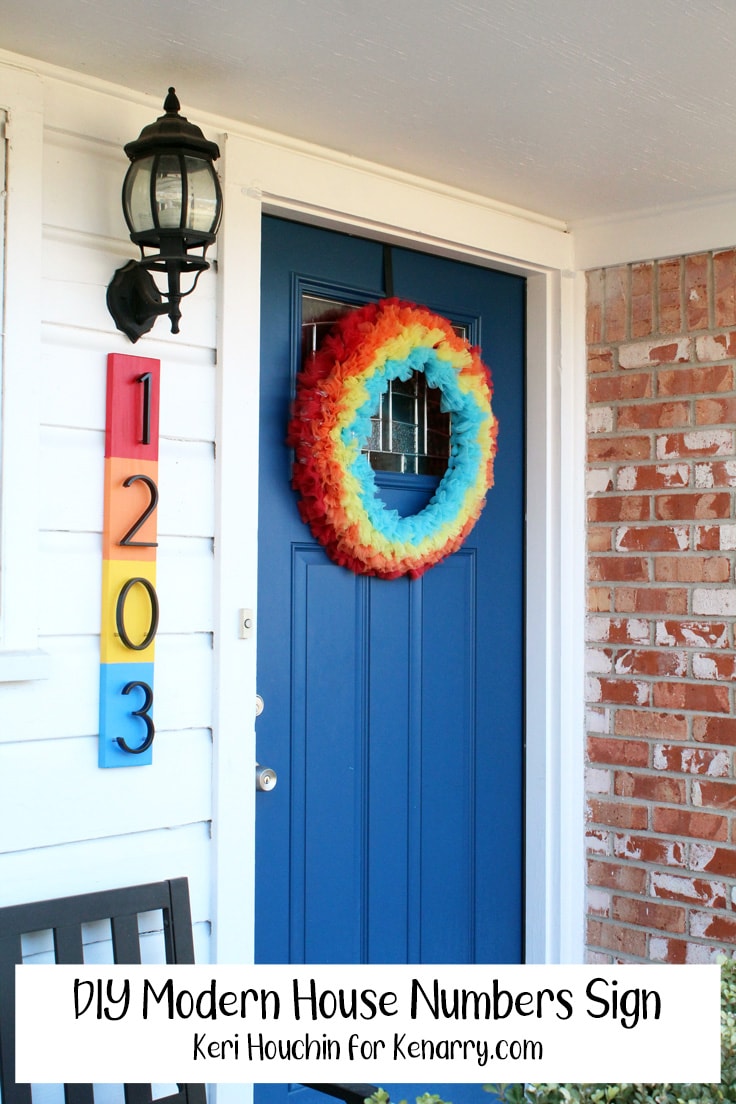
DIY Modern House Numbers Sign For Your Front Porch
THIS POST MAY CONTAIN AFFILIATE LINKS. PLEASE SEE OUR FULL DISCLOSURE POLICY FOR DETAILS.
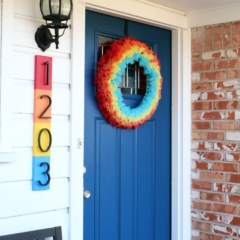
DIY house numbers are an easy way to update your front porch and add some curb appeal. Learn how to make a modern house numbers sign.
Updating the exterior of your home can be an expensive process when it comes to landscaping and big maintenance projects. But there are lots of ways to add some budget-friendly curb appeal too.
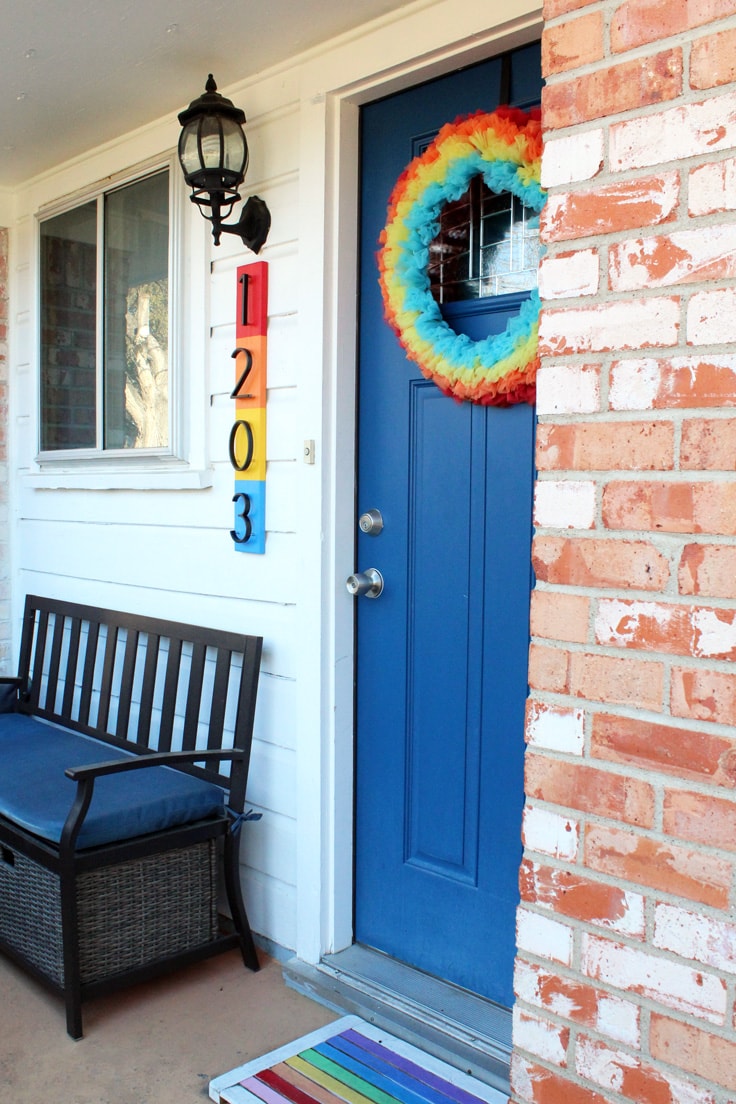
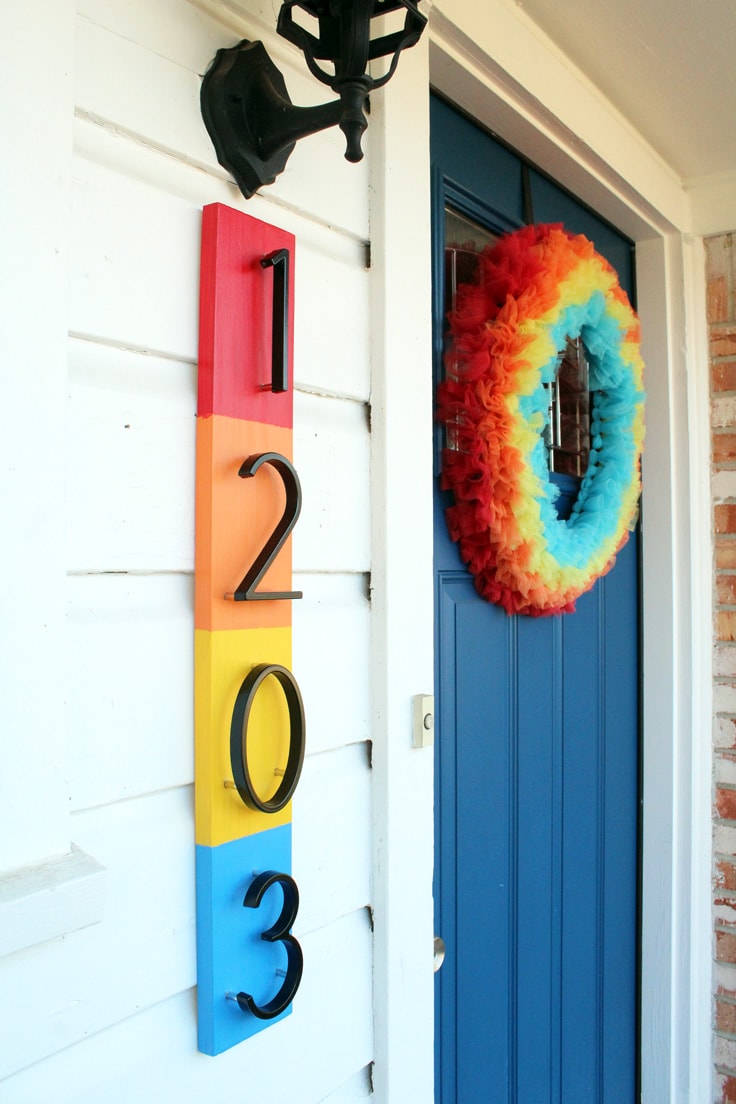
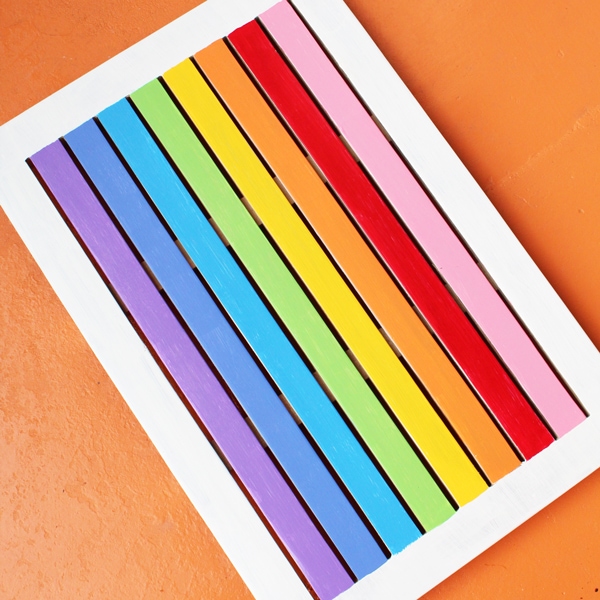
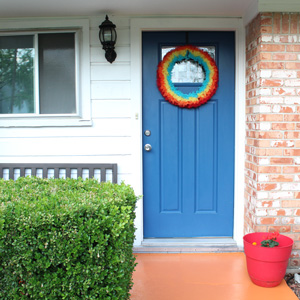
I’m Keri from One Mama’s Daily Drama and I’ve been slowly updating my front porch to make it super cute! My most recent project was to make this easy DIY house numbers sign. It’s pretty and makes my address more visible.
I made this sign to replace the old, small numbers that wouldn’t stay in place. It matches all my other updates – including the painted concrete, wreath, and planters.
While I painted mine to match the rest of my rainbow porch decor, you can use any color combo to match the exterior of your house – or even go with a natural wood stain.
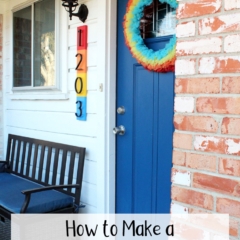
How to Make a DIY House Numbers sign
This project requires cutting and drilling, but check the tips below for some ways you can still DIY this project even if you don’t own any power tools.
What you need:
Want more ideas like this? Subscribe today to get our weekly Ideas in Your Inbox newsletter plus other exclusive gifts and offers — all for FREE!
DIY Tools Needed:
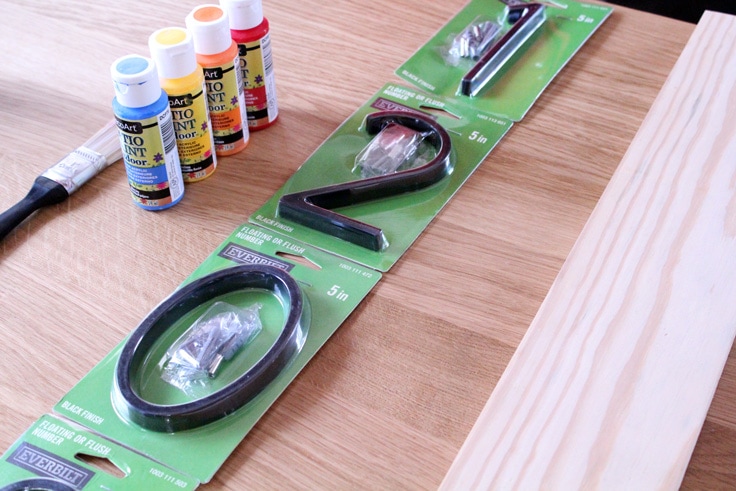
Supplies Needed:
- Unfinished wood board cut to size
- Picture frame hanging kit
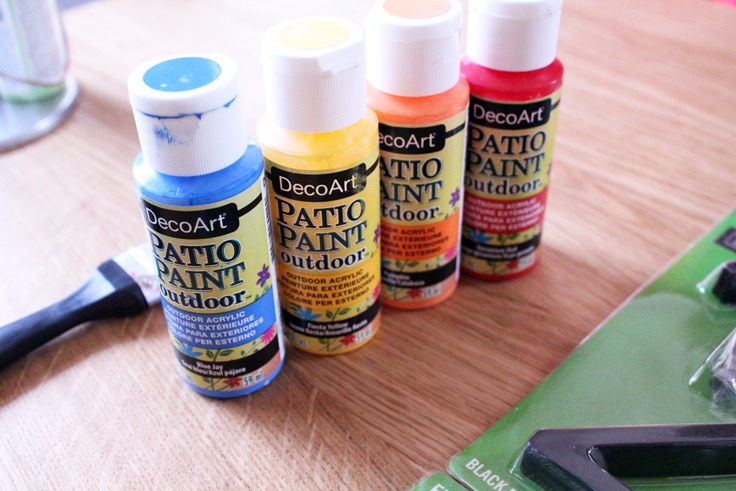
- Deco Art Patio Paint – Geranium Red, Pumpkin, Fiesta Yellow, Blue Jay
- Painter’s tape
- Metal house numbers
DIY House Numbers sign Tips:
Plan out your design on paper first
Measure the area where your house numbers will hang. Determine how many numbers you need and how far apart they should be. Draw out the layout on paper and decide how big each painted section needs to be.
Use larger numbers
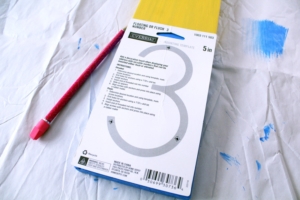
If you’re wondering how big your house numbers should be, the answer is at least 4 inches tall. Bigger is better because it’s easier to see. Mine are 5 inches tall because that’s what fits in the space, but I’ve seen them as large as 12 inches.
Have the board cut for you
I used a piece of scrap wood from another project, but if you’re going to purchase wood at a hardware store, most places will cut it for you too.
Use outdoor paint
Make sure your paint is intended for outdoor use, otherwise you’ll need to repaint it often. I’ve used Deco Art Patio Paint for all my outdoor projects and it holds up great.
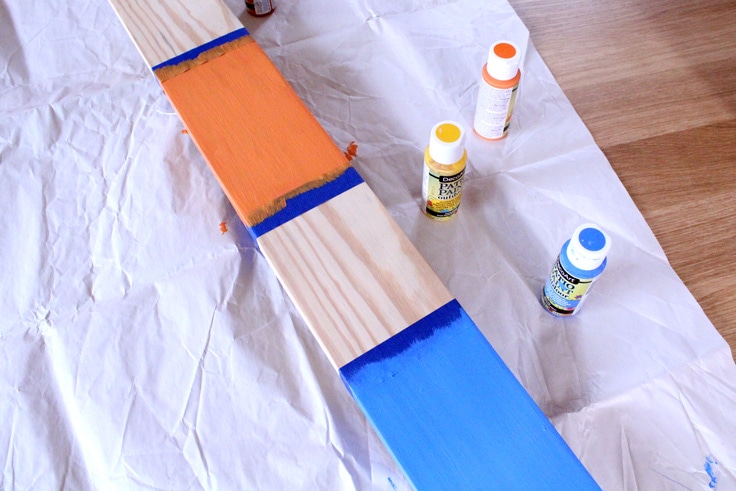
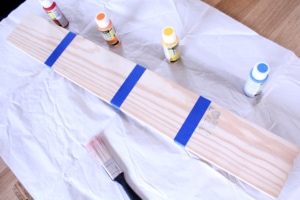
Use painter’s tape to get straight lines
To make painting the alternating colors easiest, mark off every other section with tape. Paint two of the sections and let them dry to the touch. Then move the tape to cover the painted areas and paint the other sections.
Make sure your numbers stand out
Although you want the house numbers to be pretty, it’s also important that emergency responders or anyone looking for your house numbers can easily read them from the road.
Swap metal numbers for reflective decals
If you don’t have the tools to attach metal numbers, you can also make this project using outdoor reflective number decals. Alternatively, you could paint numbers on.
Decide how to hang the sign
I used a picture hanging kit and hung the cord on a screw in my siding. You could also use eye hooks screwed into the top of the sign. If you don’t have wooden siding, you may need a special kit for brick or rock.

DIY House Numbers
Equipment
- Saw
- Drill
- Screwdriver
- tape measure
- 1-inch paint brush
Supplies
- 1 unfinished board cut to size
- picture frame hanging kit
- 4 bottles outdoor paint red, orange, yellow, and blue
- 1 roll painter's tape
- metal house numbers
Instructions
- Cut the board to fit your space. Decide what size your house number sign needs to be and cut it. Mine is 4 inches wide by 28 inches long. Each painted section is 4×7 inches.

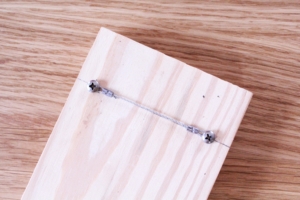
- Attach the picture hanger to the back of the board according to the kit instructions.
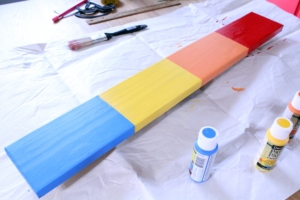
- Paint the background of the sign. Use painter’s tape to mark each section, then paint. Let the paint dry and re-tape as needed until the whole sign is painted. Make sure you cover the sides too. Allow the sign to dry overnight.
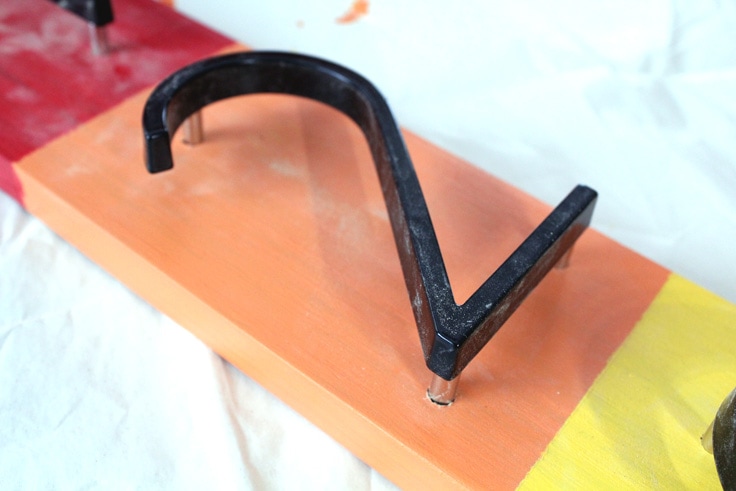
- Attach the house numbers. Mark where the numbers will go on the sign. (Mine came with a template.) Drill holes into the boards and attach the numbers with screws.
- Hang the house numbers sign. Attach a screw to the side of the house and hang the sign. Adjust it as needed to make sure it’s level.
What’s Next?
If you enjoyed this DIY house numbers project then you’ll enjoy these front porch ideas too.
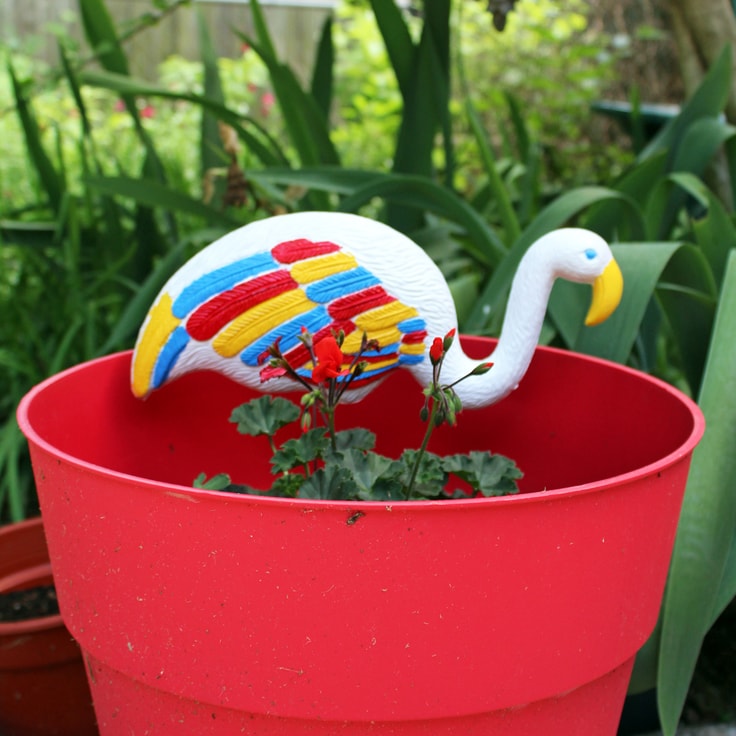
DIY Painted Yard Flamingo Planter
Love the ideas you see here on Ideas for the Home by Kenarry®? Subscribe today to get our FREE DIY & Craft Planning Calendar, plus our weekly Ideas in Your Inbox newsletter filled with creative tips and exclusive offers!
You may also enjoy these home decor project ideas on Ideas for the Home by Kenarry® –