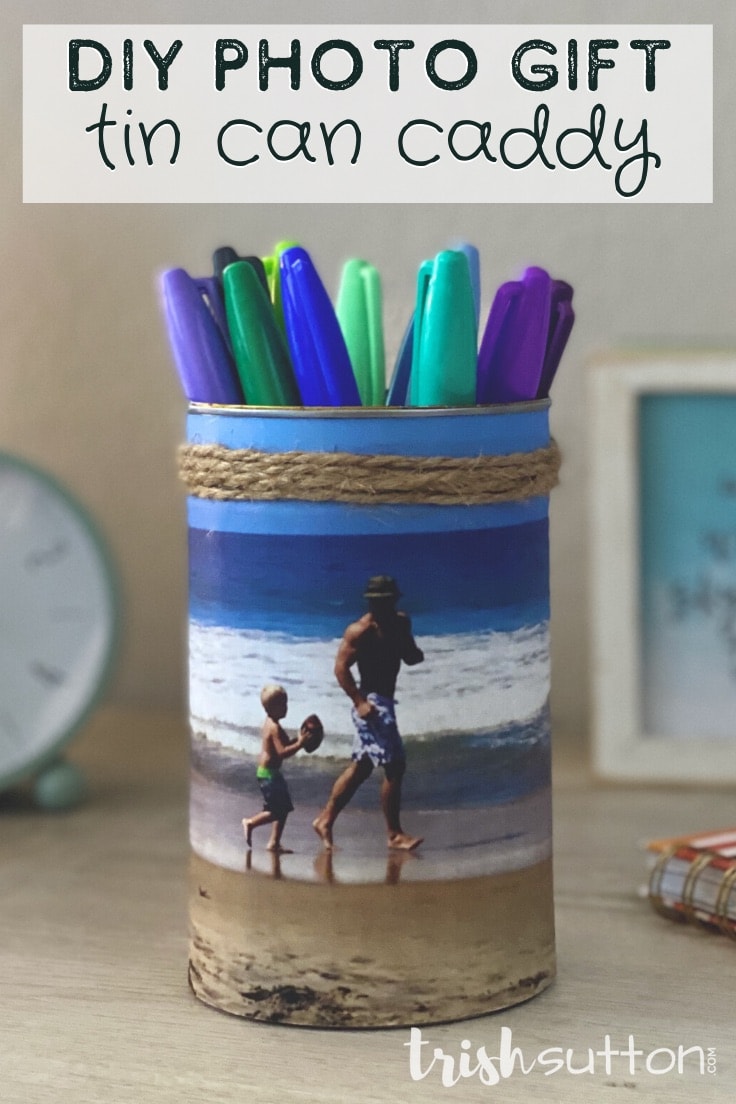
DIY Photo Gift Upcycled Tin Can Caddy
THIS POST MAY CONTAIN AFFILIATE LINKS. PLEASE SEE OUR FULL DISCLOSURE POLICY FOR DETAILS.
Create a thoughtful DIY photo gift caddy for parents, grandparents, teachers, and graduates. Begin with an upcycled tin can then add a little bit of love to create a caddy perfect for desktops, craft supplies or vanity cabinets.
Hey Kenarry Readers! Trish here with an idea that I think is perfect for this time of year. However, this simple yet thoughtful repurposed DIY photo gift would be a wonderful gift to receive for any holiday throughout the year. That said, I believe that the month of May is the very best time to create this upcycled tin can desk caddy. Think Mother’s Day, Teacher’s Appreciation Day or Graduations.
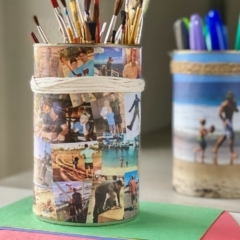
In addition to the Upcycled Can Picnic Caddy, I created two Tin Can desk Caddies with Mother’s Day in mind. Both of which are made with photos of my boys that I printed on regular white printer paper. I absolutely love my “Mom” caddies; however, I believe a collage of children’s smiling faces for teachers or high school highlights for graduates would be loved just as much.
How to Make A DIY Photo Gift Upcycled Tin Can Caddy
The steps to create this thoughtful DIY photo gift covered in memories are super simple!
What you need:
Want more ideas like this? Subscribe today to get our weekly Ideas in Your Inbox newsletter plus other exclusive gifts and offers — all for FREE!
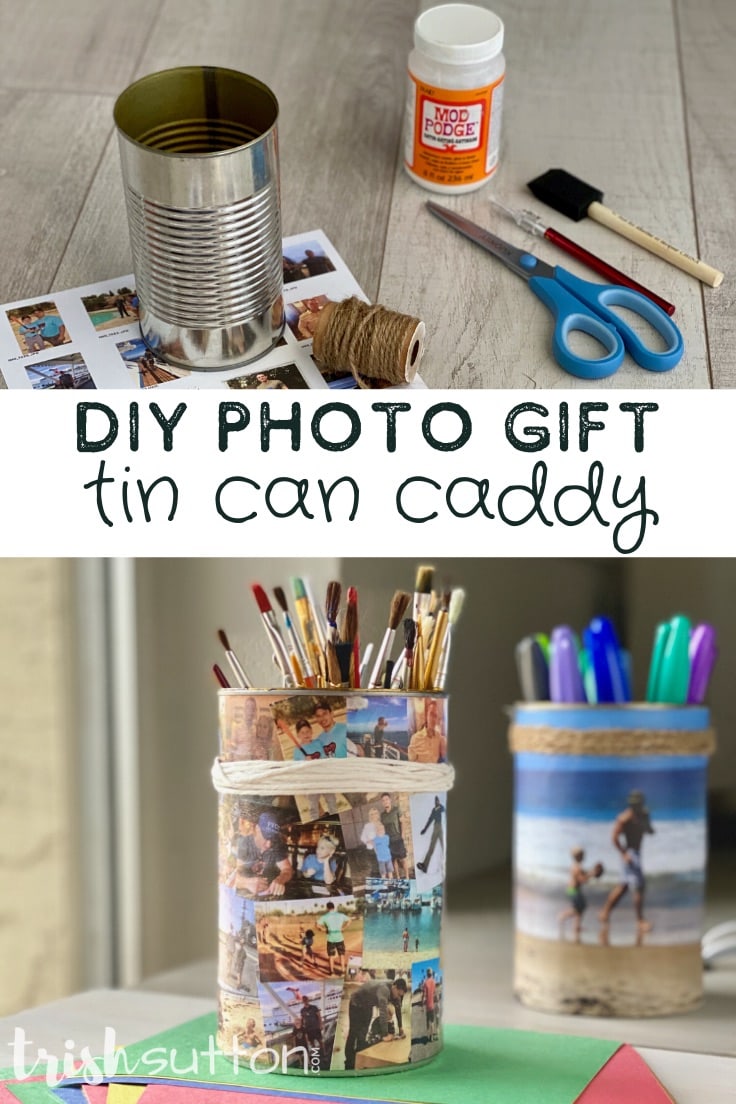
Supplies Needed:
- Empty Vegetable Can
- Printer Paper
- Printer
- Scissors, X-Acto Craft Knife or Paper Cutter
- Mod Podge
- Foam Brush
- Clear Acrylic Sealant Spray
- Jute or String
- Hot Glue Gun & Hot Glue Sticks
Optional: Acrylic Paints or Spray Paint
Instructions:
Prepare your tin can & print your pictures
The very first thing you need to do is prepare the tin can and print out your pictures. Here are a few tips that will make this process a lot easier.
- Remove the label from a tin can then wash and dry the inside of it.
- Next, decide if you will be creating a caddy with just one image or if you will be making a collage covered caddy then print the desired photos on regular 8.5×11 inch white printer paper.
- If you are using one image print it with the setting “fit to page”; otherwise, print enough smaller images to cover the entire tin can.
- Next, either cut the single image to the height of the can or cut out the small pictures using scissors or a paper cutter.
- If desired, paint the inside and/or outside of the tin can before you begin.
Step One for a Single Image Caddy
- Use a paint brush to cover the tin can with a layer of Mod Podge.
- Begin with the center of the picture then gently press the paper image onto the can.
Step One for a collage Caddy
- Rather than covering the tin can with Mod Podge apply the glue only to a small section of the can at a time.
- Gently press paper pictures onto the area with Mod Podge.
- Continue to add Mod Podge and paper pictures until the can is completely covered.
Step Two apply the paint and pictures
- Use a sponge paint brush to apply a thin layer of Mod Podge over the entire DIY Photo Gift Upcycled Tin Can Desk Caddy.
- Allow dry time.
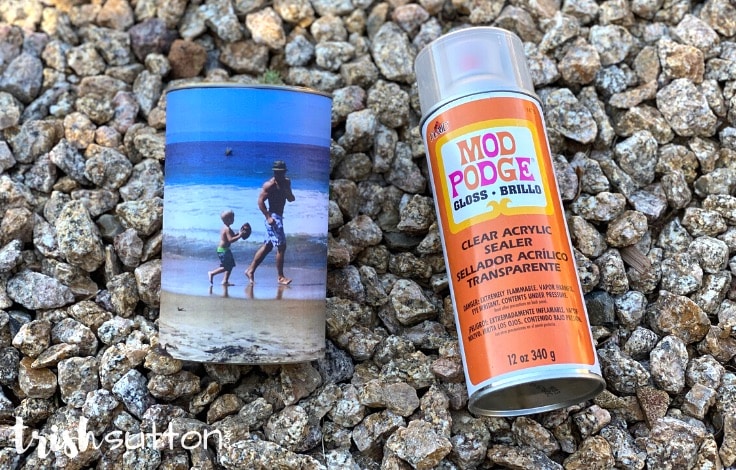
Step three apply the sealant
- Spray an even a layer of acrylic sealant spray over the entire can. (Due to the scent it is best to do this step outside.)
- Allow dry time.
step four add the jute, ribbon or craft tape
- Wrap a piece of jute or ribbon around the top of your caddy then apply a small dot of hot glue to secure the two ends of the string.
- If desired, use craft tape as an accessory in place of the jute.
DIY Photo Gift Tips from Trish
- Speed up the glue dry time by using a hair dryer on the lowest setting.
- If you are painting the outside (or the inside) of the can with acrylic paints; mix a little bit of Mod Podge with the paint before applying it to the tin can.
- If your can opener does not leave a nice clean edge I highly recommend THIS Good Grips Smooth Edge Can Opener. In my opinion, it is the best one out there!
- Save three cans for a Upcycled Can Picnic Caddy!
Love the ideas you see here on Ideas for the Home by Kenarry®? Subscribe today to get our FREE DIY & Craft Planning Calendar, plus our weekly Ideas in Your Inbox newsletter filled with creative tips and exclusive offers!
What’s Next?
If you enjoyed making this DIY photo gift they you’ll then you’ll enjoy these thoughtful gifts made from memories as well.
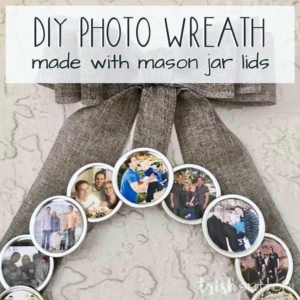
Photo Wreath with Mason Jar Lids
You may also enjoy these gift ideas on Ideas for the Home by Kenarry® –