How To Make A DIY Teacher’s Gift Bracelet
THIS POST MAY CONTAIN AFFILIATE LINKS. PLEASE SEE OUR FULL DISCLOSURE POLICY FOR DETAILS.
Make a DIY Teacher’s Gift Bracelet for your favorite teacher! We’ll show you how with this easy jewelry making video tutorial!
Hi Kenarry Readers! It’s Jennifer and Kitty O’Neil (the O’Neil Sisters from RunningWithSisters.com), and we have a pretty project to share: A DIY Teacher’s Gift Bracelet. These bracelets are fast, easy, and super fun to make with kids!
A handmade gift is such a lovely way to show appreciation. Wrap one of these bracelets and enclose a gift card or add it to a gift of classroom supplies as a little something special just for your favorite teacher. And if jewelry isn’t their thing, get them a candle and print out our “Scent-sational teacher” sticker!
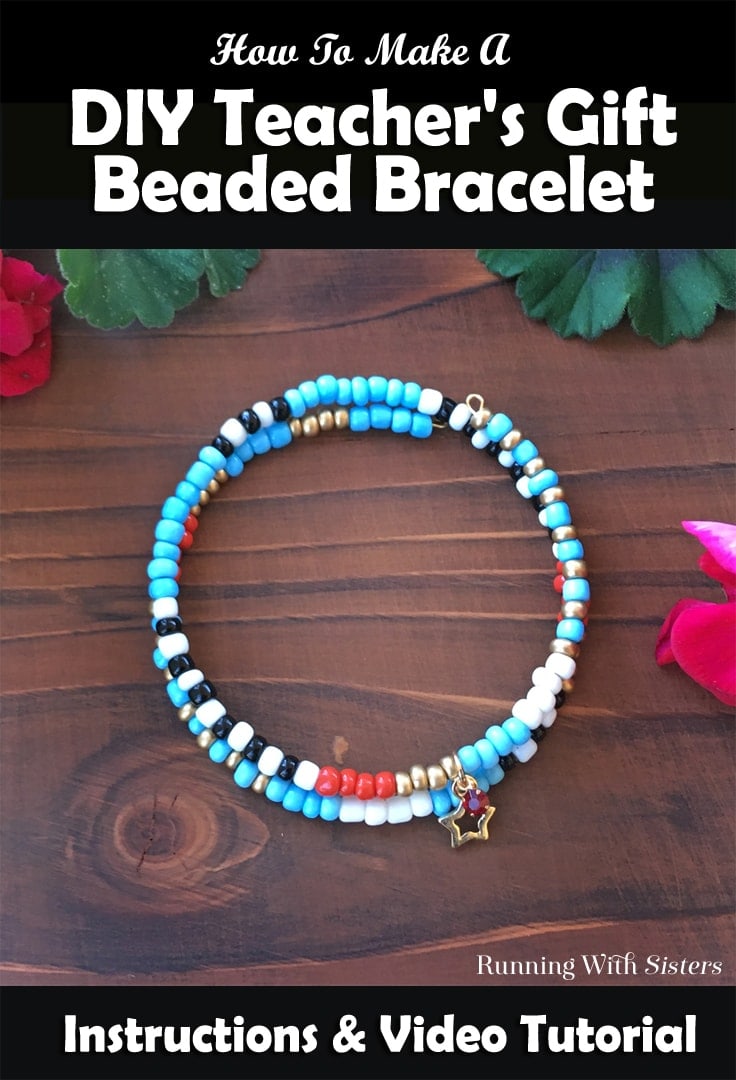
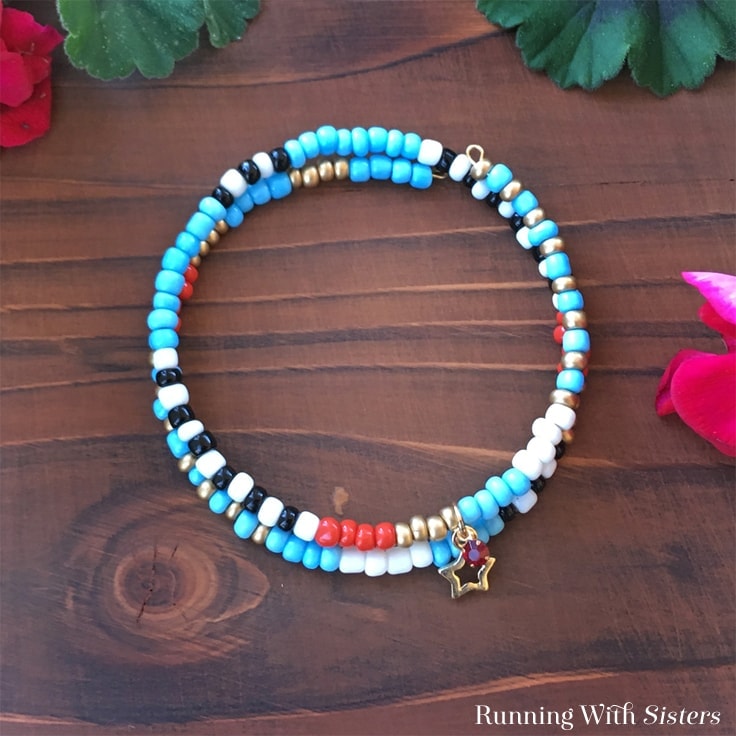
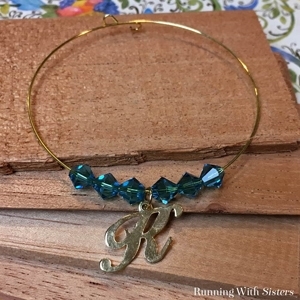
We’ve included a step-by-step video showing how to make the DIY Teacher’s Gift Bracelet. In it, we’ll show you how to use memory wire, how to add the beads and the charm, and how to finish the ends. And we’ll share a little trick to make adding the beads go quickly! We think a beaded bracelet like this is so wearable, any teacher would love to get one. Plus the added charm is a gold star for Teacher!
And if you run out of time, you can always print out this free Teacher gift card holder and get them their favorite coffee shop gift card!
How To Make A DIY Teacher’s Gift Bracelet
What you need:
Want more ideas like this? Subscribe today to get our weekly Ideas in Your Inbox newsletter plus other exclusive gifts and offers — all for FREE!
Materials:
- Gold memory wire, 2½” diameter
- Seed beads, size 6/0: black, white, light blue, red, & matte gold
- Star charm with gem and jump ring, 10mm
Tools:
Instructions:
1. Cut Memory Wire
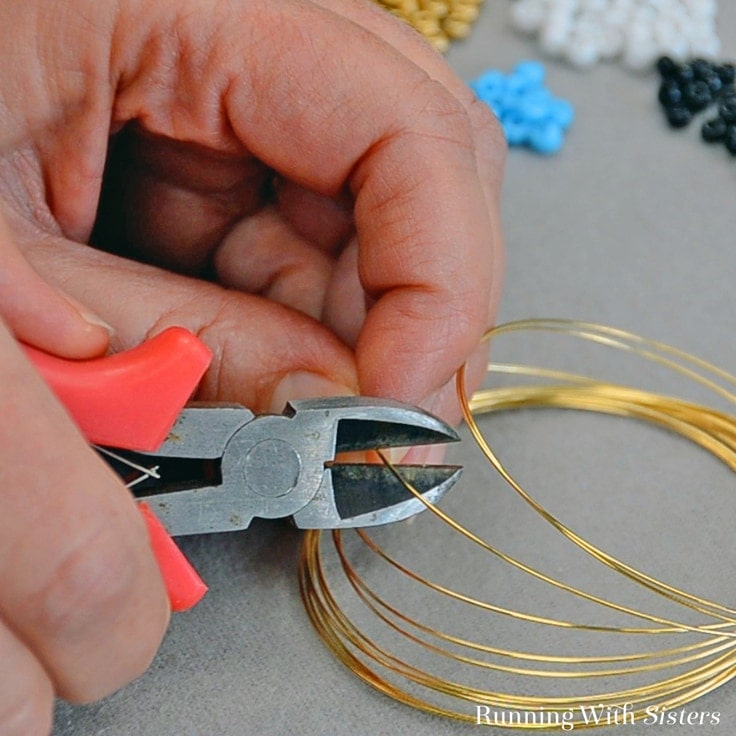
First, m
2. Coil Loop In One End

Next, coil a loop into one end of the memory wire using the round-nose pliers. To do this, grasp the end of the wire in the pliers and rotate to make a complete loop.
3. Feed On Beads

After that, you’ll feed on the beads. You can make any pattern you like. To make one like ours, feed on about a quarter of a coil of turquoise and gold seed beads, alternating as you go. Then feed on 4 white seed beads followed by 4 light blue seed beads.
4. Slide On Charm
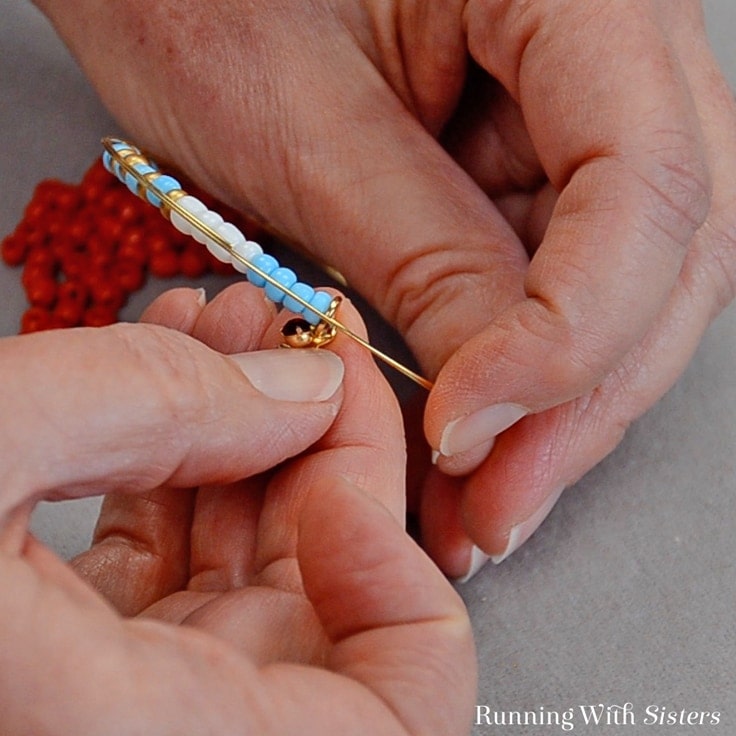
Slide the charm onto the memory wire. Then feed on 4 matte gold seed beads and 4 red seed beads.
5. Finish Beading
Alternate 6 black and 7 white seed beads. Then feed on a 8 light blue seed beads, followed by 3 black and 2 white seed beads, alternating. Keep adding sections of these colors and patterns until two coils are completely beaded.
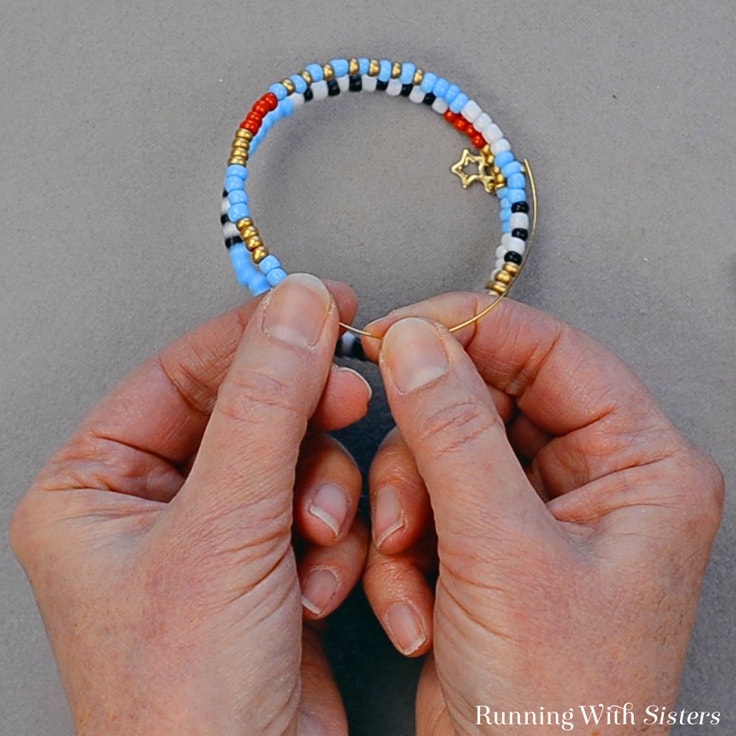
6. Finish The End
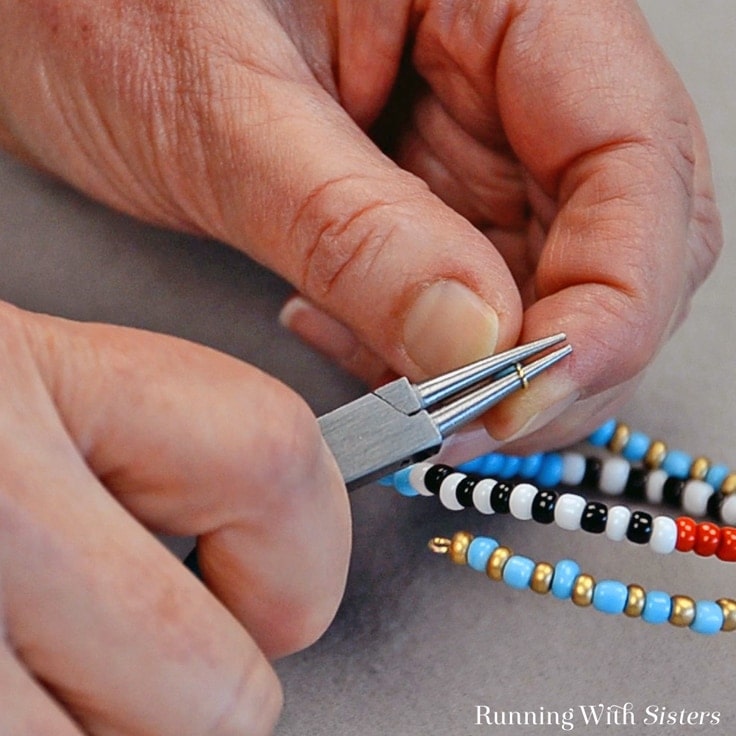
Finally, you are ready to complete it! To finish the end of the bracelet, twist a loop into the end of the memory wire using the round-nose pliers.
This is a great project to do with kids. Just set out different colors of seed beads, help them twist the loop in the wire, and let them make their own patterns. They’ll be so proud of their bracelets, they’ll want to make one for every teacher they know! Remember if you have any questions about making this bracelet, leave us a comment, and we will reply. We really love hearing from you!
Happy Crafting,
Jennifer & Kitty
Love the ideas you see here on Ideas for the Home by Kenarry®? Subscribe today to get our FREE DIY & Craft Planning Calendar, plus our weekly Ideas in Your Inbox newsletter filled with creative tips and exclusive offers!
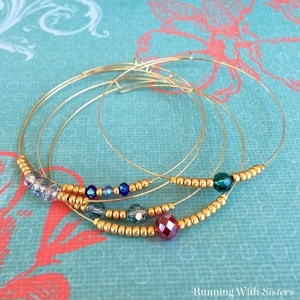
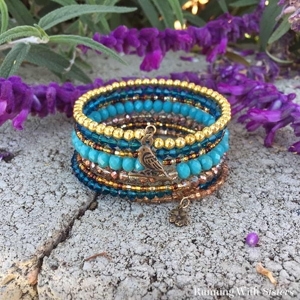
Like this project? You might also like these crafts from the O’Neil Sisters:
You may also enjoy these teacher gift ideas on Ideas for the Home by Kenarry® –