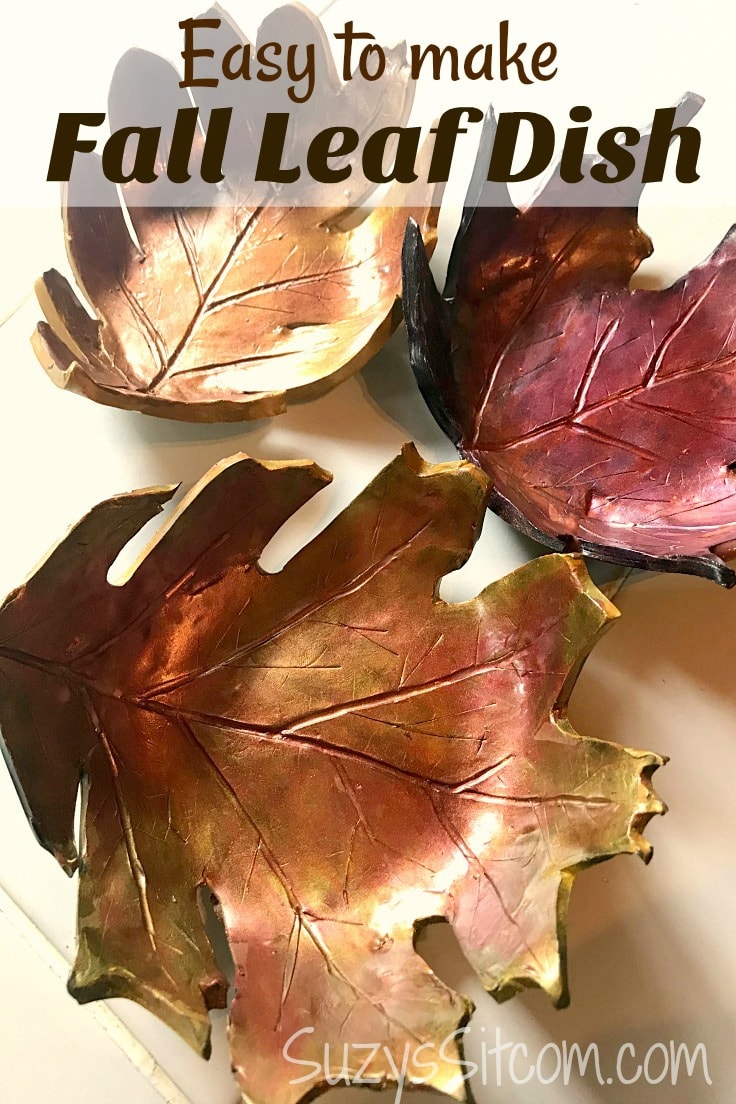
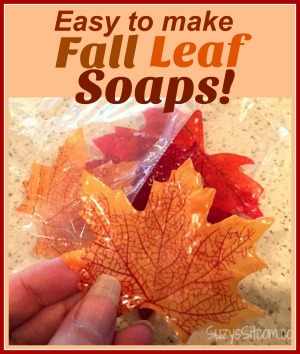
Easy To Make Fall Leaf Dish
THIS POST MAY CONTAIN AFFILIATE LINKS. PLEASE SEE OUR FULL DISCLOSURE POLICY FOR DETAILS.
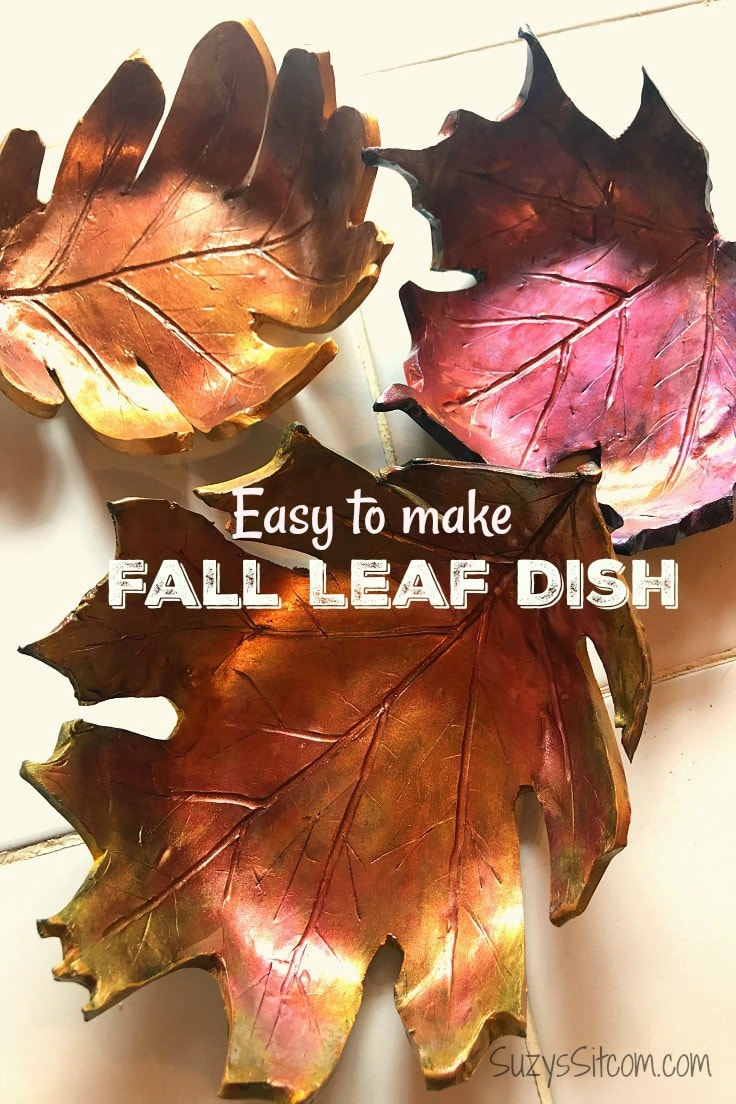
Create a beautiful easy to make fall leaf dish! This polymer clay project uses a simple technique with pigment powders to create the look of fresh fall leaves. A simple way to add fall color to your home.
Fall is in the air and the trees are starting to show us all of their beautiful colors. This is Suzy at SuzysSitcom.com and I would love to share with you my current fall project, an easy to make fall leaf dish. This project will take just an afternoon to create and not only adds to your fall decor, but would be a wonderful gift idea!
I love working with polymer clay and for this project, I chose to work with a black polymer clay in order to create a finished look for the bottom of the bowls and maybe add a deeper color under the pigment powders. White polymer clay also would work well for this easy to make fall leaf dish.
Several years ago, I did a series of Journal covers using polymer clay and pigment powders. Pigment powders are ground-up colors, sort of like powdered colored chalk. They add bright color to the clay effortlessly.
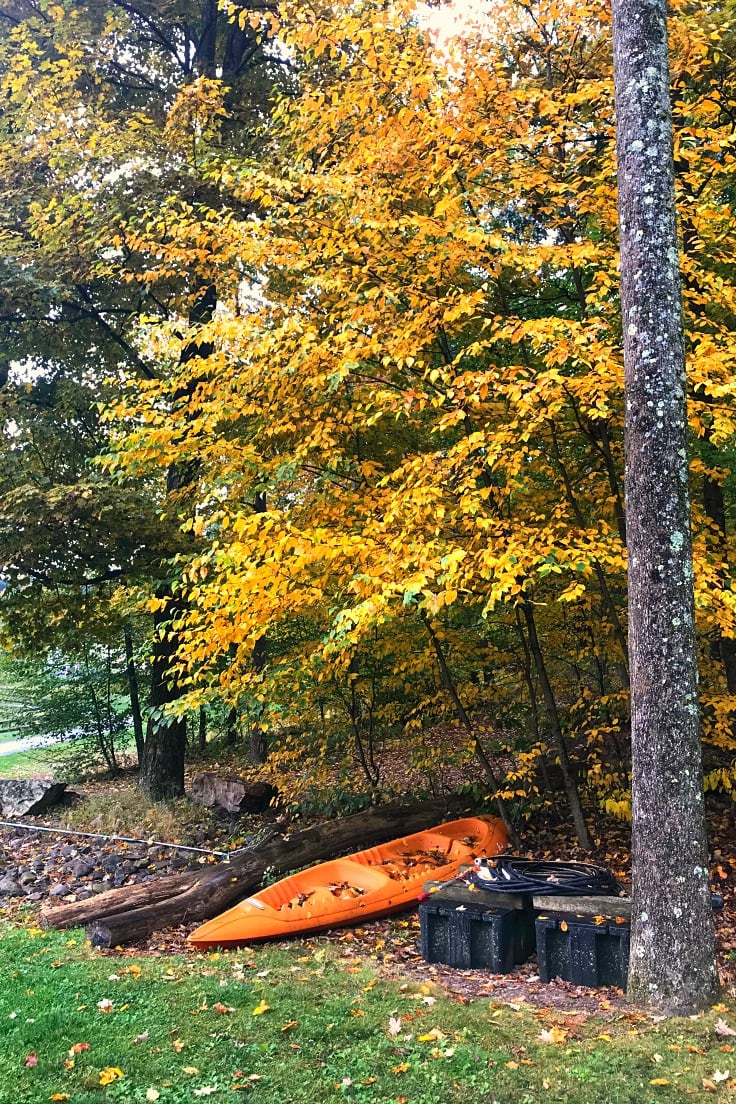
Here on the farm, the colors are getting to be amazing. Trying to duplicate those bright fall colors can be a challenge, but pigment powder makes it that much easier. It seemed like the perfect time to pull out my supply of pigment powders and polymer clay. Let’s make some beautiful fall decor!
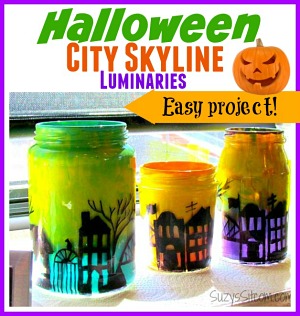
For another fun way to add fall colors to your home decor, make these colored glass fall luminaries.
Easy to make Fall Leaf Dish
Creating these easy to make fall leaf dishes with polymer clay is a simple project. The fall leaf dishes can be used for jewelry, keys, or any other catch-all, and they make great hand made gifts!
The entire tutorial is in a printable card at the bottom of this post. But first, here is a little bit of info about the tools and supplies you’ll need.
What you need:
Want more ideas like this? Subscribe today to get our weekly Ideas in Your Inbox newsletter plus other exclusive gifts and offers — all for FREE!
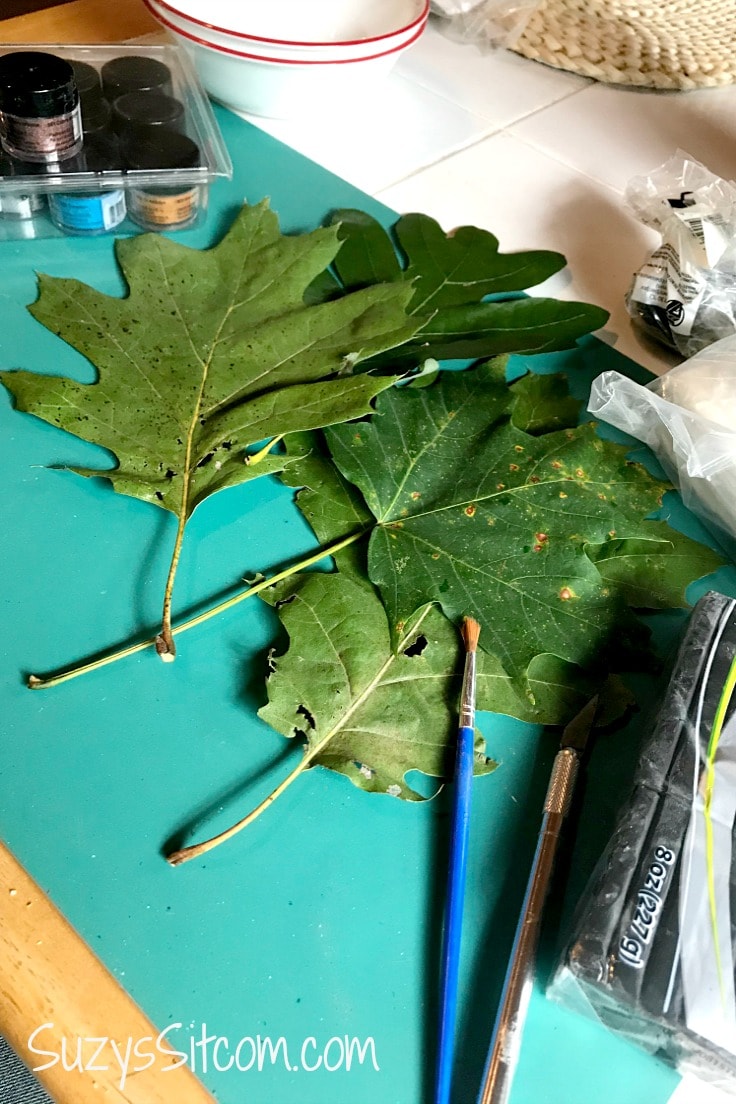
- Leaves for templates (any size will work)
- Black Polymer Clay (or any color you prefer)
- Pigment Powders
- Polymer Clay Glaze (Sealant)
- X-acto Knife
- Oven Safe Bowl
- Paint Brush
How to make a Fall Leaf Dish
Step 1: Roll out the Polymer clay
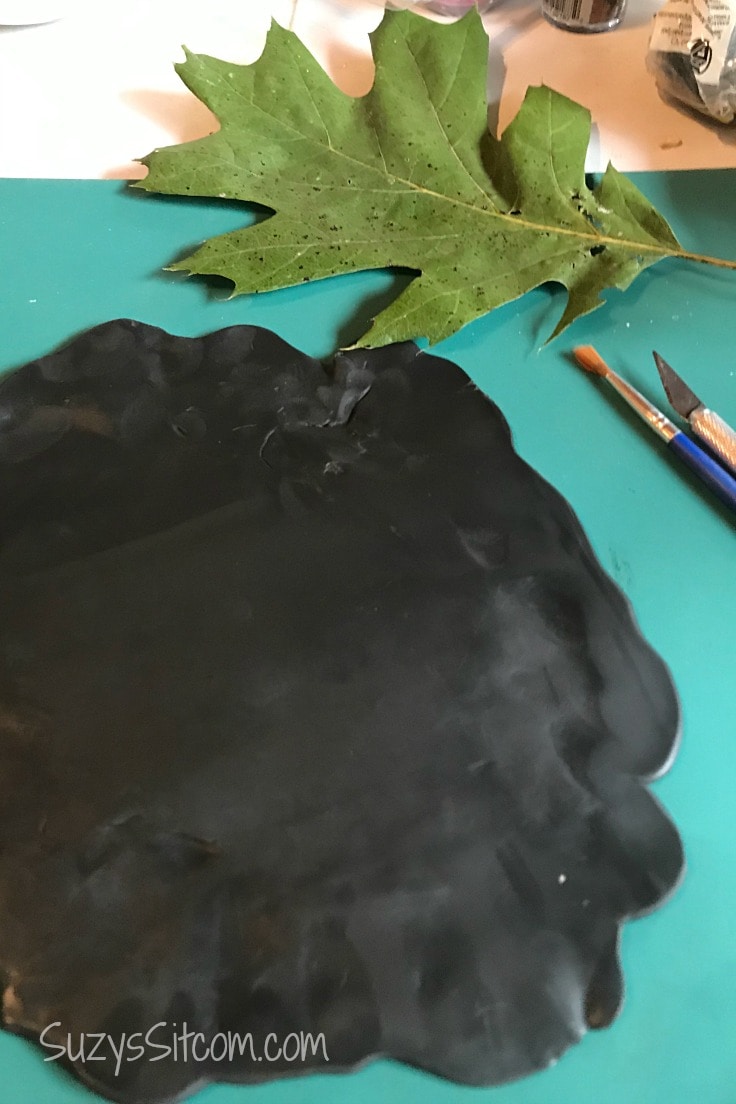
Roll out the polymer clay to about 1/4″ thickness. Tip: Use an old rolling pin or a glass jar to flatten the clay to the proper thickness.
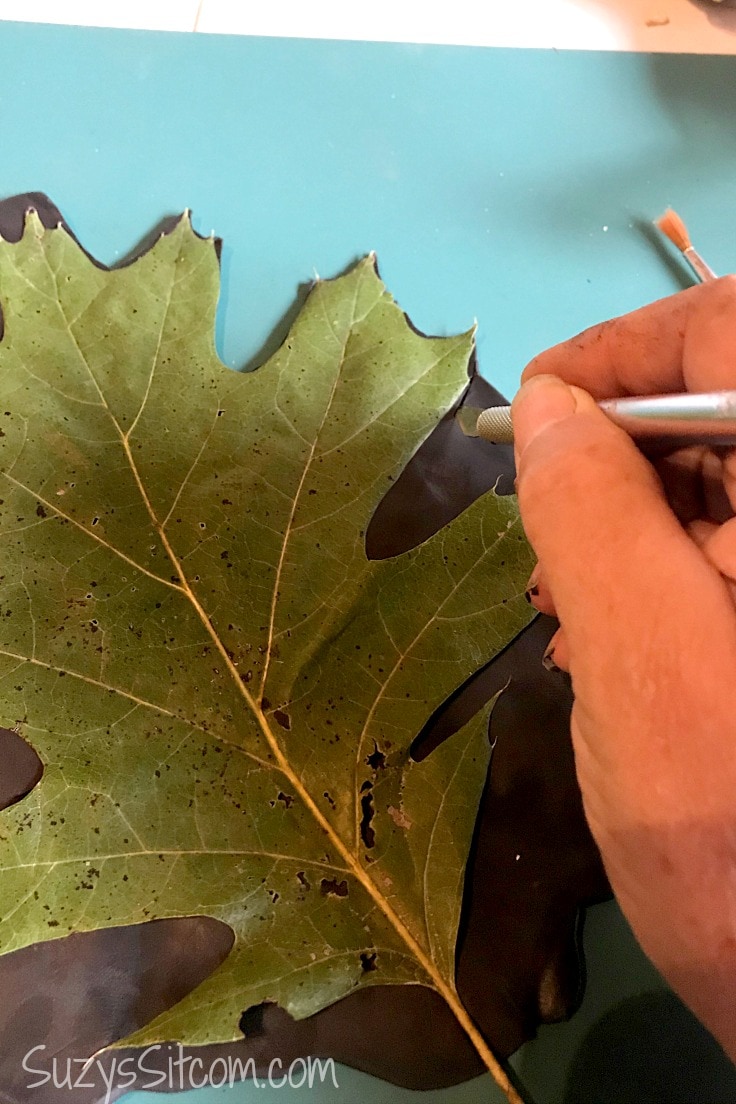
Step 2: Trace around a leaf
Press the leaf into the clay in order to make an image of the veins. Use a craft knife to cut away the clay along the edge of the leaf.
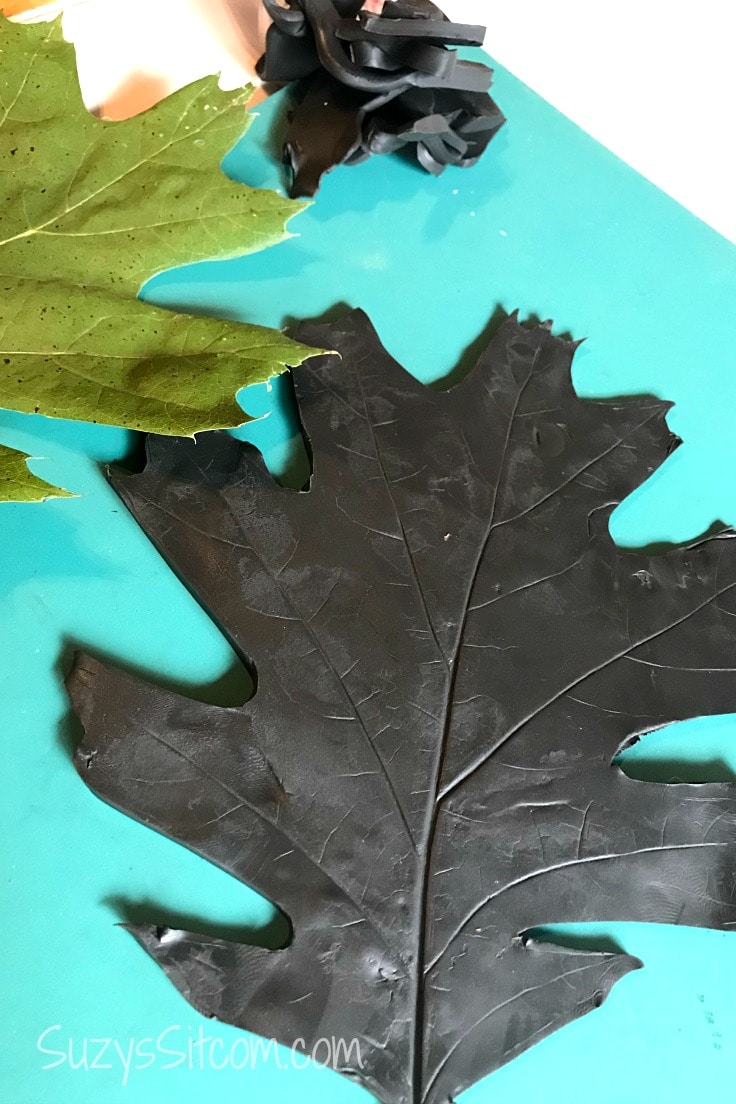
Remove the leaf from the clay. You now have a clay duplicate of your leaf!
Step 3: Add color to the leaf
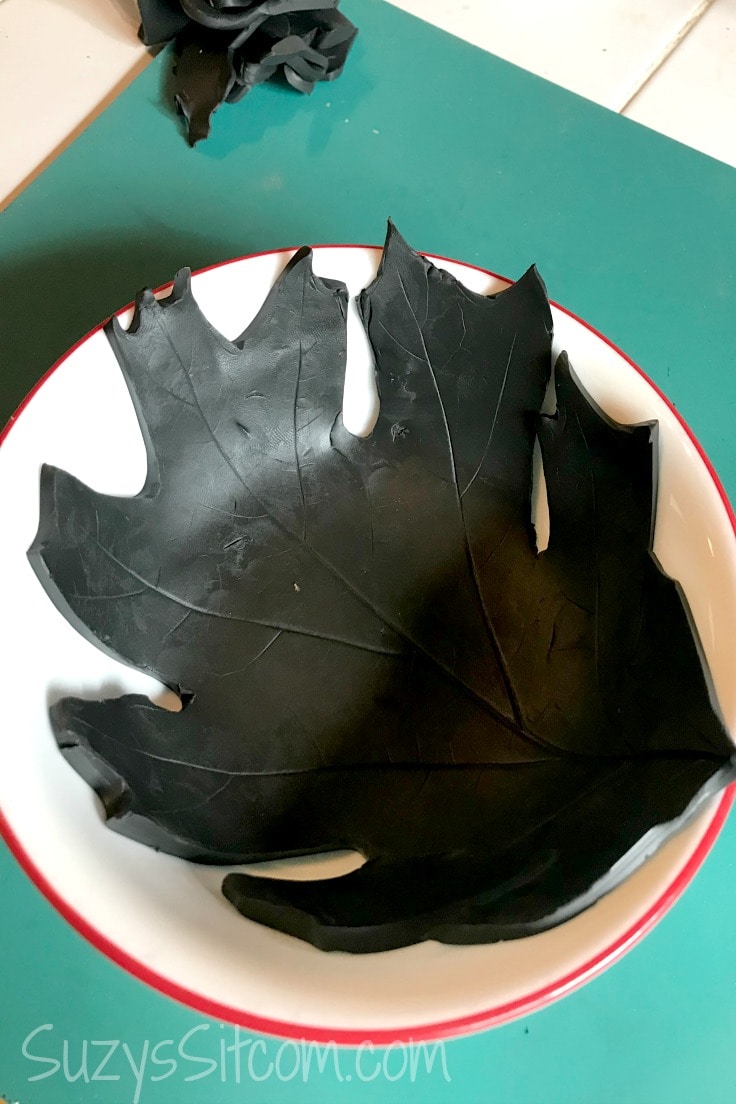
Place the clay leaf carefully in an oven proof bowl and adjust it so that the leaf conforms to the shape of the bowl.

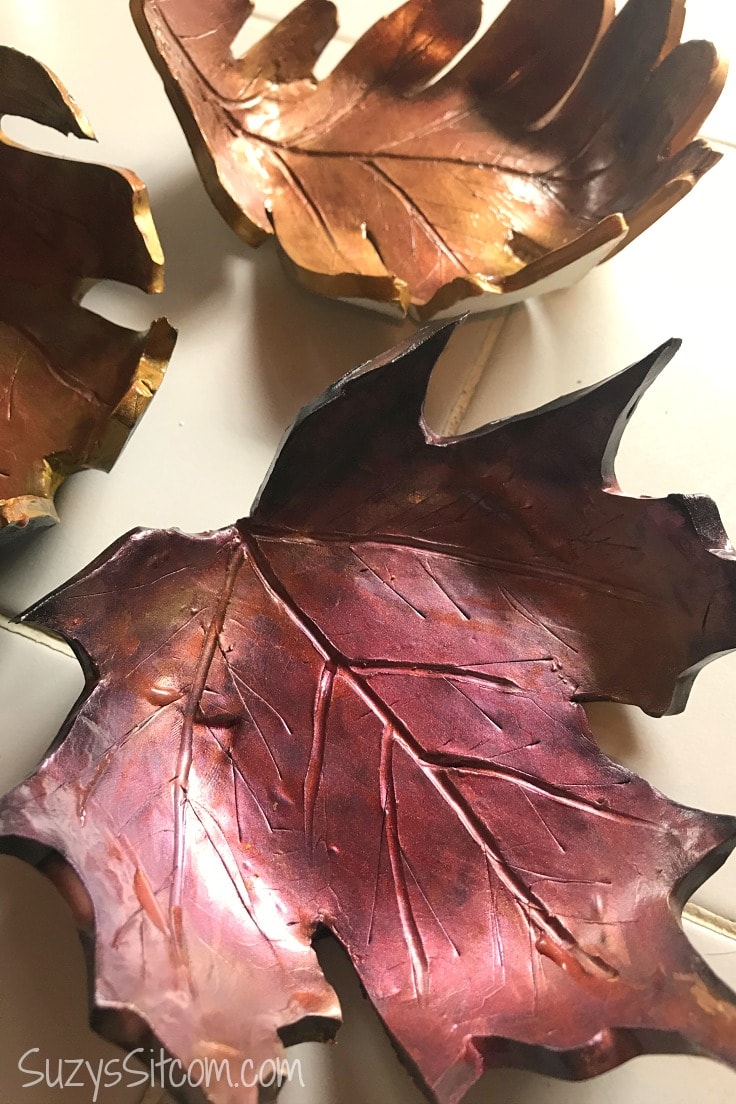
Pigment powder is simple to work with. Simply dip a dry brush into the powder and add to the unbaked clay leaf. This leaf, I started with gold, and then added some touches of copper. A little pigment powder goes a long way, and you will find that it does not take much to cover it.
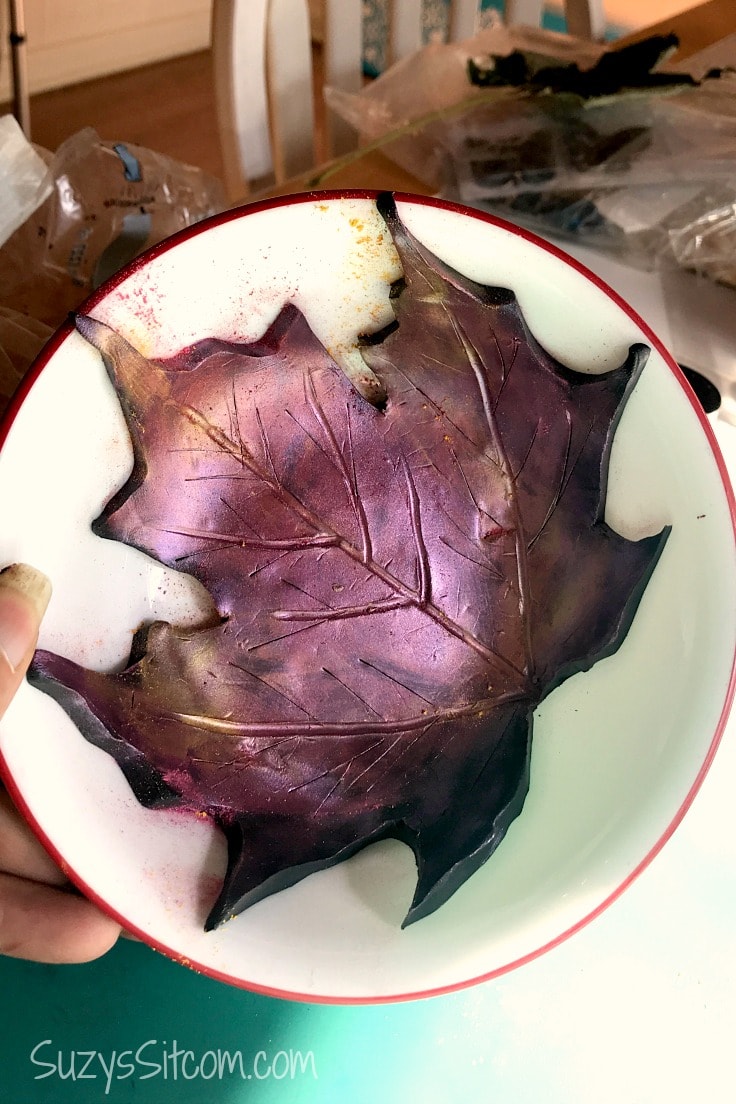
On this leaf, I started with a burgundy pigment powder and added touches of gold. Have fun with your colors and create beautiful combinations!
Step 4: Bake the Fall leaf dishes
Once the colors are to your liking, place the oven safe bowls into a 275 degree oven and bake for 20 minutes.
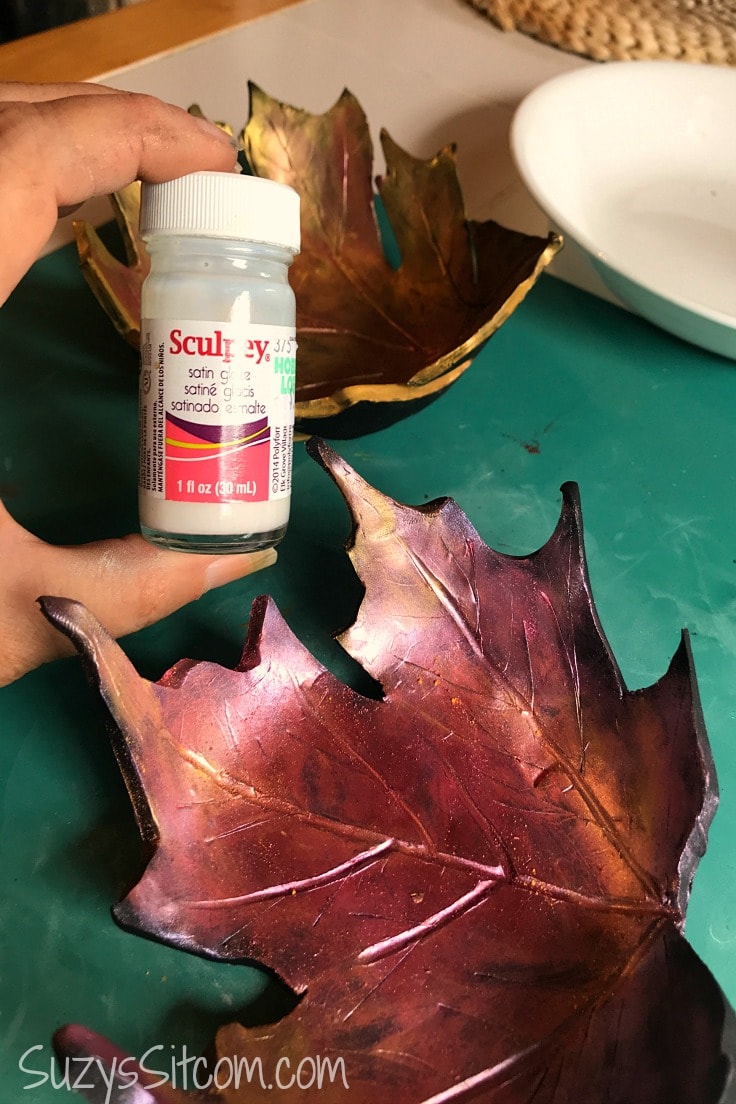
Step 5: seal With Glaze
Allow the fall leaf bowls to cool completely before removing them from the oven safe bowls. Seal them with a coating of Polymer Clay Glaze. This adds a protective coat to the clay and ensures that the pigment powder is sealed.
These pretty fall leaf dishes make great gifts! They are perfect for holding rings, jewelry, hair ties, keys, teabags, or whatever else you might need to collect in one spot.
Here’s the printable card with everything you need to know about how to create easy to make fall leaf dishes!
Easy to Make Fall Leaf Dish
Supplies
- 8 oz Black Polymer Clay
- 3 each Leaves
- 1 pack Pigment Powders
- 1 each Polymer Clay Glaze
Instructions
- Roll out the polymer clay to about 1/4" thickness.
- Press the leaf into the clay in order to make an image of the veins. Use a craft knife to cut away the clay along the edge of the leaf.
- Place the clay leaf carefully in an oven proof bowl.
- Apply Pigment Powder to the unbaked clay.
- Place the oven safe bowl into a 275 degree oven and bake for 20 minutes.
- Allow the fall leaf bowl to cool completely before removing from the oven safe bowl. Seal with a coating of Polymer Clay Glaze.
Love the ideas you see here on Ideas for the Home by Kenarry®? Subscribe today to get our FREE DIY & Craft Planning Calendar, plus our weekly Ideas in Your Inbox newsletter filled with creative tips and exclusive offers!
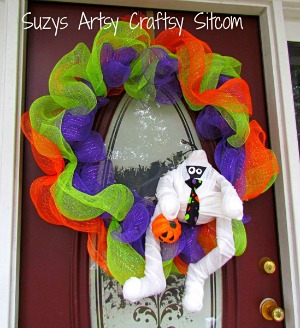
more fall crafts!
If you love creating for fall and enjoyed this tutorial, here are a few more from my website that have that fall flair!
Halloween City Skyline Luminaries with free Pattern!
You may also enjoy these 3 ideas on Ideas for the Home by Kenarry® –