Easy to Make Fall Luminaries
THIS POST MAY CONTAIN AFFILIATE LINKS. PLEASE SEE OUR FULL DISCLOSURE POLICY FOR DETAILS.
Create some beautiful easy to make Fall Luminaries using a few simple supplies and recycled glass jars. This fun project even includes a free pattern! Make something lovely for your Fall decor!
Fall is here and it is time to add a few fall colors to your home decor. These easy-to-make Fall Luminaries using recycled jars and a bit of Mod Podge and food coloring certainly will add a great touch to your home. This is Suzy from SuzysSitcom, and I’d love to share this fun project with you!
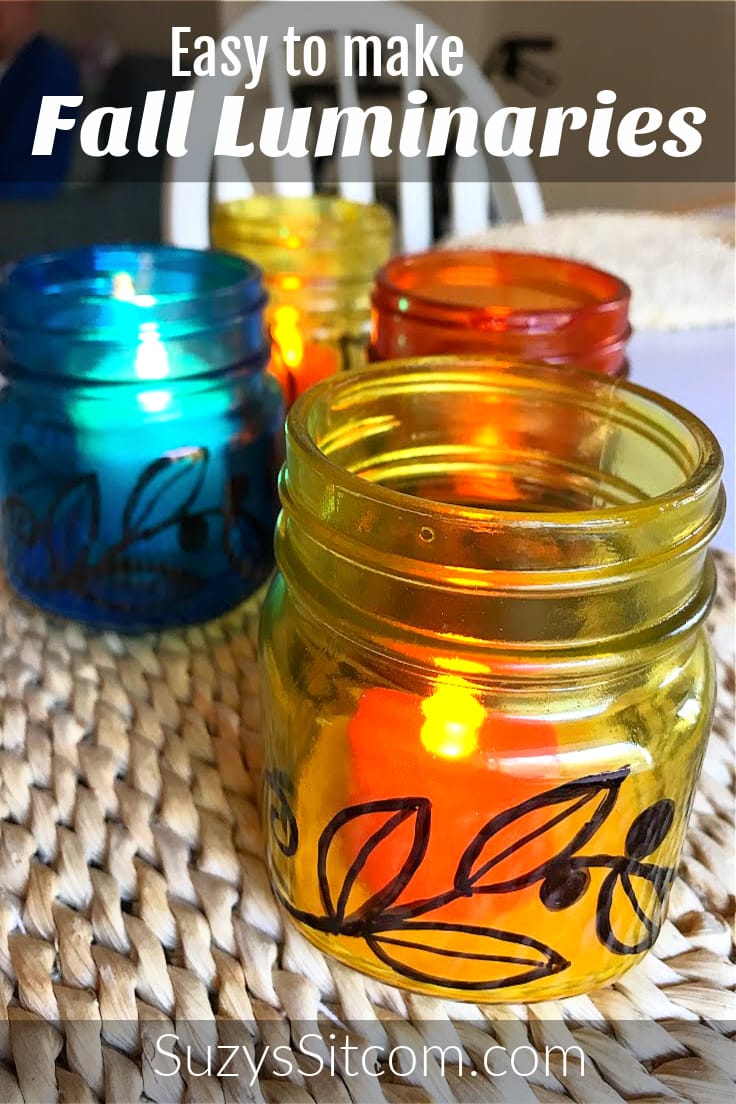
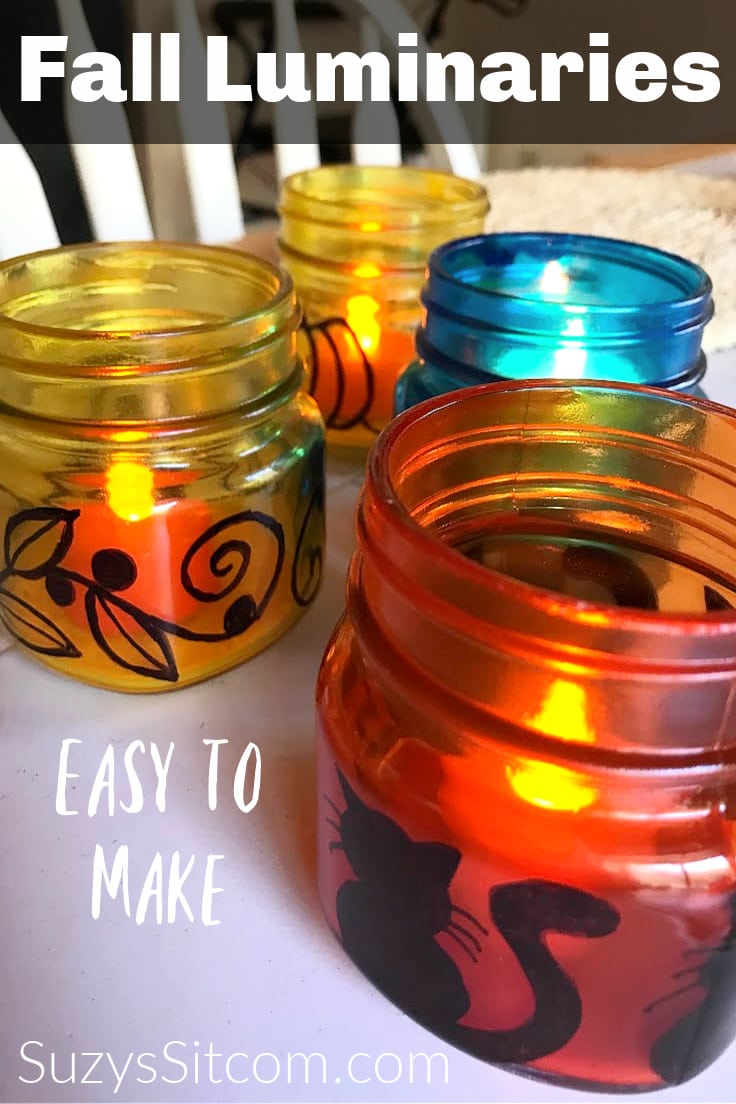
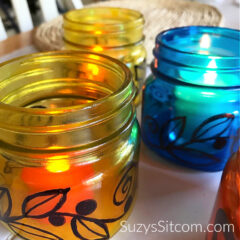
I love using this glass staining technique. It involves Mod Podge and food coloring, takes very little time, and the result is just beautiful! No brush strokes, not a lot of mess. The finished luminaries can be used with battery-operated tea lights or even real candles. Maybe pumpkin-scented candles? Well, certainly!
I’ve been doing a bit of canning on the farm this summer, so I have lots of leftover glass jars just calling my name. As a crafter, things just can’t sit around looking plain. I grabbed some supplies and a few of my smaller glass jars and went to work!
How to Make Fall Luminaries
Grab a few clean recycled glass jars for this project. I used small mason jars, but any type of glass jar will work. This is a fun project that can be completed in an afternoon. To add a touch of fanciness to the luminaries, I’ve even included three free patterns. You can use these patterns or even create your own design as you go
The entire tutorial is in a printable card at the bottom of this post. But first, here is a little bit of info about the tools and supplies you’ll need.

Supplies Needed:
Want more ideas like this? Subscribe today to get our weekly Ideas in Your Inbox newsletter plus other exclusive gifts and offers — all for FREE!
- Clean Glass Jars
- Mod Podge Hard Coat
- Liquid Food Coloring
- Sharpies (Or Permanent Markers)
- Battery Operated Tea Lights (or candles)
- Disposable containers (for mixing colors)
- Fall Luminary Pattern
Fall Luminaries Tips And Tricks
I have all the steps in the printable card at the bottom of this post. First, here are some photos showing you how I did them, along with some additional tips that I hope answers all your questions.
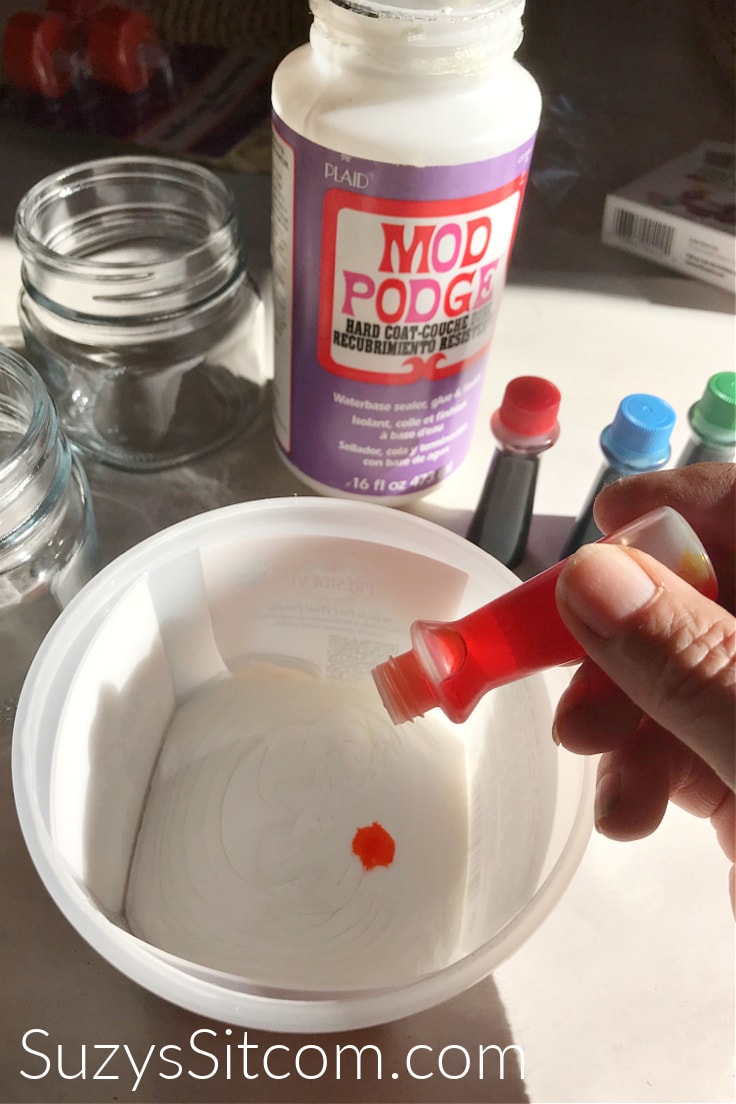
Add Food Coloring to Mod Podge
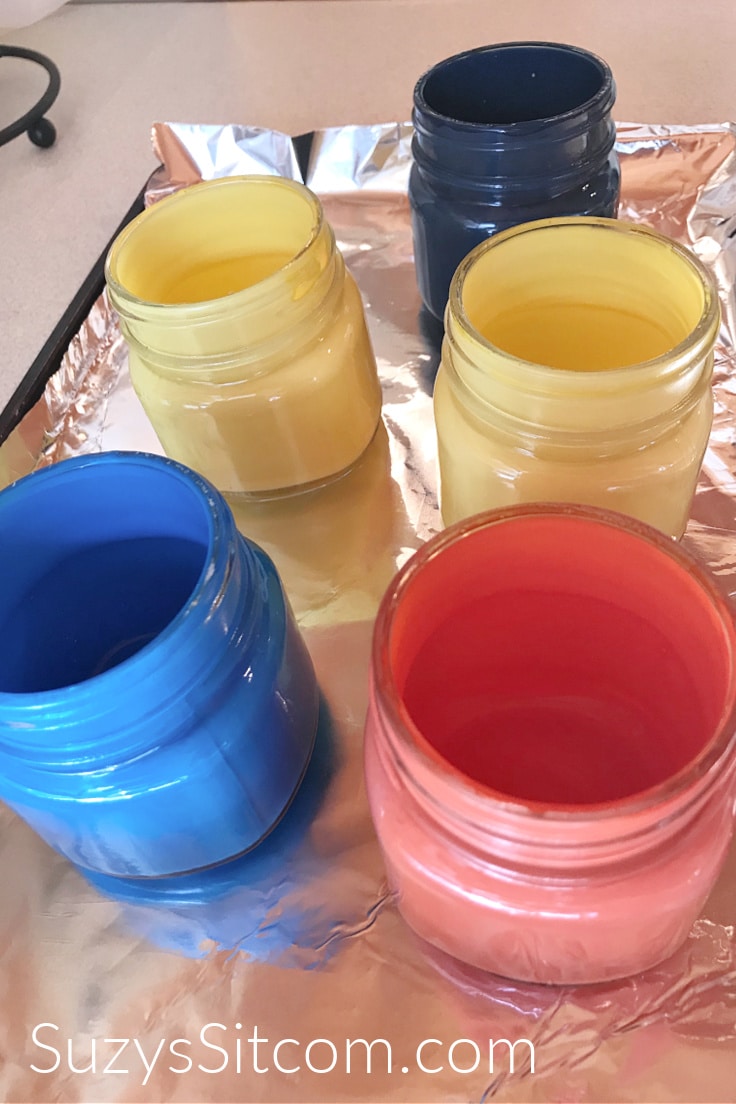
For convenience, use a disposable bowl or cup for this step. For the small jars that I used, about 1/4 cup of Mod Podge works well for each jar. Add several drops of food coloring to the Mod Podge and mix well. Keep in mind that it will dry lighter, so try for a darker tint than what you are going for.
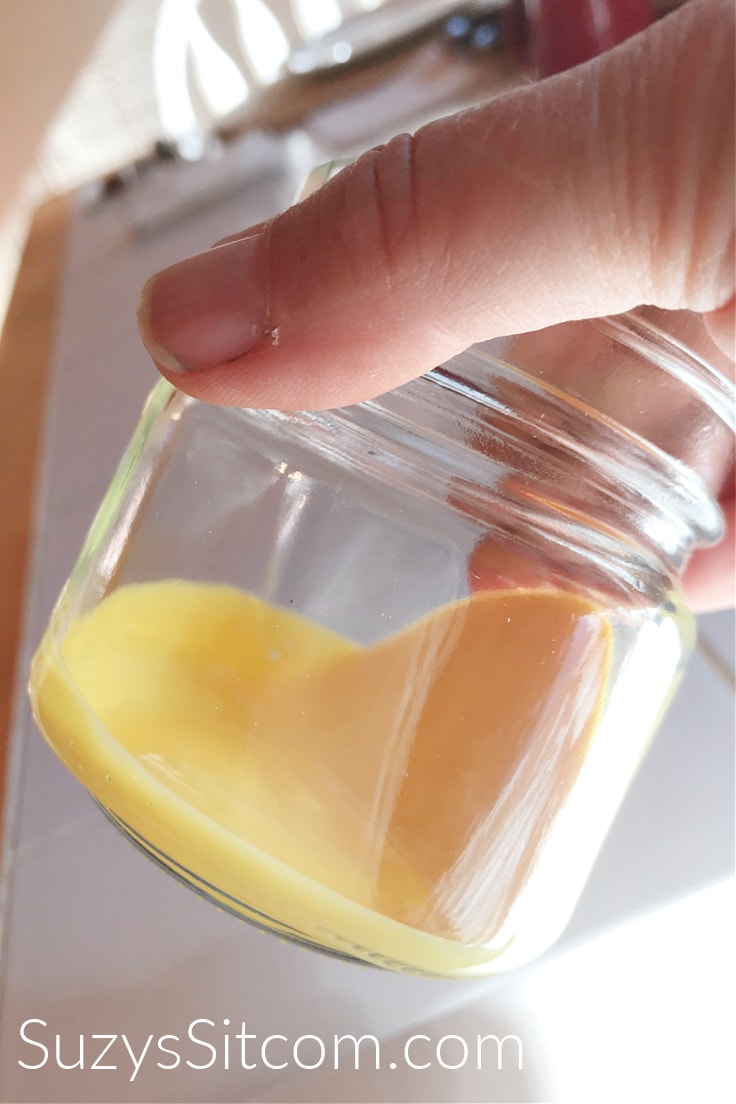
Pour the Colored Mixture into a Jar
Carefully pour the mixture into a jar and then swirl it around the inside of the jar. Tilt the jar sideways, holding it over the disposable container, to coat the sides. Allow any leftover Mod Podge mixture to drip back into the disposable container.
Place the coated jar upside down on a paper towel. Allow to drain for about 5 minutes, then flip it back over.
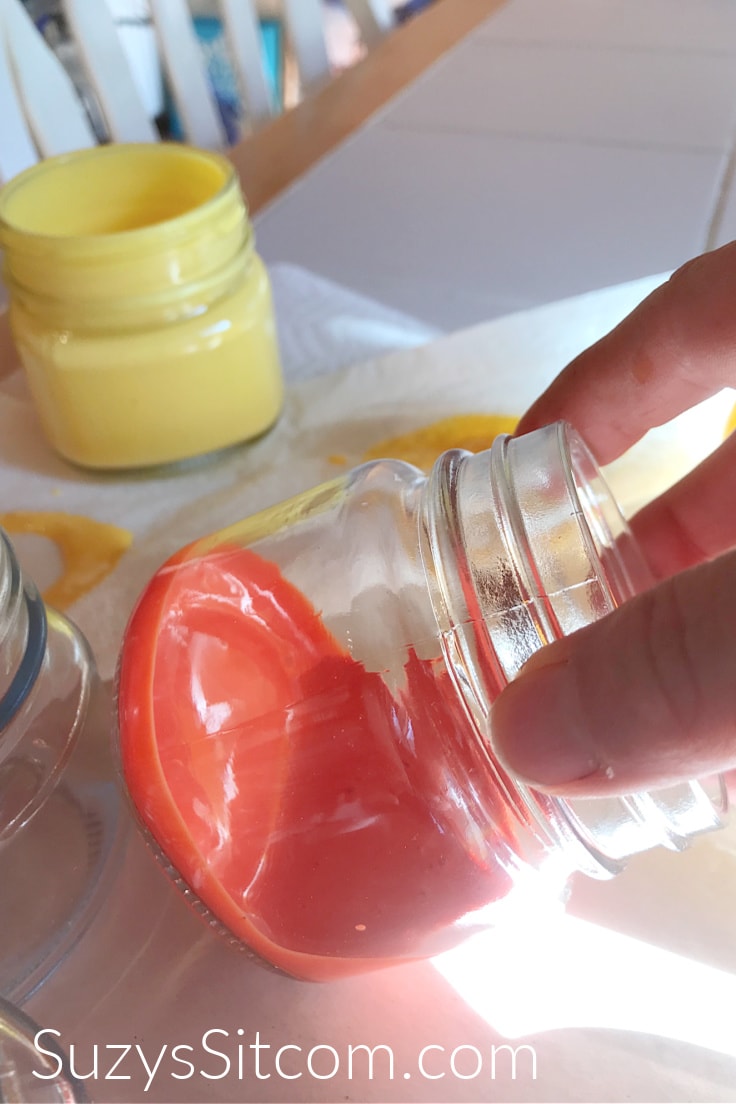
Mix Colors for Variety
Remember, if you only have red, blue, yellow, and green food coloring, you can mix colors together to create new ones! Red plus yellow makes orange! Blue plus Red makes purple. Coat each jar in your selected color and flip each one upside down on a paper towel for about 5 minutes to drain, then turn them right side up.
Bake the Jars to Set the color
This step not only sets the color but will allow the Mod Podge and coloring to dry quickly. Place all finished jars right side up in a 200-degree oven for 40 minutes. Place them on a baking sheet lined with aluminum foil.
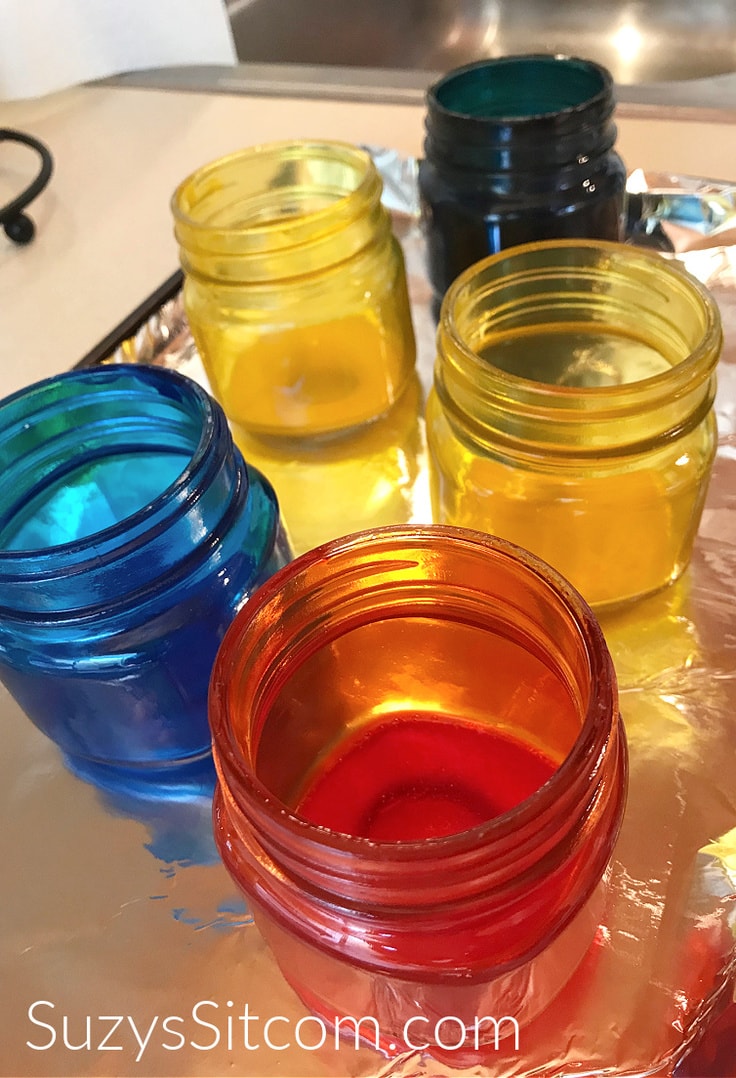
Pull them out of the oven and you now have beautiful stained glass! These are just lovely as they are and you can totally stop here and call it a day. Or…you can go one step further and add a fun design to each one!
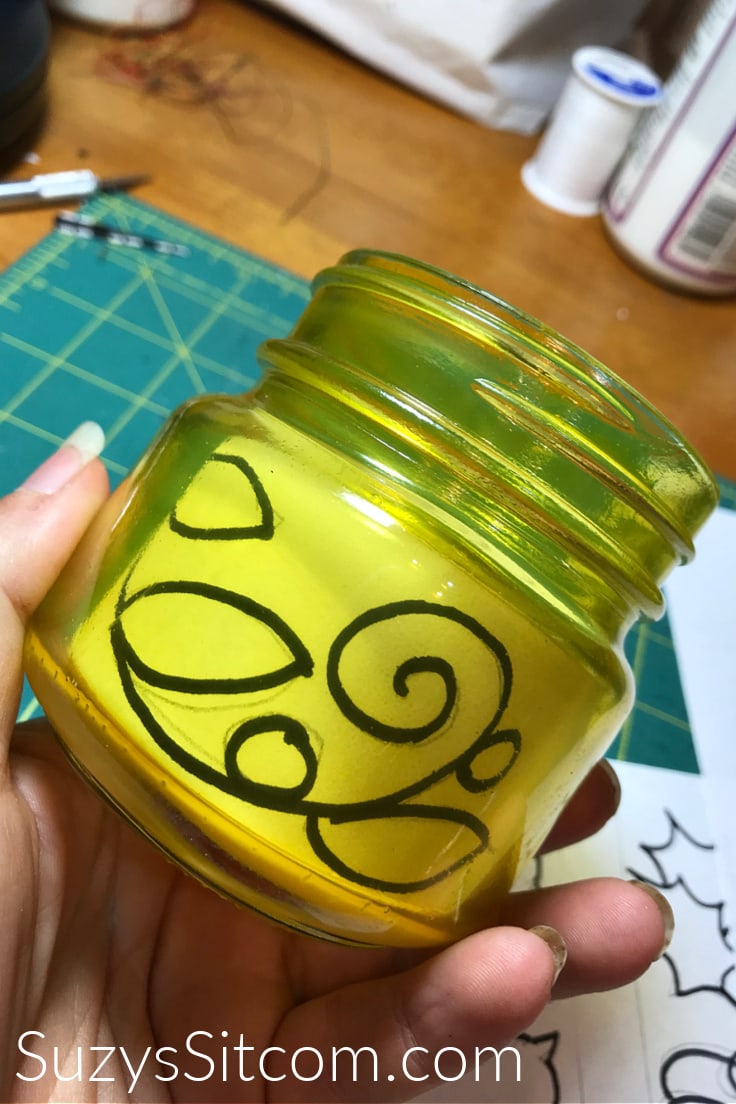
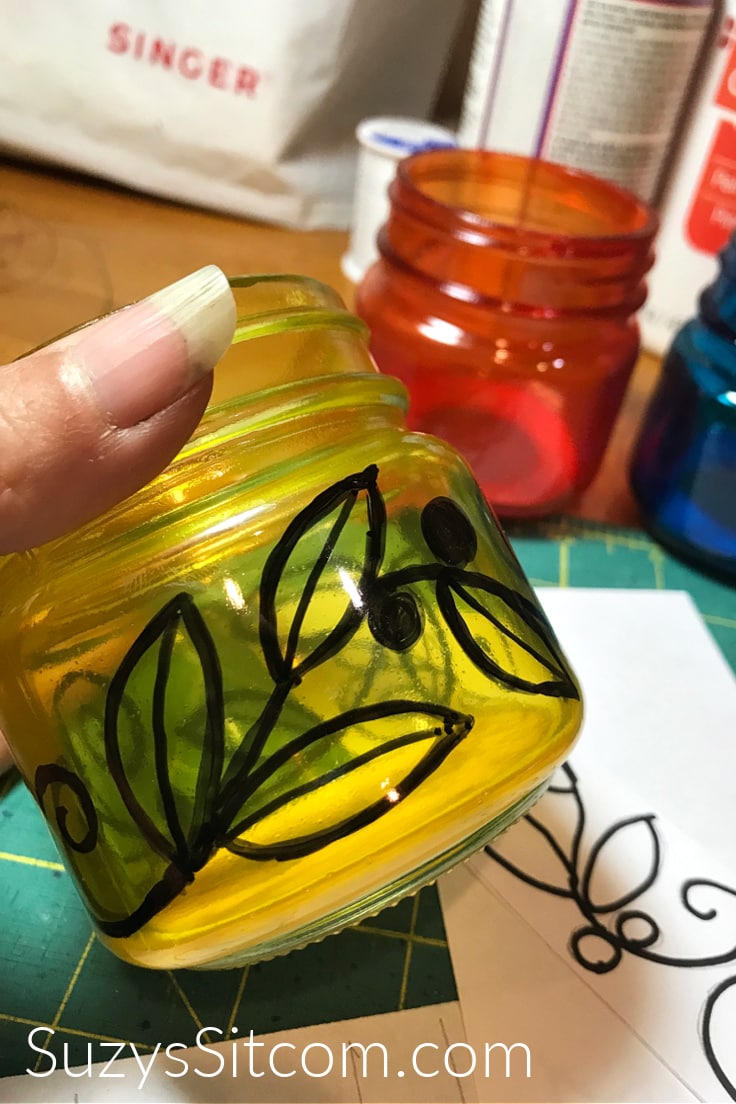
Add a design with a permanent marker
You can either free-hand this or use one of the free patterns that I have included in this post! To use the pattern, simply cut out the strip of the pattern and drop it into the jar. You will be able to see the pattern from the outside of the jar.
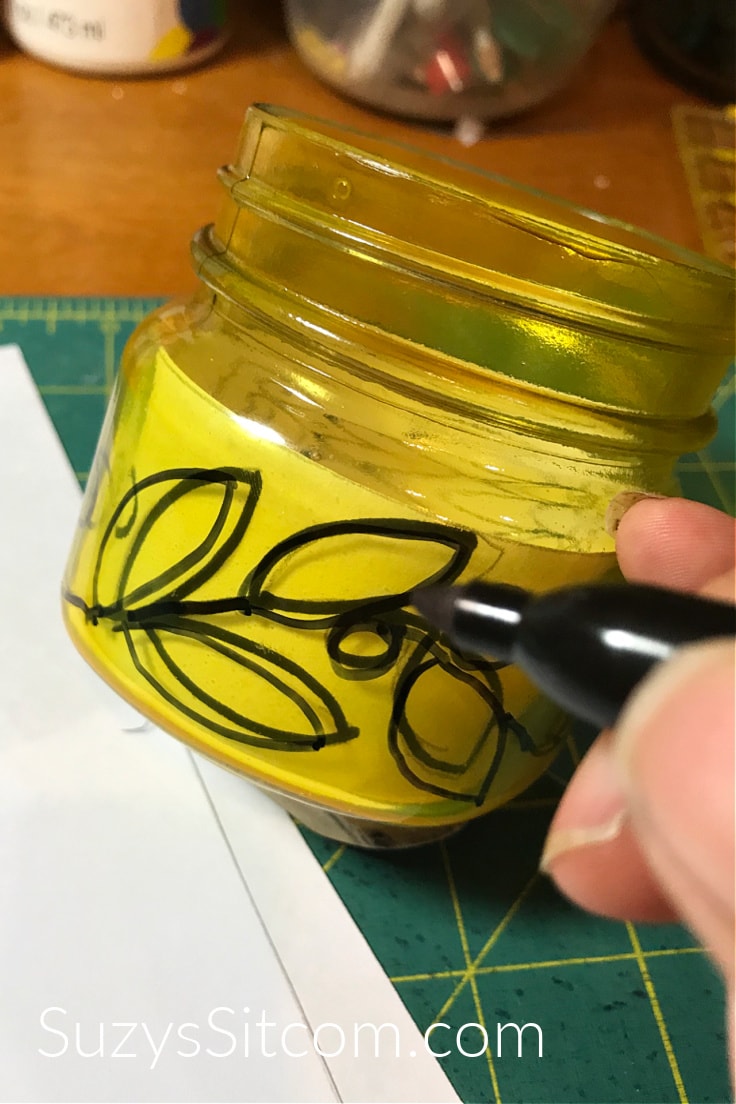
Using a permanent marker, trace the pattern onto the outside of the jar.
Add finishing touches with permanent marker
Once the pattern is traced, remove the strip of paper and add any finishing touches to your design with permanent marker.

Each luminary is unique and beautiful! It is so much fun to play with color and design!

Add a battery-operated tea light, or candle to each one and watch them glow! Or…line them up on a sunny window sill and watch the sunshine through them. Your choice. Either way, they will add some color and charm to your fall decor!
Create something beautiful for your home, or make these into wonderful handmade gifts! There are so many possibilities!
Here’s the printable card with everything you need to know about how to make beautiful Fall Luminaries with glass jars and Mod Podge!
These are the ingredients you’ll need. All the exact amounts are in the printable card at the bottom of this post.
Easy to Make Fall Luminaries
Equipment
- Disposable cups or containers
Supplies
- 4 each Glass Jars
- 1 each Mod Podge Hard Coat
- 1 each Set of Liquid Food Coloring
- 1 each Sharpie or Permanent Marker
- 1 each Pattern (Optional)
- 4 each Battery operated Tea Lights (or candles)
Instructions
- Add food coloring to about a 1/4 cup of Mod Podge. Remember that it will dry lighter, so add enough color to get the desired effect.
- Pour into glass jar and tilt to coat all of the inside of the jar.
- Pour out excess Mod Podge and turn jar upside down onto paper towel for 5 minutes.
- Flip jar right side up.
- Bake in 200 degree oven for 40 minutes.
- Once jars are cooled, place pattern strip inside of jar.
- Trace design onto the outside of the jar using a permanent marker.
- Add a battery operated tea light or small candle to the jar.
Love the ideas you see here on Ideas for the Home by Kenarry®? Subscribe today to get our FREE DIY & Craft Planning Calendar, plus our weekly Ideas in Your Inbox newsletter filled with creative tips and exclusive offers!
Here are More Fall Luminary Ideas!
If you love to make pretty Fall Luminaries, then I totally have your back. Here are three more fall luminary ideas from SuzysSitcom!
Fun to Make Halloween Witchy Poo Luminaries
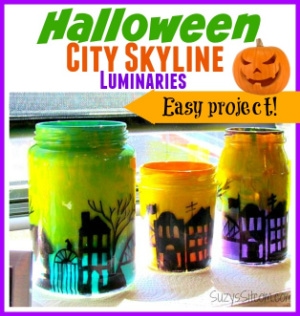
Halloween City Skyline Luminaries
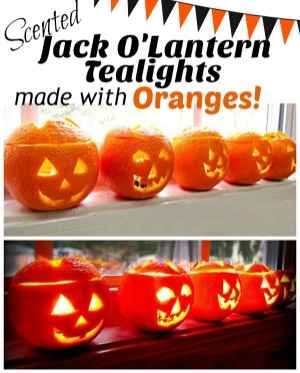
Scented Jack O’Lantern Tealights
You may also enjoy these Fall Craft ideas on Ideas for the Home by Kenarry® –