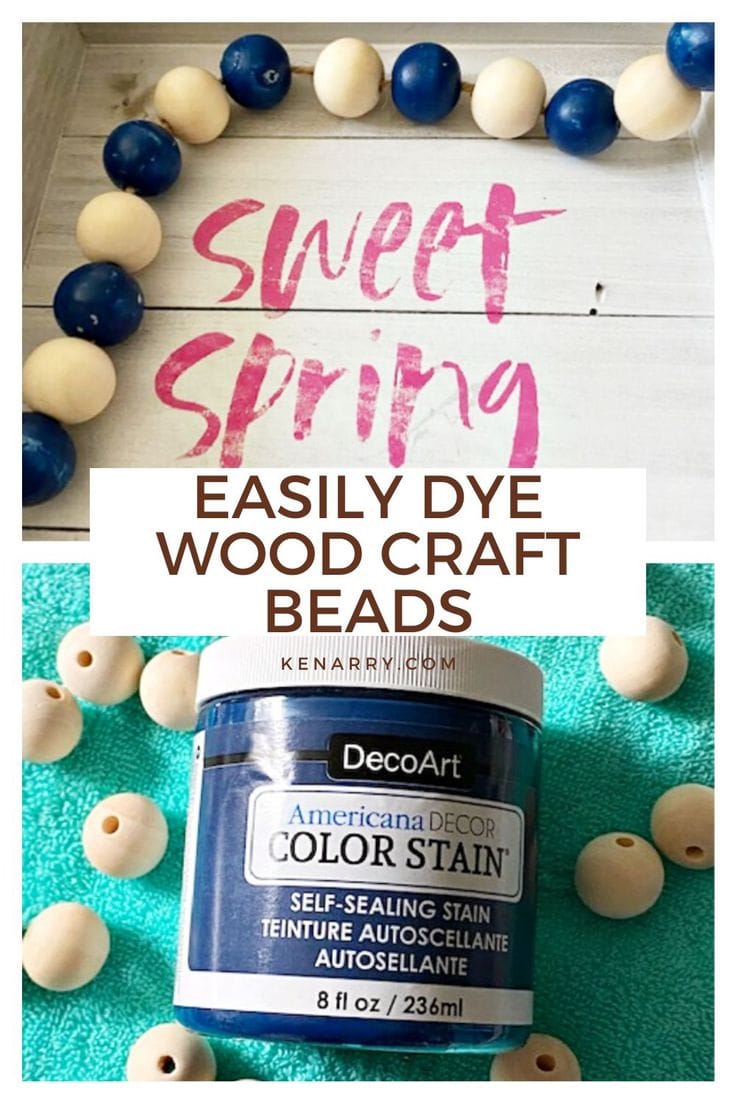
How To Dye Wood Craft Beads Quickly And Easily
THIS POST MAY CONTAIN AFFILIATE LINKS. PLEASE SEE OUR FULL DISCLOSURE POLICY FOR DETAILS.
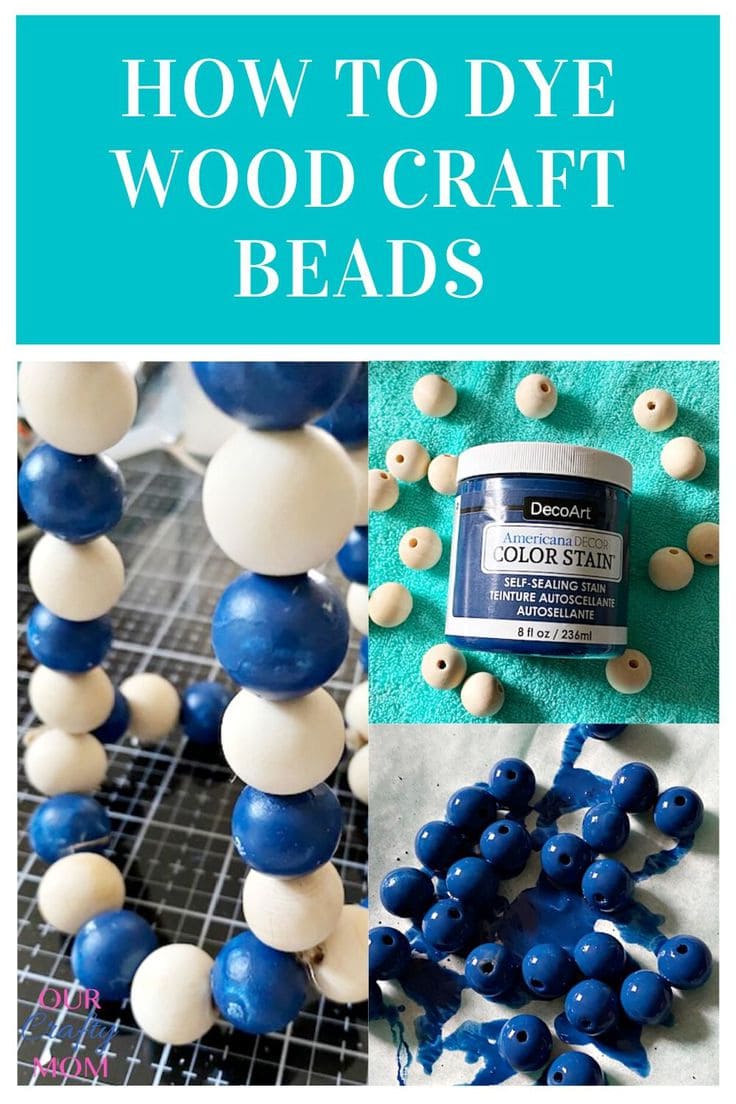
Learn how to dye wood craft beads with this easy DIY tutorial. You can use the dyed beads to make garlands, decorate glass vases, create plant hangers, and so much more.
Hello! Michelle from Our Crafty Mom back today with a fun craft project using wood beads. Rather than leave the beads the natural color, I wanted to dye them a classic blue to go with my ever growing collection of blue and white home decor, like my DIY beaded plant hanger.
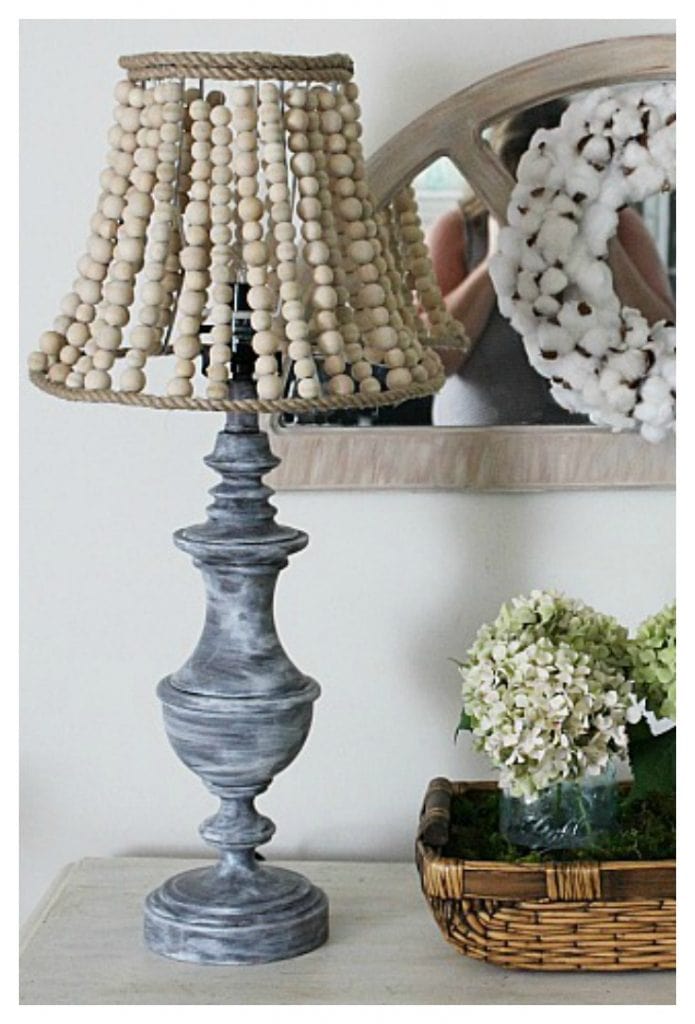
Have you jumped on the wood bead bandwagon yet? I have to say I’m pretty obsessed with wood bead crafts. You can use them in so many different ways. A quick search on Pinterest will show thousands of fun and unique things to make with them.
While I like the natural color, I had an idea to make a blue and natural wood bead plant hanger-stay tuned for that! I thought about buying colored wood beads, but what’s the fun in that? Plus, I had a huge stash of natural beads, so I knew I could dye them for a lot less. Let’s go to this super simple project.
How to dye wood craft beads
There are a few different options for dying wood craft beads, but I am trying to use items I already have on hand during this time at home. I’m so glad I did, because this process worked like a charm.
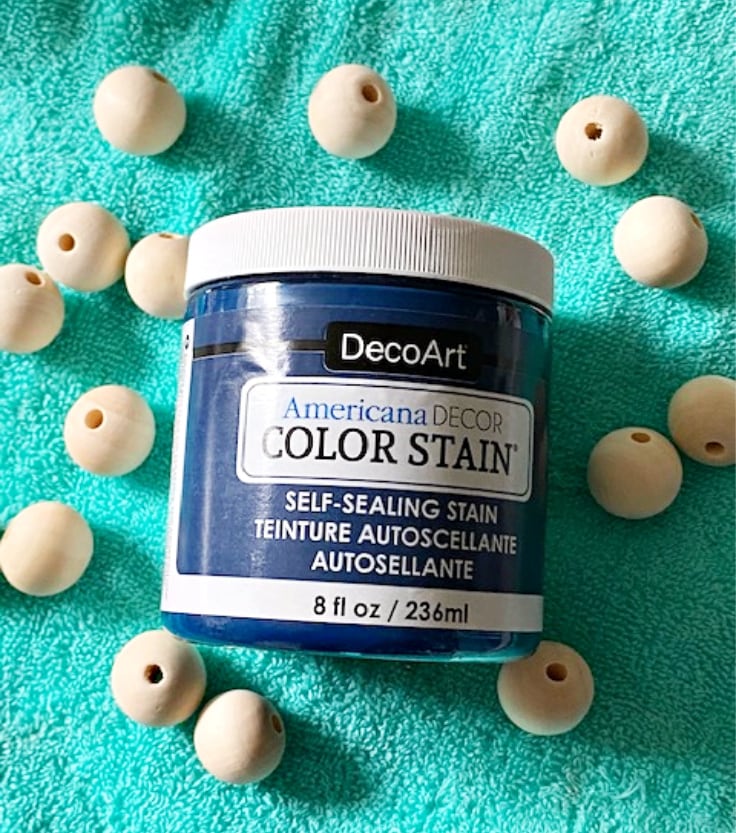
What you need:
Want more ideas like this? Subscribe today to get our weekly Ideas in Your Inbox newsletter plus other exclusive gifts and offers — all for FREE!
Craft Tools Needed:
- Heat Gun (optional)
Supplies Needed:
- Wood Beads
- DecoArt Color Stain in Navy
- Craft Sticks
- Plastic Cup
- Water
Instructions:
1. prepare the color stain.
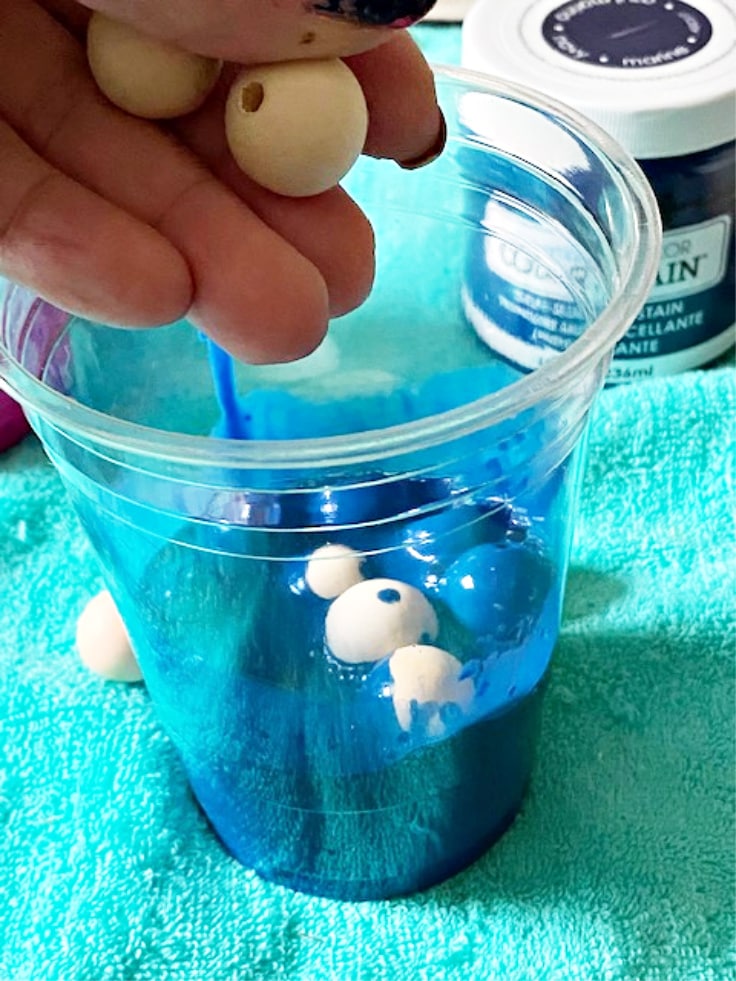
Pour the color stain paint into a tall plastic cup up to the first line on the cup, or about 1/4 of the way full.
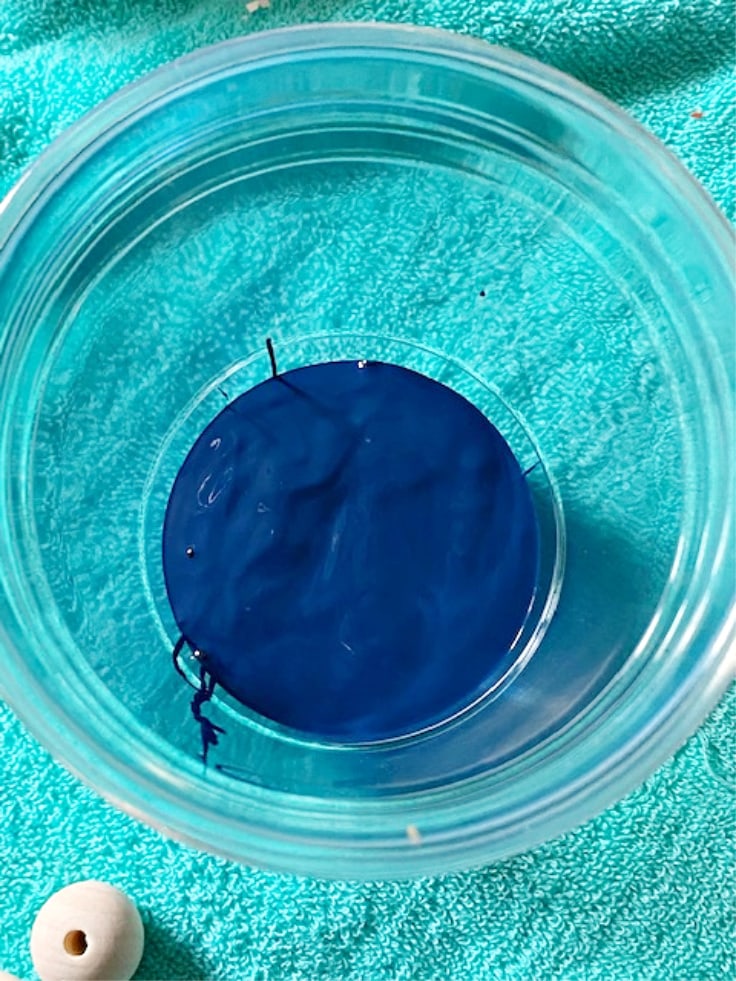
2. add water.
Add an equal amount of water to the cup and mix thoroughly.
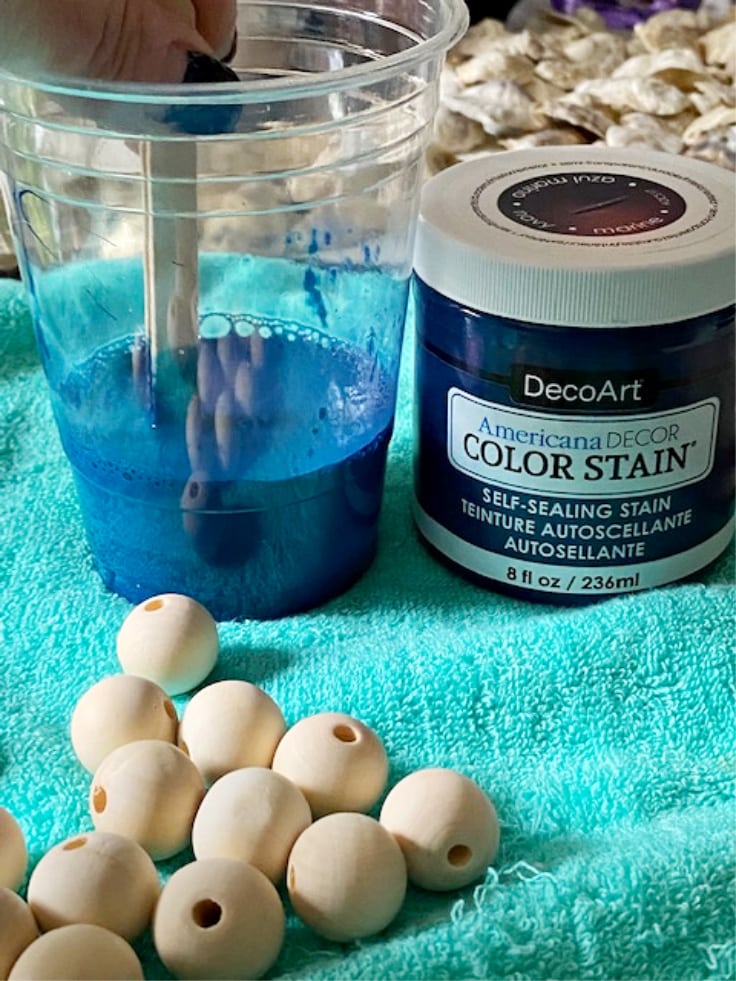
step 3. dye the beads.
Add a handful of wood craft beads to the paint-filled cup. Make sure the beads are covered completely with the paint mix. Add more water if you need to.
step 4. allow the beads to sit.
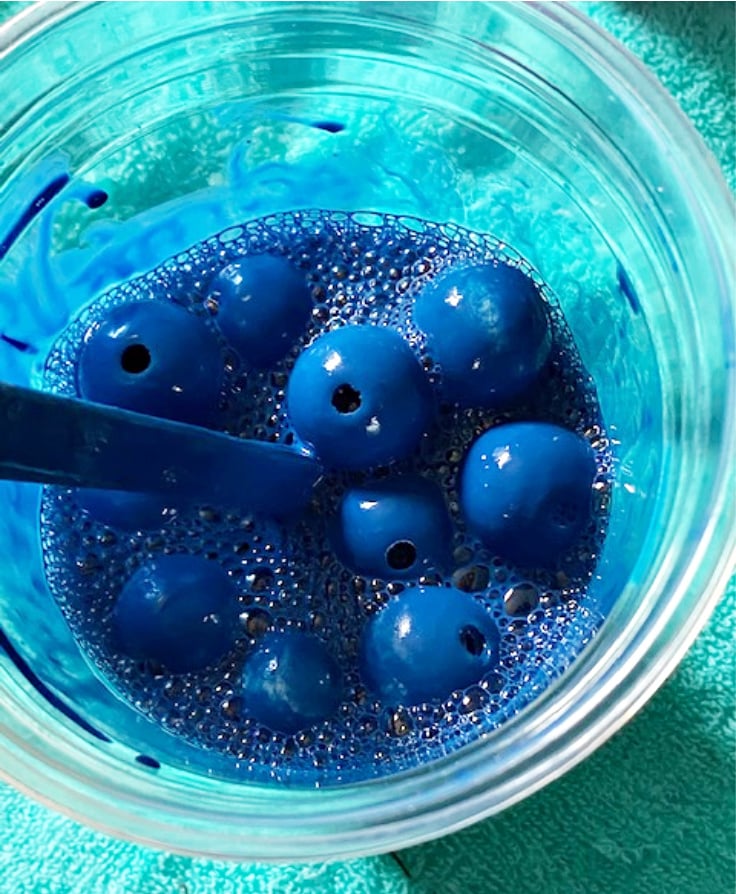
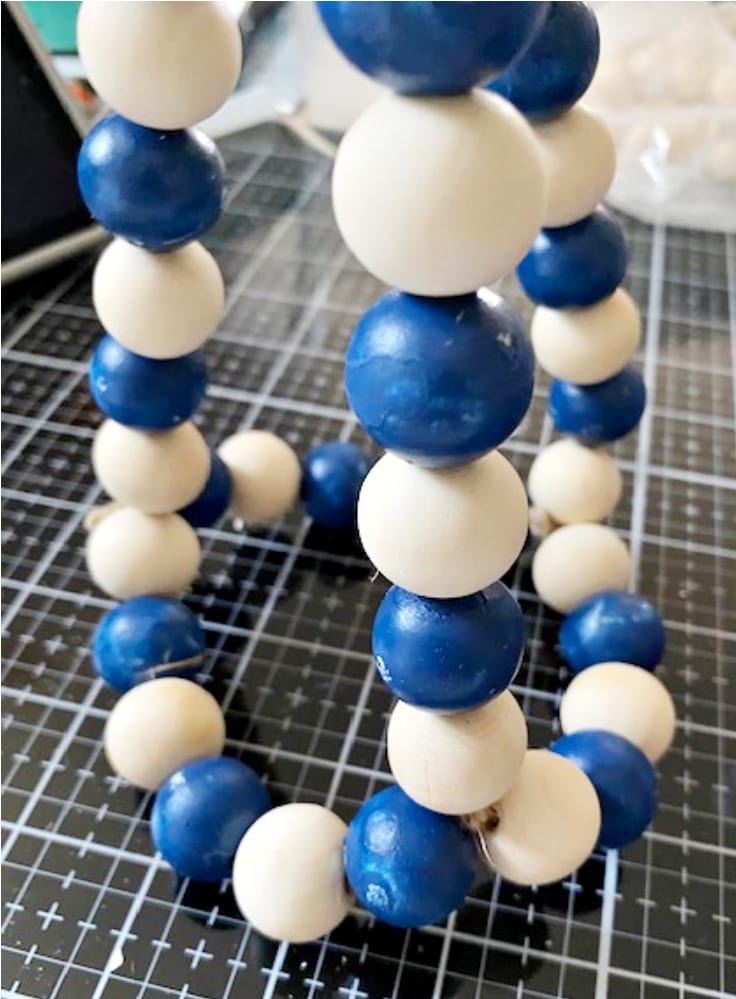
The color stain paint is made for projects like this, so it really worked quickly. But, I allowed the beads to sit for 30 minutes. I wanted them to have a solid blue color. However, if you want a lighter, opaque look you can remove them after just a few minutes.
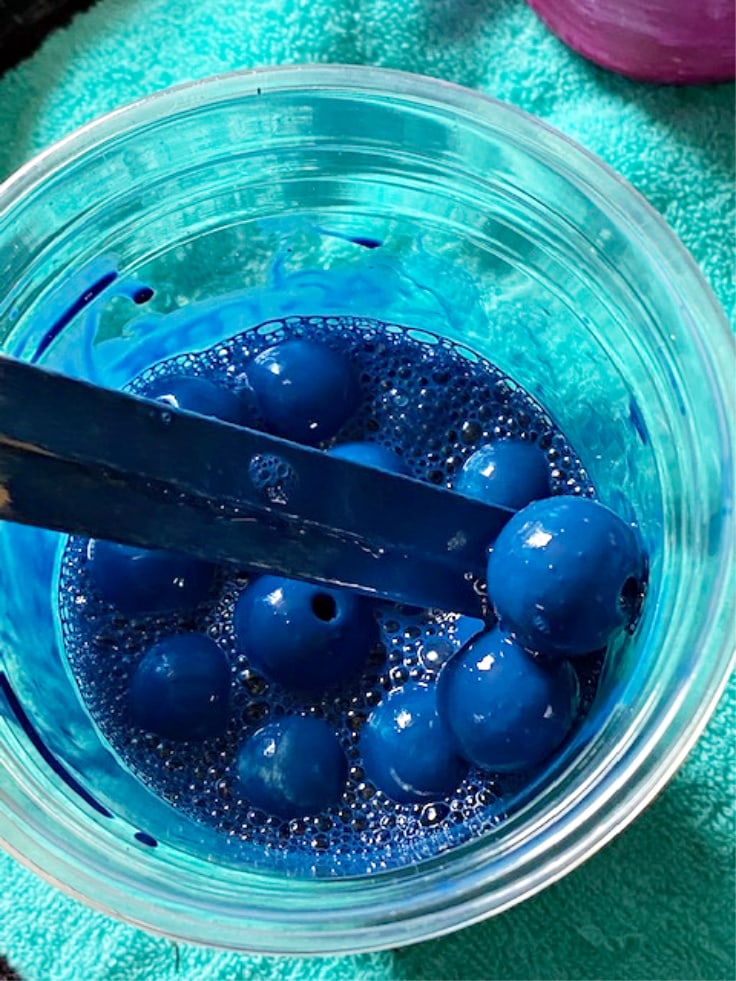
step 5. remove the beads to dry.
Once you are happy with the coverage, remove the wood beads from the cup by using a craft stick. I set up a large sheet pan covered in parchment paper and pushed the beads out onto the pan. It’s best to use parchment paper, as the beads won’t dry to it.
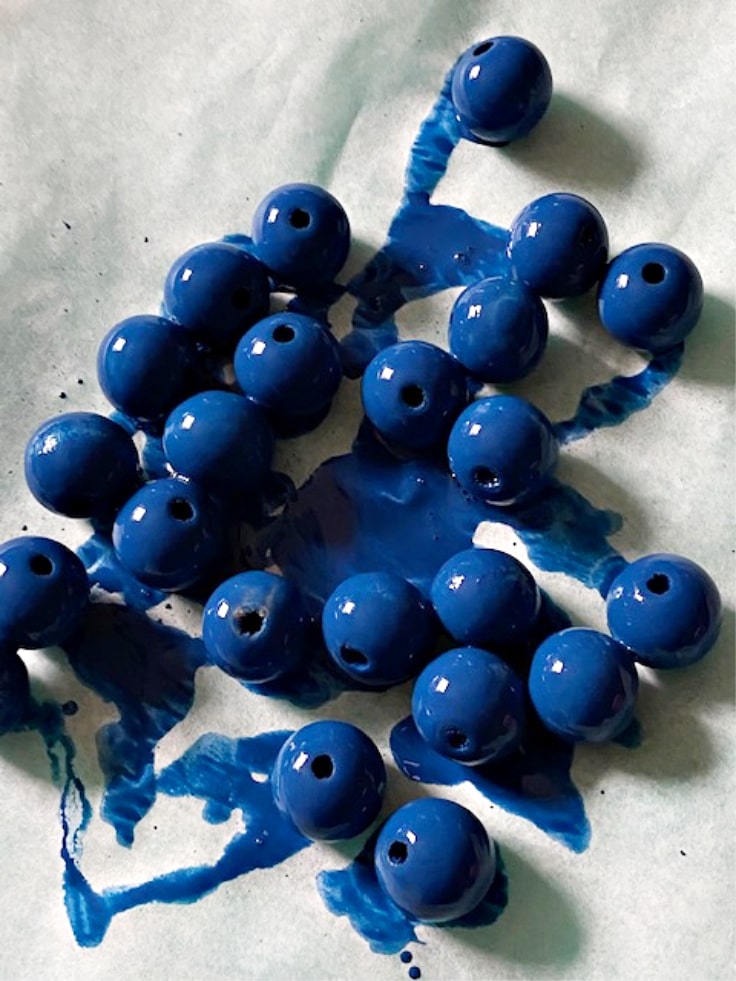
step 6. let the beads dry.
Let the wood beads dry overnight, or use a heat gun to speed up the process. It also helps to use a craft stick to move the beads around while they are drying to avoid any drips. While a heat gun is optional, it definitely was very handy for this project. I was able to speed up the drying time and avoid any drips.
step 7. repeat the process.
Continue to dye as many beads as you like. I dyed about 50 as I knew that is how many I would need for my planned project.
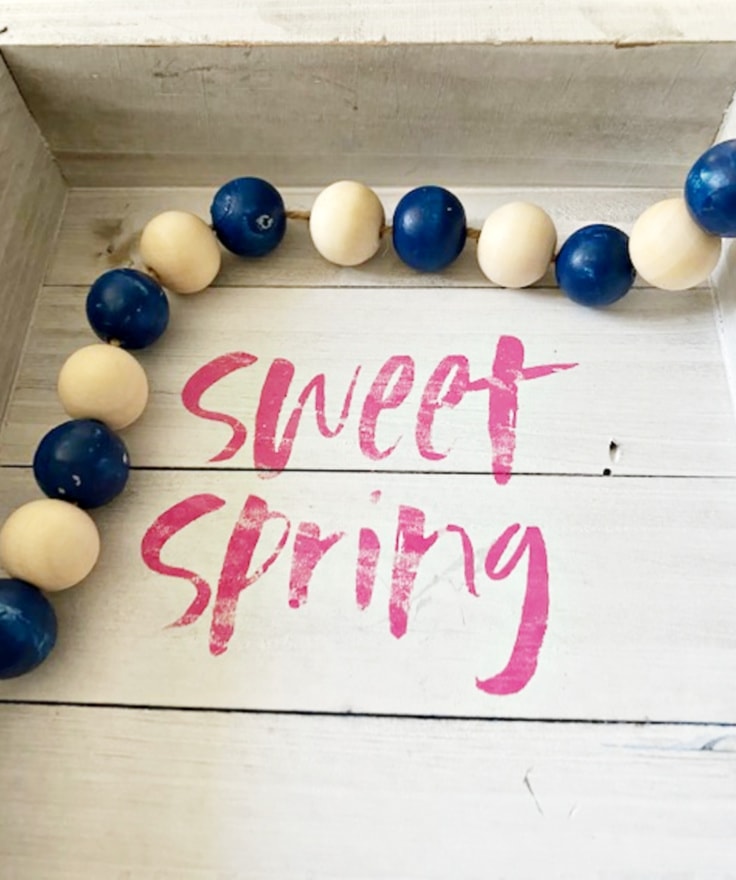
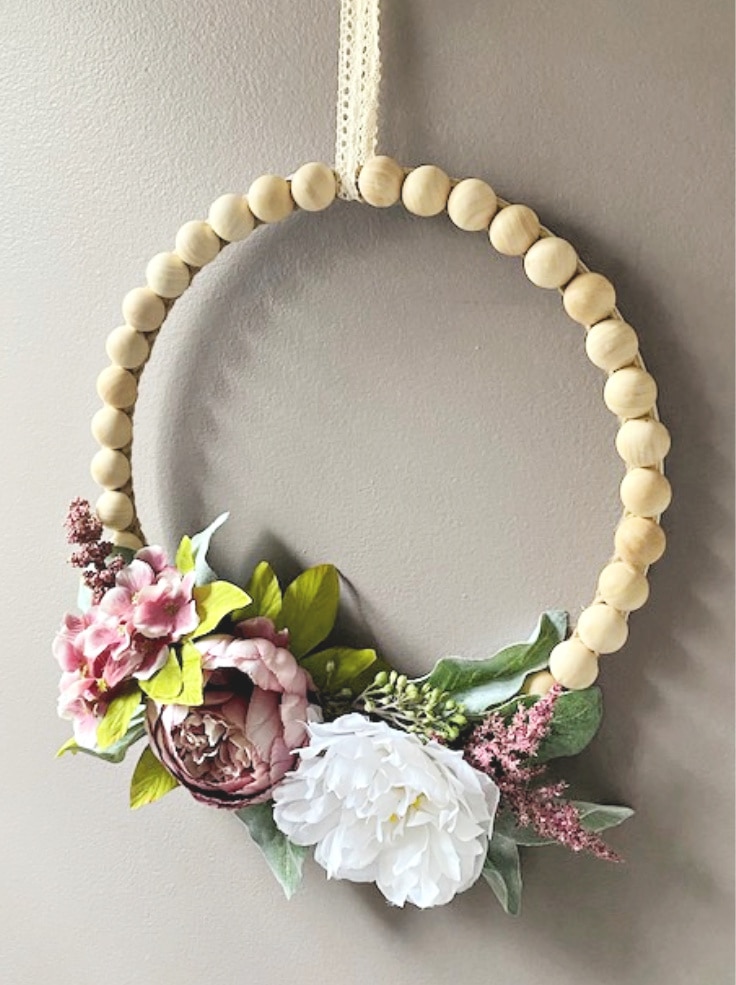
Now that you have your pretty dyed wood beads, you can use them to decorate frames, create wreaths, make garlands and so much more. Remember the DIY wood bead plant hanger I mentioned? Here is a little sneak peak of it:
What’s Next?
If you enjoyed this wood bead craft, then you’ll enjoy these wood bead craft ideas as well.
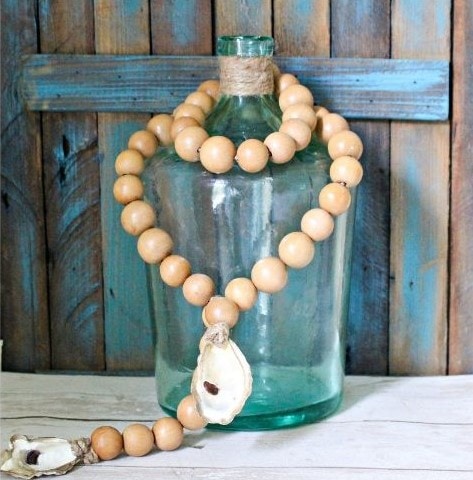
Wood Blessing Beads With Oyster Shells
You may also enjoy these bead craft ideas on Ideas for the Home by Kenarry® –