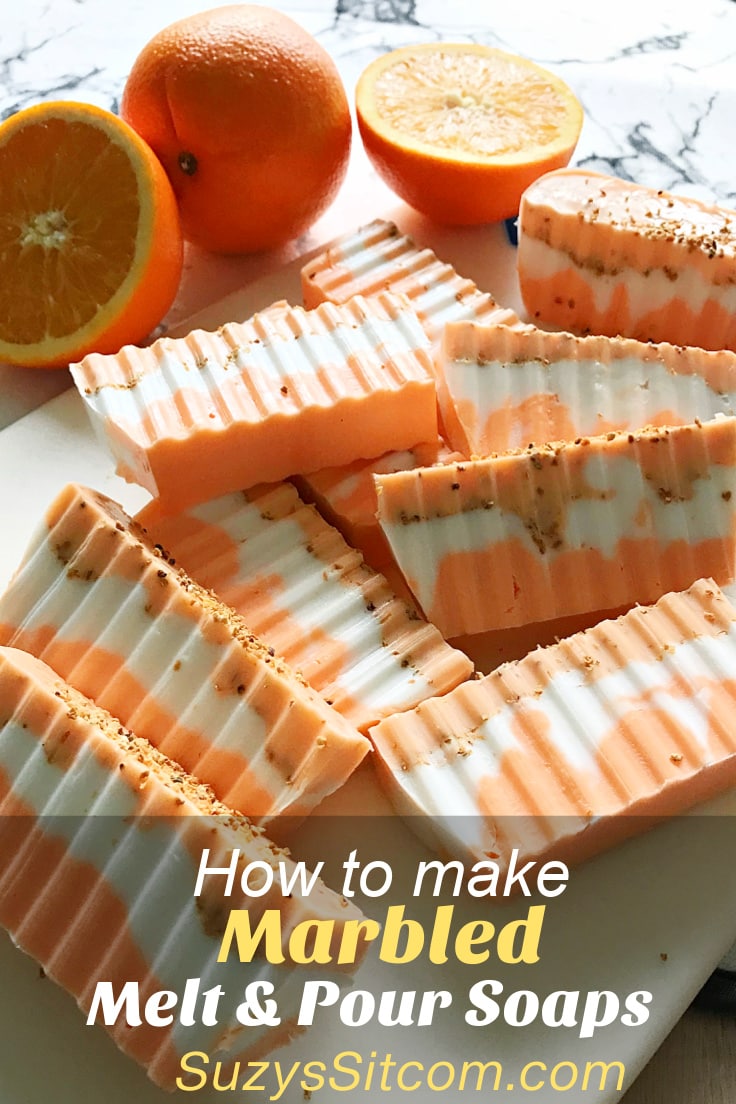
How to Make Marbled Melt and Pour Soaps
THIS POST MAY CONTAIN AFFILIATE LINKS. PLEASE SEE OUR FULL DISCLOSURE POLICY FOR DETAILS.
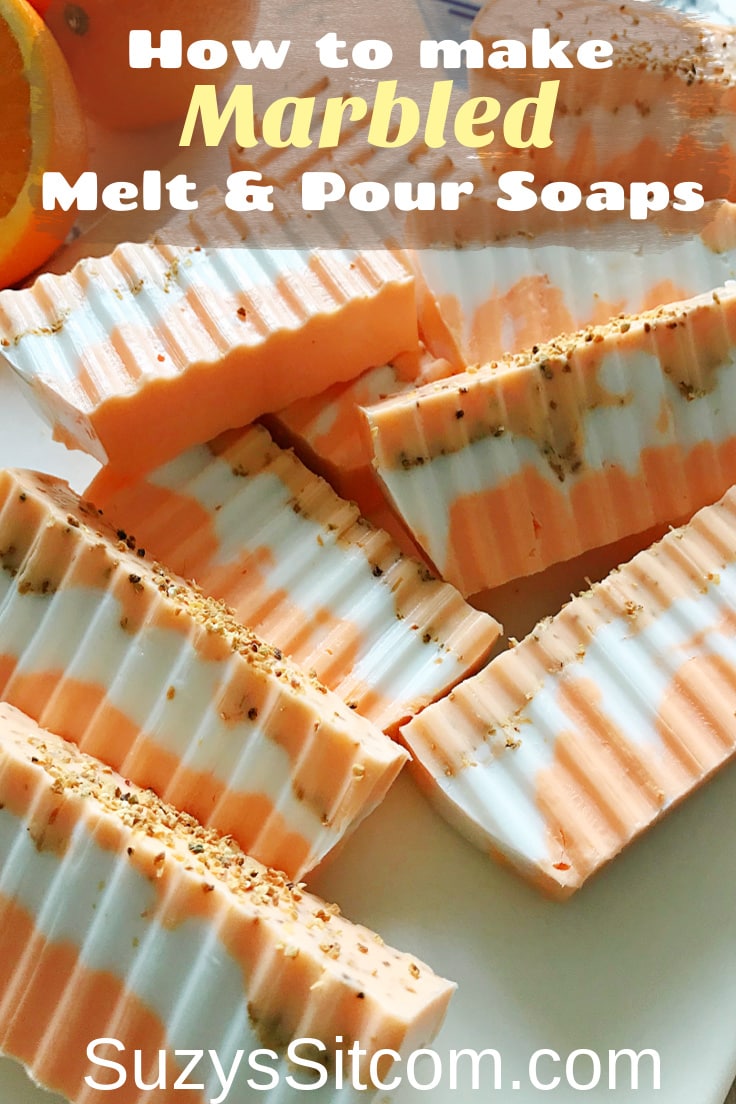
There are so many options with melt and pour soap. From unique color combinations to beautiful scents, and many different types of melt and pour soap from shea butter to goat’s milk. Learn how to obtain a marbled look in melt and pour soaps with this simple tutorial.
This is Suzy from SuzysSitcom.com. I’m a huge fan of melt and pour soap making. It can be a fun and simple project and there are so many different ways to work with it. One thing to keep in mind is that melt and pour soap cools and hardens quickly. This means some swirls that can be made with cold process soap are not possible with melt and pour.
So I did a bit of experimentation and came up with a simple way to create the look of marbled soap with melt and pour!
Want more ideas like this? Subscribe today to get our weekly Ideas in Your Inbox newsletter plus other exclusive gifts and offers — all for FREE!
This particular tutorial features orange-scented melt and pour soap and added orange zest, however, you can use any type of scent or coloring to get the same effect. This simple method takes a small amount of time, but has huge rewards!
How to Make Marbled Melt and Pour Soaps
Choose the colors scheme that you would like. Be sure to choose a couple of colors that have good contrast so that you can see the marbled results better. For my tutorial, I chose to go with a citrus scent, orange coloring, and orange zest.
The entire tutorial is in a printable card at the bottom of this post. But first, here is a little bit of info about the tools and supplies you’ll need.
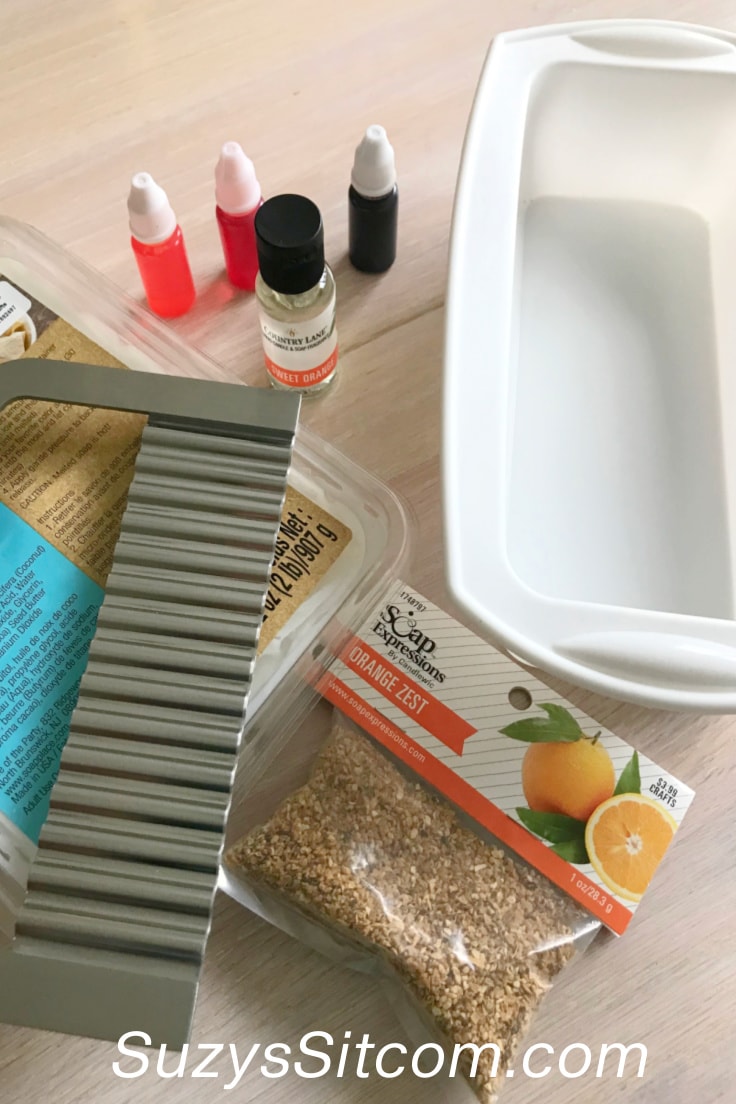
Supplies or Ingredients Needed:
- 2 lbs. Shea Butter Melt and Pour Soap Base
- Orange Scent for soap making
- Soap coloring in Orange
- Orange Zest
- Rubbing Alcohol in a spray bottle
- Silicone Soap Mold
- Wavy Soap Cutter
Melt the first batch of soap
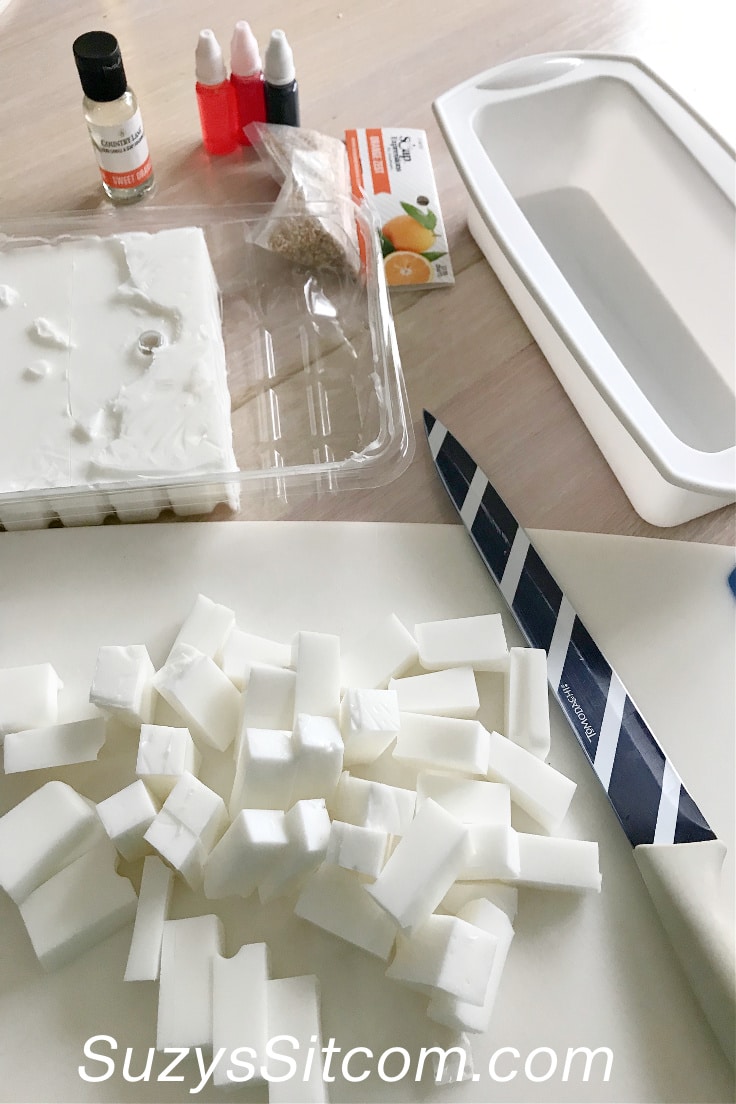
Divide the 2 lbs of melt and pour the soap into three units. We will use each unit to create three different layers in the soap.
Cut up 1/3 of the soap into 1″ cubes. Place the cubes in a microwave-safe bowl and set the microwave on high for 20 seconds. Stir and then replace the bowl in the microwave for an additional 20 seconds or until fully melted.
Want more ideas like this? Subscribe today to get our weekly Ideas in Your Inbox newsletter plus other exclusive gifts and offers — all for FREE!

Add Scent and Coloring to the melt and pour soap base
Add a few drops of scent (optional ) and enough coloring to achieve the desired color. Stir until thoroughly mixed and then pour into the soap mold.
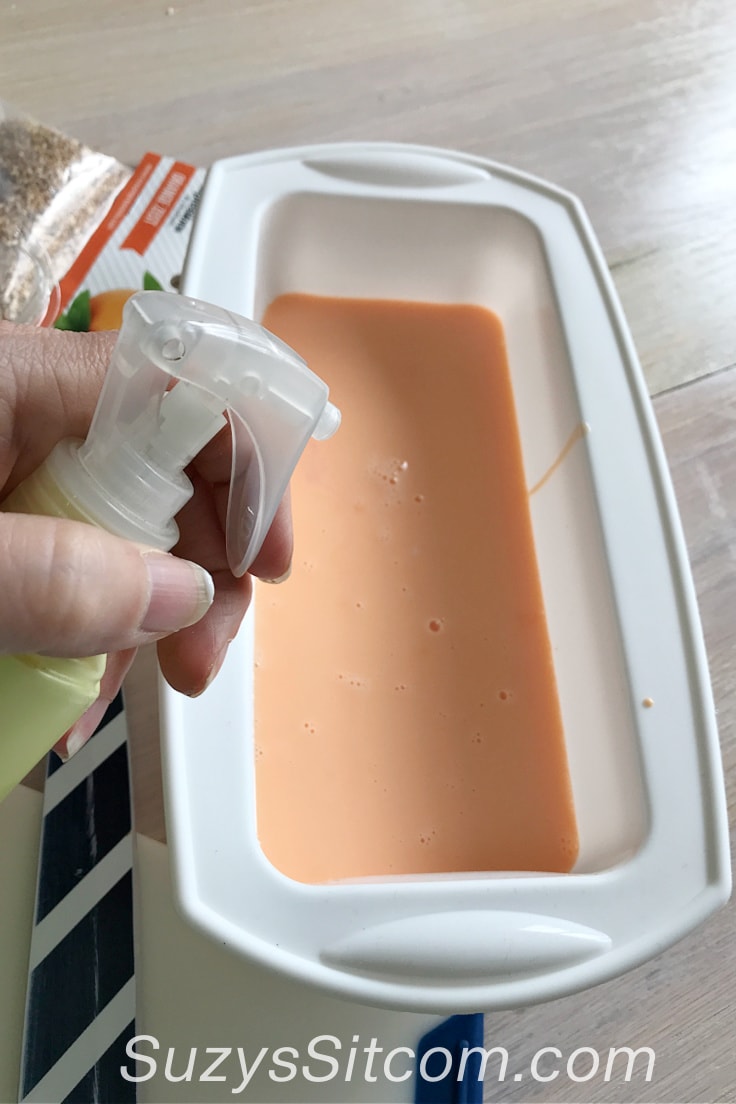
Spritz the top of the poured soap with a few sprays of alcohol. (This will prevent bubbles from forming).
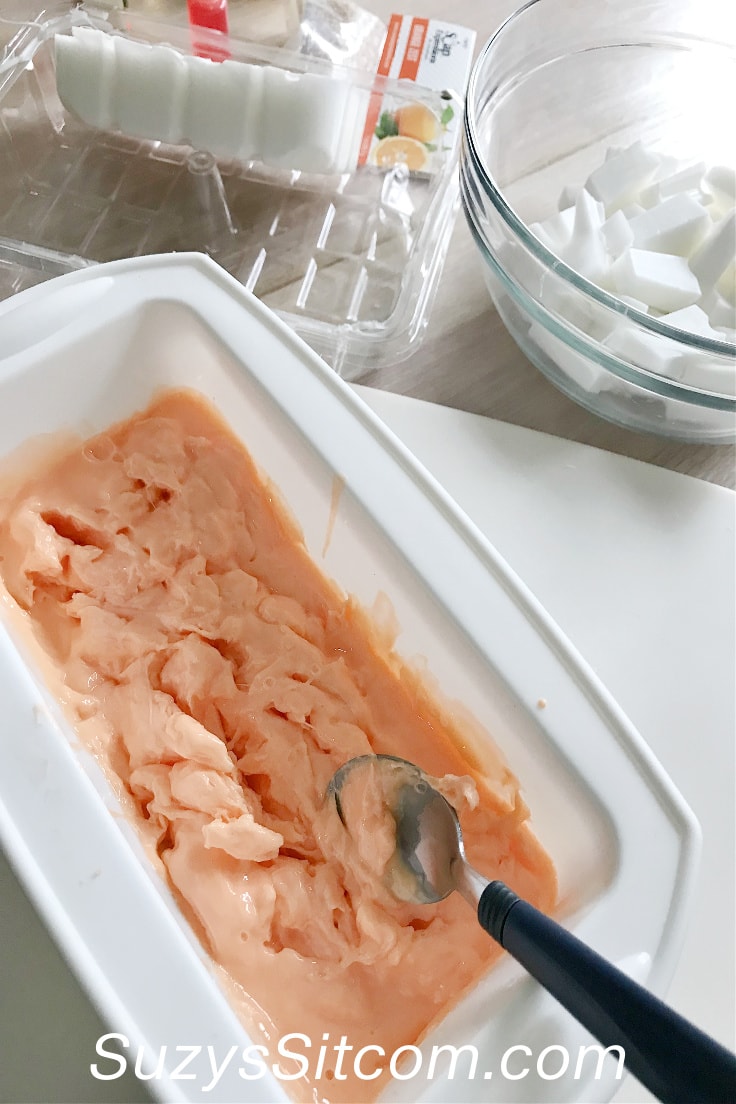
create the first layer of soap
As the soap begins to harden (about 10-15 minutes), stir the soap in the mold as it cools and starts to thicken. Add texture, dips, and divots in the soap until it’s too hard to manipulate any longer.
Create the second layer of soap
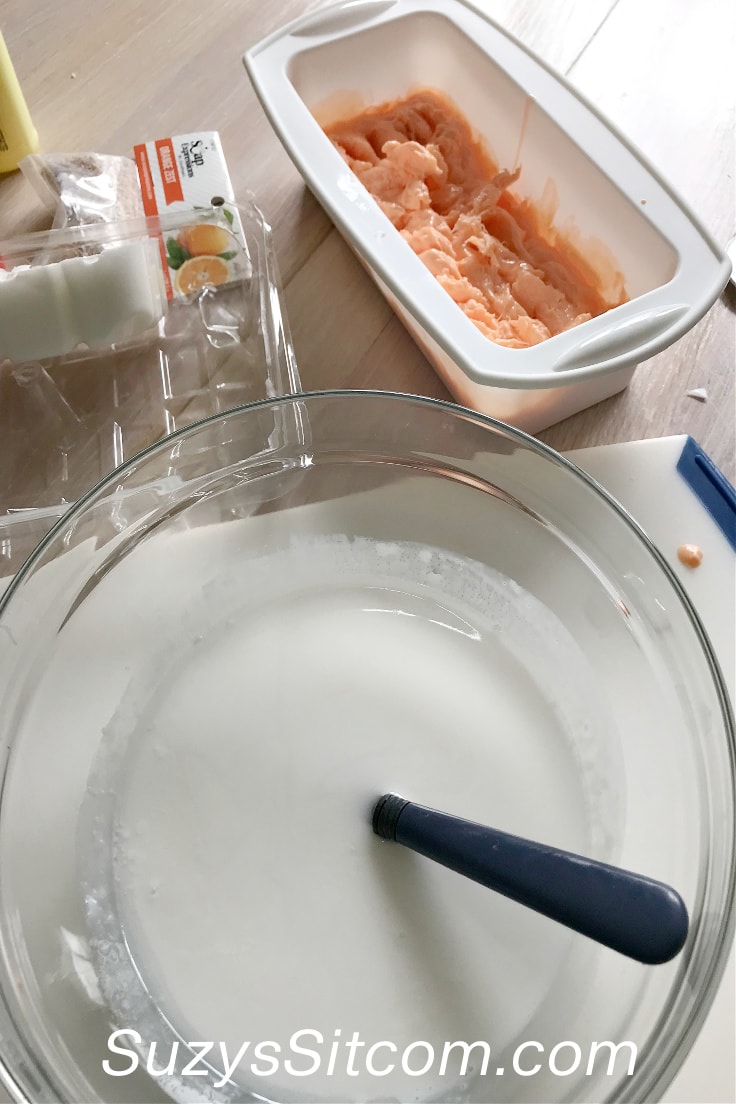
Cut up the second batch of soap into 1″ cubes and microwave as in the first step. For this layer, I chose not to add color in order to get a good contrast with the first layer. I did add a few drops of scent. Allow this batch to cool for about 5 minutes before pouring over the top of the first layer. Spritz with alcohol.
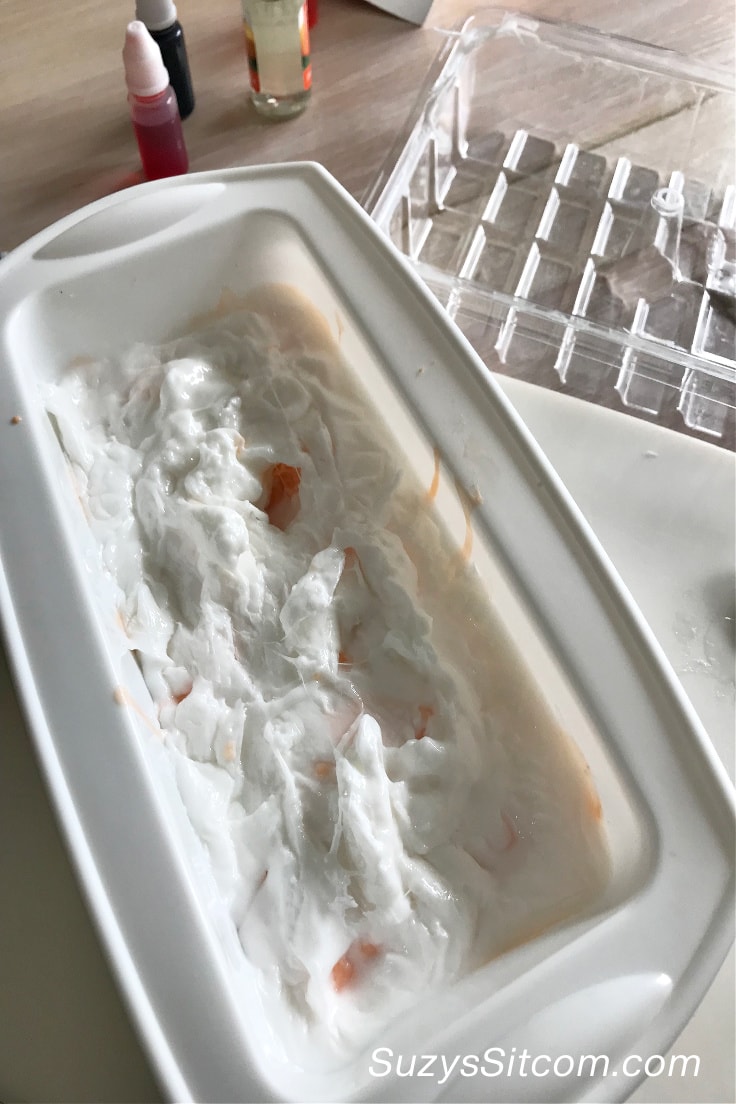
When the second layer begins to cool, stir and manipulate this layer (not going into the bottom layer) until it is too hard to manipulate.
create the third layer of soap
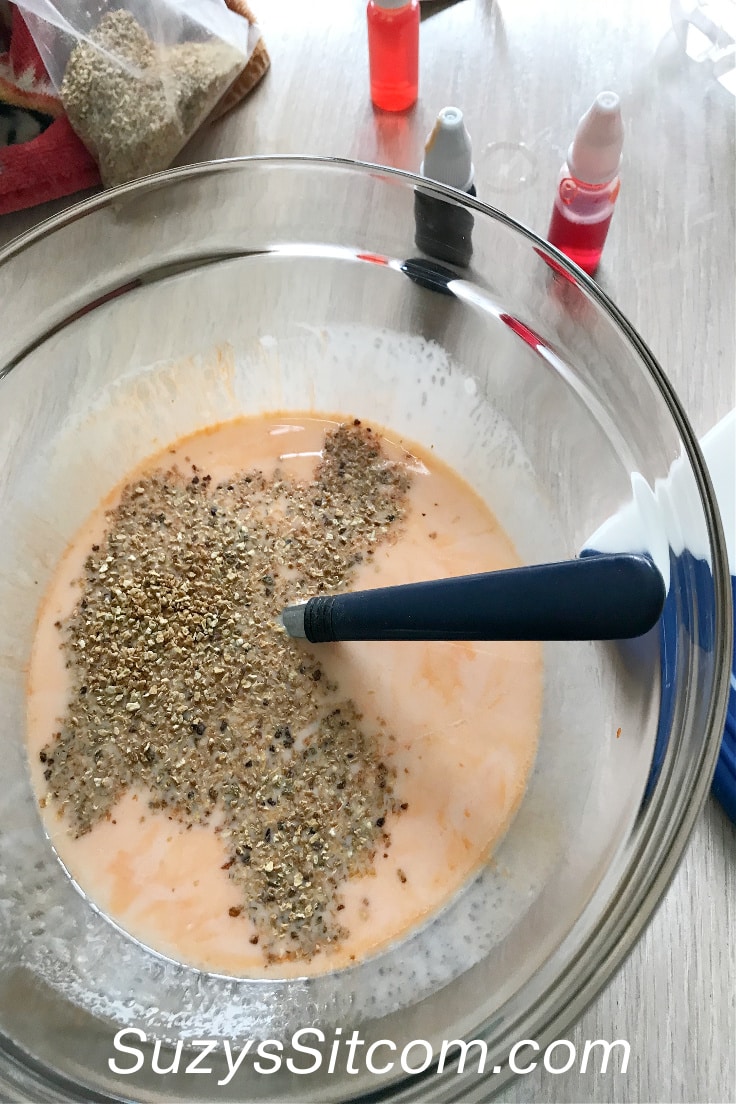
Cut up the final batch of melt and pour the soap into 1″ cubes. Melt in the microwave as in step one. For this final batch, I chose to add coloring, scent, and orange zest. Allow to cool for about 5 minutes and then pour over the other two layers. Spritz with alcohol.
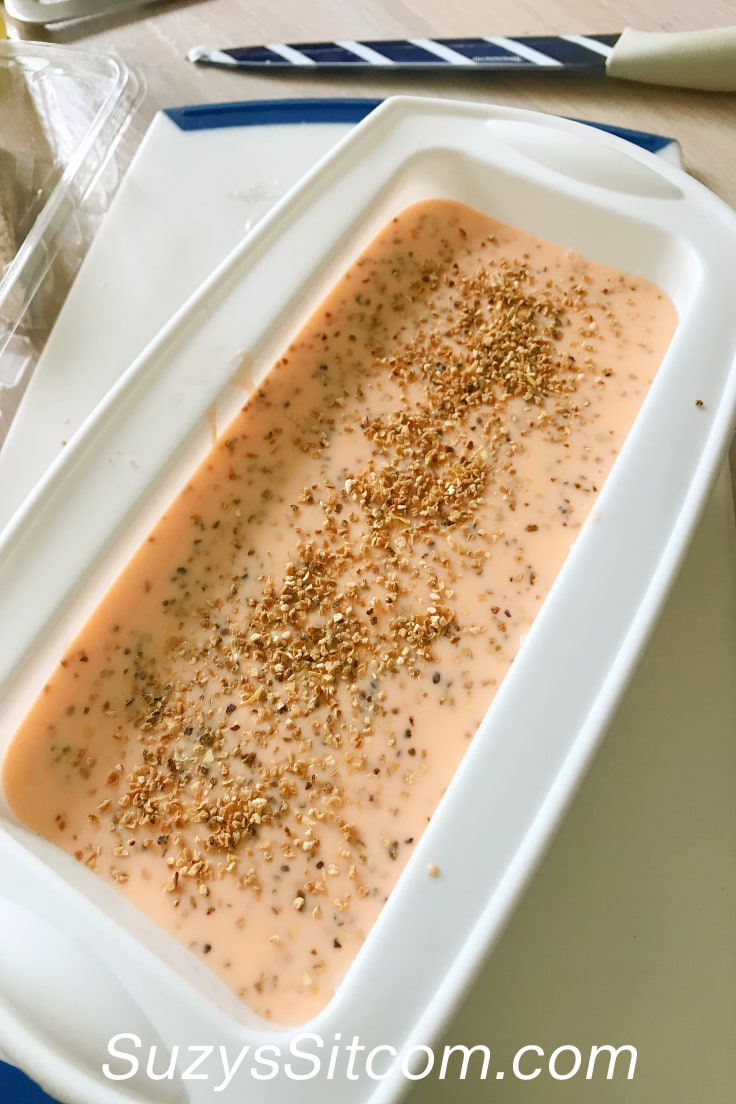
I chose to sprinkle a bit more orange zest over the top layer. (optional). Allow all three layers of soap to harden before trying to remove from the mold. (About 3 hours of hardening time should be sufficient).
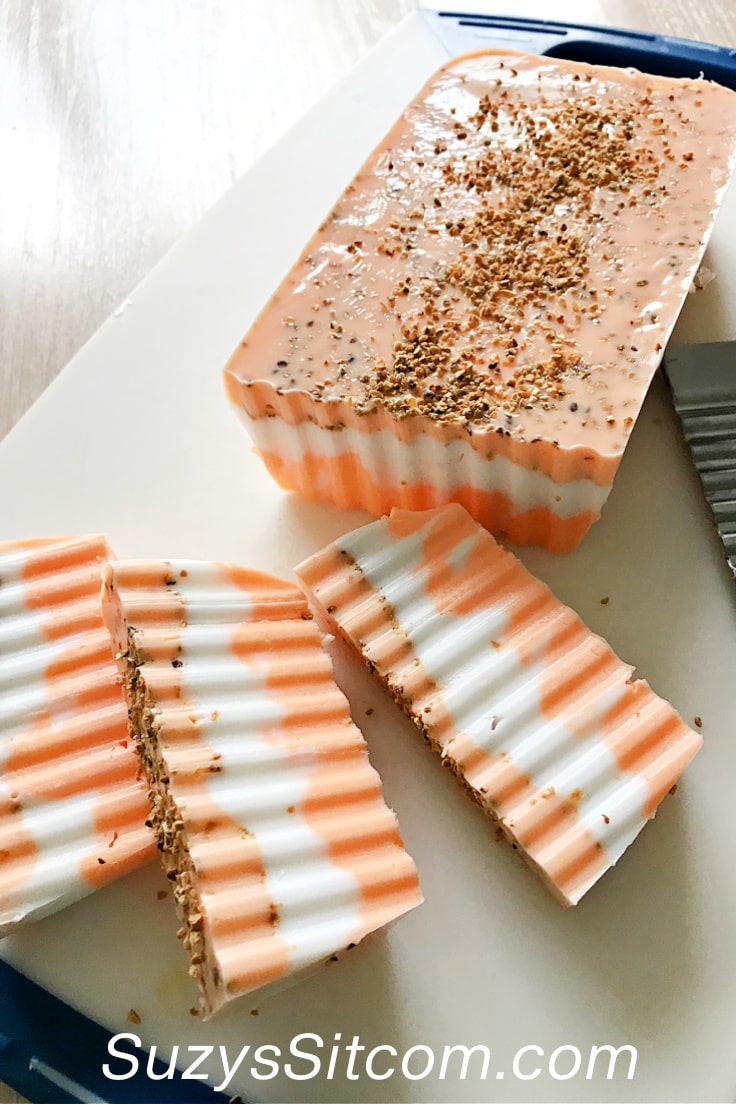
Cut the Soap
When the soap is hard, it should easily pop out of the silicone mold. Cut the soap on a cutting board, using a soap cutter or sharp knife. You will be rewarded with fun wavy, marbled layers of colored soap!
These are the ingredients you’ll need. All the exact amounts are in the printable card at the bottom of this post.
How to Make Marbled Melt and Pour Soaps
Equipment
- 1 Silicone soap mold
- 1 Wavy Soap Cutter
Supplies
- 2 lbs. Shea Butter Melt and Pour Soap
- 1 ea Soap Scent in Orange
- 1 ea Soap Coloring in Orange
- 1 pk Orange Zest
- 1 bottle Rubbing Alcohol
Instructions
- Melt 1/3 of the melt and pour soap in the microwave until just melted
- Add scent and coloring as desired and pour into silicone mold.
- Spritz with alcohol.
- As soap begins to harden, stir with spoon to cause peaks and valleys.
- Melt 1/3 of melt and pour soap in microwave until just melted.
- Add scent. Allow to cool about 5 minutes and then pour over the first layer in the mold. Spritz with alcohol.
- As soap begins to harden, stir with spoon to cause peaks and valleys. (Do not stir into the first layer).
- Melt 1/3 of melt and pour soap in microwave until just melted.
- Add scent, zest and coloring as desired and pour into silicone mold. Spritz with alcohol.
- Allow to harden about three hours before removing soap from mold
- Cut into bars and enjoy.
Love the ideas you see here on Ideas for the Home by Kenarry®? Subscribe today to get our FREE DIY & Craft Planning Calendar, plus our weekly Ideas in Your Inbox newsletter filled with creative tips and exclusive offers!
Want more Soap Crafts?
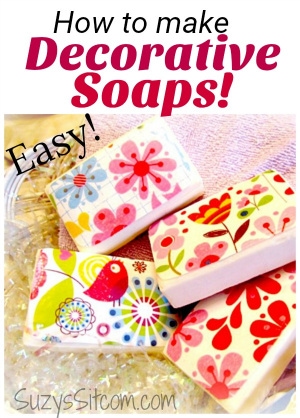
If you enjoyed these marbled melt and pour soaps, then you will enjoy these soap crafts too!
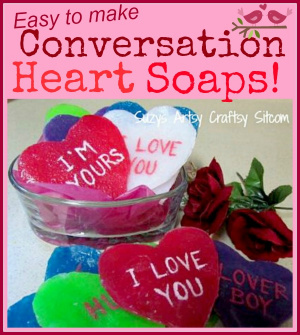
Easy to make Conversation Heart Soaps
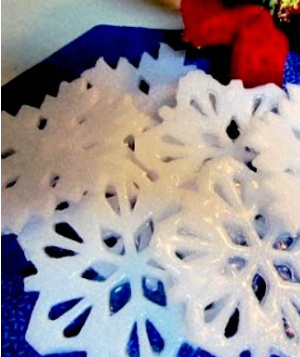
Single Use Snowflake Soaps Tutorial
You may also enjoy these three soap crafts on Ideas for the Home by Kenarry® –