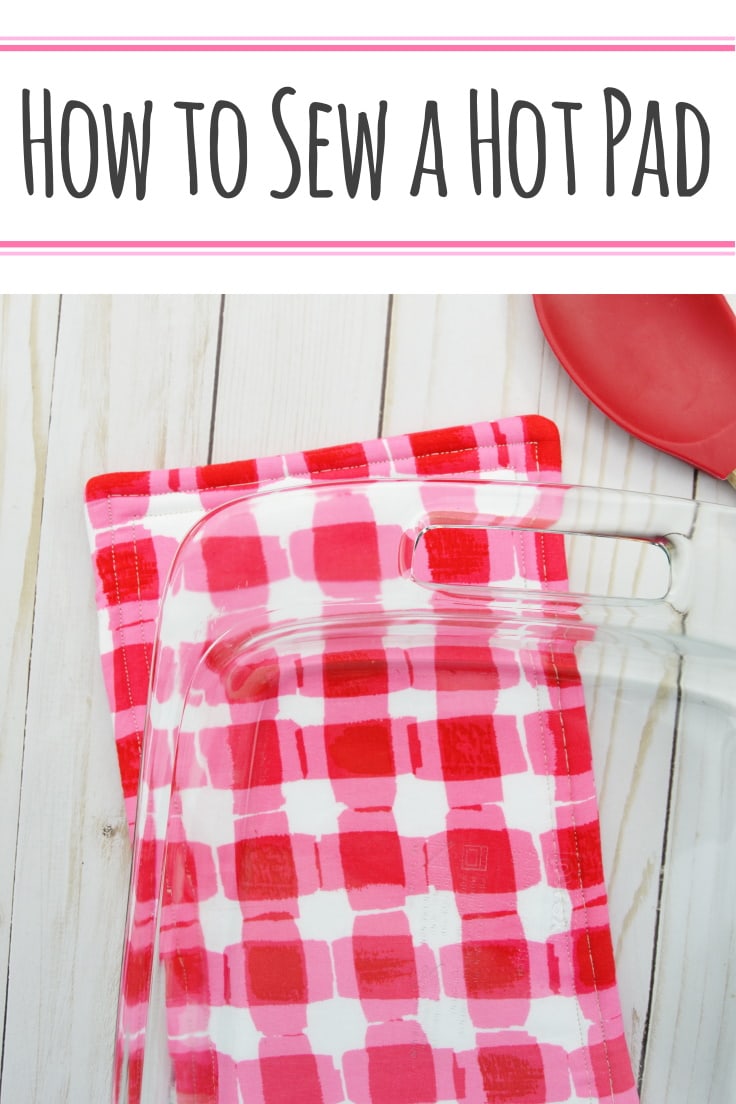
How to Sew a Hot Pad for Casserole Dishes
THIS POST MAY CONTAIN AFFILIATE LINKS. PLEASE SEE OUR FULL DISCLOSURE POLICY FOR DETAILS.
You can never have enough hot pads to put everything on the table for a large meal. Today I’m sharing how to sew a hot pad so that you can make your own.
Hey y’all, it’s Cat from Mary Martha Mama. I’m back today with another simple sewing tutorial. Even if you are totally new to sewing you can learn how to sew a hot pad in just a few simple steps.
Sew up a few hot pads for yourself and then sew a few extra to give at wedding showers and as house warming gifts. I feel like you really can never have too many of these!
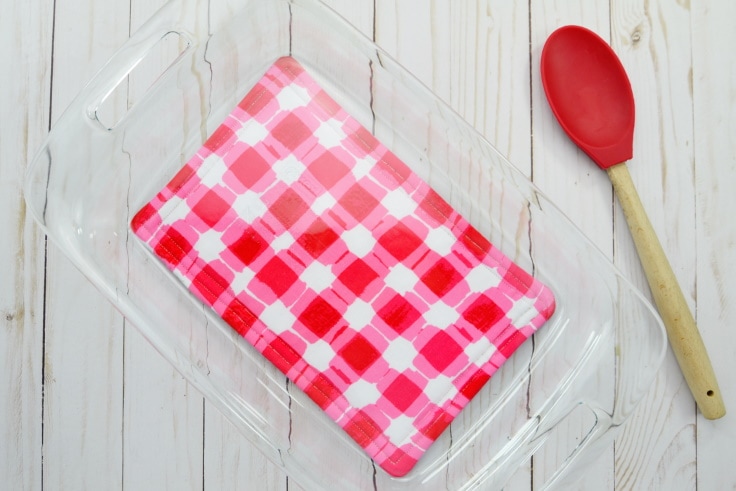
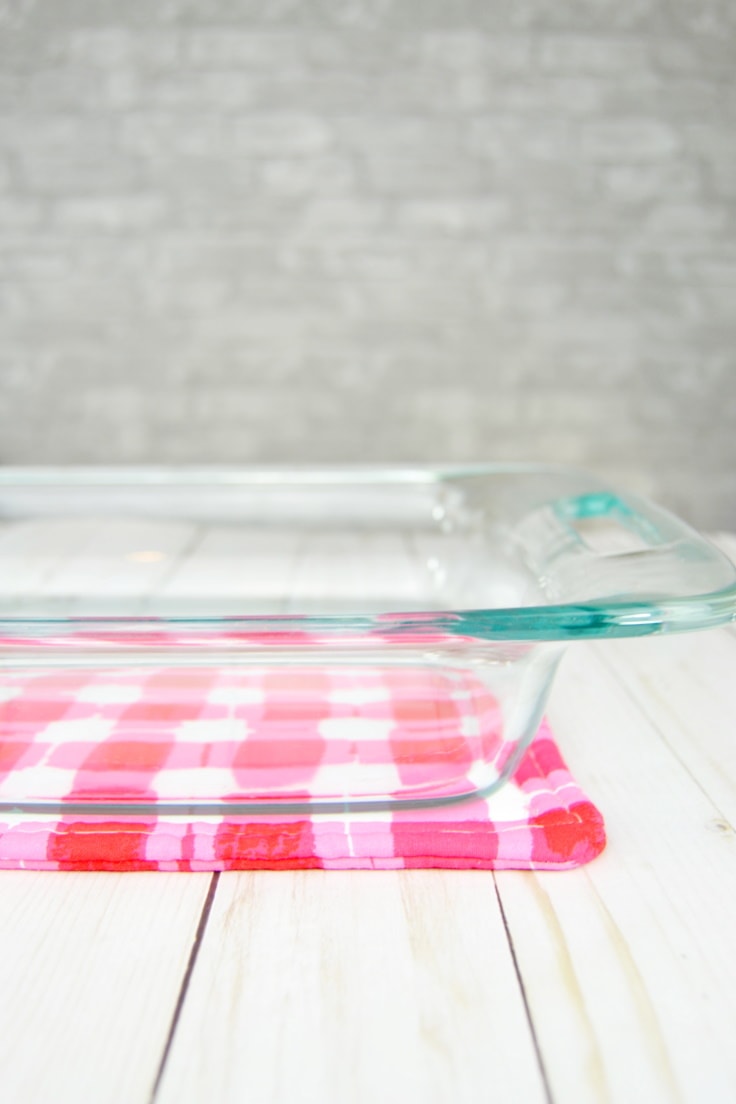
Hot pads are so nice to have. Some people use potholders but it’s nice to have some that are big enough for your casserole dish.
How to Sew a Hot Pad
Once you make one of these then you’ll be able to whip through a bunch of them in no time at all. Just the kind of sewing project I like- quick and uncomplicated.
What you need:
Want more ideas like this? Subscribe today to get our weekly Ideas in Your Inbox newsletter plus other exclusive gifts and offers — all for FREE!
Craft Tools Needed:
Supplies Needed:
This tutorial will show you how to sew a hot pad that is 7 X 11 inches- perfect for placing under a 9 X 13 casserole.
- woven cotton fabric- 1/4 yard
- insulated batting– 1/4 yard
- cotton batting– 1/4 yard
- coordinating thread
Instructions:
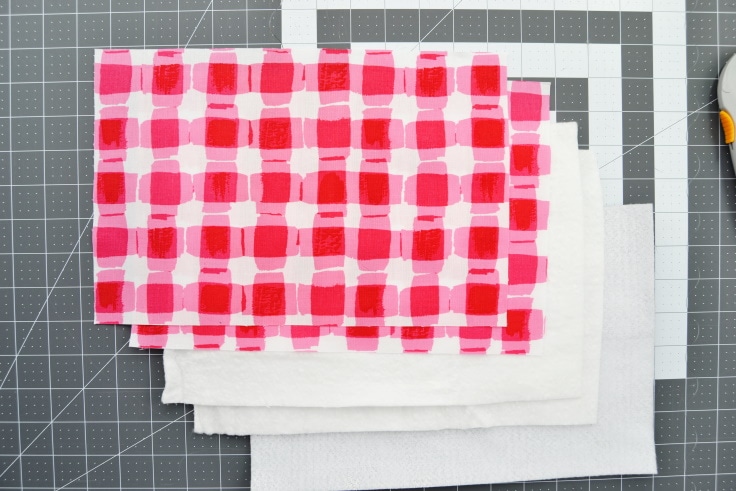
1. Prepare Your Fabric.
Wash, dry, and iron your woven cotton fabric. Then cut out the following fabric sizes:
- 2 rectangles of 8 X 12 inches from the woven cotton fabric
- 2 rectangles of 8 X 12 inches from cotton batting
- 1 rectangle of 8 X 12 inches from insulated batting
2. Make a Stack.
Stack the fabric. You need to keep them in the following order so it turns out right.
First, lay down one of the pieces of batting. Then lay one of your woven cotton fabric pieces on top of it with the right side up.
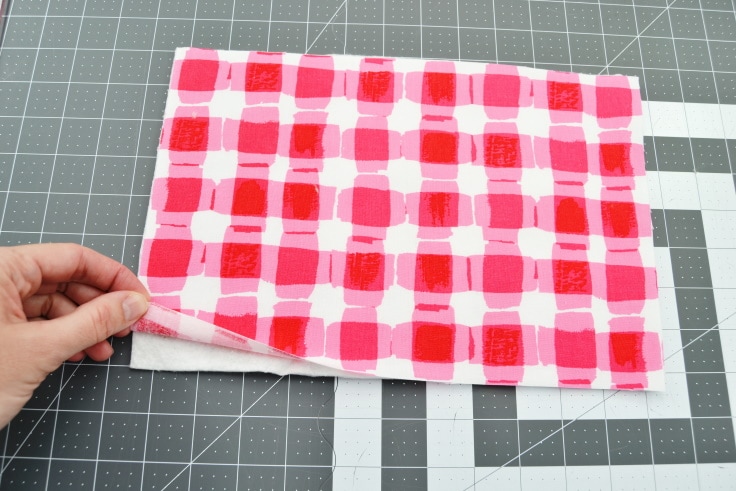
Next lay the other piece of woven cotton fabric on top with the right side down.
Then put the other piece of cotton batting on top.
Finally, put the insulated batting piece on top.
3. Pin and Sew.
Pin or clip the layers of the stack together.
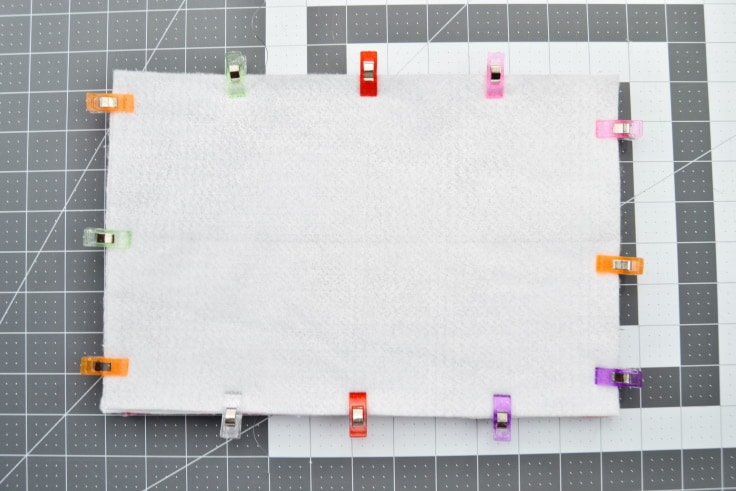
Sew around the outside edge, sewing about 1/2 inch from the edge BUT do not sew all the way around- leave a few inches on one side unsewn. Do not leave the unsewn area in a corner- put it at least a few inches into one of the sides.
4. Clip the Corners.
Cut diagonally across each corner to take off the point.
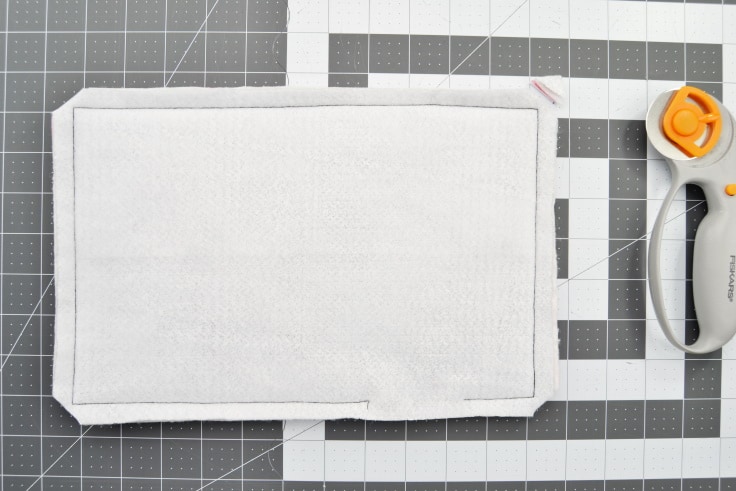
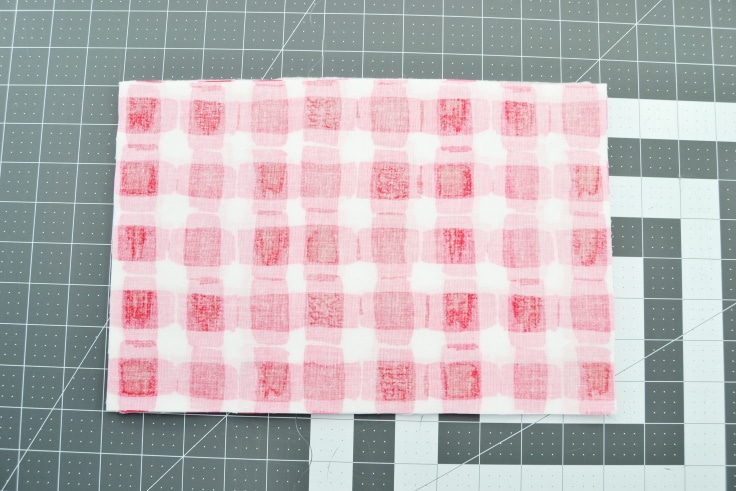
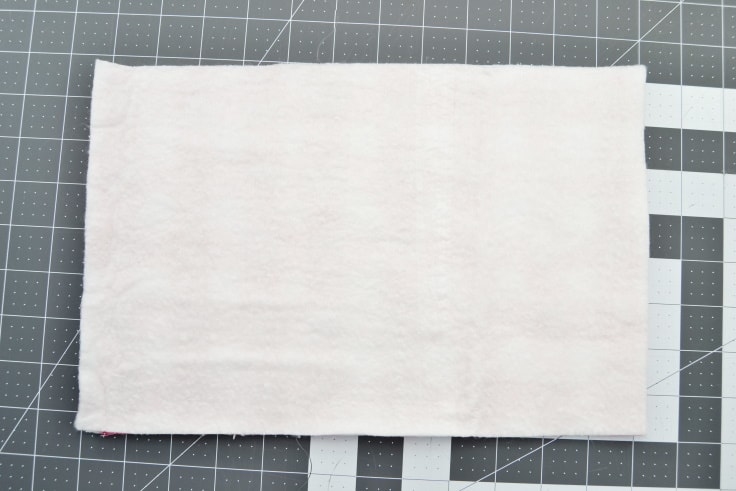
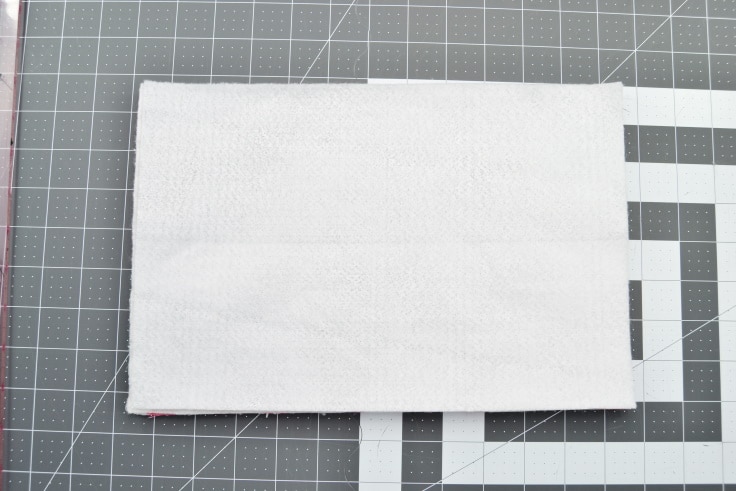
5. Turn and Press.
Use the hole that you left in the side to turn it right side out. Stick your fingers in between the two layers of woven cotton fabric and pull the ends through to do this. Use a pencil or corner turner to push the points of the corners out nice and flat. Then give it a good press with the iron.
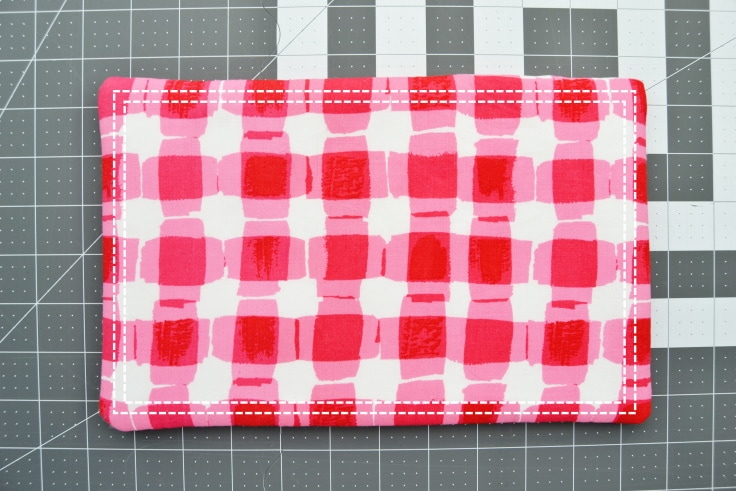
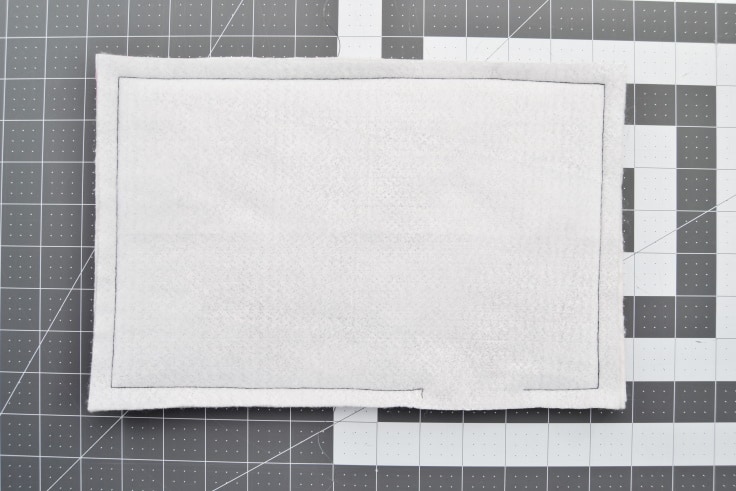
6. Topstitch to Finish.
Finally, topstitch around the edges sewing about 1/4 inch and 1/2 inch from the edge. This time you will be sewing all the way around like the lines in the image above.
Trim your threads and you’re done!
What’s Next?
If you enjoyed learning how to sew a hot pad then you’ll enjoy these sewing tutorials too.
You may also enjoy these sewing ideas on Ideas for the Home by Kenarry® –
Hello! Does the 1/4” topstitch close off the hole that was left to turn the hotpad right side out? Or do you have a suggestion on how to finish that part? I’m new to sewing. Thank you.
Hi Jasmine,
Thank you for reaching out to us! Yes, you are correct. The topstitches will close off the hole that was left to turn the hotpad right side out.
Good luck with your sewing project!
Best wishes,
Carrie
Ideas for the Home by Kenarry