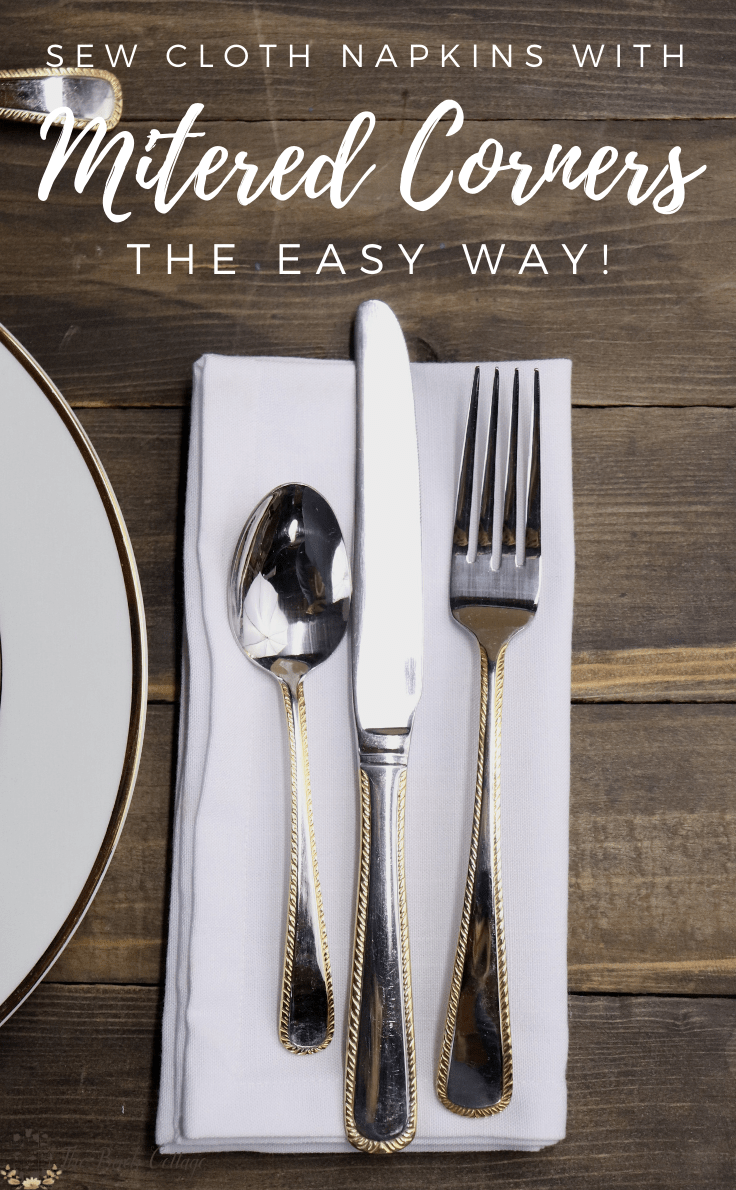
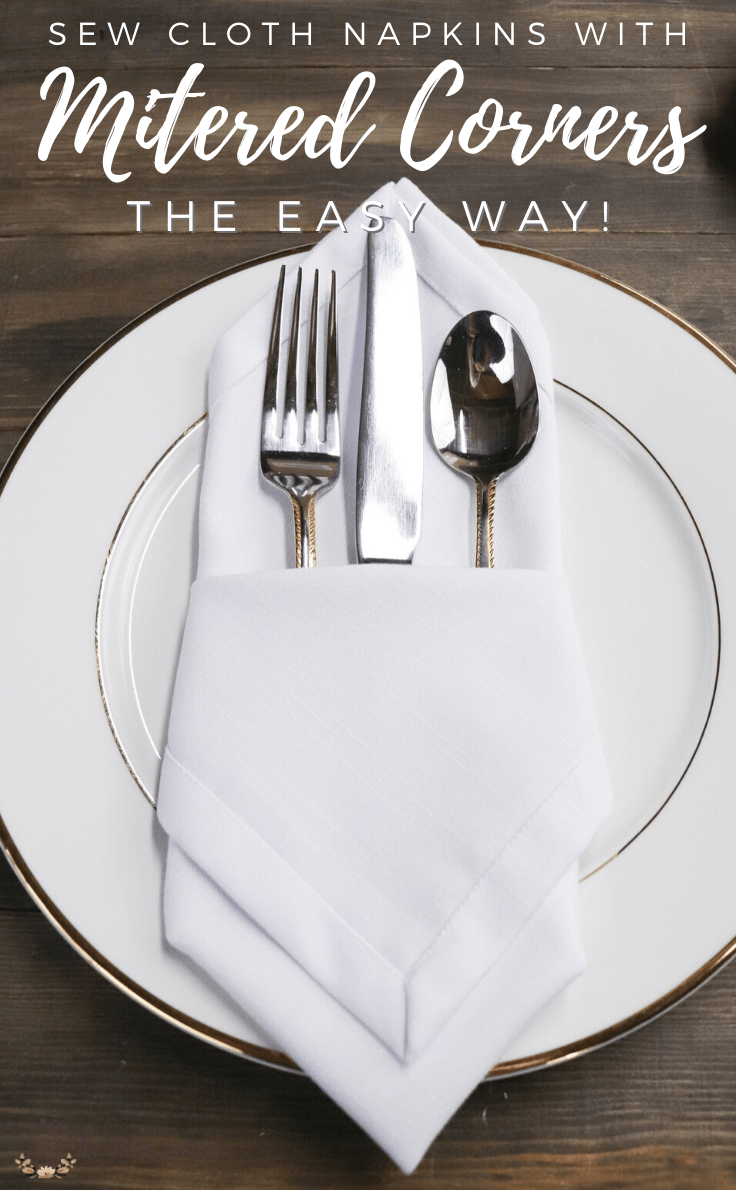
How to Sew Mitered Corners {The Easy Way!}
THIS POST MAY CONTAIN AFFILIATE LINKS. PLEASE SEE OUR FULL DISCLOSURE POLICY FOR DETAILS.
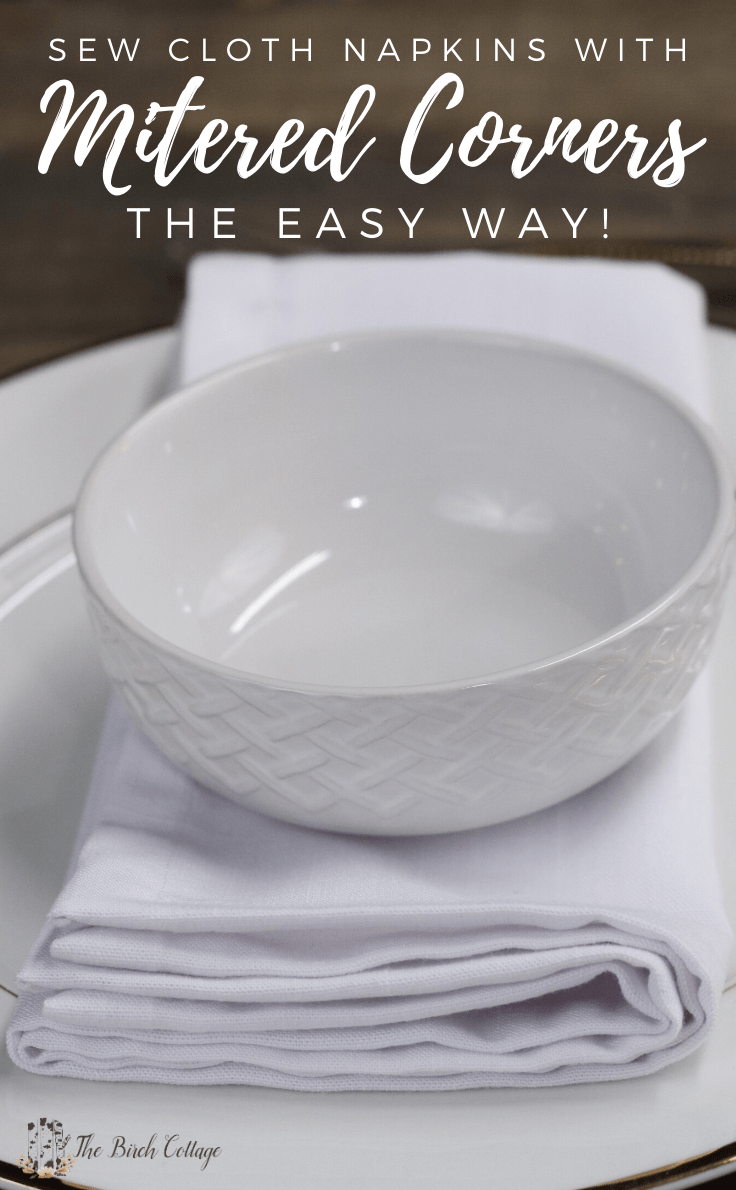
Learn to sew mitered corners the easy way in this sewing tutorial with video on how to make cloth napkins with perfectly mitered corners.
Hello, Kenarry readers! I’m Pam from The Birch Cottage, and I’m back again this month sharing with you an easy sewing tutorial on how to sew napkins with mitered corners.
If you are new to sewing, want to improve your sewing skills or try something new or maybe you’re just a little frustrated trying to sew mitered corners, then today’s blog post is for you!
What is a mitered corner?
Before I share my sewing tutorial with you, you just might be wondering, “What is a mitered corner, anyway?”
Well, if you’re like my husband, you may be more familiar with mitered corners in woodworking. A mitered corner is formed by joining two pieces of wood or fabric, each cut to a 45° angle.
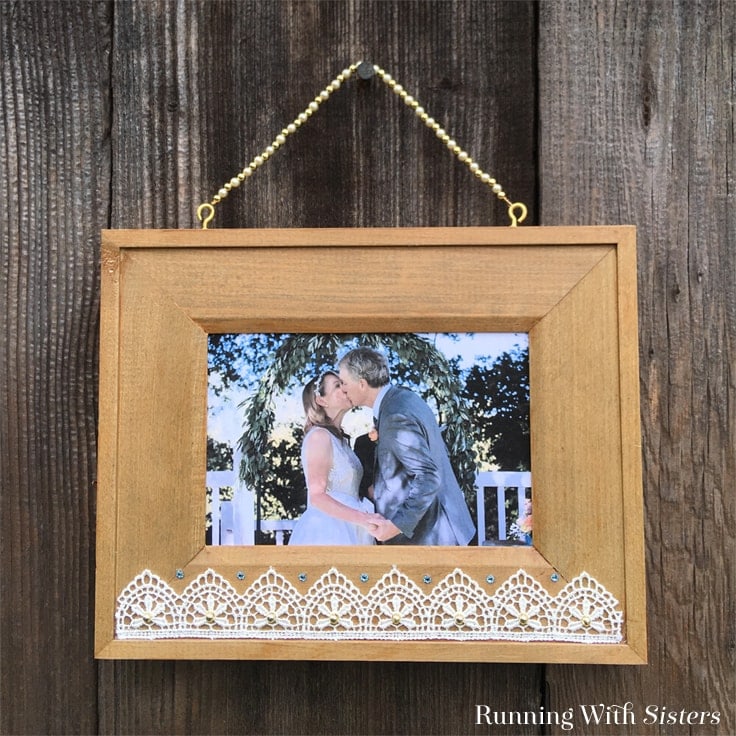
Take pictures frames, like the one below that was crafted by Running with Sisters, for example. See how the corners of the frame are cut at 45⁰ angles and are butted up perfectly to each other? That’s exactly what I’m talking about. Only with fabric, as you can imagine, the technique for sewing perfectly mitered corners is a little different.
Sew mitered corners for professional results
A sewn mitered corner is a professional-looking way to finish the corner of a fabric edge in such a way that not only do the seams butt up against one another perfectly, but you eliminate the bulk as well.
It’s pretty easy to just finish a corner by turning down the fabric and folding it over on itself and then sewing in place. However, with that technique, you’re left with bulky corners. Not only is the bulk unsightly, but it’s also downright difficult to sew through that many layers.
There’s gotta be an easier way to make perfectly mitered corners that look professional and without the bulk. And, guess what? There is!
How to Sew Napkins with Mitered Corners {The EASY Way!}
Although there are actually many different ways to sew mitered corners, today, I’m going to share my favorite way with you. It’s my favorite way because it’s “sew easy” and it makes perfectly mitered corners every single time.
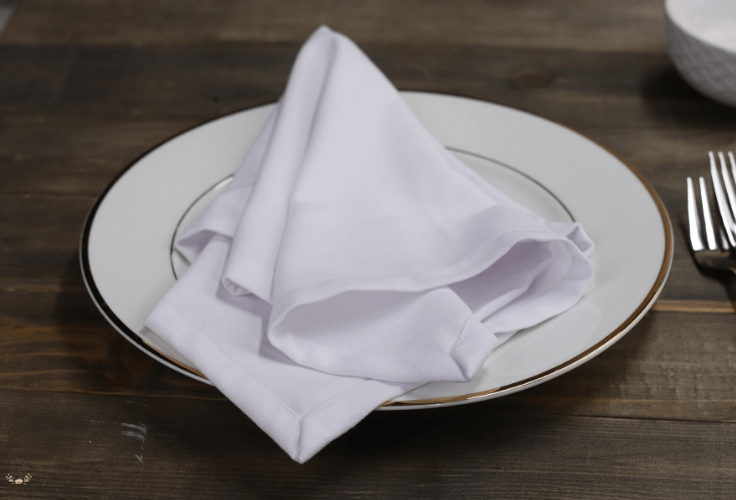
For the purpose of today’s tutorial on sewing perfect mitered corners, I thought it would be fun and practical to sew up some cloth napkins. You can use this technique anytime you’re sewing a project that calls for mitered corners. Cloth napkins, however, are such a beautiful way to dress up your table, plus they’re reusable, washable and very practical.
supplies needed:
Want more ideas like this? Subscribe today to get our weekly Ideas in Your Inbox newsletter plus other exclusive gifts and offers — all for FREE!
There are just a few supplies and tools you’ll need to sew mitered corners.
- 1-1/4 yards fabric (makes 4 napkins) (for best results, select 100% cotton or linen or a blend with at least 80% natural fiber)
- matching thread
- rotary cutter or scissors
- self healing rotary cutting mat
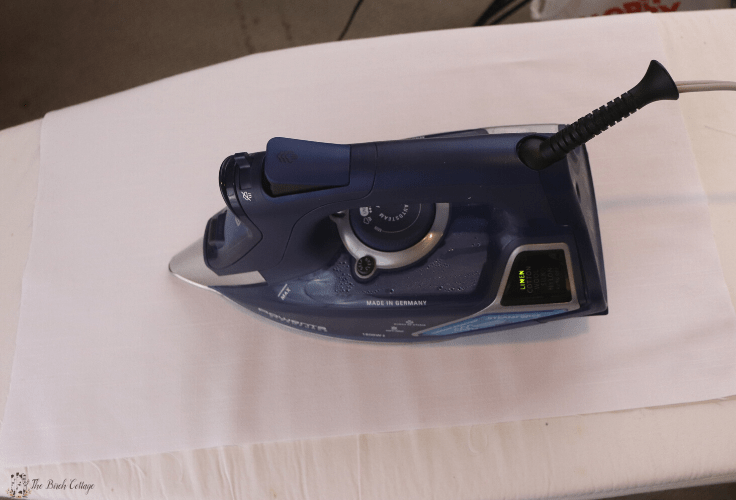
- iron (I LOVE this iron!)
- ironing board or pad
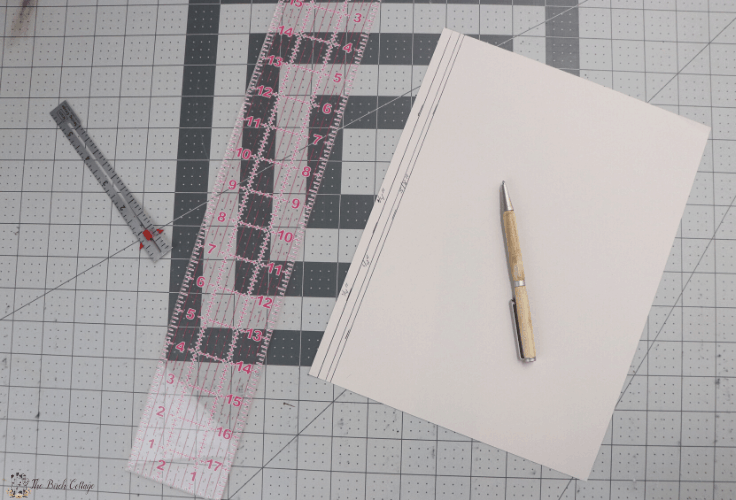
- ruler
- sewing machine
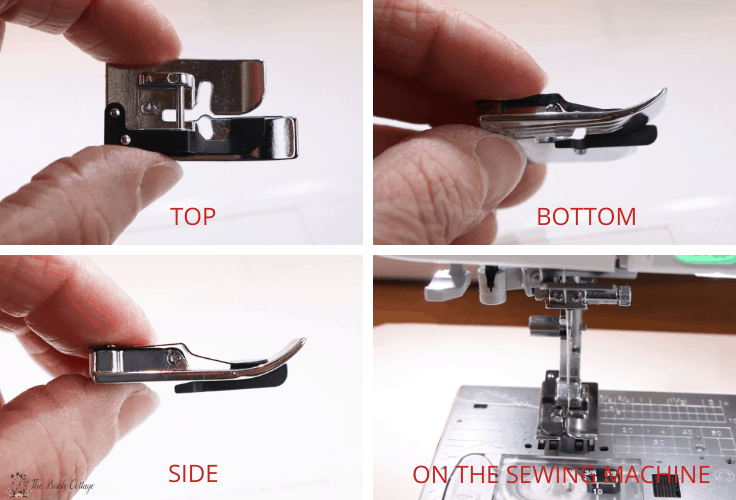
- edger foot, optional (pictured below)
So, with your supplies all gathered up, you’re ready to begin learning how to sew mitered corners – the easy way!
VIDEO TUTORIAL – sew cloth napkins with mitered corners
I’ve provided written step-by-step instructions with photos below for how to sew mitered corners. However, if you learn better by watching, here’s a video to show you just how easy it is to sew mitered corners:
instructions:
1. prewash and iron fabric.
For the best results, you will always want to prewash your fabric. Once your fabric is washed, be sure to iron it before cutting. Ironing helps reduce all the wrinkles and gives you a nice evenly flat fabric to work with. If you’re in the market for an iron, check out my honest review on my favorite steam iron.
2. cut fabric.
Once your fabric is washed and ironed, cut your fabric into 20”x20” sections. With 1-1/4 yards of fabric that is 44-45” wide, you should be able to cut out 4 napkins, with some scraps leftover. Be sure to cut away the selvage edges.
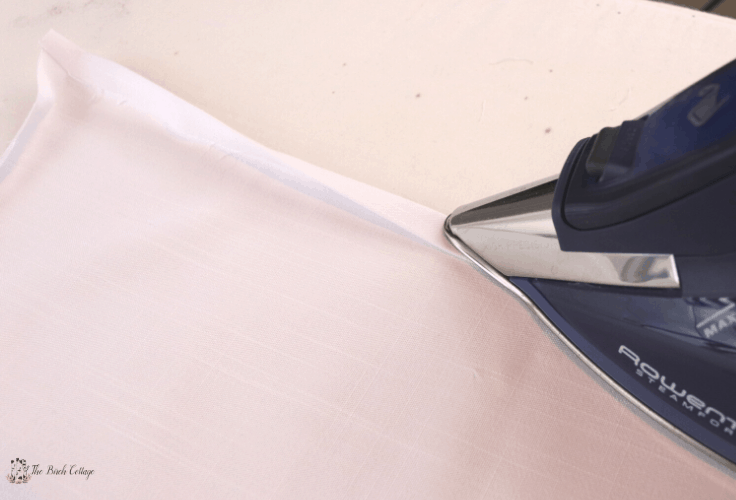
3. Press Hems
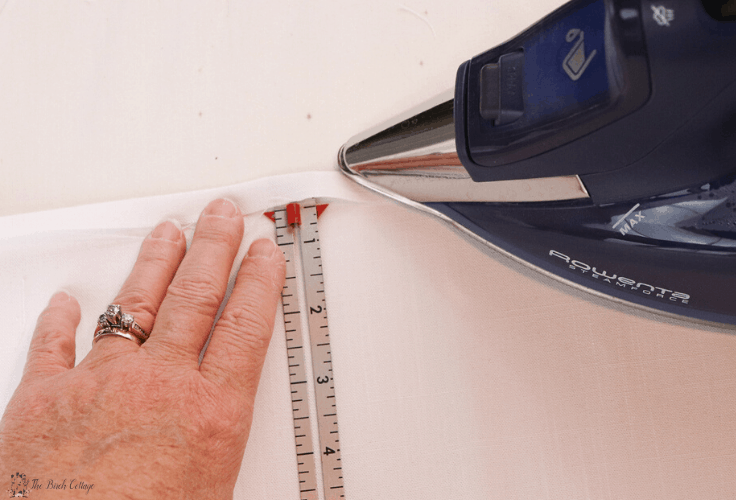
Next, you’re going to press the hems around all four sides of each napkin. Before you start pressing your hem, you’ll want to be sure you’re starting with the less stretchy edge of the fabric. The less stretchy side actually runs parallel to the selvage edge and is called the “warp”. The more stretchy side, which runs perpendicular to the selvage is called the “weft”. Also, you’ll want to press the hems while rotating your fabric clockwise.
So, a couple of important tips to keep in mind:
- Start with the warp, selvage or less stretchy edge of the fabric.
- Rotate the fabric clockwise when pressing your hems.
Following these tips is important for helping you to sew mitered corners that look professional.
Then, using a sewing slide ruler or paper guide, with right sides facing down and wrong side of fabric face up, fold edge of fabric 1/2″ and press. Repeat with the other three sides, making sure to rotate the fabric clockwise as you iron.
I love my little cheat sheet that I made out of cardstock. It makes it so much easier to press my hems accurately.
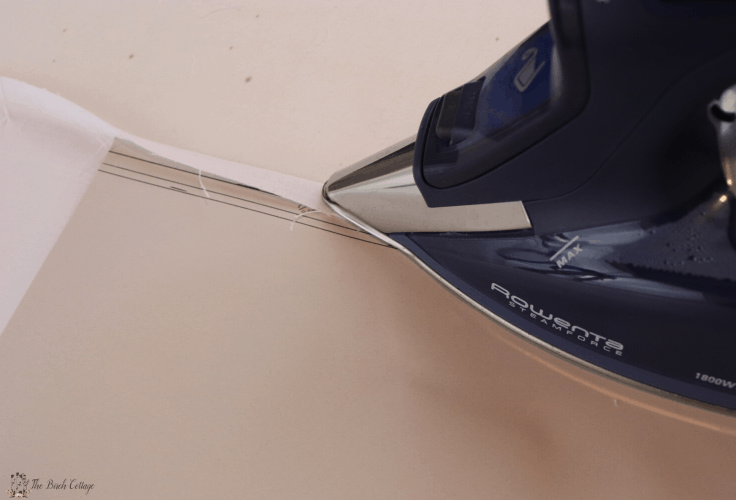
After you have pressed all four edges in 1/2″, fold the pressed edges again 1/2″ and press. Again, making sure you are rotating the fabric clockwise.
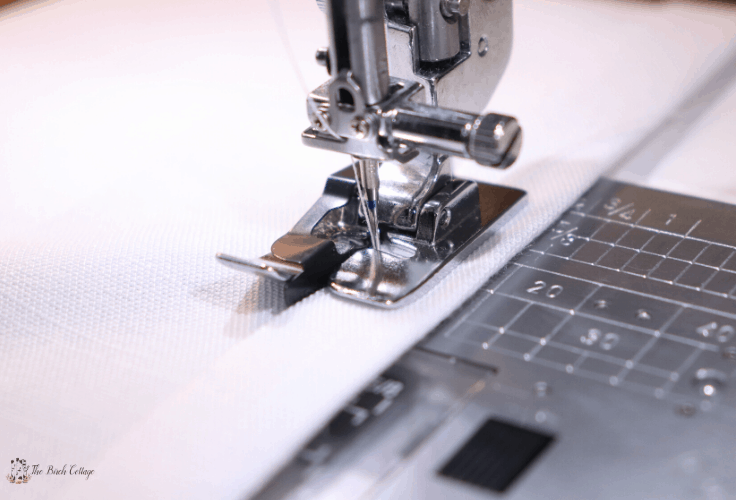
4. Sew your napkins
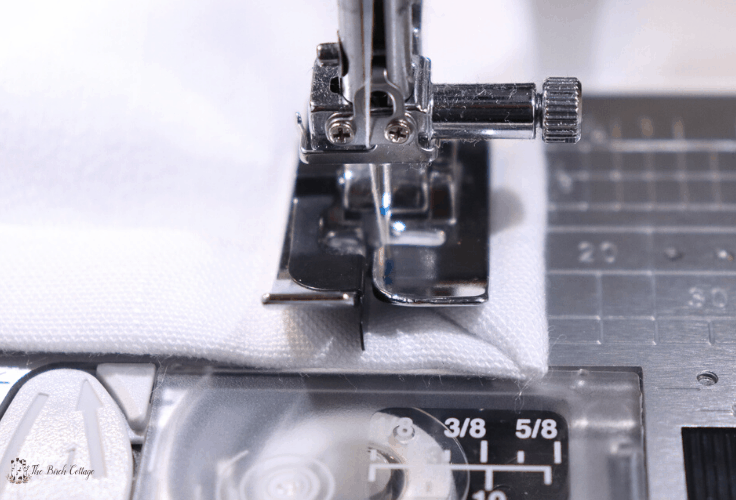
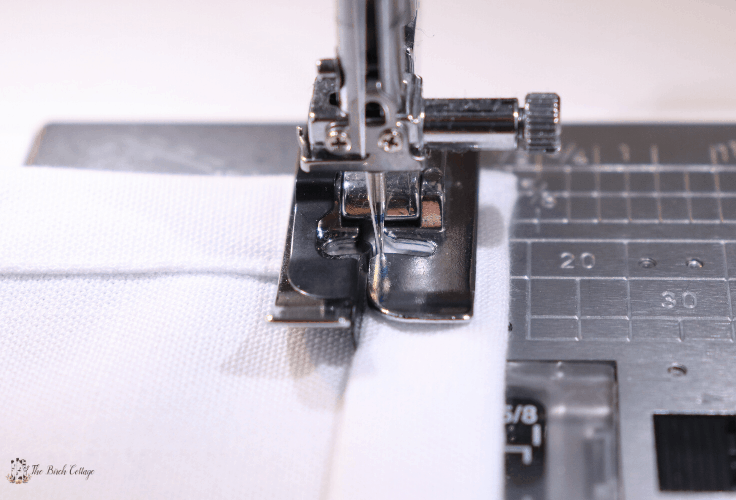
Just like you started pressing the hem for your napkin by starting with the warp edge (less stretchy edge), you’ll want to start sewing along one of the less stretchy sides. Using your edger foot (if you have one), stitch close to the edge, making sure to backstitch at the beginning to secure your stitches.
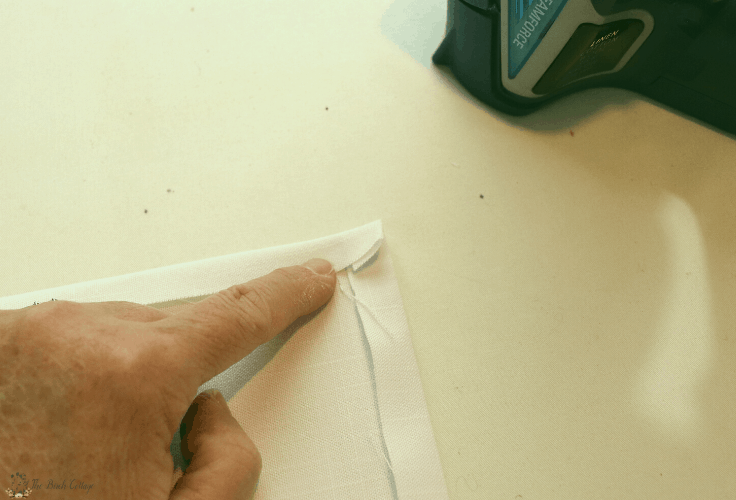
Before you get to the corner, unfold the corner along the edge where you are sewing so that you see the raw edge. Do not unfold the hem edge of the fabric that is closest to you, just the edge that you are currently sewing.
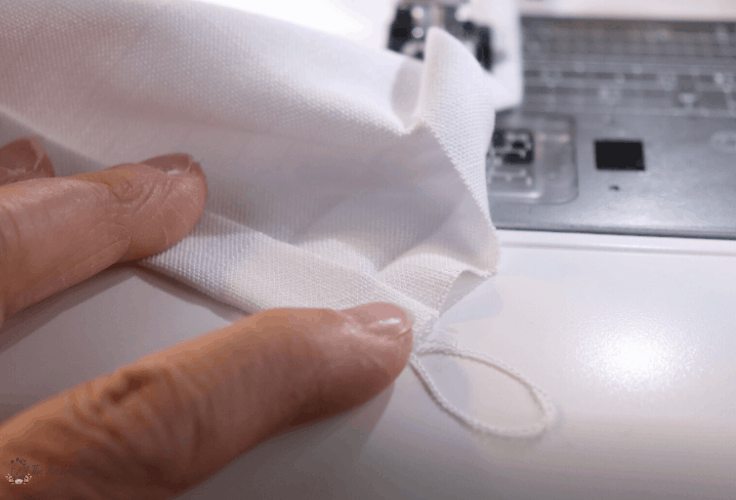
Then fold the fabric at 45 degrees so that the side raw edge rests on the inside fold line (the line that becomes the edge of the napkin once sewn).
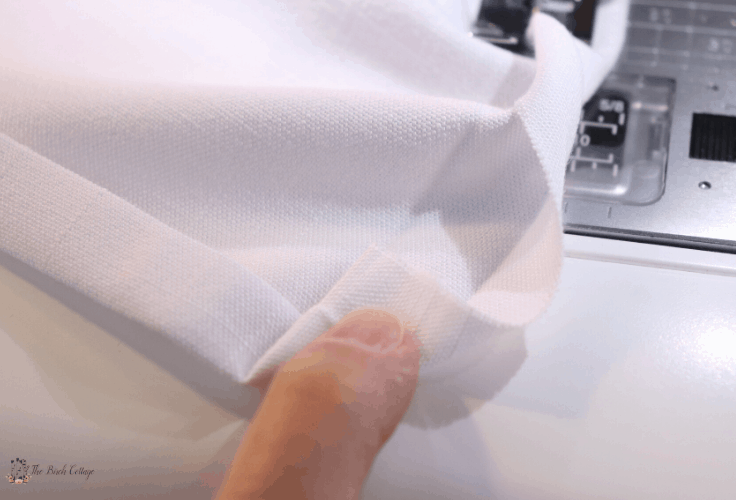
Then re-fold the hem along the two 1/2” pressed lines.
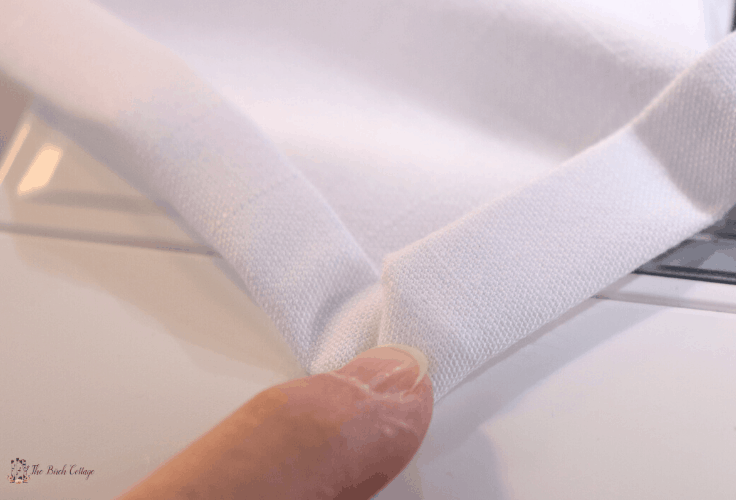
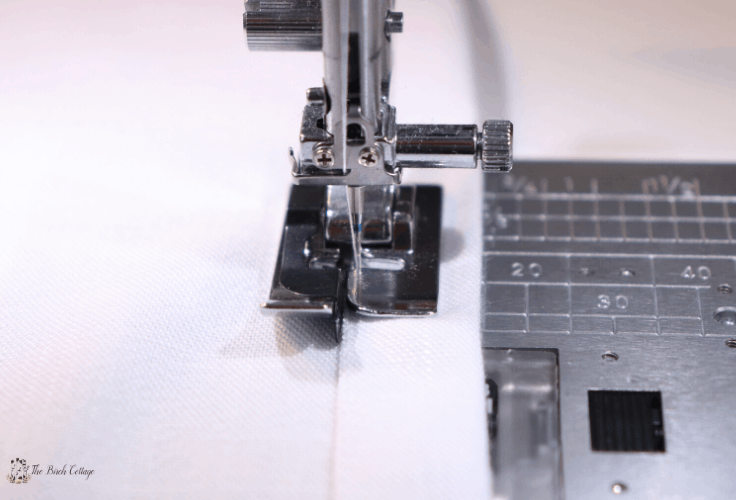
Continue sewing to just inside the corner (one stitch past the corner), raise your presser foot, rotate the fabric, lower your presser foot and continue sewing close to the edge. Be sure to stop before you get to the next corner, unfold the hem at the corner, refold and continue sewing. You’ll repeat this process until you get back to the beginning.
Once you reach your beginning stitches, sew past where you started, backstitch to reinforce stitches. Trim threads. Congratulations! You have just sewn your first cloth napkin complete with perfectly mitered corners!
What’s Next?
If you enjoyed this sewing tutorial on how to sew napkins with perfectly mitered corners, you might also like these other sewing ideas by The Birch Cottage:
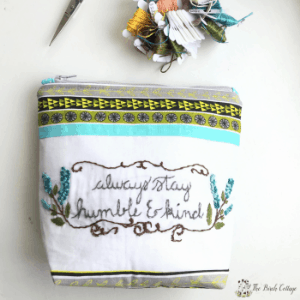
Learn to Sew: Zipper Pouch with Lining and Flat Bottom
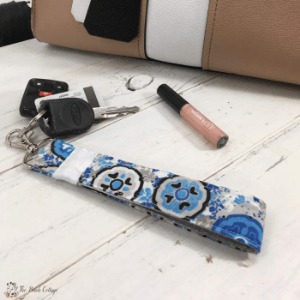
How to Sew a Fabric Keychain Wristlet
14+ Flannel Sewing Project Ideas & Tips

You may also enjoy these sewing tutorials on Ideas for the Home by Kenarry® –
- DIY Burp Cloth Tutorial
- How to Upholster a Bar Stool
- Catch-All Fat Quarter Fabric Tray
- DIY Riced Hand Warmers
I hope you enjoyed this tutorial on how to sew napkins with mitered corners – the easy way. If you have any questions, please feel free to leave them in the comment section below.