Let It Snow Christmas Ornament – for Cricut
THIS POST MAY CONTAIN AFFILIATE LINKS. PLEASE SEE OUR FULL DISCLOSURE POLICY FOR DETAILS.
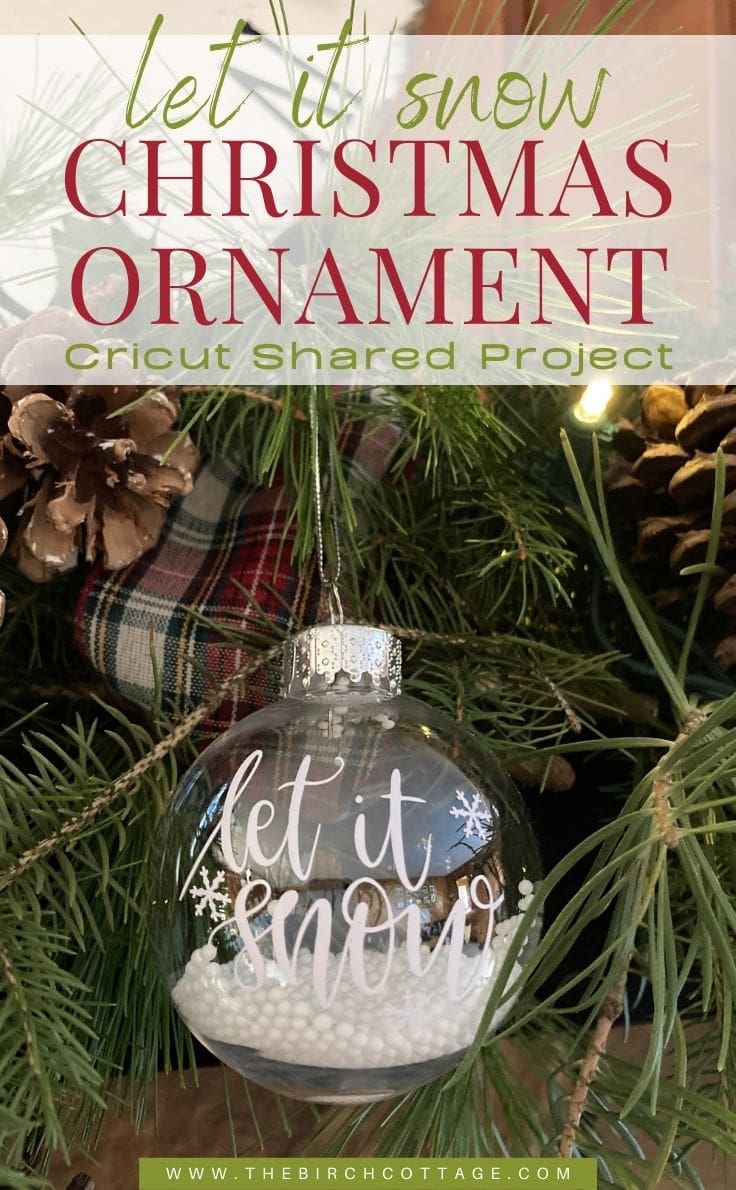
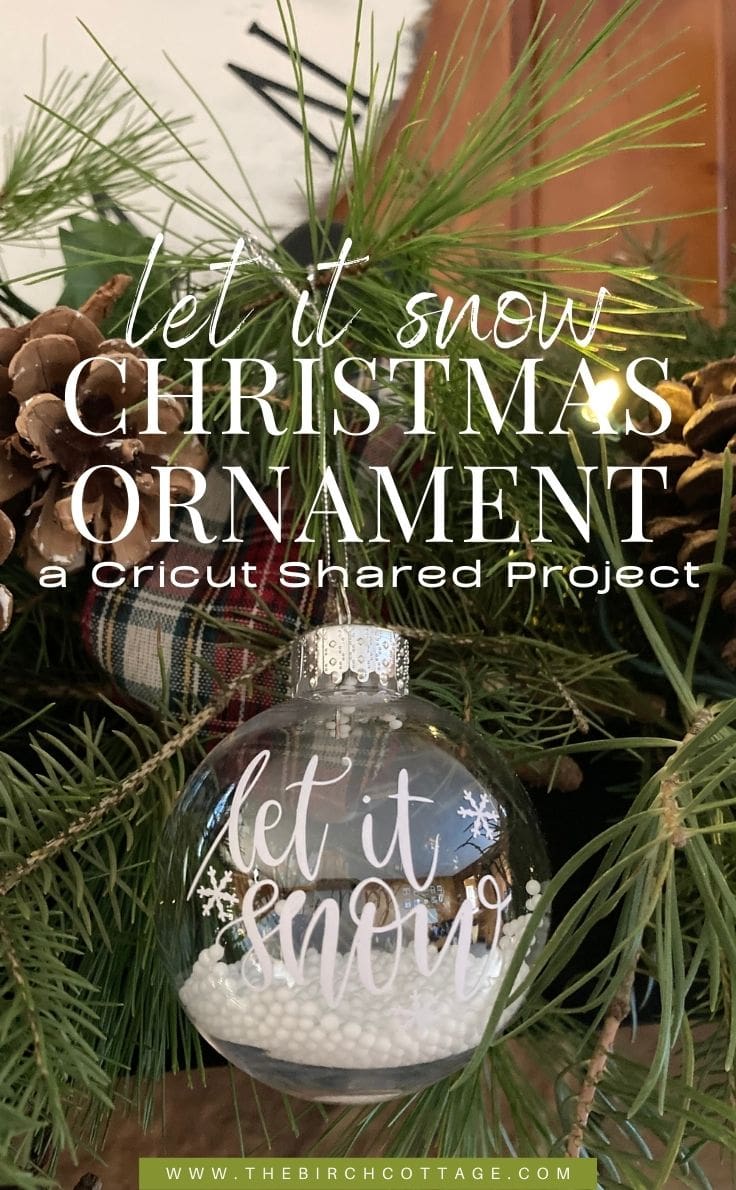
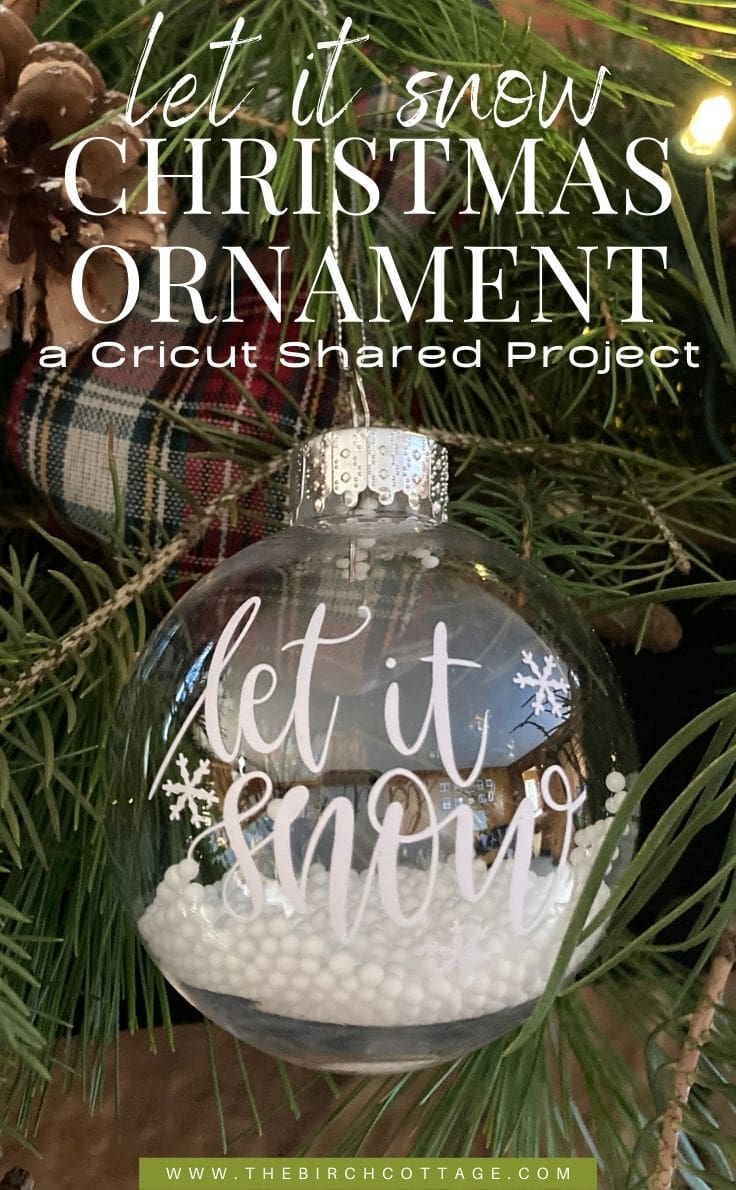
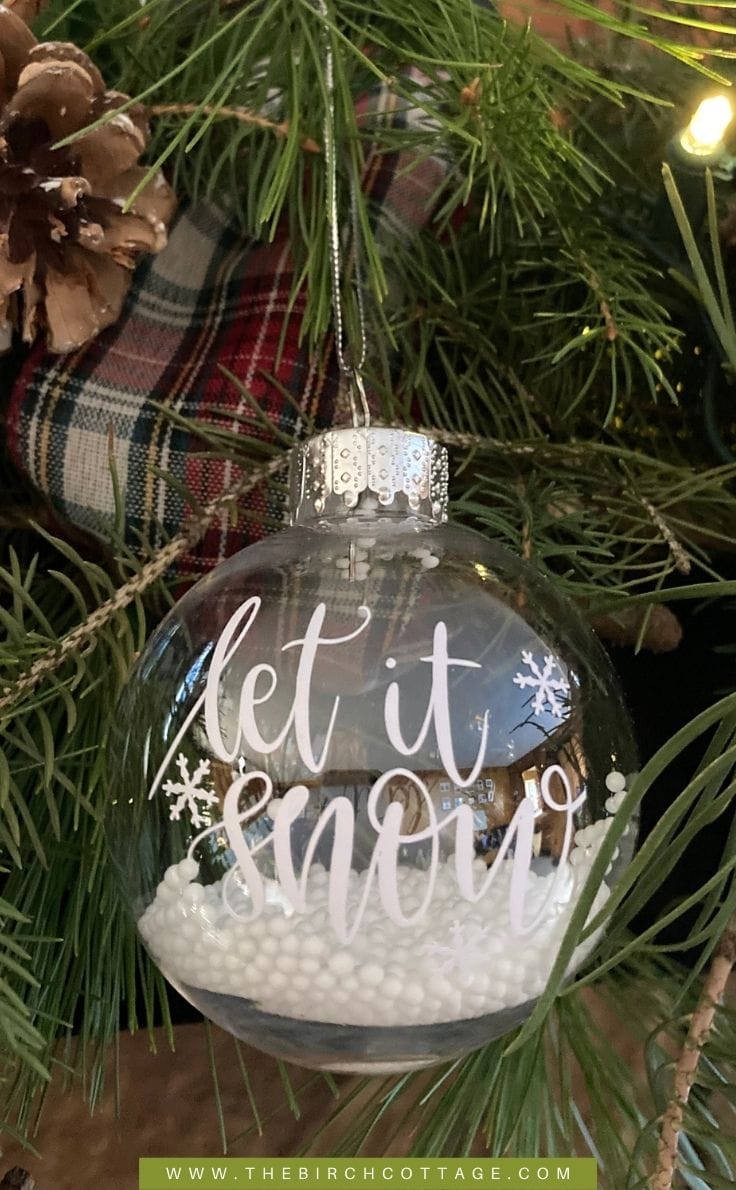
This Let it, Snow, Let it Snow, Let it Snow Christmas ornament is so easy to make and your little ones will love these snow-filled ornaments!
Hello, Kenarry readers! I’m Pam from The Birch Cottage, and I’m back again this month sharing with you a Christmas ornament idea for use with your Cricut cutting machine. When you see how cute these Let It Snow Christmas Ornaments are you’re gonna want to make several!
How to Make a Let It Snow Christmas Ornament with your Cricut
If you have a Cricut cutting machine, then you’re probably familiar with Cricut Design Space (the Cricut design software) and the Library of images and projects. Some of these images and projects are free, but some are only available to Access members.
I highly recommend the Access membership. You can read my blog post that tells you everything you need to know about Cricut Access here. This will, hopefully, help you to determine if you really need Access. I hope you find it helpful!
What is a Shared Project File?
This project idea uses a shared project file in Cricut Design Space. Maybe you’re not familiar with shared project files? Well, they are exactly what they sound like, project files that are shared.
I created a design using images, shapes, and texts found in Cricut Design Space. Once I had everything designed just the way I wanted it, I saved it, and then I made the project public so it could be shared with you and anyone else who uses Design Space.
So basically I did all the design work for you. It’s ready for you to use, edit and save. You can read more about shared project files here.
What you need:
Want more ideas like this? Subscribe today to get our weekly Ideas in Your Inbox newsletter plus other exclusive gifts and offers — all for FREE!
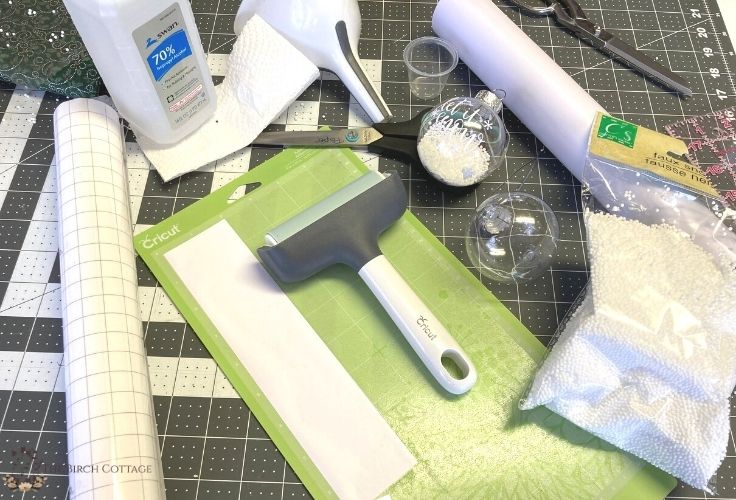
Craft Tools Needed:
- Cricut cutting machine (the Maker is my favorite)
- Light Grip or Standard Grip cutting mat
- weeding tool
- brayer
- scissors
Supplies Needed:
These are the ingredients you’ll need. All the exact amounts are in the printable card at the bottom of this post.
- adhesive vinyl – white
- transfer tape
- ornament (I bought mine at Dollar Tree)
- faux snow (also bought at Dollar Tree)
- rubbing alcohol
- paper towel
Video Tutorial
If you prefer to learn by video, then you may find this video tutorial helpful on how to make a Let It Snow Christmas Ornament using a Cricut Shared Project File.
TIPS: Let It Snow Christmas Ornament with Cricut:
Open Cricut Design Space First
Before you try to access the shared project file, be sure to open Cricut Design Space first. Then when you click on the link for the shared project file, it should open in the Design Space app.

Open the Let It Snow Christmas Ornament Shared Project File
The easiest way to access the shared project file for Cricut Design Space, is to click on the link to open the project file. You can also search for the project file in Design Space, but it’s much easier to simply click on the link. And be sure you have Design Space open first.
Customize the Let It Snow Christmas Ornament Shared Project File
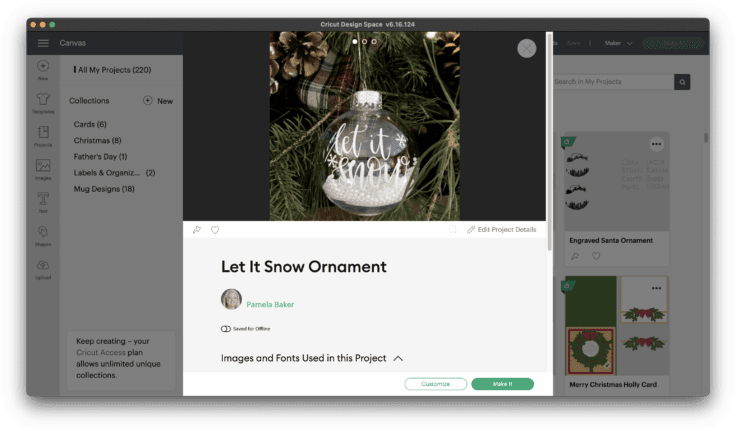
Once you click on the link to the shared project file, the project details will open up in Design Space. On the Details screen, you can view the instructions, see the images, elements, and fonts used in the design.
And you can even print out the project details. Printing out the project details is a great way to easily follow along with the instructions while customizing and cutting your design.
TIP: For more help on how to use and customize a shared project file, you can watch this YouTube video.
Customize or Edit the Text
Select any of the names to edit and then double-click to edit. You can hide/delete/duplicate any of the layers.
TIP: Be sure to SAVE your work often.

Let It Snow Christmas Ornament
Equipment
- Cricut cutting machine
- light grip cutting mat
- Weeding Tool
- brayer
- scissors
Supplies
- 1 adhesive vinyl, white
- 1 transfer tape
- 1 faux snow
- 1 rubbing alcohol
- 1 paper towel
Instructions
- Open Cricut Design Space first.
- Click on this link to open the Let It Snow Christmas Ornament shared project file. The project file details will open in Design Space.
- Click on Customize to edit the project file.
- Double-click on any name to edit it.
- You can hide/delete or duplicate layers as needed. Once you are through editing the design, click on Make It.
- Place the vinyl on your cutting mat and load into your machine.
- Follow the prompts in Design Space and on your cutting machine. When the cut is complete, unload the mat.
- Weed the cut design.
- Clean the ornament with rubbing alcohol and a paper towel to remove any reside, dust or fingerprints.
- Place a piece of transfer tape on top of the cut design. Center the design over the ornament. Starting from the center of the design, use your finger to rub the adhesive vinyl design onto the ornament. Remove the transfer tape.
- Remove the cap from the ornament and using a funnel, fill the ornament with faux snow. Replace the cap.
- Affix any ribbon or decorations on the ornament.
Love the ideas you see here on Ideas for the Home by Kenarry®? Subscribe today to get our FREE DIY & Craft Planning Calendar, plus our weekly Ideas in Your Inbox newsletter filled with creative tips and exclusive offers!
What’s Next?
If you enjoyed learning how to make your own Let It Snow Christmas Ornament using a Cricut Shared Project File and your favorite Cricut cutting machine, then you might like these ideas from The Birch Cottage blog:
DIY Acrylic Christmas Ornament with Cricut

Sew a Large Christmas Stocking


You may also enjoy these Christmas ornament ideas on Ideas for the Home by Kenarry® –