How to Paint Clear Christmas Ornaments
THIS POST MAY CONTAIN AFFILIATE LINKS. PLEASE SEE OUR FULL DISCLOSURE POLICY FOR DETAILS.
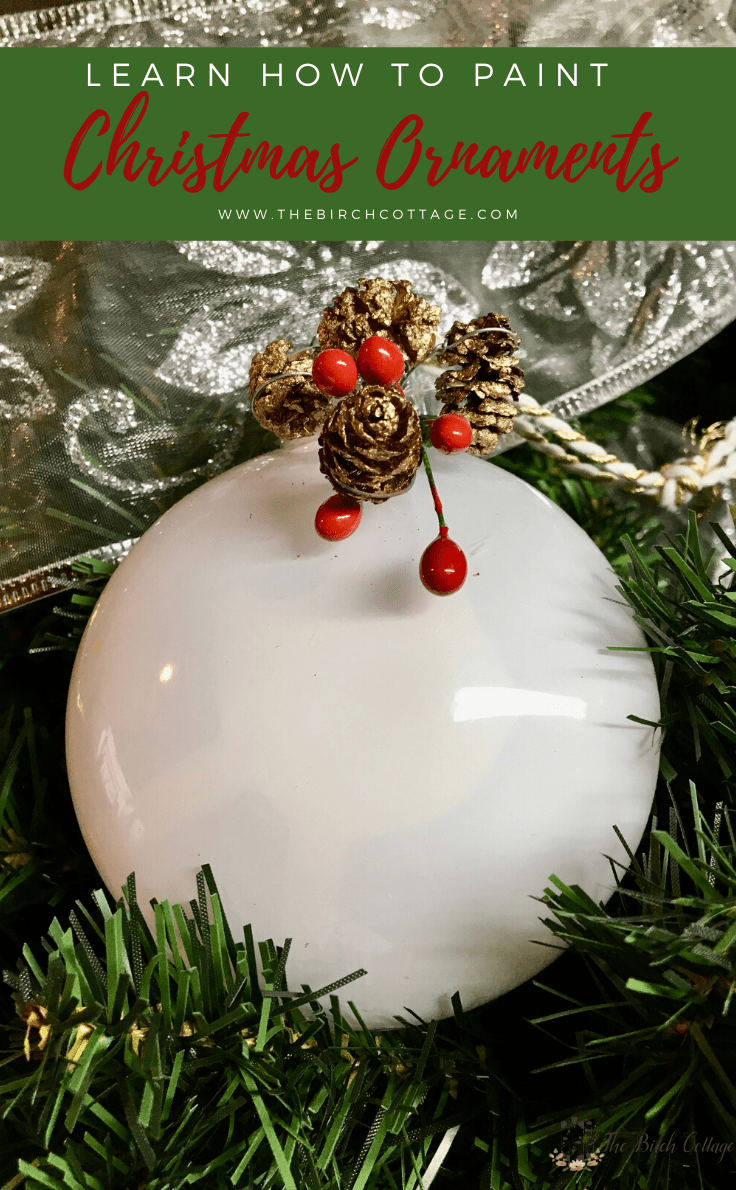
Learn how easy it is to paint clear plastic or glass Christmas ornaments using acrylic paint to create custom colored Christmas ornaments.
Hello, Kenarry readers! I’m Pam from The Birch Cottage, and I’m back again this month sharing with you just how easy it is to paint clear Christmas ornaments.
I love Christmas decorations, don’t you? For some reason, I’ve been really excited about getting all my decorations up this year. My goal, you see, is to have everything decorated before Thanksgiving. Not because I want to skip or dishonor Thanksgiving, but because I want to have a stress-free holiday season. I figure the sooner I get all the decorations up, the sooner I can focus on all my Christmas gift making.
So, today, I’d like to share a really easy DIY Christmas ornament project with you. Although it takes some time because you have to let the paint dry, you can complete this project in a matter of minutes. So, let’s take a look at just how to paint Christmas ornaments. And, by the way, this will work with both clear plastic bulbs and clear glass bulbs.
How to paint clear glass or plastic Christmas ornaments
You can use clear glass Christmas ornaments or clear plastic Christmas ornaments for this project. They both work equally well. So, let’s take a look at what you’ll need.
What you need:
Want more ideas like this? Subscribe today to get our weekly Ideas in Your Inbox newsletter plus other exclusive gifts and offers — all for FREE!
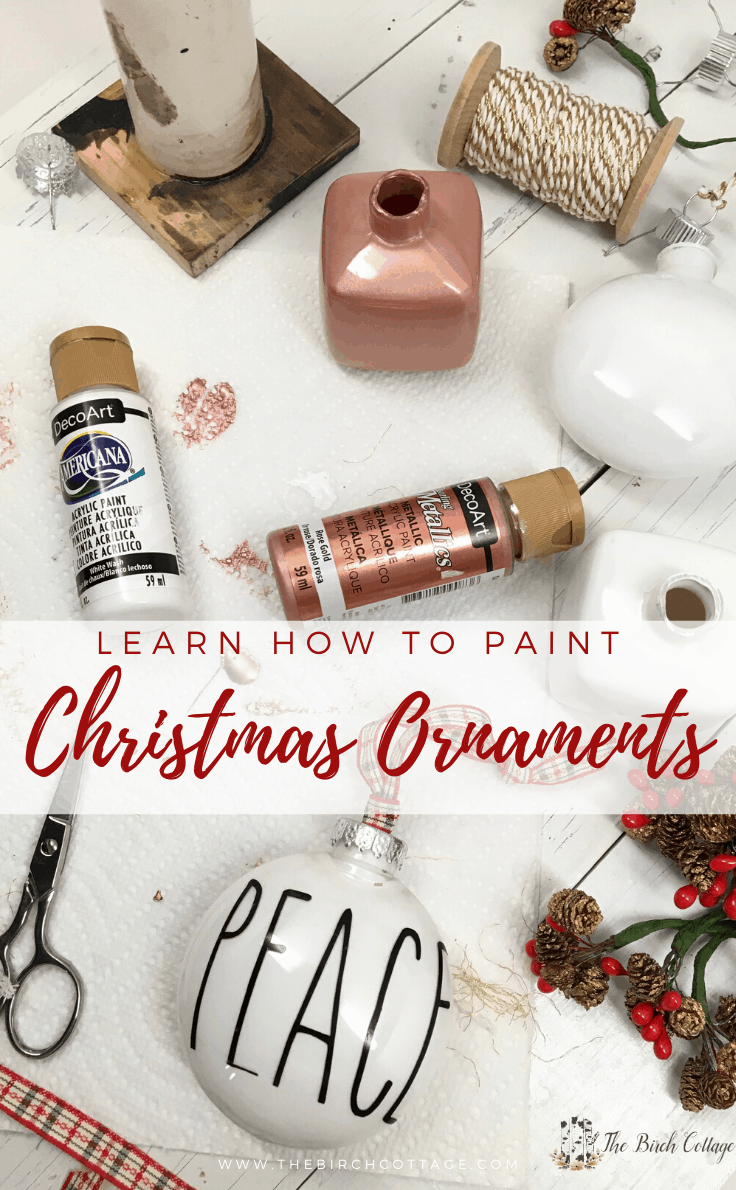
Supplies needed:
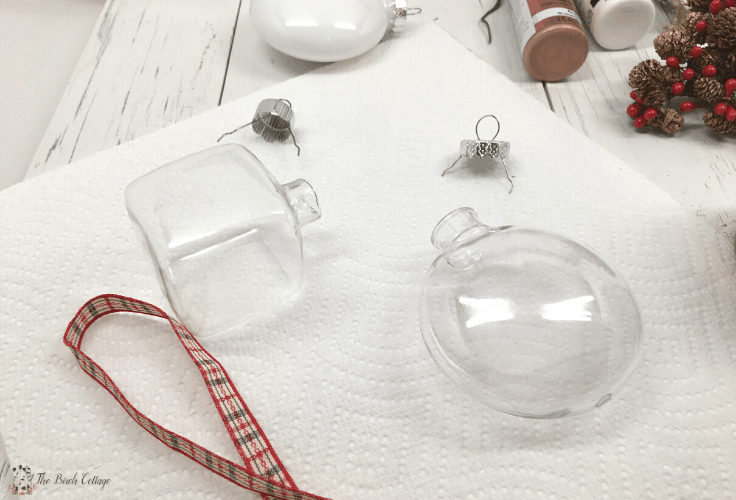
- clear glass or plastic ornaments
- DecoArt Americana Multi-Surface Satin Acrylic Paint (in color of your choice)
- paper towels
- plastic cup or water bottle
Video Tutorial
I put together this quick little video to show you just how easy it is to paint Christmas ornaments.
Instructions:
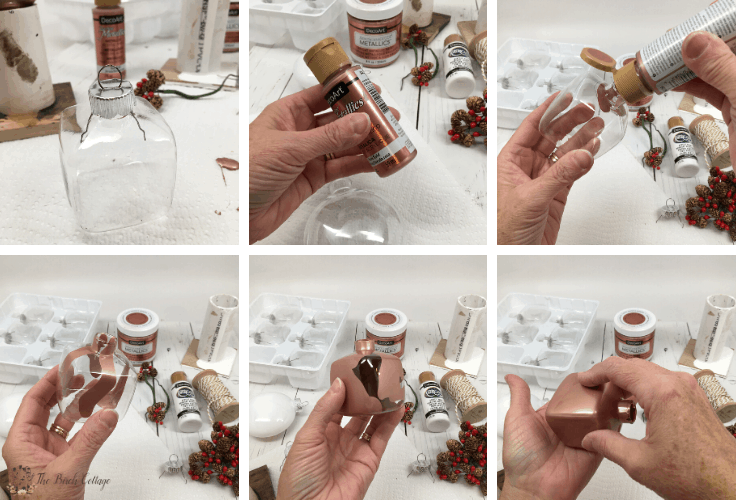
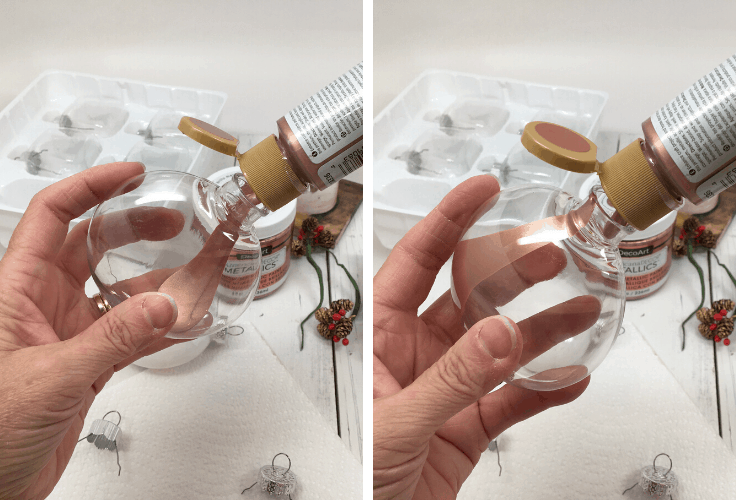
1. Remove the tops from the ornaments.
Before you can add paint to the inside of your clear glass or plastic Christmas ornaments, you will need to remove the caps. You simply grab the band and pull it off and out of the ornament opening.
2. add paint to the ornaments.
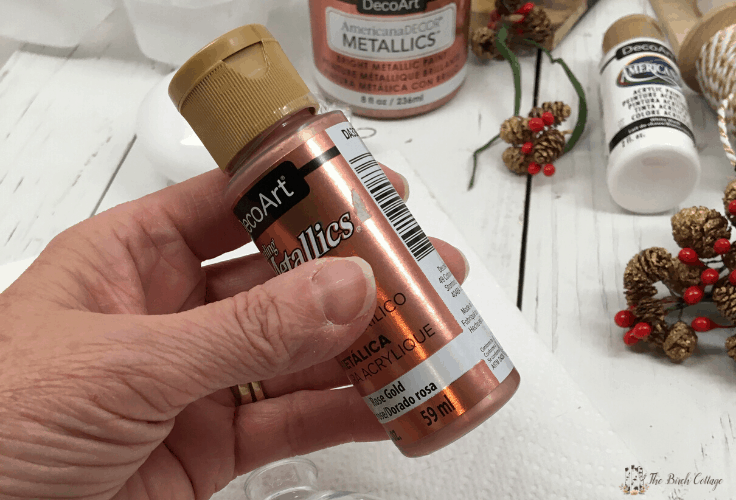
First, for the best results, you’ll want to be sure you’re using a fresh bottle of paint. If you have acrylic paint that’s been sitting on the shelf for some time, it’s probably best if you just buy a fresh new bottle of paint. Plus, acrylic paints are really inexpensive and come in all sorts of amazing colors.
It’s really easy to customize your Christmas ornaments. I chose white acrylic paint so I could create some Rae Dunn inspired ornaments at a fraction of the cost. (Although the Metallics paint is pictured in the below pictures, it is NOT recommended for this project.)
So, now that you have a fresh bottle of acrylic paint, be sure to shake it up really well.
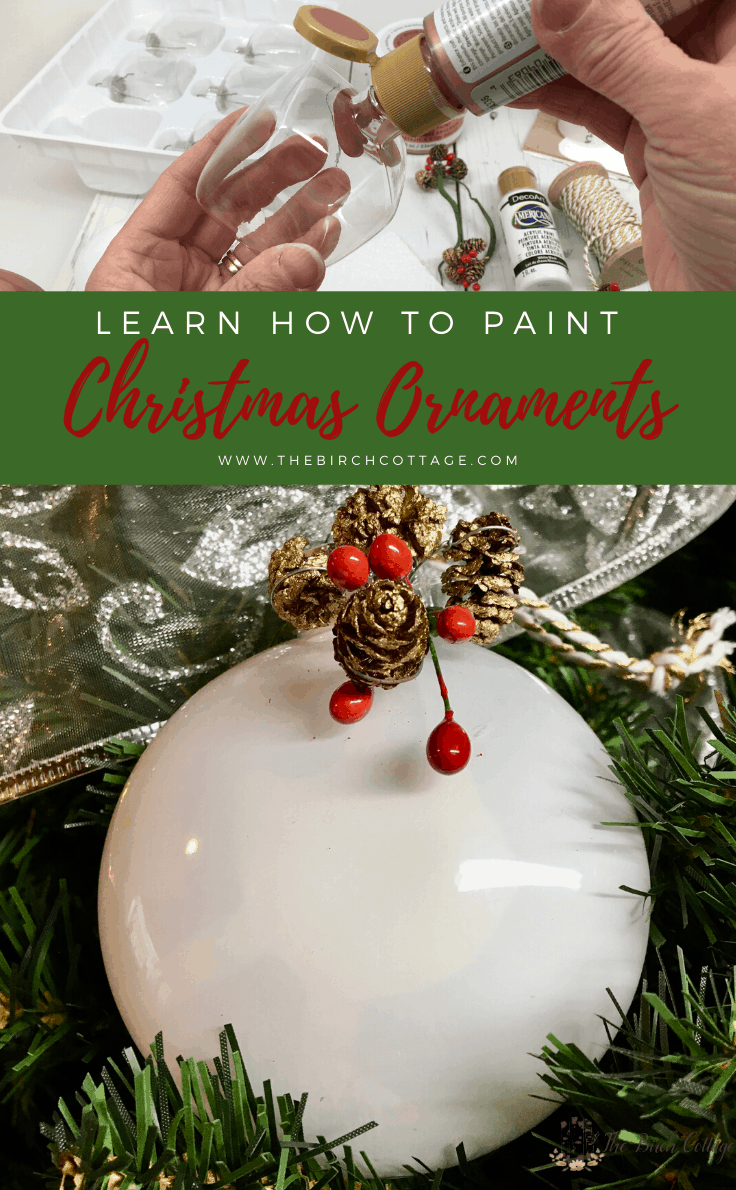
Then you will squeeze a little bit of paint into the ornament. I like to add about four squeezes and rotate the ornament each time. Just don’t use too much paint. You can always add more, if needed.
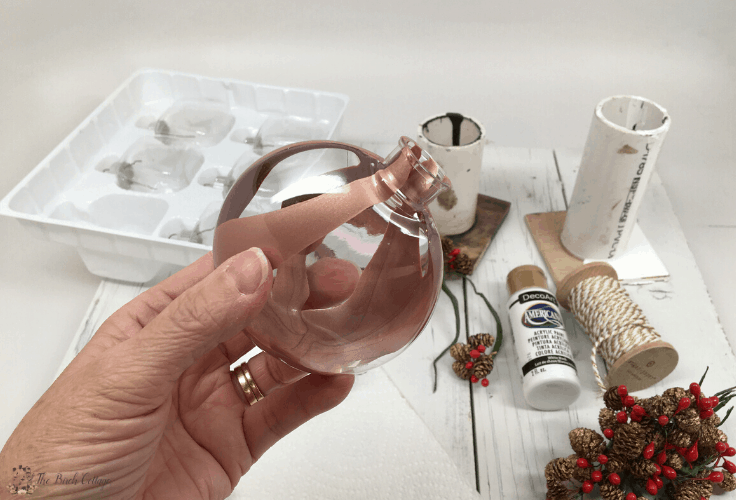
3. Roll and tilt
Once you have about four squirts of paint in your clear glass or plastic Christmas ornament, you’ll want to kind of tilt it and roll it around so that the paint coats the entire inside of the ornament. It’s also helpful to kind of tap the ornament against the palm of your hand.
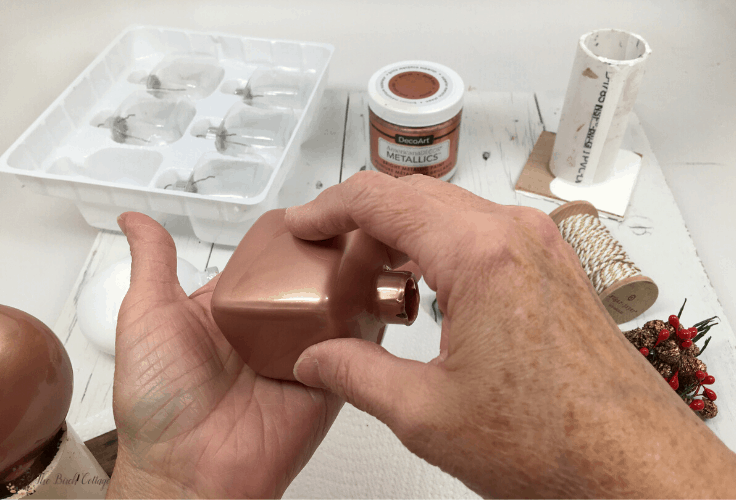
4. Let the Ornaments Dry
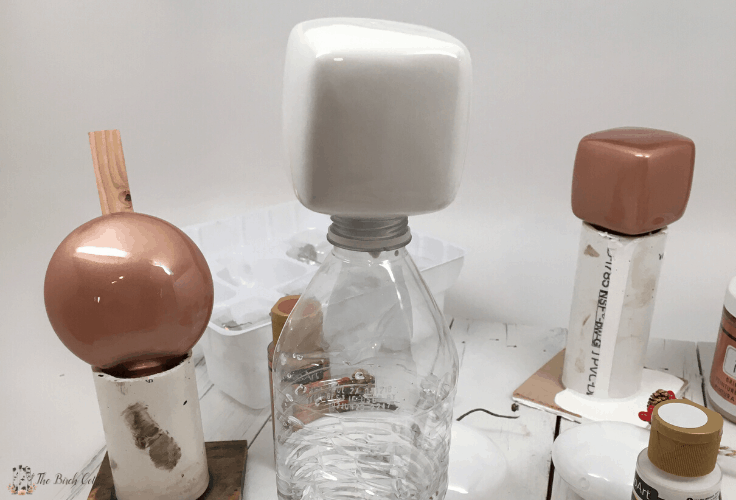
Once you have the entire inside of the Christmas ornament coated with acrylic paint, you’ll want to invert it upside down. Excess paint will run out of the opening in the ornament, so be sure to rest the ornament in or on something that you don’t mind getting paint on.
My husband made me these handy paintbrush holders. They are simply pieces of PVC that have been cut to varying heights and glued to a small scrap piece of wood. You can also use a plastic water bottle.
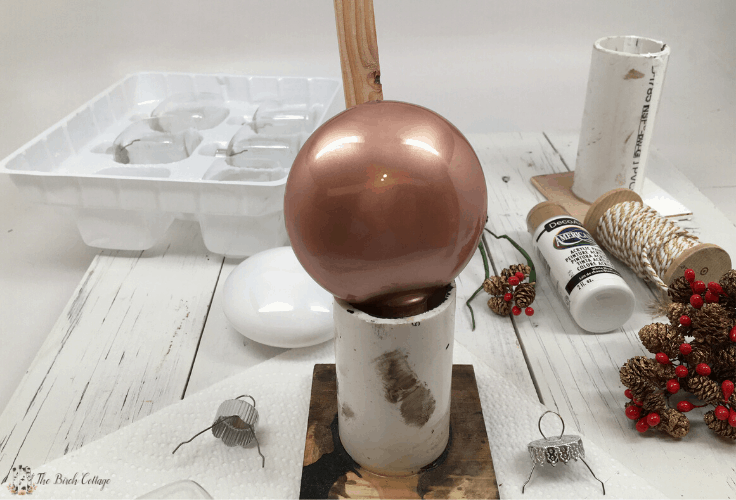
Let the ornaments rest upside down for 10 minutes. That should be enough time for the excess paint to run out. After 10 minutes, turn the ornaments right side up and let rest another 10 minutes. I typically rotate the ornaments back and forth a few times and then leave the ornaments to dry overnight.
5. decorate your ornaments
After your ornaments have dried, put the tops back on and decorate as desired.
To finish off my painted ornaments, I simply tied some ribbon on to the top. I also used my Cricut machine to make some Rae Dunn inspired ornaments. I printed out the words “Joy, Noel and Peace” (I used this font) and affixed them to the fronts of the disc shaped clear ornaments that I painted white.
Paint Tips
After quite a bit of trial and error on my part, I quickly discovered that not all acrylic paints are created equal. Here are a few of my tips and recommendations:
- Be sure to use acrylic paint that is formulated for glass or plastic (depending on what ornaments you’re using).
- Don’t use too much paint. Not only is it wasteful, but it will take a lot longer for your ornaments to dry.
- Make sure your ornaments are clean and dry.
- Based on my personal experience, I can recommend the following paints:
There are probably other brands of acrylic paints that will work well with this project. These are the paints I have actually used and can attest to the results. Again, just be sure to read the manufacturer’s label for best results.
Love the ideas you see here on Ideas for the Home by Kenarry®? Subscribe today to get our FREE DIY & Craft Planning Calendar, plus our weekly Ideas in Your Inbox newsletter filled with creative tips and exclusive offers!
What’s Next?
If you enjoyed this DIY project on how to paint clear glass or plastic Christmas ornaments, you might also like these other ideas by The Birch Cottage:
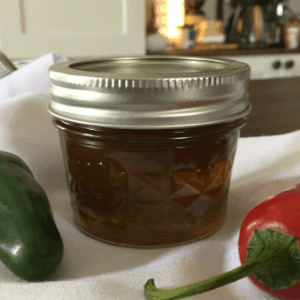
Homemade Pineapple Jalapeno Jelly with Printable Labels
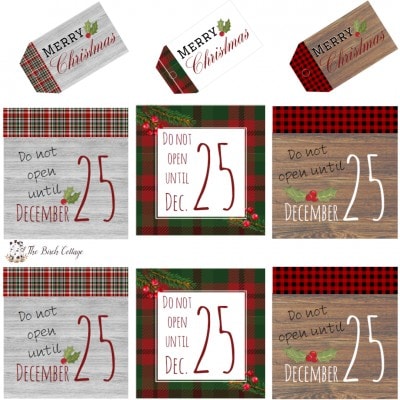
Plaid and Wood Christmas Gift Tags
You may also enjoy these Christmas ideas on Ideas for the Home by Kenarry®:
- Easy DIY Christmas Ornament to Make in Minutes
- Homemade Christmas Ornaments: Cinnamon Cross and Star
- DIY Hanging Christmas Tree Decoration
- How to Make Cinnamon Ornaments
The painted Christmas ornaments really are an easy way to to add some inexpensive and custom colored Christmas ornaments to your home. Plus, there are all kinds of ways to get creative with the paint.
I love the ornaments and made quite a few of them for gifts. Wondering how/where you store them? Many of mine have cracked paint after a summer storage season, I’m assuming due to the heat. Is that the acrylic paint I’ve used or will all paint crack under heat and they just need to be stored in a cool, dry place?
Hi Kelly,
That’s a great question. I’m not sure. It could definitely be an issue with the acrylic paint you used. Make sure you choose one that says it’s appropriate for glass (or plastic depending on what type of ornament you’re painting). We recommend a multi-surface satin acrylic paint for this project or a gloss enamel paint. In Pam’s experience, both of those paints from DecoArt work great.
Best wishes,
Carrie
Ideas for the Home by Kenarry