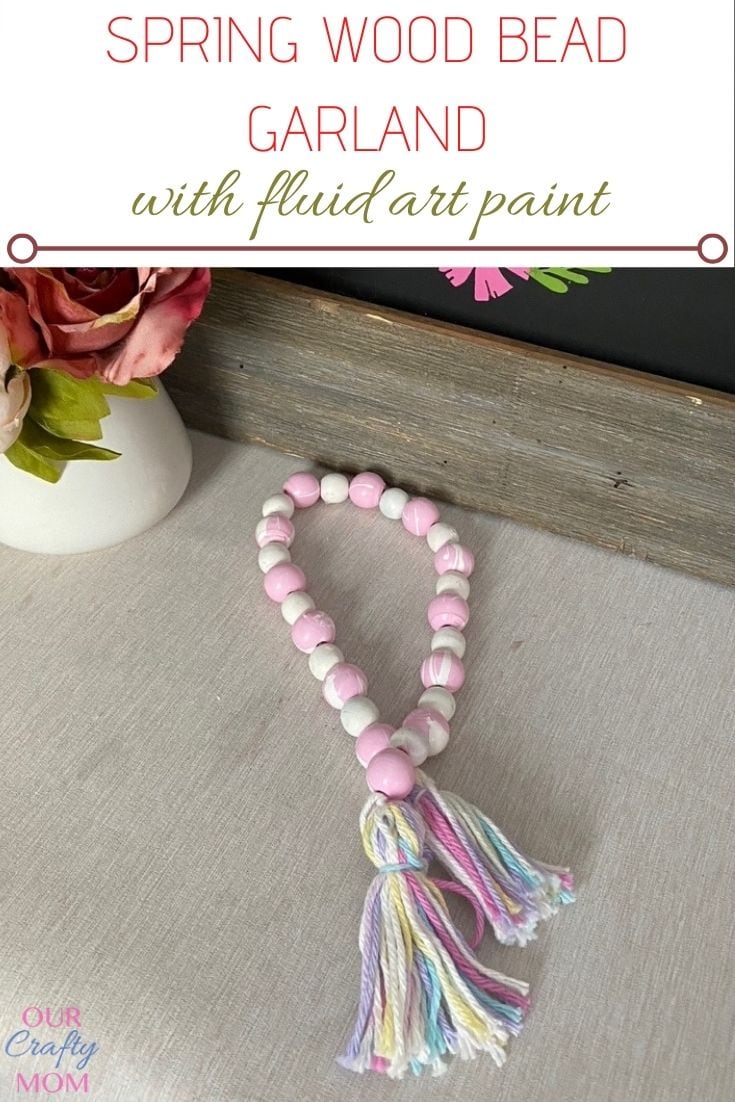
How to Make a Marbled Spring Wood Bead Garland
THIS POST MAY CONTAIN AFFILIATE LINKS. PLEASE SEE OUR FULL DISCLOSURE POLICY FOR DETAILS.
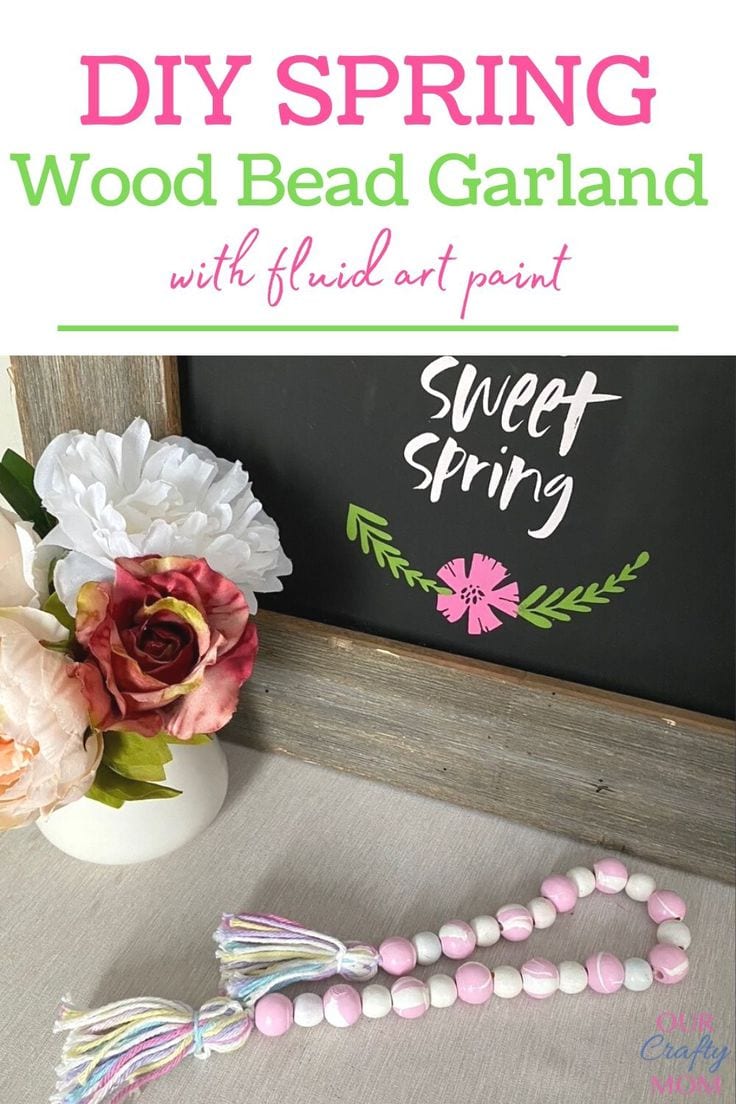
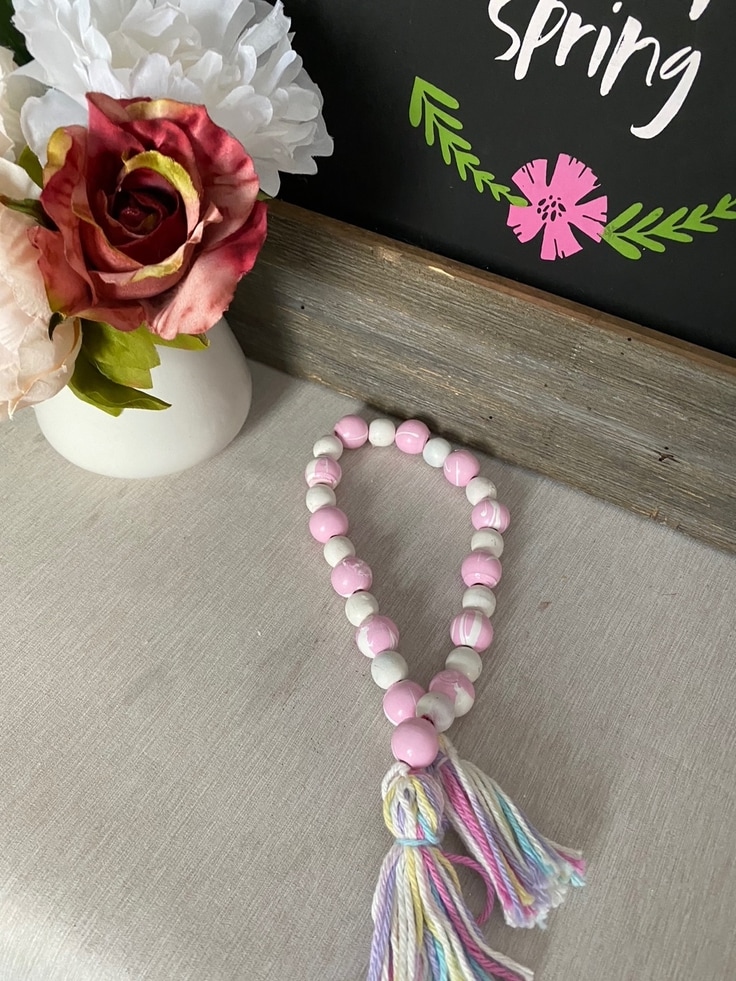
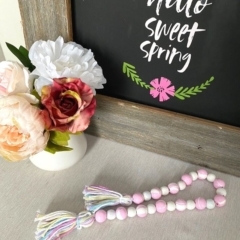
This is how to make a pretty DIY Spring wood bead garland, that has a really trendy marbled look, using a paint pouring technique. They are perfect to add to a buffet table, tiered tray, or a vase for a beautiful addition to your Spring home decor.
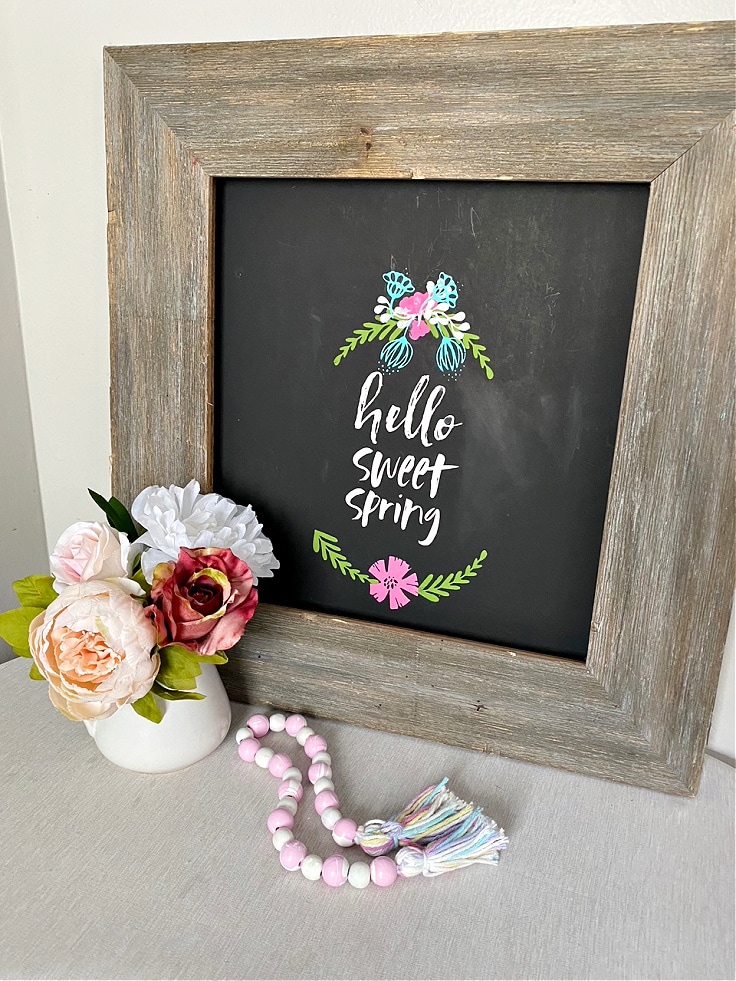
Hello! I’m Michelle from Our Crafty Mom. I admit to having a slight obsession with wood bead crafts. They can be used in so many different ways, and are an inexpensive craft. I’ve been working on Spring crafts, and one of the first things I did was grab my stash of wood beads. This pretty in pink DIY Spring wood bead garland is a nice twist on the classic natural wood bead garlands you see all over Pinterest.
If you haven’t tried paint pouring yet, you are in for a treat! It is seriously so much fun. I always say it’s kind of like adult finger painting. Yes, you can use your fingers, and yes, it is messy! So, be sure to put down old cardboard, or newspaper to protect your table.
How to Make A DIY SPRING WOOD BEAD GARLAND
Gather your simple craft supplies and let’s get ready to have some fun with paint pouring!
What you need:
Want more ideas like this? Subscribe today to get our weekly Ideas in Your Inbox newsletter plus other exclusive gifts and offers — all for FREE!
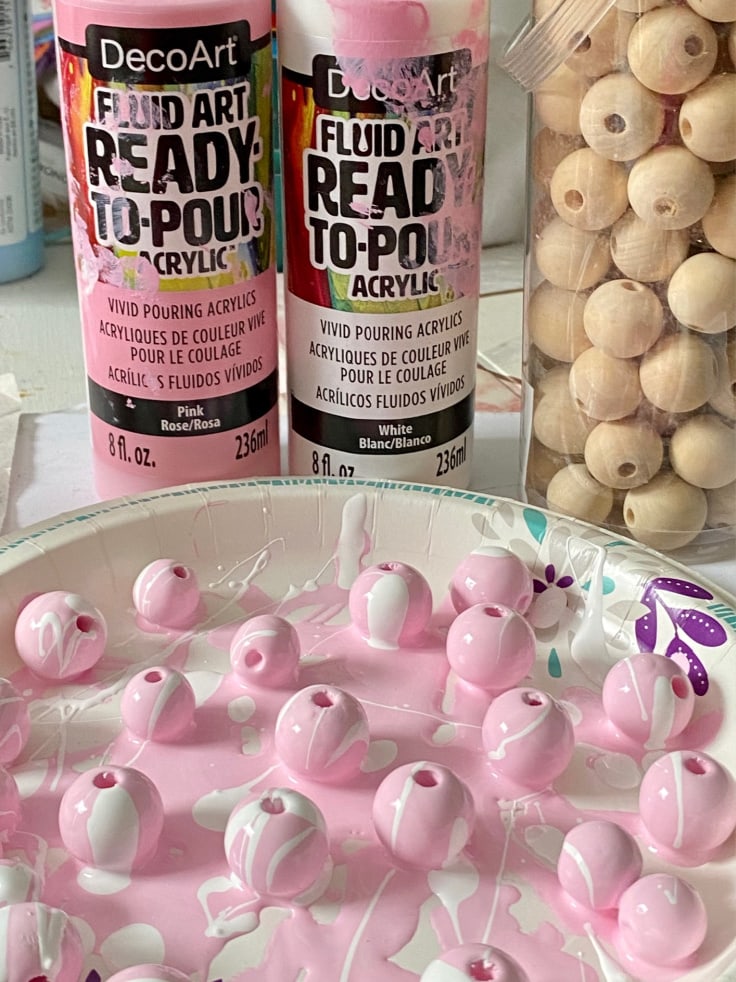
DIY Tools Needed:
Supplies needed:
Here’s what you’ll need from the store. The exact amounts are in the printable craft card at the bottom of this post.
TIPS FOR PAINT POURING WOOD BEADS:
Here are some tips that will help you make beautiful marbled wood beads.
mix the fluid art paint
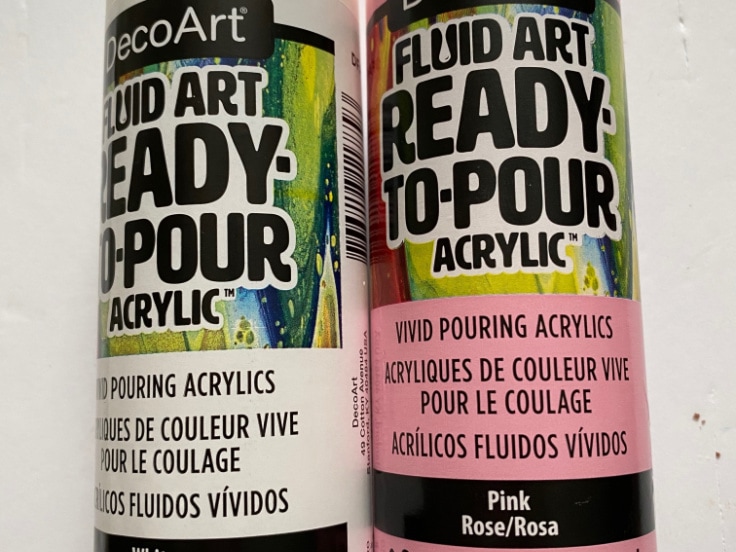
Add the first paint color to the plastic cup. The fluid art paint is very thick, which is why it works so well! But, you want to add a little bit of water to the paint. There is a fill line on most plastic cups. You can pour the paint to the first fill line.
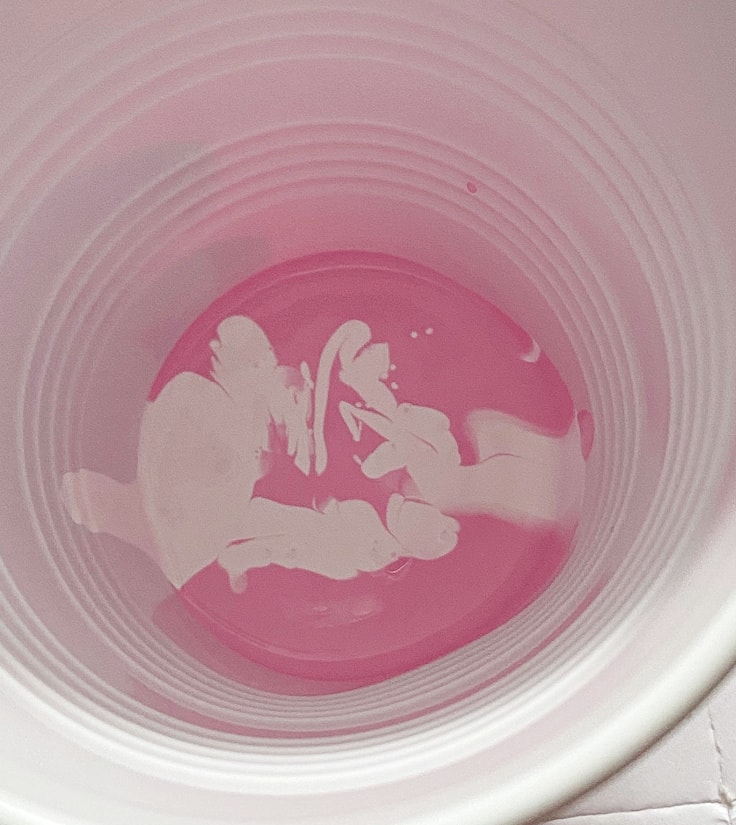
add the second paint fluid art paint color
Next up, you want to slowly pour in a little bit of the accent color. Don’t mix the paint, just slowly tip the cup around so the paint starts to blend. It is fun to see how it creates a marbled effect.
drop the wood beads into the paint filled cup
Add the wood beads into the plastic cup with the fluid art paint. You can add quite a few, but leave enough room to allow the wood beads to move around.
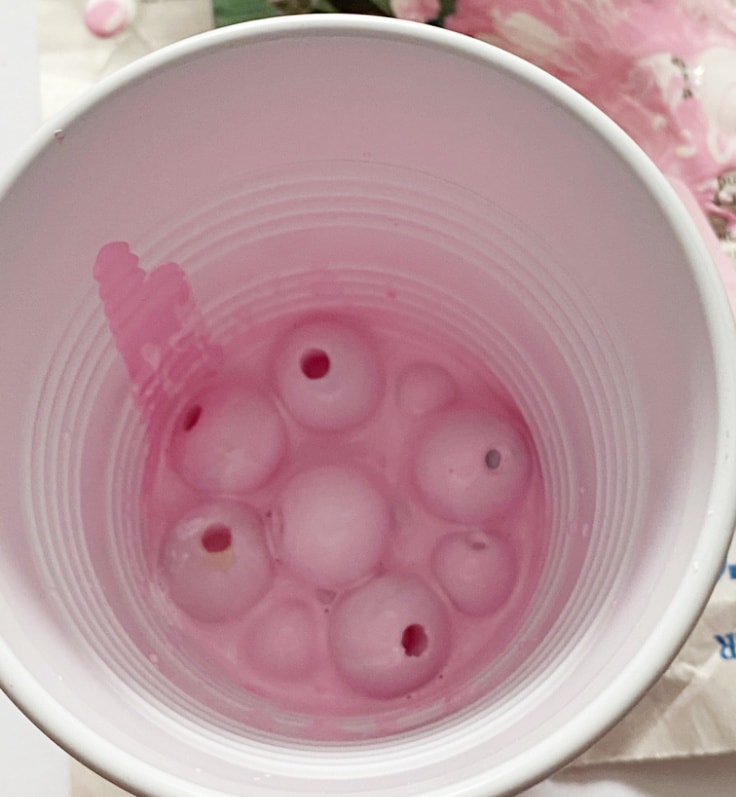
REMOVE THE WOOD BEADS FROM THE CUP
Use a plastic spoon to remove the wood beads and place them on a paper plate, or parchment paper.
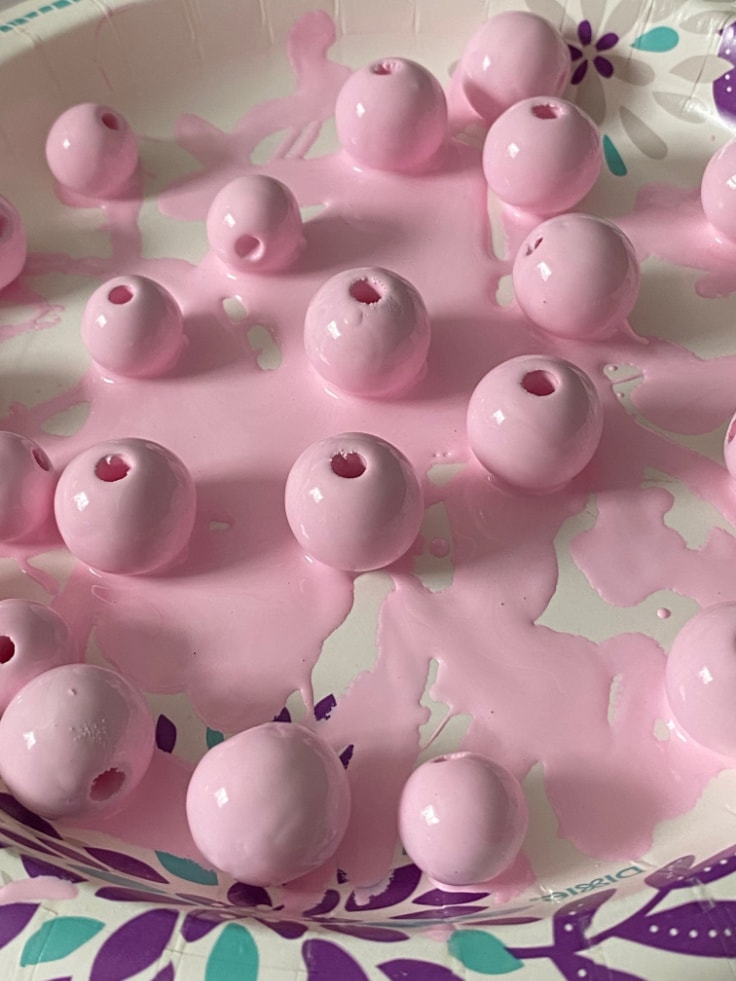
Drip white paint on top
Use another plastic spoon to lightly drizzle white paint on top of the wood beads for an extra touch to the marble look.
let dry
You can let the beads dry for about an hour. Lightly turn the beads over so there are no flattened areas of paint.
STRING THE WOOD BEADS
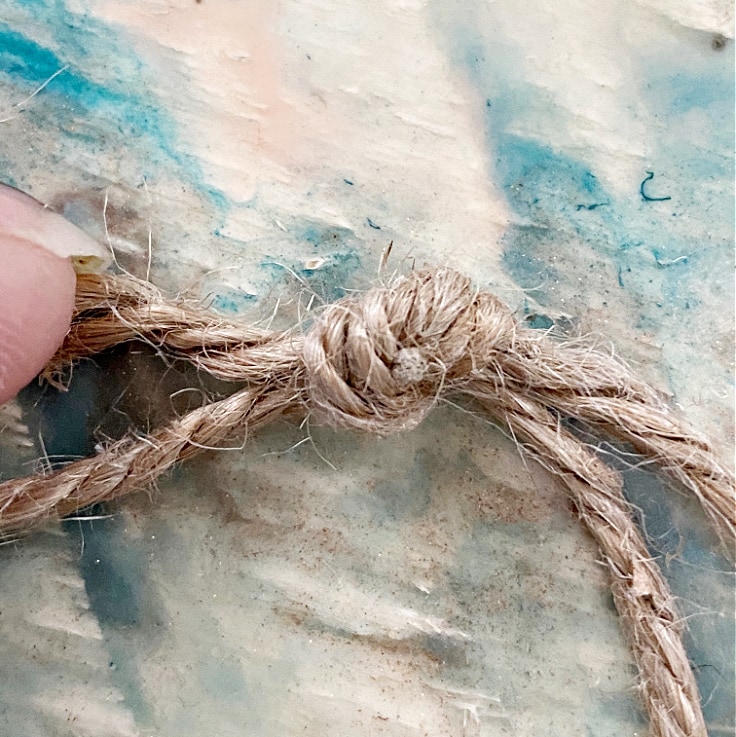
Tie a large knot at the end of the jute twine. String the beads onto the jute.
make a tassel for the end of the garland
Make a tassel by wrapping the yarn around your hand about 20 times, until you get the size that you want. Use scissors to cut the top of the yarn wrapped around your hand. Tie a piece of yarn about 1/4″ from the top.
I show twine in the picture below, for demonstration purposes. I ended up going with yarn, as I felt it looked better with the Spring colors. However, you follow this same process for twine, yarn or embroidery floss.

attach the tassels to the garland
Now, you just tie the tassels to each end of the garland and your beautiful wood bead garland is complete!
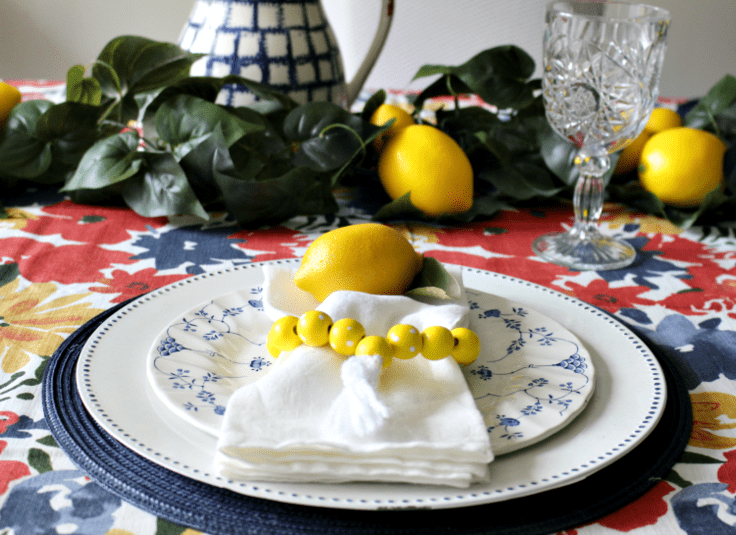
These bead garlands are very addictive! I already made St. Patrick’s Day ones, and plan to make blue and white chinoiserie beads next week. What do you think? Is this something you could see yourself making?
DIY Spring Wood Bead Garland
Equipment
- Fluid Art Acrylic Paint
- Plastic cup
- Disposable Spoons
Supplies
- 1/2 yard Jute Twine
- 25 Wood Beads
- 2 Pastel Yarn Tassels
Instructions
- Add the first paint color to the plastic cup.
- Slowly pour in a little bit of the accent color. Don’t mix the paint, just slowly tip the cup around so the paint starts to blend.
- Add wood beads into the plastic cup with the fluid art paint. You can add quite a few, but leave enough room to allow the wood beads to move around.
- Use a plastic spoon to remove the wood beads and place them on a paper plate, or parchment paper.
- Use another plastic spoon to lightly drizzle white paint on top of the wood beads for an extra touch to the marble look.
- Let the beads dry for about an hour.
- Tie a large knot at the end of the jute twine.
- String the beads onto the jute.
- Make a tassel by wrapping the yarn around your hand about 20 times, until you get the size that you want. Use scissors to cut the top of the yarn wrapped around your hand. Tie a piece of yarn about 1/4″ from the top.
- Tie the tassels to each end of the garland and your beautiful wood bead garland is complete!
What’s Next?
If you enjoyed this Spring wood bead craft, then you’ll enjoy these wood bead crafts as well.

You may also enjoy these wood bead craft ideas on Ideas for the Home by Kenarry® –