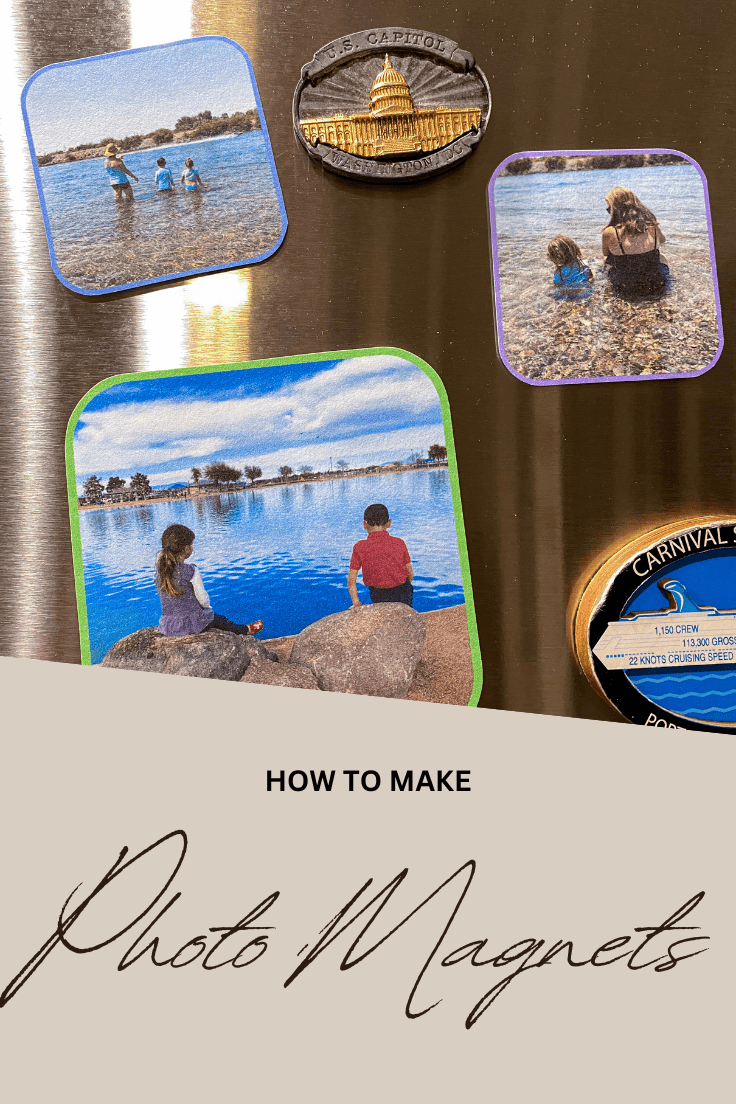
Photo Magnets
THIS POST MAY CONTAIN AFFILIATE LINKS. PLEASE SEE OUR FULL DISCLOSURE POLICY FOR DETAILS.
All you need is a printer and some magnets to create these photo magnets. Use them as DIY gifts or a way to celebrate memories.
Hello! I’m Amy and I blog over at amylanham.com. I have always loved photography and photo projects. Over the years, I’ve created a number of things with photos.
I love to have photos of our family all over the house. Did you know kids that grow up in homes that have family photos displayed have more confidence and self-esteem? That’s reason enough to make these!
How to Make Photo magnets
These photo magnets are extremely easy to make and can be whipped up in only a few minutes.
What you need:
Want more ideas like this? Subscribe today to get our weekly Ideas in Your Inbox newsletter plus other exclusive gifts and offers — all for FREE!
Craft Tools Needed:
Supplies Needed:
Photo magnet Tips
It’s so easy to make homemade magnets from pictures you take! Here are a few tips to help ya out.
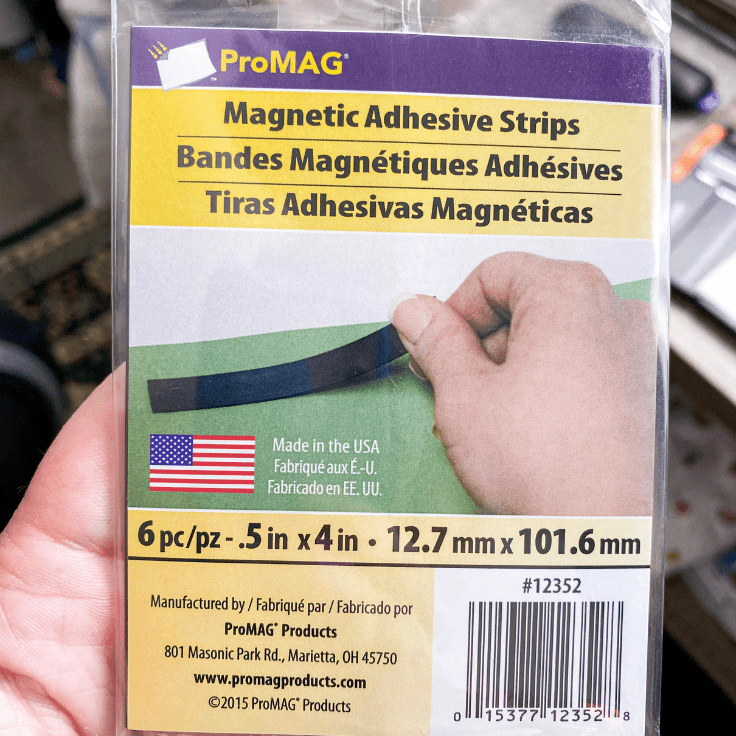
What Are The Best Magnets To Use In Crafts?
There are multiple types of magnets that would work for this project, and each one is going to have its pros and cons. I personally went with the strips.
There are also magnets that come in sheets and could cover the whole back of the photo. But I didn’t think these were particularly strong magnets.

I like to use magnets on the fridge to hold up papers, especially the spelling words and some homework the kids bring home. So I wanted a strong magnet.
The strips seemed to be the strongest option, and they are self-adhesive!
What Size Photos Are Best For Magnets?
This is going to depend on what the end goal is. Most fridge magnets are on the smaller side.
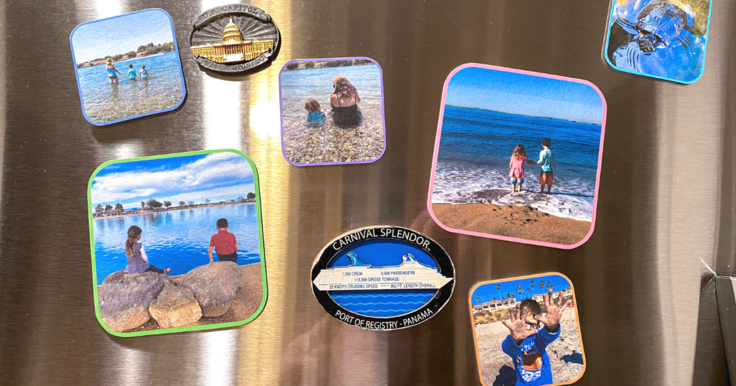
I played around with a few different sizes. Anything smaller than 2 inches is too small, and anything over 4 inches is too big. I think the ideal size is 2.5 inches. I like the square look, so I went with 2.5 x 2.5 for my magnets. Again, they could definitely be made bigger or smaller.
photo paper or cardstock?
I personally prefer cardstock. It’s thicker, doesn’t show fingerprints, and is cheaper than photo paper.
If you want a glossy look, then use photo paper. Otherwise, use cardstock.
How to get a color border
I love adding color to my house whenever possible. Canva has border frames for pictures. You can use Canva for free, and it’s a pretty easy program to figure out.
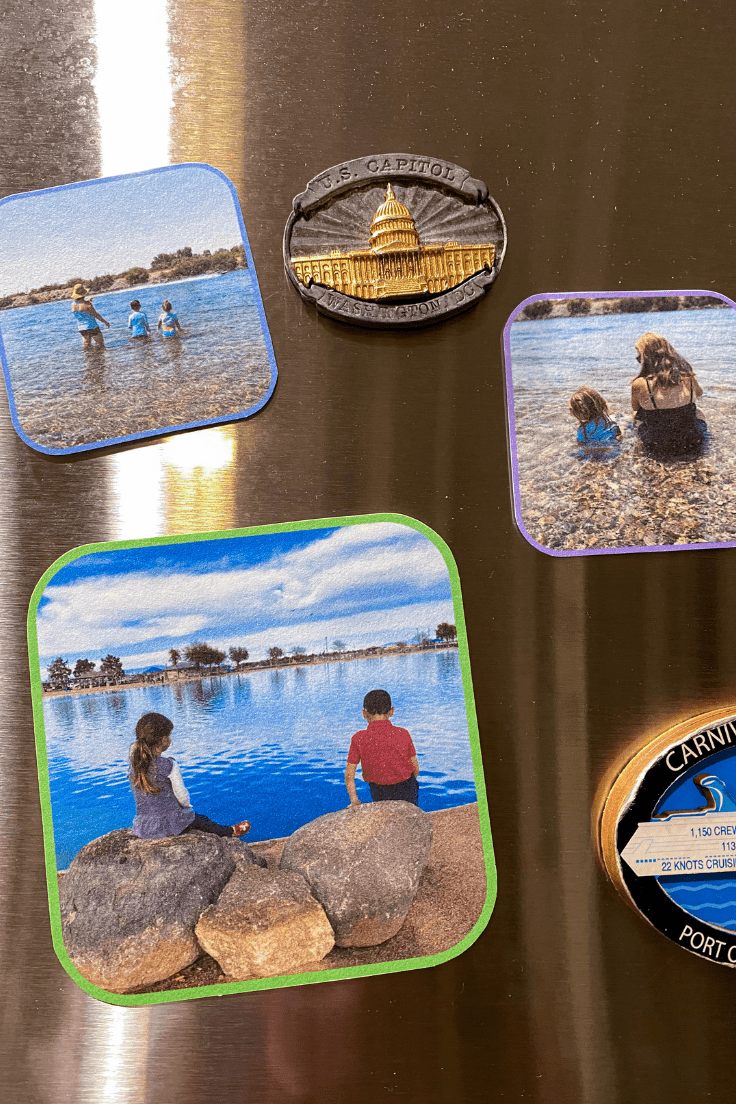
Just add the frames with the borders, drop in your photo, and then change the frame color to whatever color you want. You can pick them to all be one color or multiple colors. Or if you just want a photo, do away with the border altogether.
I love how much this project can be changed to fit your personal style and taste, but the steps are all the same!
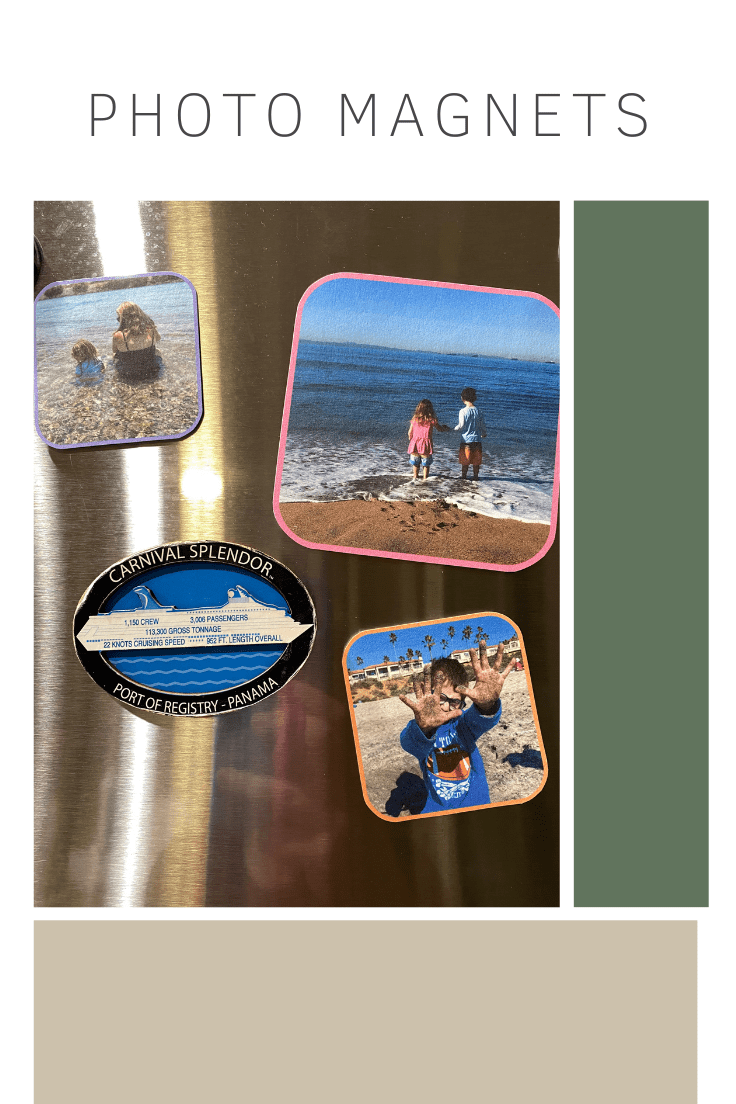
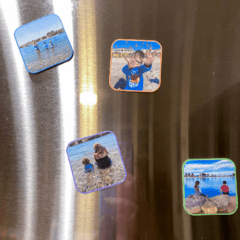
Photo Magnets
Equipment
- 1 Pair of scissors
- 1 Printer
- Photo Editing for sizing, can use photoshop, canva, etc
Supplies
- 6 strips Magnets
- 3 sheets Cardstock or Photo paper
Instructions
- Use a photo editing software to size your photos and add a border if wanted.
- Print out your photos on cardstock or photo paper, cut out.
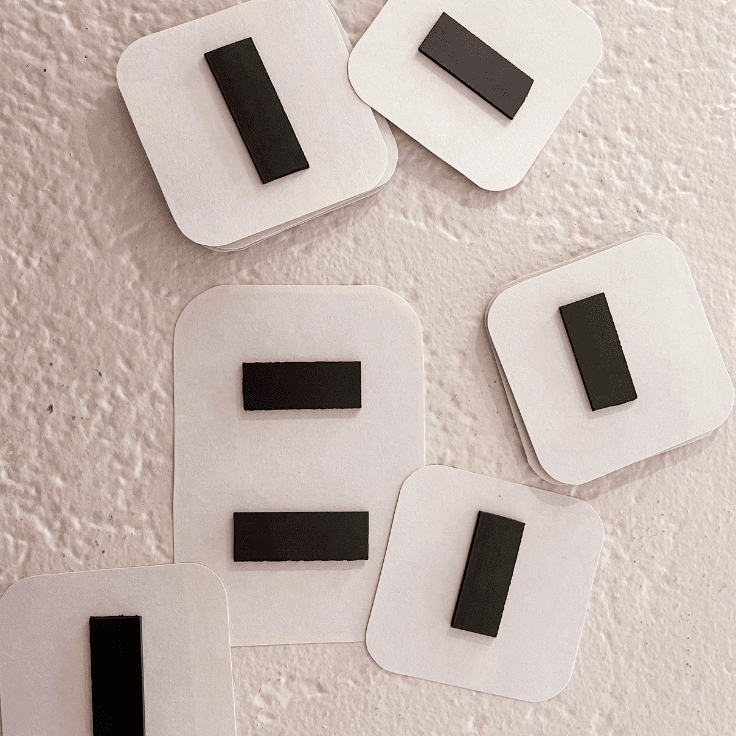
- Cut the strips of magnets into three pieces if photos are under 3 inches and 2 pieces if over 3 inches.
- Use the adhesive on the magnets to adhere one magnet onto the middle of the back of each picture. Stick on fridge!
Love the ideas you see here on Ideas for the Home by Kenarry®? Subscribe today to get our FREE DIY & Craft Planning Calendar, plus our weekly Ideas in Your Inbox newsletter filled with creative tips and exclusive offers!
What’s Next?
If you enjoy these photo magnets check out these other photo projects.

How to Take Monthly Baby Photos

You may also enjoy these photo ideas on Ideas for the Home by Kenarry® –