Recycled Crafts: How To Emboss Aluminum
THIS POST MAY CONTAIN AFFILIATE LINKS. PLEASE SEE OUR FULL DISCLOSURE POLICY FOR DETAILS.
Embossing disposable aluminum cookie sheets is an easy technique that results in amazing and unique art. Learn how to emboss aluminum with this simple tutorial.
This is Suzy from Suzy’s Sitcom. One of my specialties is Recycled Crafts. I love to take throw-away items and create something special. It would be fun to share with you my technique for embossing disposable aluminum pans, and include a couple of free patterns for you to try it out for yourself!
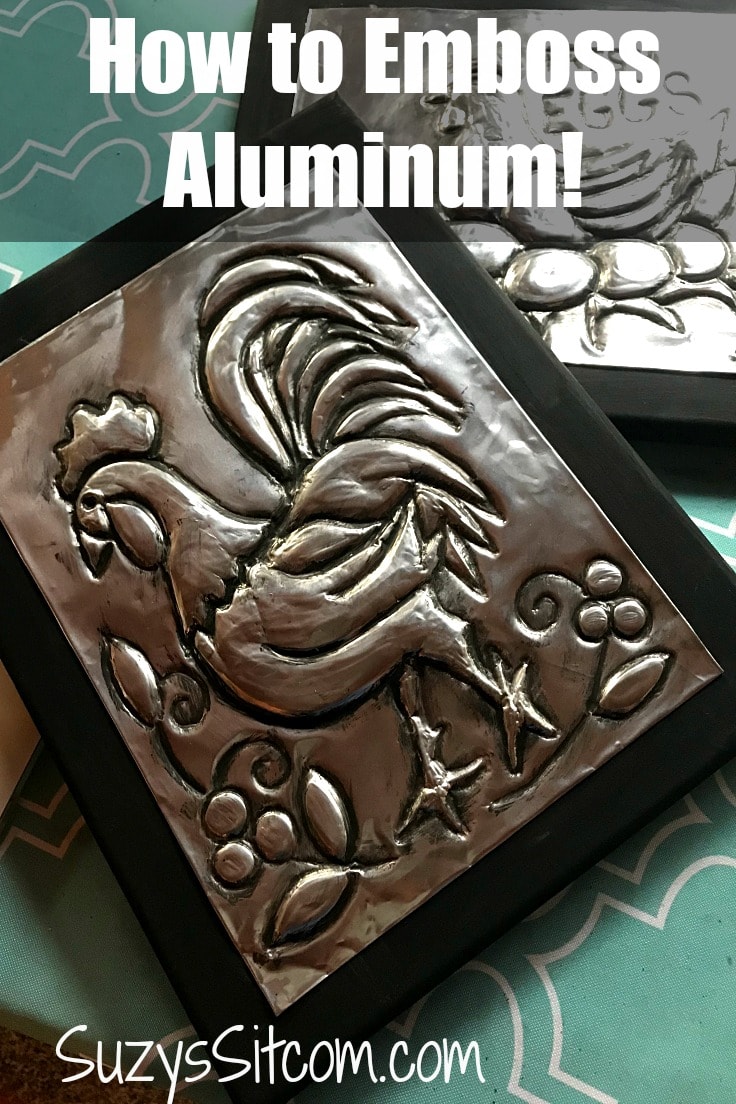
This project uses just a few supplies and the end result is a unique metal piece. It is hard to believe that this started out as a disposable aluminum cookie sheet!

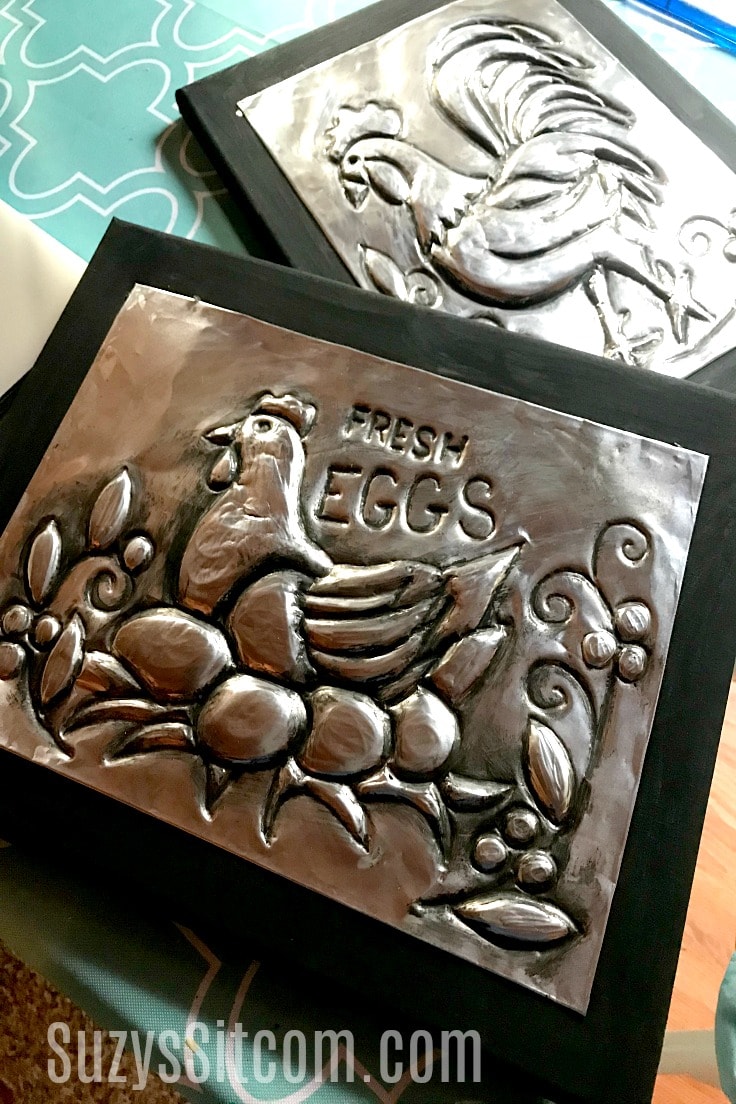
We have been living and working on a farm for almost a year now and chickens are kind of a big thing here. I have baby chicks in my kitchen, eggs in an incubator, and about 20 adult chickens outside in the coop. The photo above is me and Clyde, my friendly rooster. Since I’m all about the farm life right now, I thought I would put together a couple free patterns for you featuring chickens!
how to emboss aluminum
The finished project is a fun addition to your wall. There are so many possibilities with this embossing process!
What you need:
Want more ideas like this? Subscribe today to get our weekly Ideas in Your Inbox newsletter plus other exclusive gifts and offers — all for FREE!
- Disposable aluminum cookie sheets (Check party supply stores for those that are not already embossed)
- Free Chicken Patterns
- Paint Brushes
- Black Acrylic Paint
- 11″ x 14″ canvases
- E6000 Glue
how to emboss aluminum
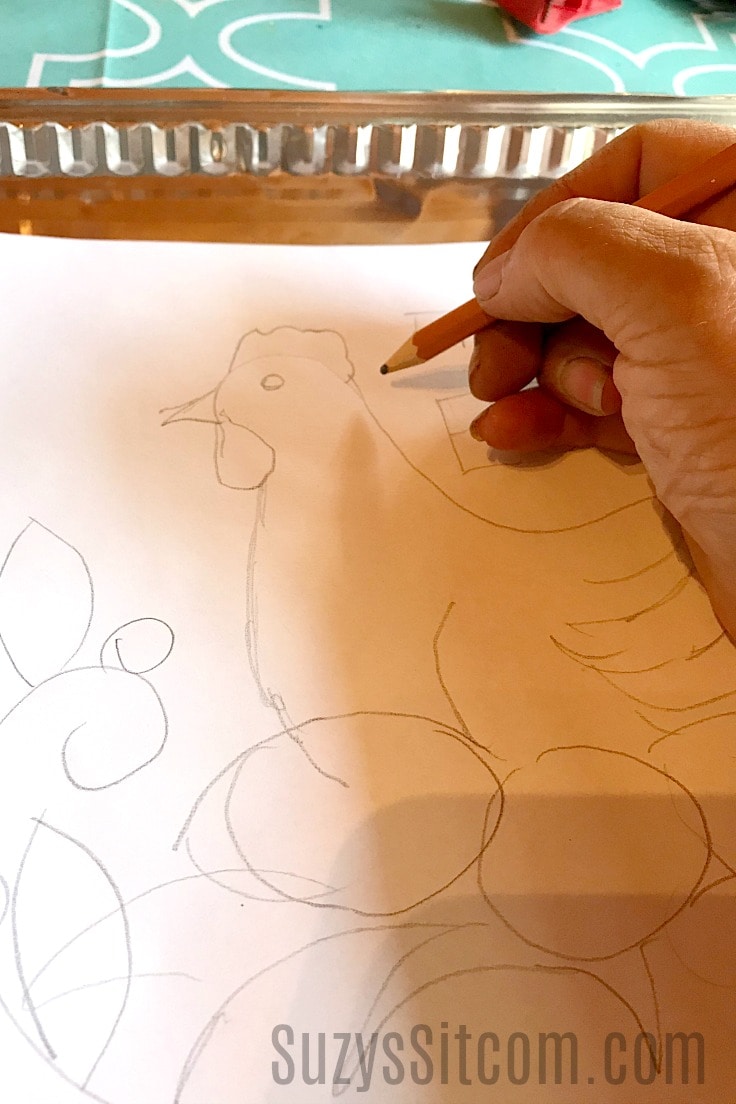
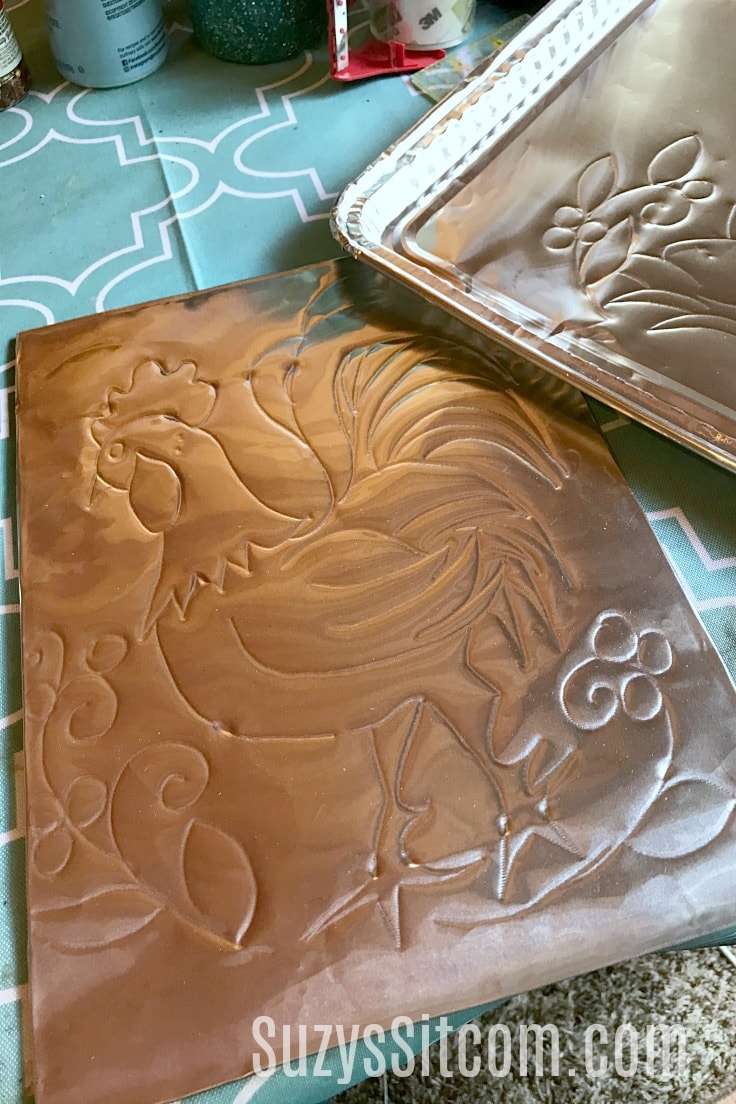
1. trace the pattern onto the aluminum
Place the pattern on top of the aluminum pan. Lay the aluminum pan on top of a folded towel and use the end of a paintbrush or a pencil point to press the design into the metal. (You do not need to press hard).
Repeat for the second pattern.
2. How to finish the edges
Use a ruler to measure around the embossed pattern 9″ x 12″ and mark the aluminum by pressing a paintbrush end along the ruler. Cut along the line with scissors. Take the ruler and score 1/4″ from all four sides of your square using the paintbrush end.
Fold the metal over carefully along your scored seam. This will create a smooth finished edge for each picture. Now you are ready to emboss!
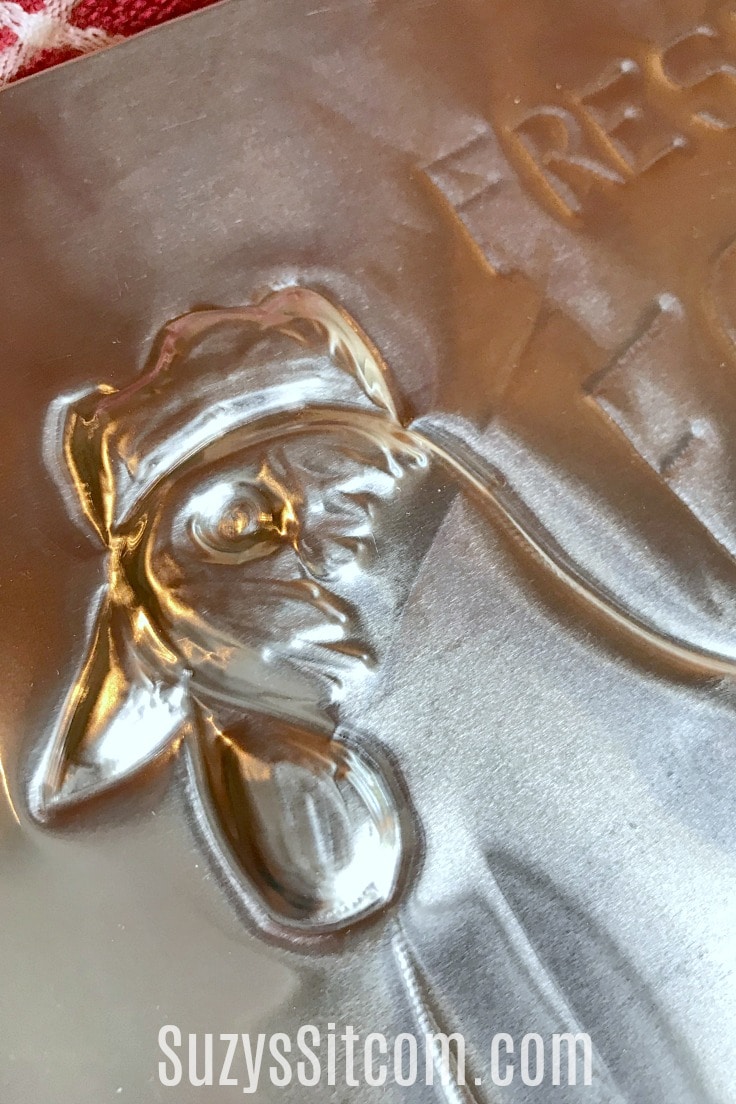
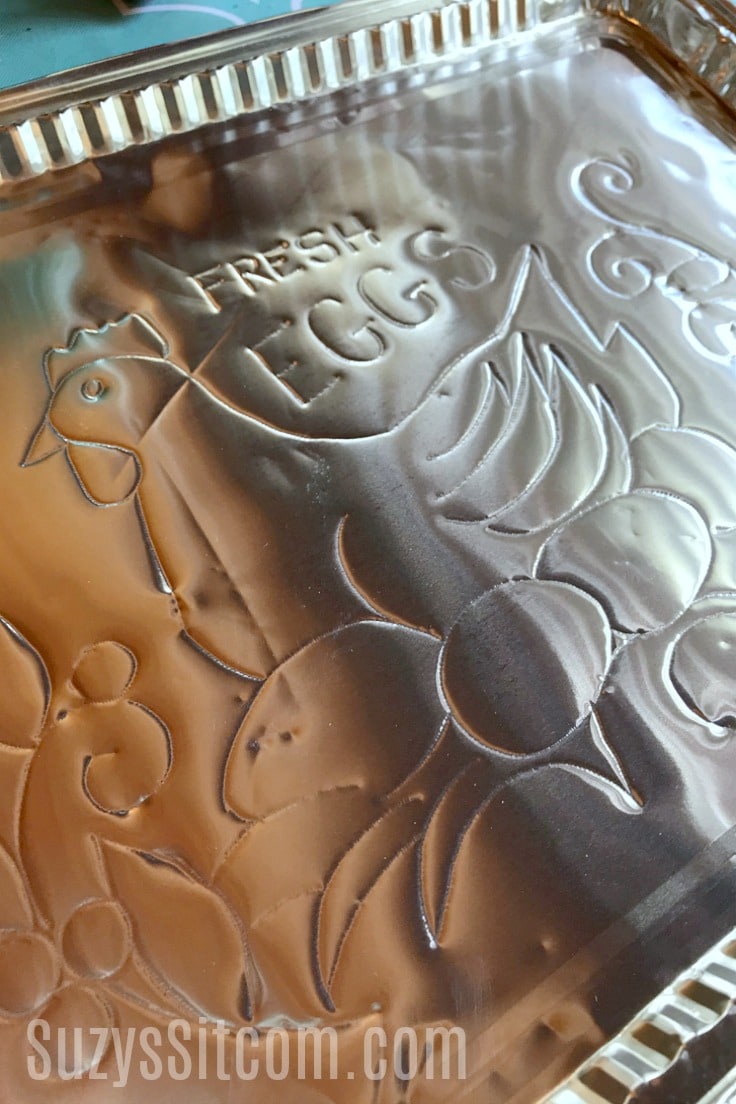
3. How to emboss the aluminum
Keeping the pan on the folded towel, use the end of a paintbrush handle to gently rub indentations into the metal where you want them. The more you rub, the deeper they can be, just be careful not to use a ton of force as the aluminum is very thin metal. There is no right or wrong way to do this. Just emboss the design in the way that you would like.
I chose to emboss all of the lines of this drawing.
I then flipped the piece over and embossed on the back in order to make the chickens more 3D. You will be surprised at how versatile this metal is.
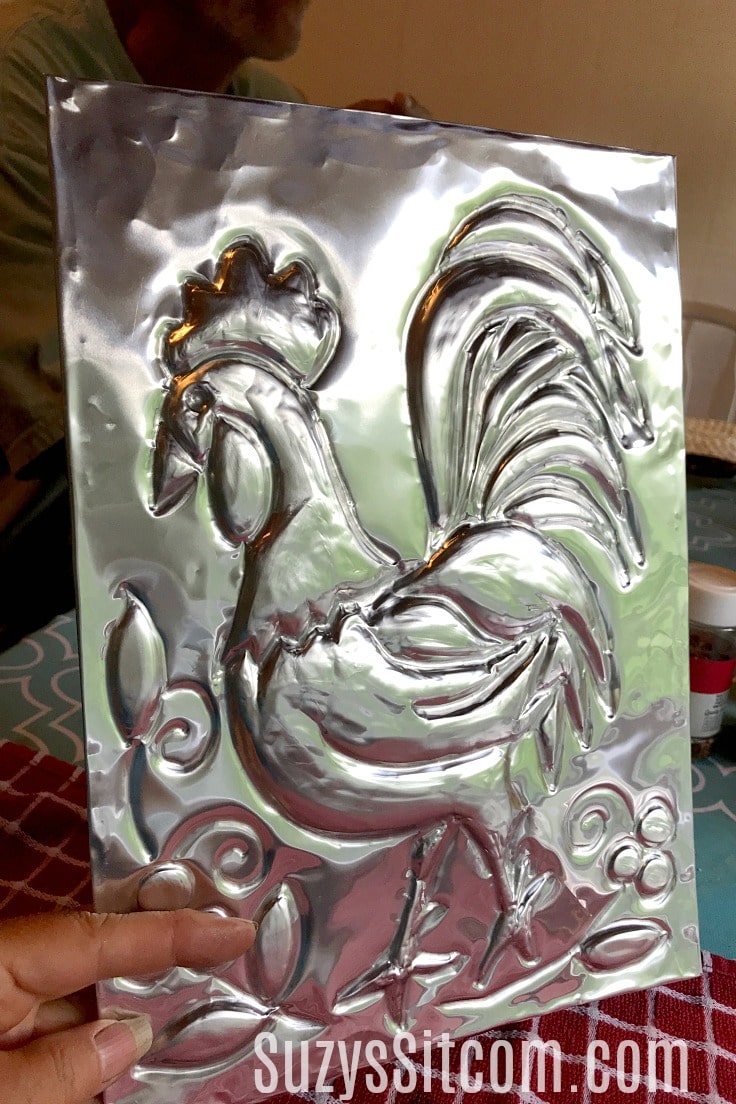
Once the picture is embossed to your liking, it is time to go to the next step. This is the completed rooster, ready for paint.
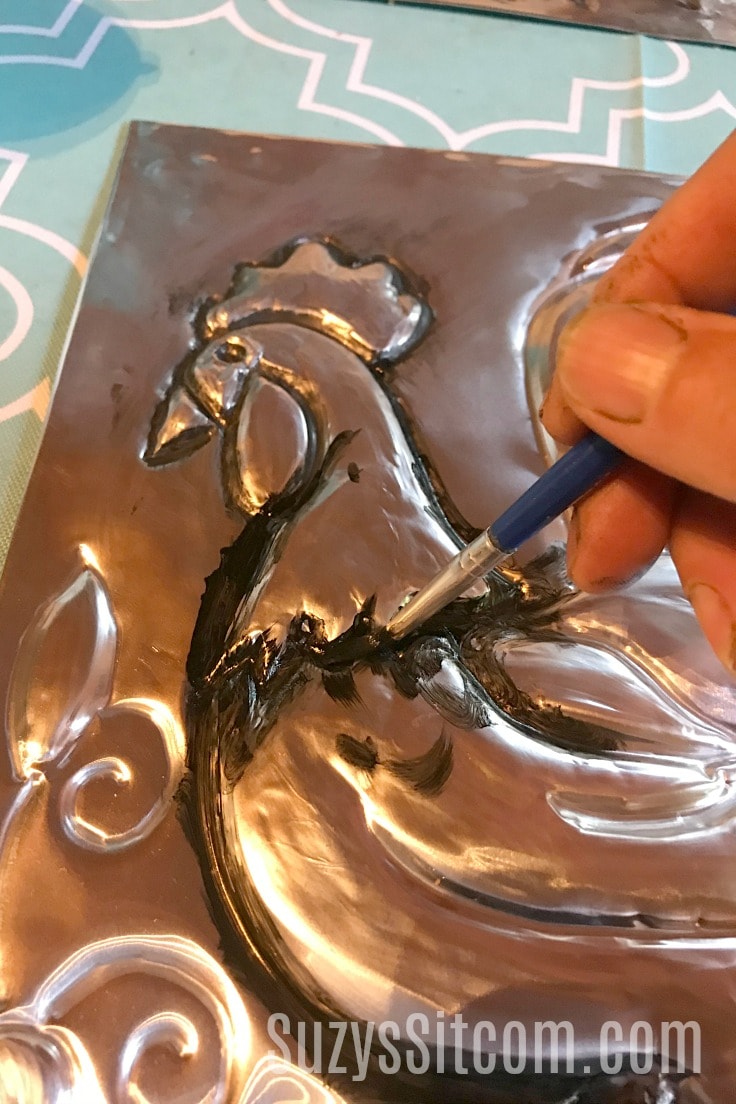
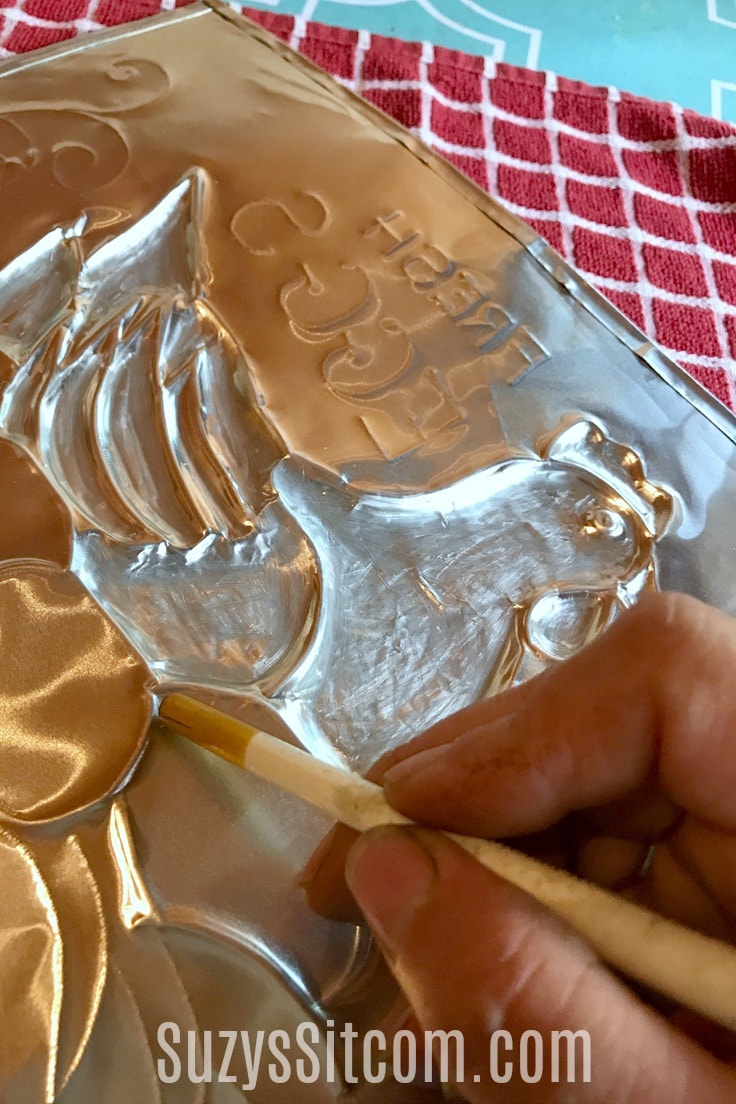
4. Add paint to bring out details
To give it more depth and add a rustic look, use acrylic black paint. Add paint into the embossed lines.
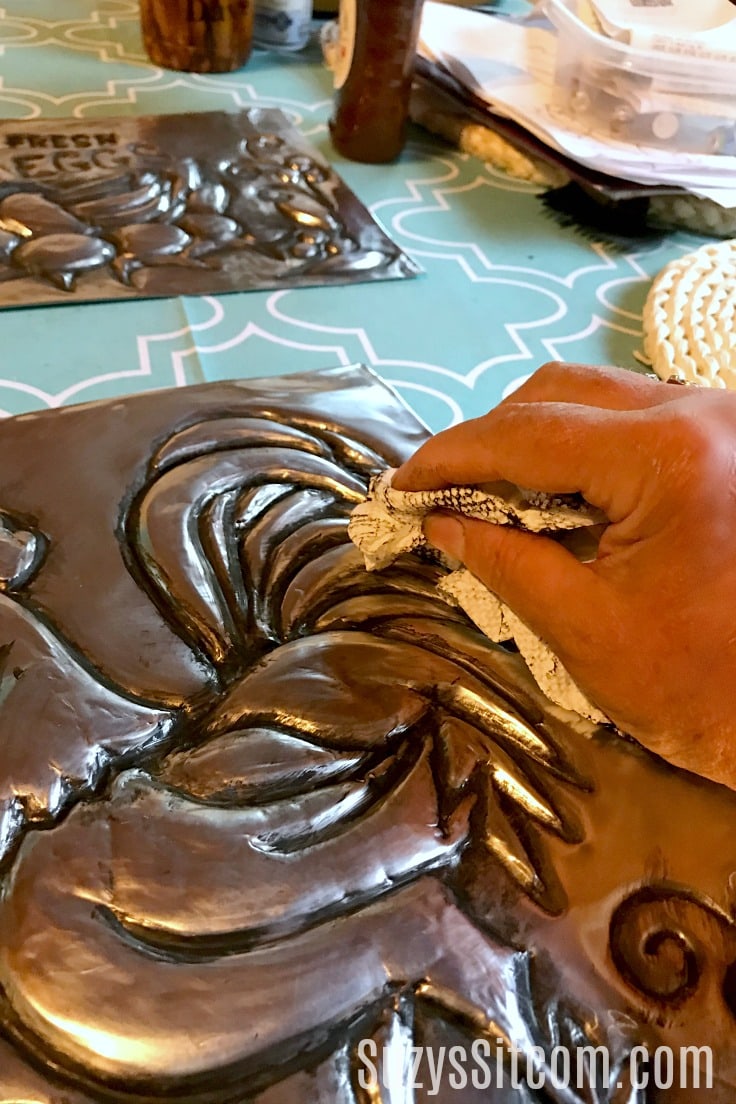
Wipe off the extra paint while it is still wet with a paper towel, leaving paint in the crevices.
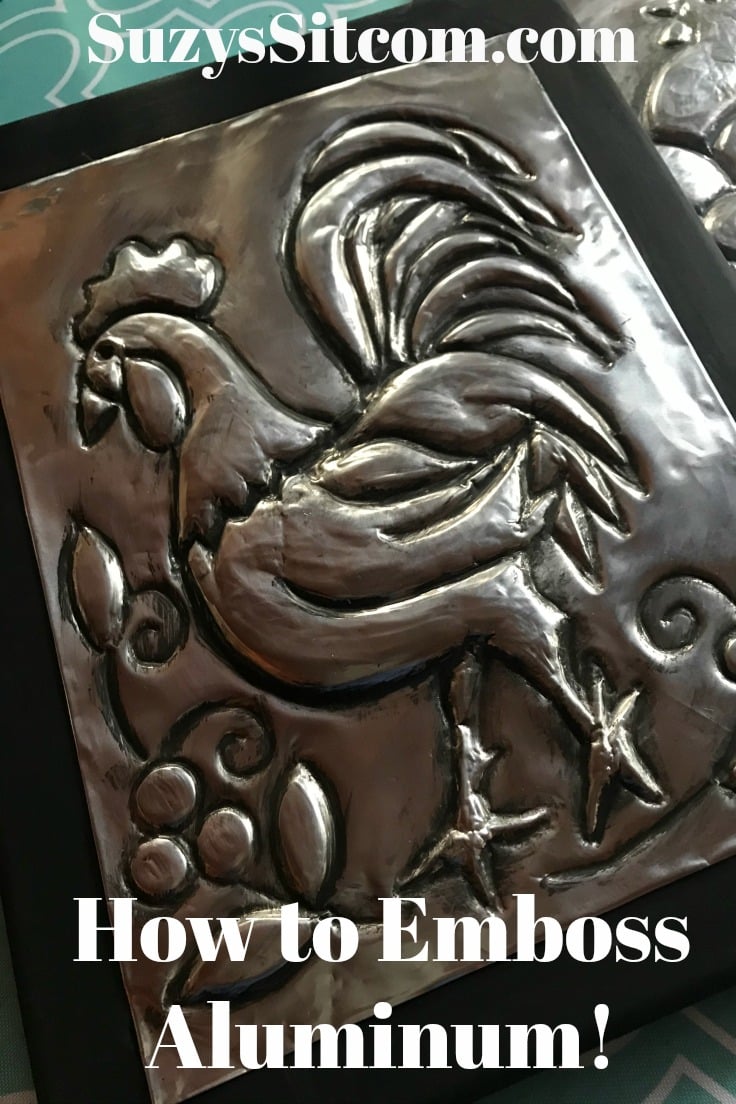
To add a finishing touch to the artwork, paint an 11″ x 14″ canvas black and then use E6000 glue to adhere to aluminum to the canvas.
These pretty chickens will make a great addition to my farm house kitchen.
Love the ideas you see here on Ideas for the Home by Kenarry®? Subscribe today to get our FREE DIY & Craft Planning Calendar, plus our weekly Ideas in Your Inbox newsletter filled with creative tips and exclusive offers!
Love the look of embossed metal?
Here are a few of my other projects featured on SuzysSitcom.com that use disposable aluminum cookie sheets. All with free patterns!
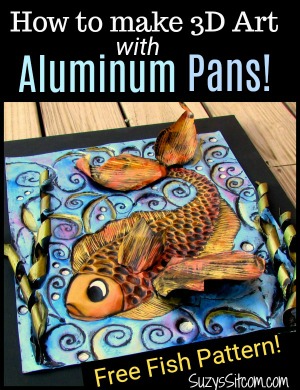
How to make 3D Art with Disposable Pans
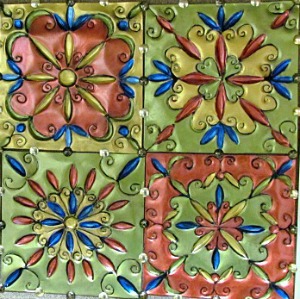
Create Faux Tin Tiles (Free Pattern!)
Embossed Metal Carousel Horse with Free Pattern!

You may also enjoy these craft ideas on Ideas for the Home by Kenarry® –

Wow I love your story, I’ve always wanted have an RV or Tiny House. The aluminum projects you shared are really good and I’ll try them soon. Thank you