DIY Welcome Home Sign
THIS POST MAY CONTAIN AFFILIATE LINKS. PLEASE SEE OUR FULL DISCLOSURE POLICY FOR DETAILS.
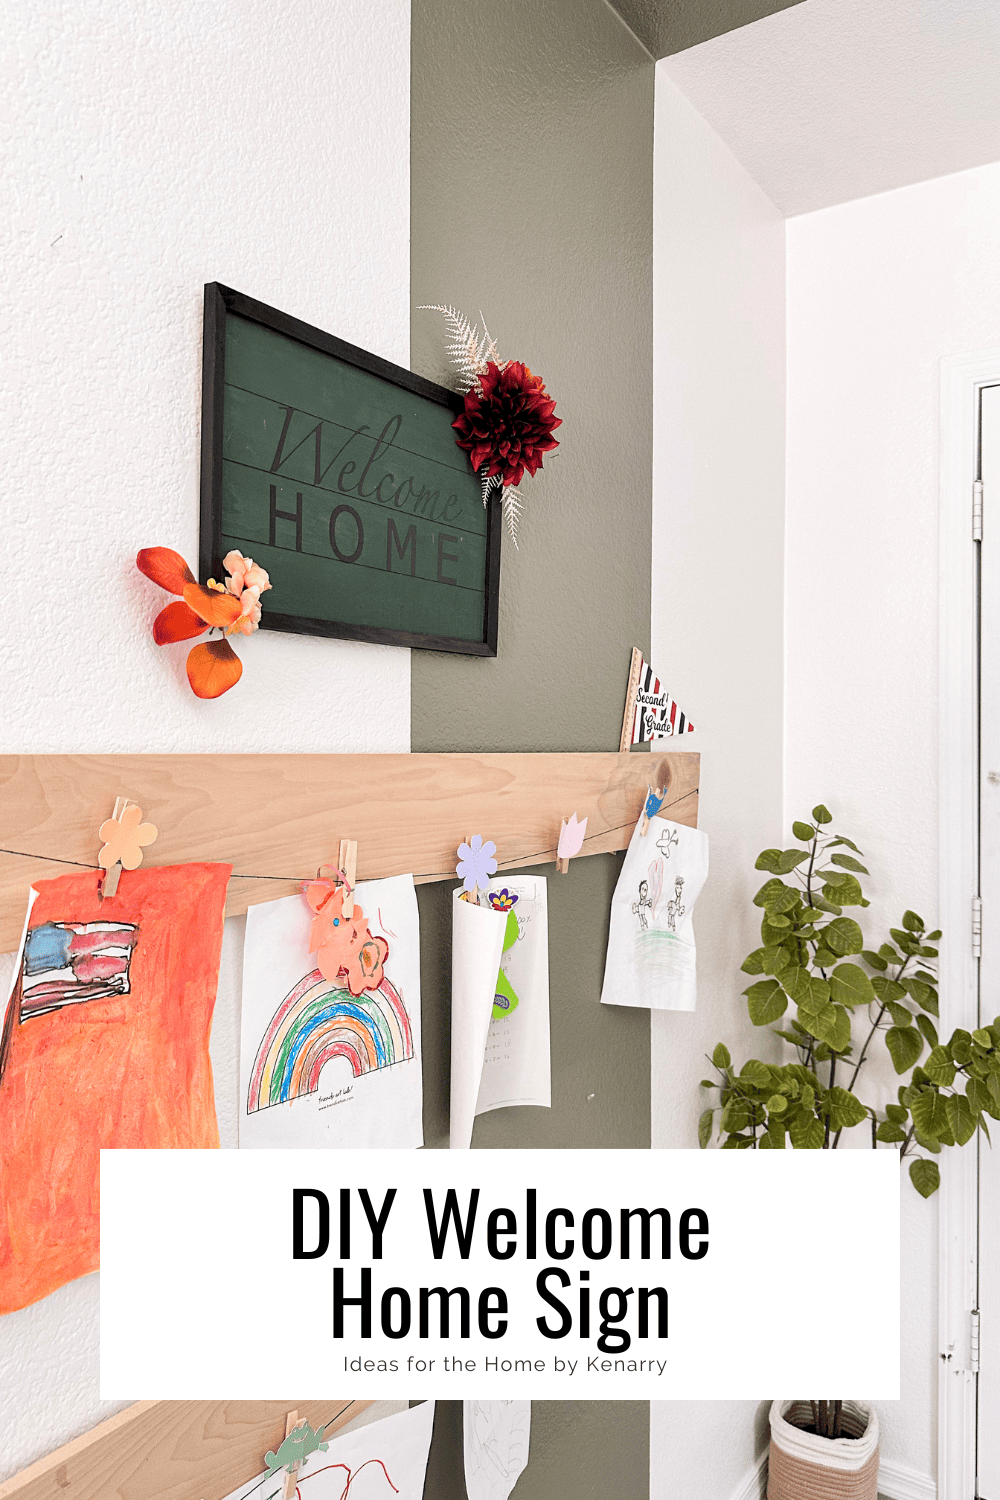
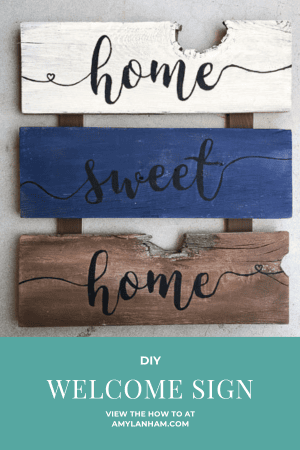
Create this easy DIY welcome home sign with just a few supplies. This sign will look amazing displayed in your home throughout the whole year.
Hello, my name is Amy and I blog at amylanham.com. I love to create decor for my home. There’s something extra special about seeing your work displayed throughout your home.

And as a maker, I want to be greeted by a project that is perfectly complimented to my home. So I decided to make a DIY welcome home sign to welcome us home!
I customized it to the colors that I use in my home, but you can use any colors you like. That’s part of the beauty of crafting and DIY! Everything is customizable.
How to Make DIY Welcome Home Sign
With just a few supplies you can make a cute welcome home sign for your house.
What you need:
Want more ideas like this? Subscribe today to get our weekly Ideas in Your Inbox newsletter plus other exclusive gifts and offers — all for FREE!
Craft Tools Needed:
Supplies Needed:
These are the supplies you’ll need. All the exact amounts are in the printable card at the bottom of this post.
DIY Welcome Home Sign Tips:
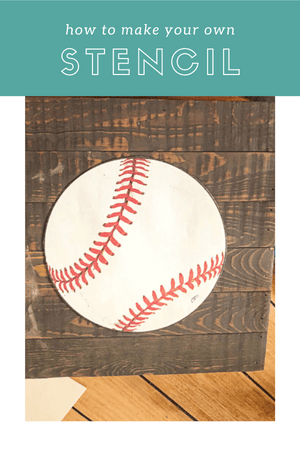
Picking The Font
You don’t have to buy fonts from Cricut, instead use the system fonts. There are lots of pretty fonts to pick from.
I think a script font looks great for the welcome and a serif for the home. But you can use anything you like. A serif for both would look really nice to, but again, feel free to play around with fonts and create something that you love.
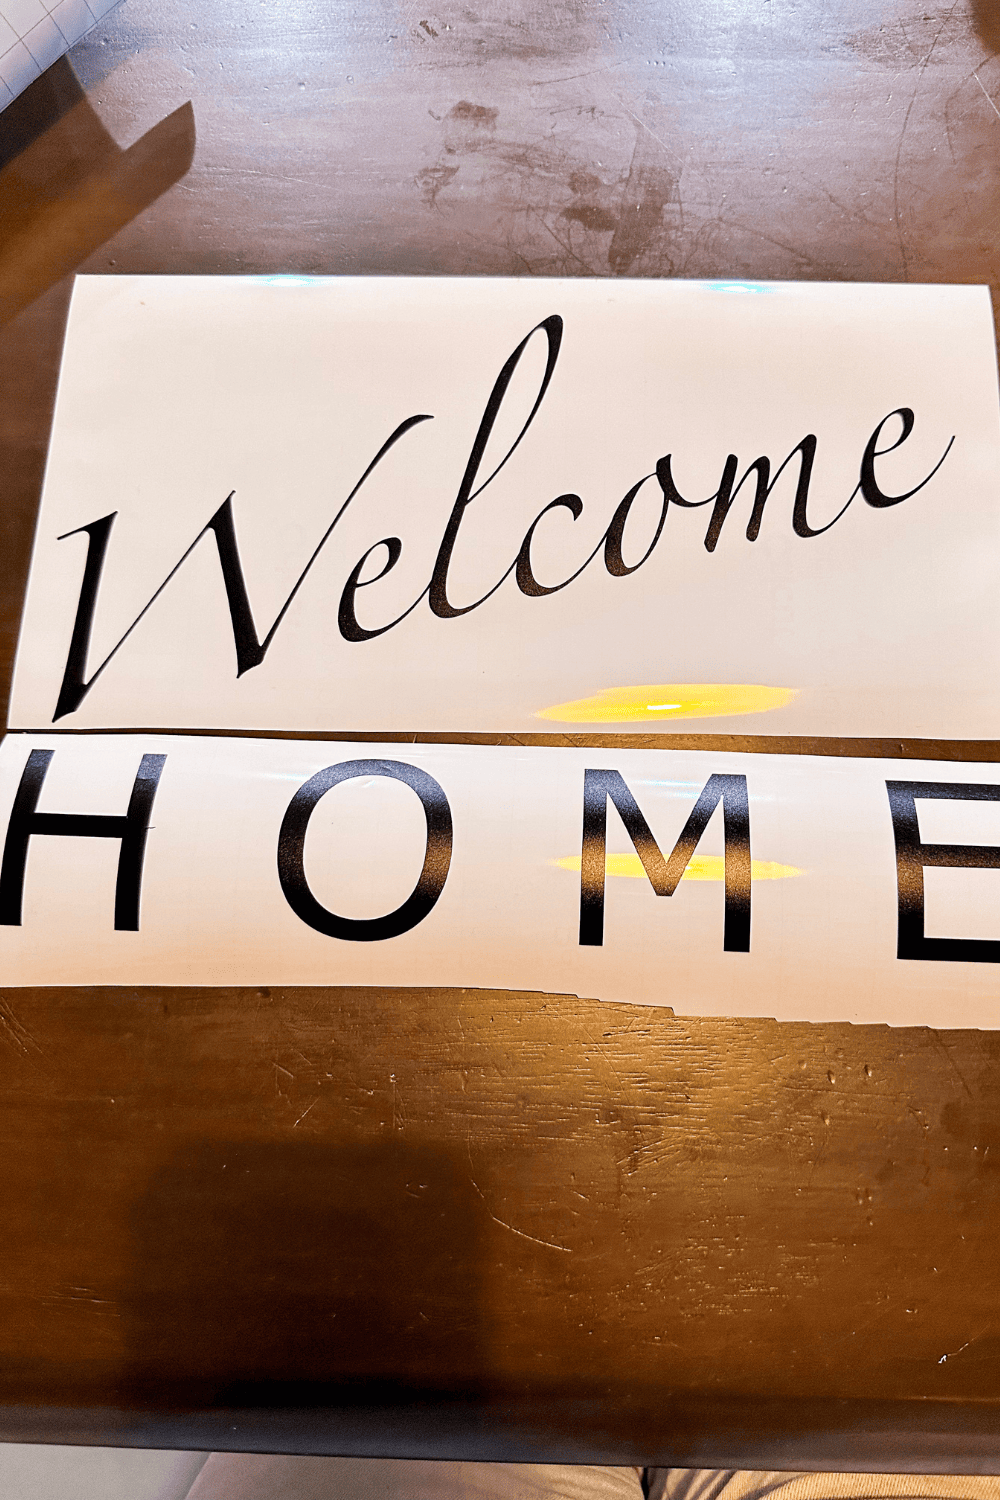
Or you can copy what I did! I used Zapfino for ‘welcome’ and Verdana for ‘home’. The Welcome is 12 inches across, because that’s how big my vinyl is. The welcome is sized at 156. Home is all caps and sized at 212. I put a space between each letter in home, so that it would be spaced out to be the same length as the welcome.
Again, you can choose to do whatever you want! This is just the settings I used to cut my vinyl, so if you want it exactly like mine, you can create it.
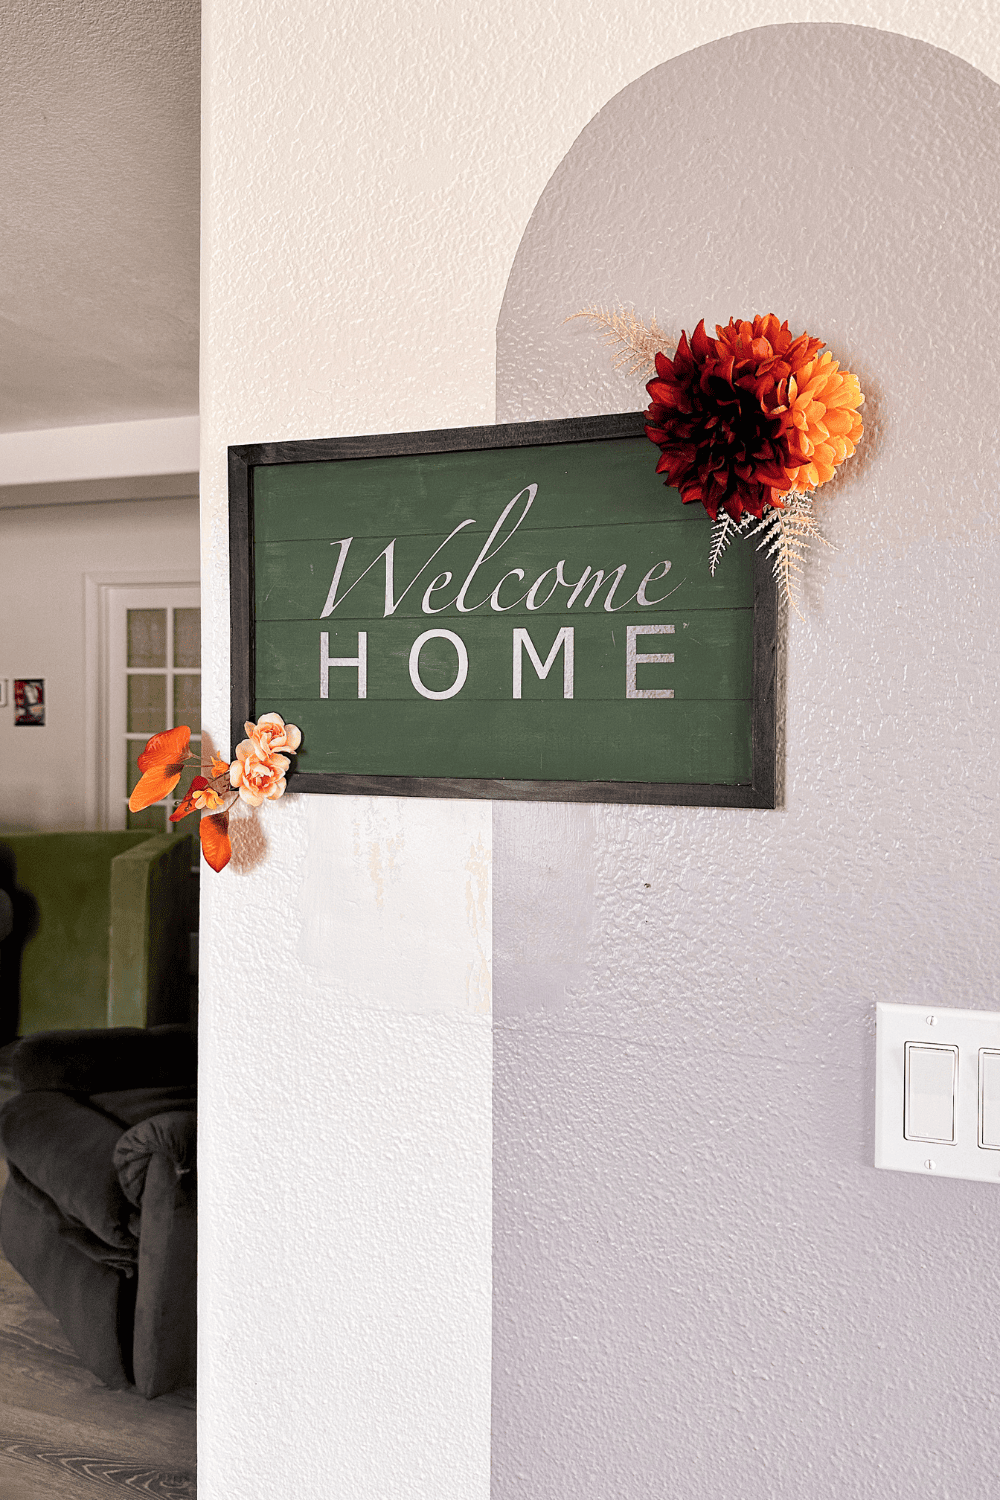
Tips for the Flowers
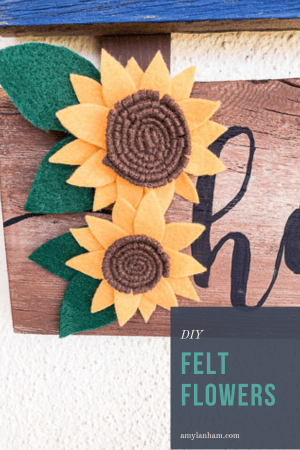
Pick a flower bundle that has a few different types of flowers and leaves. If you want just one type of flower or color, that’s fine.
But leaves, berries, or smaller and bigger flowers, will add extra interest to your sign. So pick the flower bouquet accordingly, or pick a couple to get all the different elements that you like.

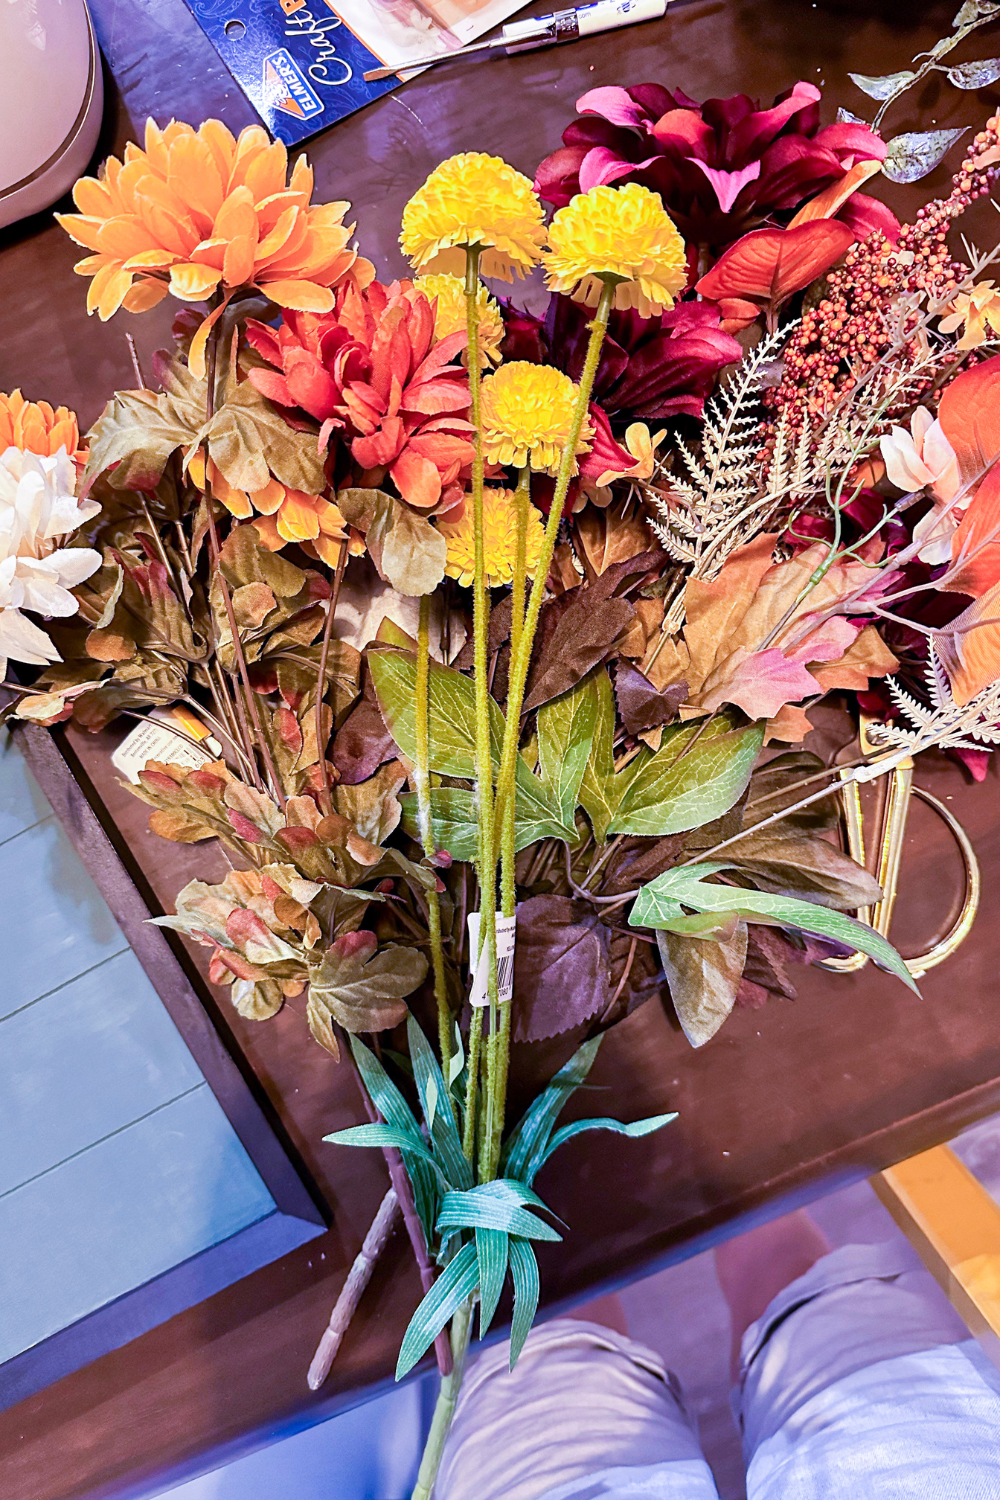
Take the flowers and leaves off of the sticks, you just need the flower tops. First arrange the flowers how you think you will like them. This may take a couple tries.
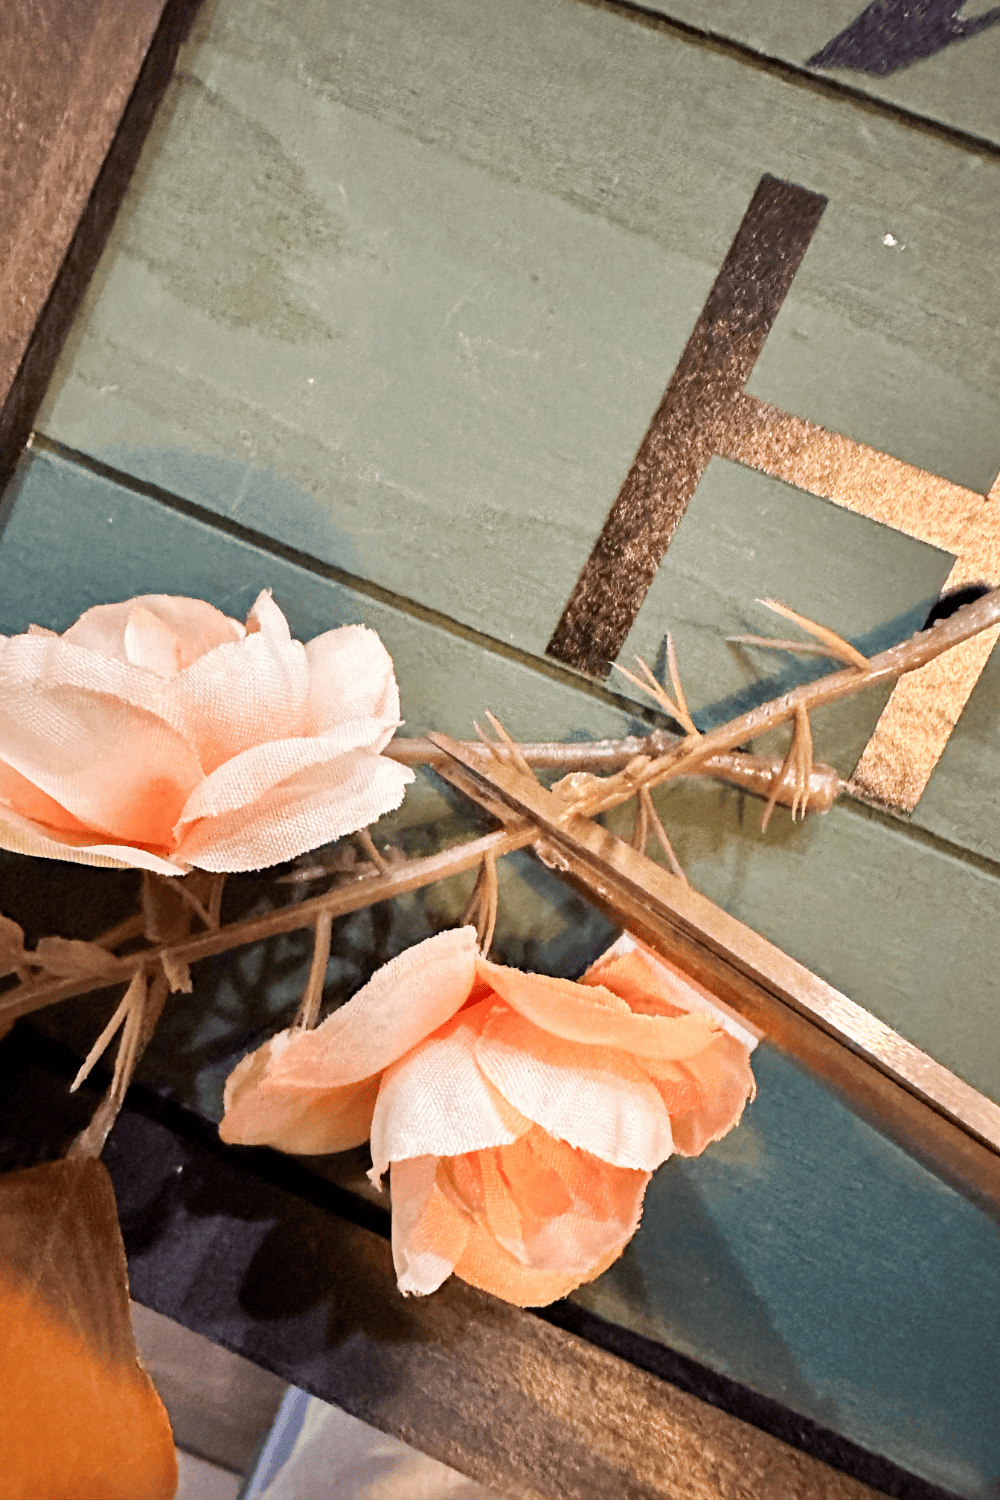
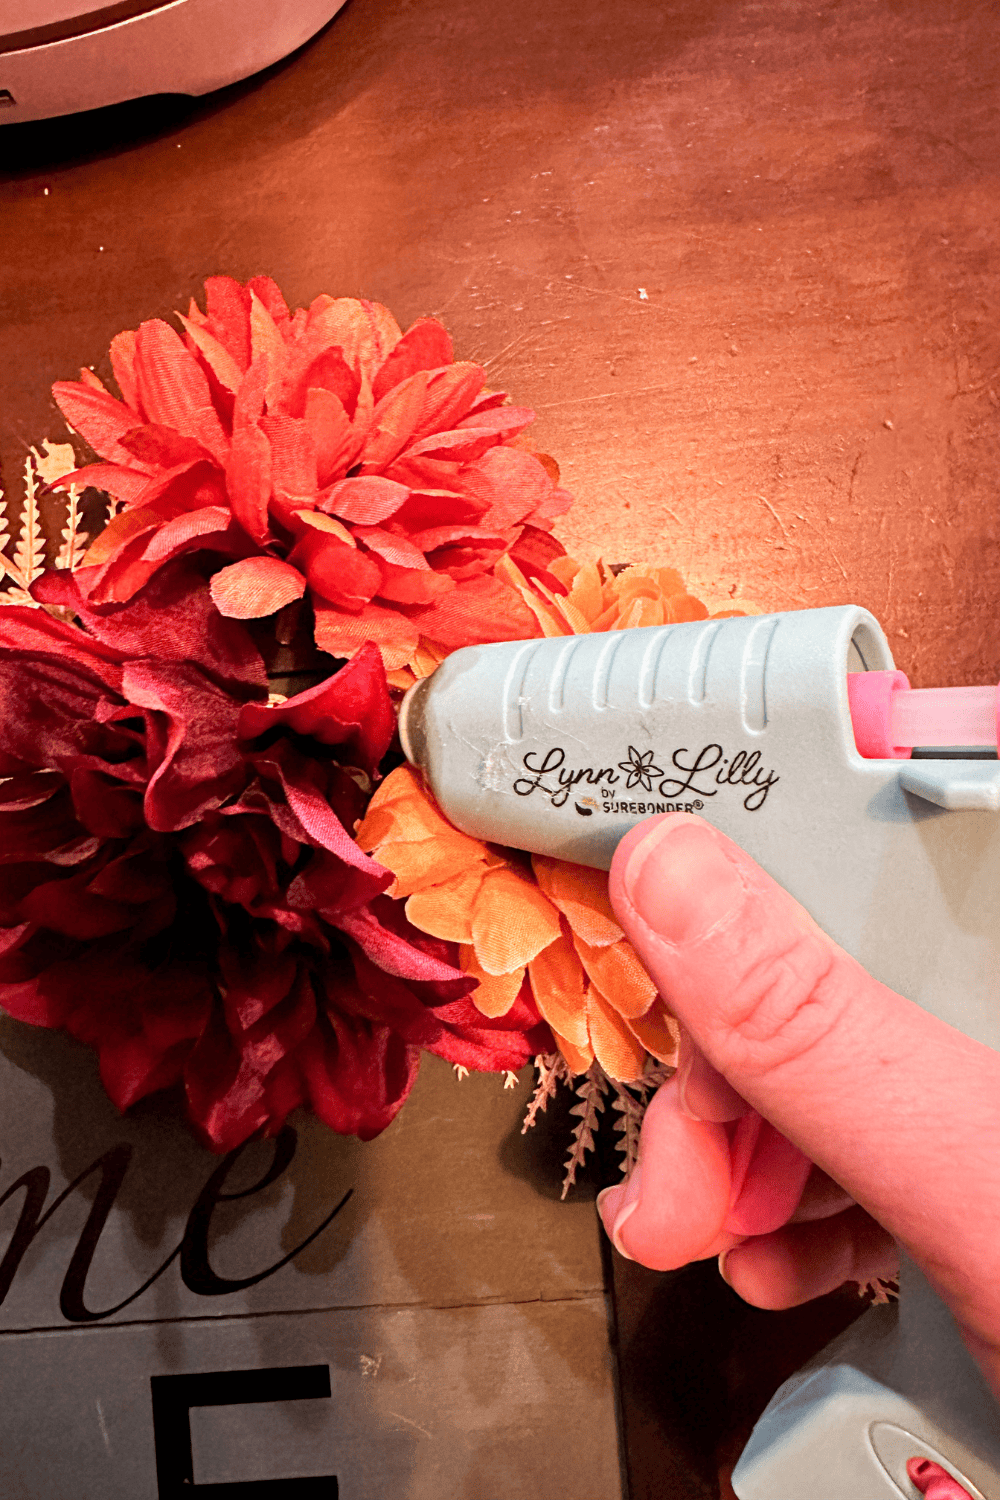
You might need to trim a couple of the leaf stems. After you have everything arranged as you like, use hot glue to adhere the flowers to the sign.
Groups of 3 look really nice, with a little bit of leaves.
Do I have to use transfer tape?
Kind of. Transfer tape makes it extremely easy to transfer your vinyl from the backing to your project. If you use a script font, like I did, it’s almost impossible to get it on the sign without using transfer tape.
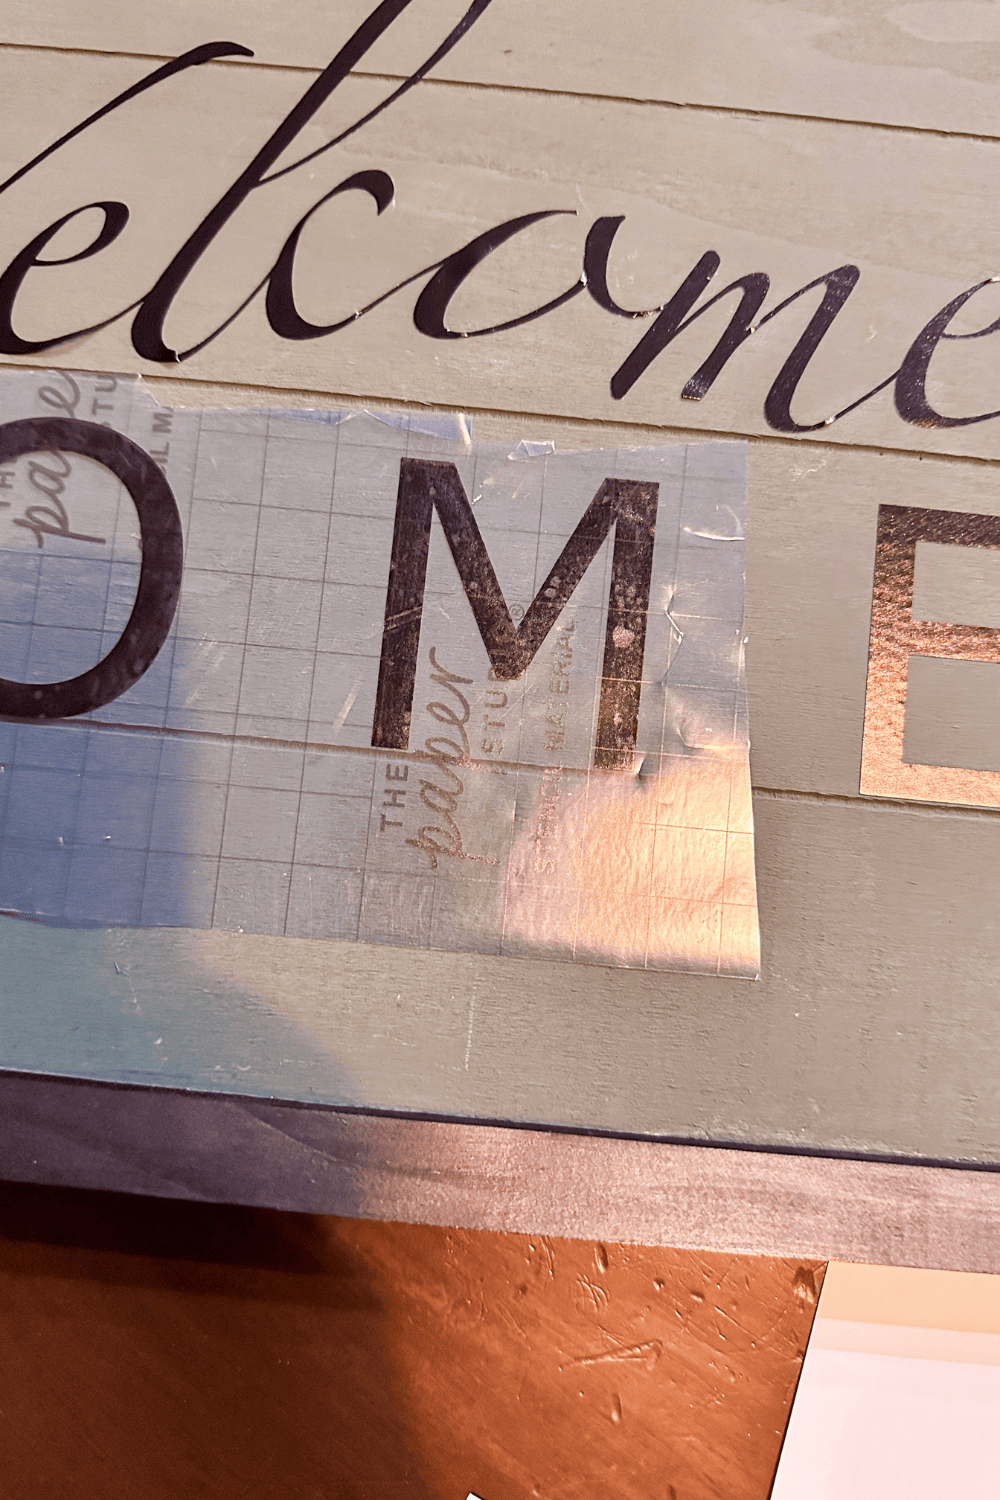
So I would absolutely recommend using transfer tape. You can use the tape a couple times before throwing it away. So if you wanted to, you could use the tape for the ‘welcome’ place it and then use the same tape for the ‘home’.

I find that the tape can be used 2-4 times before having to get another piece.

DIY Welcome Home Sign
Equipment
- Cricut
- Hot Glue Gun
- paint brushes
Supplies
- 1 bunch Fake Flowers
- 1 Wooden Sign Blank
- 1 roll Vinyl any color
- 1 roll transfer tape
- Acrylic Paint any color
Instructions
- Paint sign back and frame any color you want and let dry.
- Use Cricut to cut vinyl to say Welcome Home
- Use transfer tape to transfer the welcome home vinyl onto the painted sign back.
- Take the flowers off the stick and then arrange them on your sign.
- Once arranged to your liking, hot glue the flowers in place.
Love the ideas you see here on Ideas for the Home by Kenarry®? Subscribe today to get our FREE DIY & Craft Planning Calendar, plus our weekly Ideas in Your Inbox newsletter filled with creative tips and exclusive offers!
What’s Next?
If you enjoyed this DIY welcome home sign you may like these other ideas too.
You may also enjoy these sign ideas on Ideas for the Home by Kenarry® –