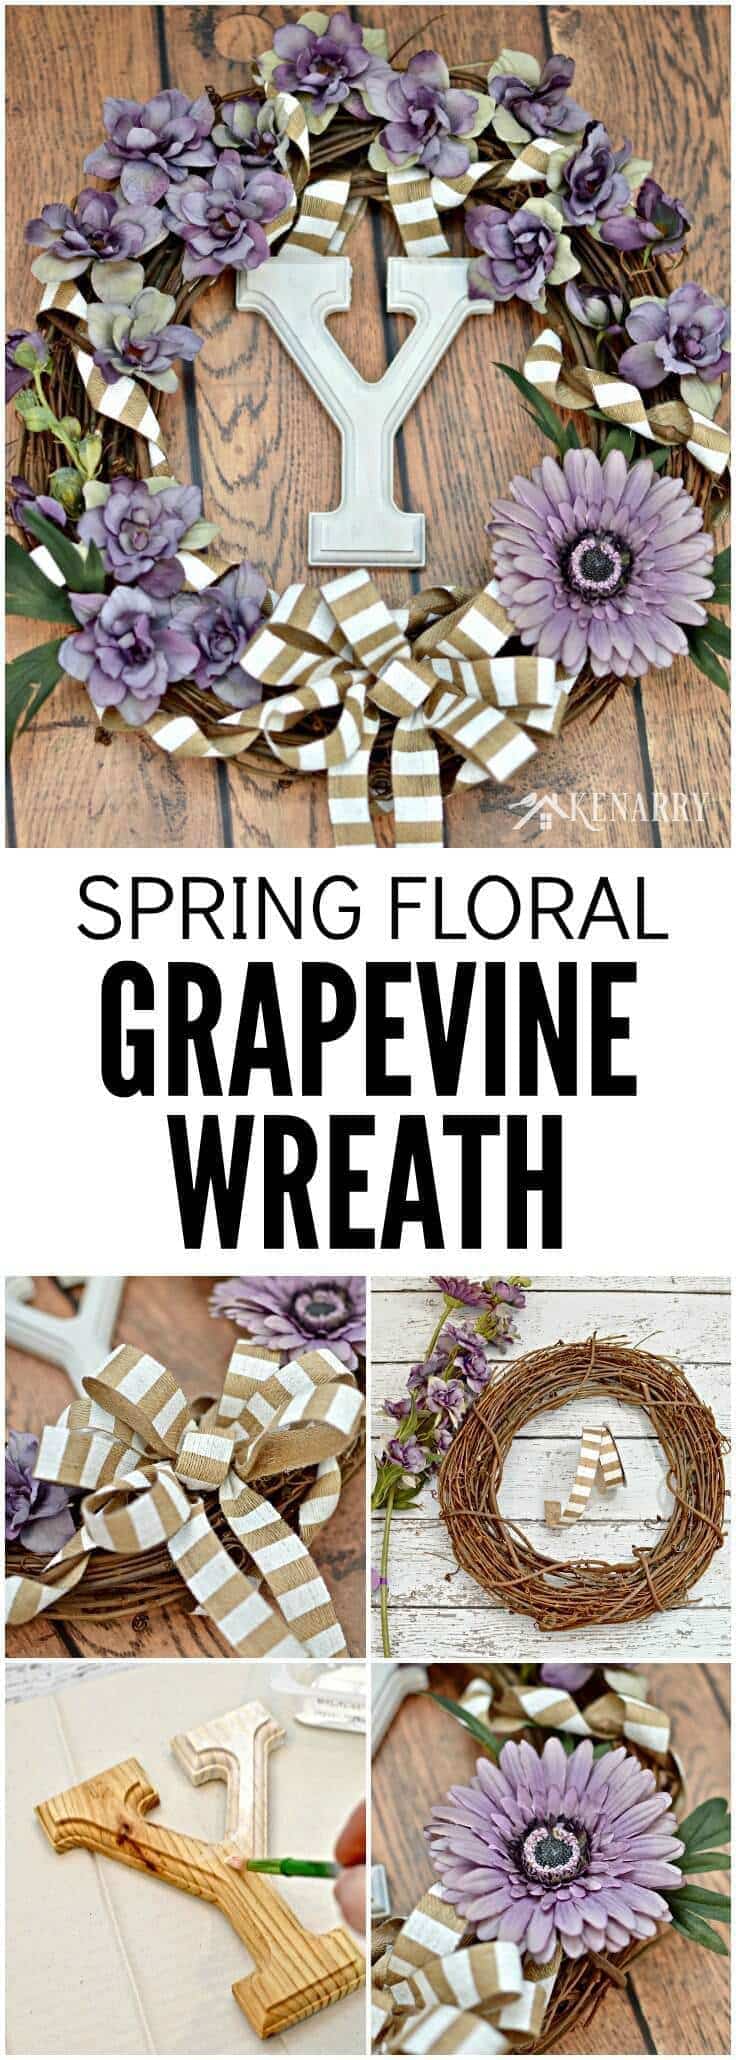
Floral Grapevine Wreath for Spring: Easy Craft Idea
THIS POST MAY CONTAIN AFFILIATE LINKS. PLEASE SEE OUR FULL DISCLOSURE POLICY FOR DETAILS.
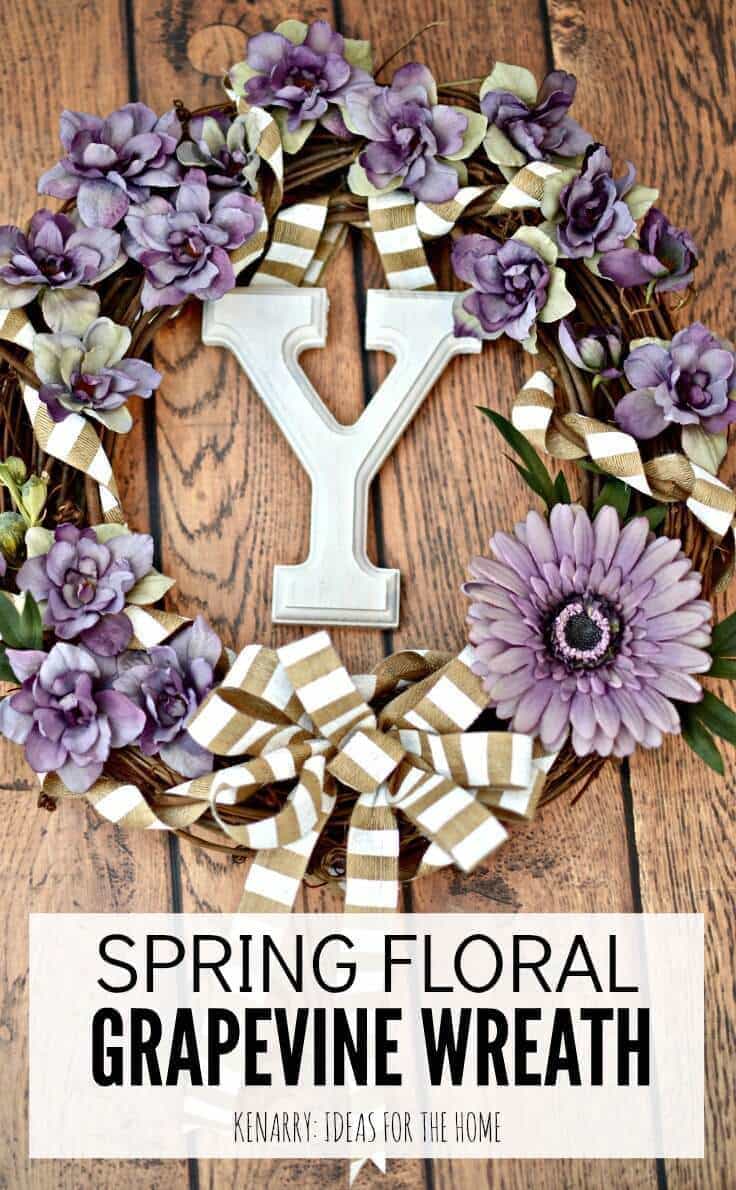
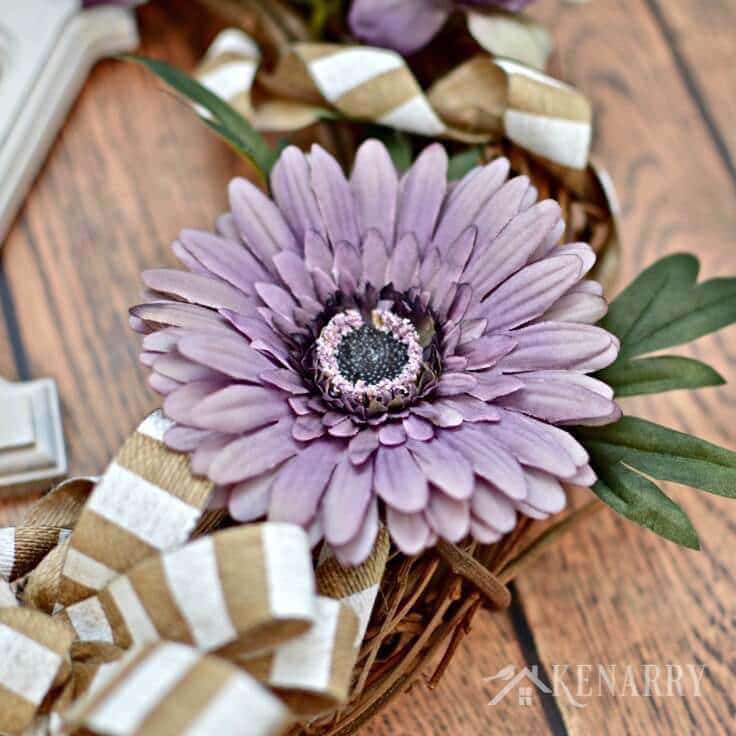
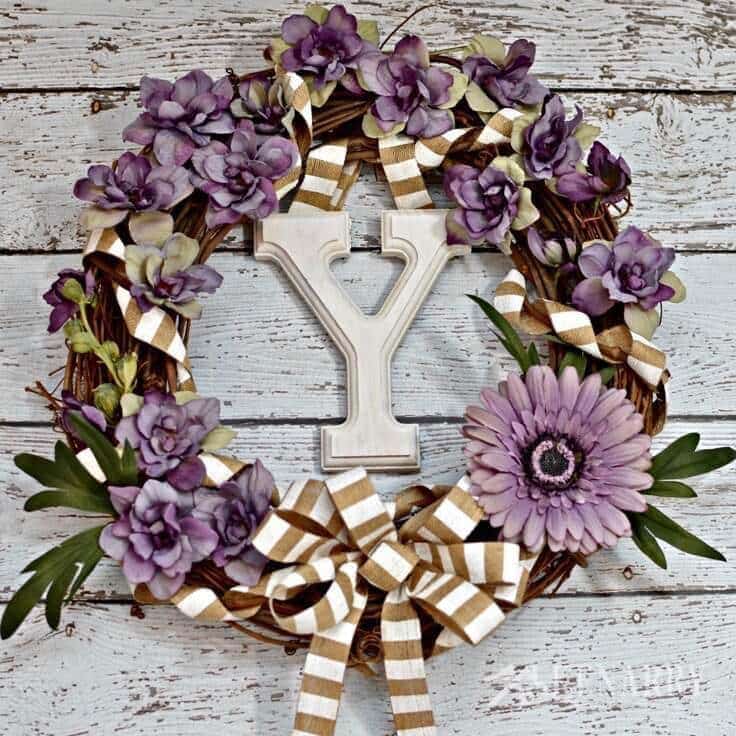
A floral grapevine wreath with purple flowers and striped burlap ribbon is an easy craft to make as spring home decor to hang by your door.
Celebrate spring by making a new wreath to hang by your front door. This Floral Grapevine Wreath with purple flowers and striped burlap ribbon is an easy craft to make. Use it as every day spring home decor or display it just for Easter.
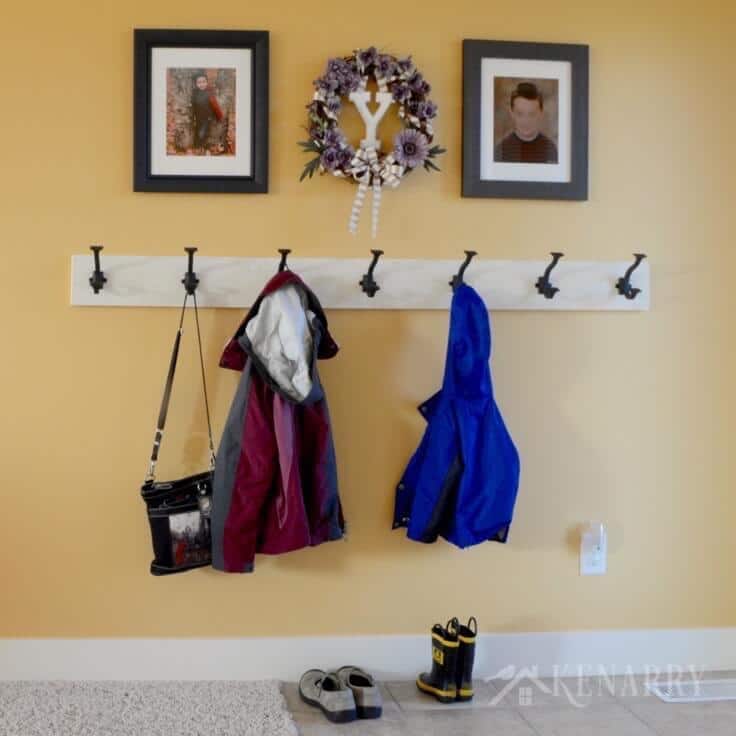
There’s just something warm and welcoming about a seasonal wreath when you enter a home, isn’t there? I like to hang one between two school photos of my boys in the front entryway of our house. It gives a little festive touch to our home decor to greet people when they come to our front door.
At Christmas time, I hang a scrap fabric wreath made with Christmas pajama pants. In the winter, I have a fuzzy yarn wreath with a penguin hanging from the center, but I needed a new wreath for spring.
The front entryway where the wreath hangs is part of a great big room that encompasses our living room, dining room, and kitchen. Over the past year, I started changing just a few things around the room to freshen up our home each time the season changes. It’s really just four things I change right now — the wreath or decor outside our front door, the wreath between the boys’ photos in the front entryway, the decor above our fireplace mantel and the art in our dining room.
I try to use some common elements in the colors and textures I use in those four spots so that they coordinate each season.
Springtime makes me think of easter
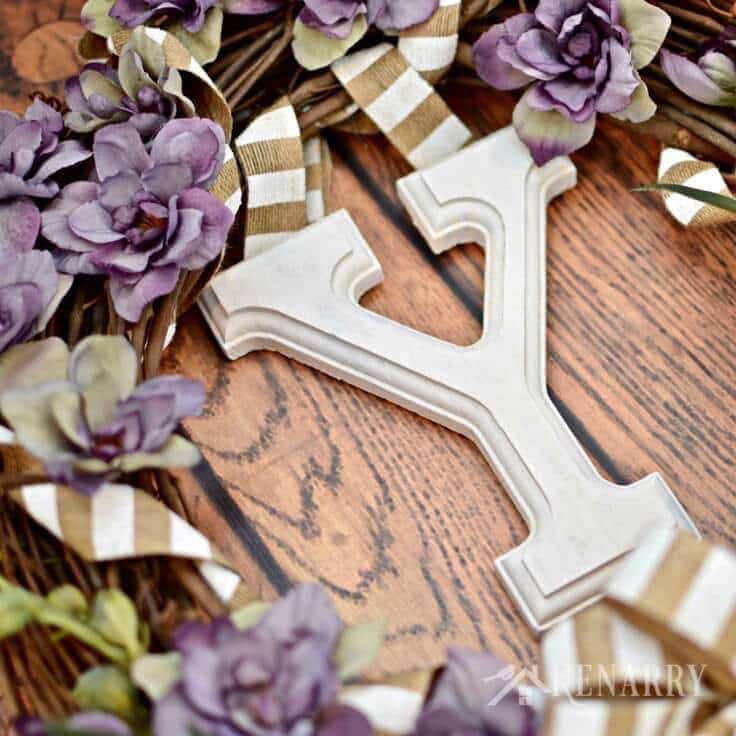
Spring always makes me think of Easter at my Aunt Ronda’s house and all the special traditions our family has. Aunt Ronda’s favorite color is purple so when I think spring, I think PURPLE! Our spring fireplace mantel decor includes a lot of greenery with some white accents, a little burlap, and sprigs of artificial lavender. So I chose those same colors for the faux flowers and accents on the Floral Grapevine Wreath.

Get our e-book The Ultimate Guide to Making a Burlap Wreath plus a special limited time offer for 25% off Kenarry burlap ribbon when you subscribe to be an Idea Insider. It’s totally FREE!
Your privacy is important to us. We promise not to spam you or share your information. You can opt-out at any time. See our privacy policy for more information.
How to Make a Floral Grapevine Wreath
Disclosure: This blog post contains affiliate links for products or services we think you’ll like. This means if you make a purchase from one of these links, Ideas for the Home by Kenarry® will make a small commission at no additional cost to you so we can keep the great ideas for the home coming your way. All opinions expressed are derived from personal experience.
I love using grapevines as a base for spring wreaths because the stick or twig-like appearance always reminds me of a bird’s nest. They’re inexpensive and easy to find at any hobby or craft store. Plus it’s quick and easy to dress up a grapevine wreath with artificial flowers, ribbons and other accents to create a new decor for your home in less than an hour (not including the dry time if you’ve got to paint a monogram letter as I did!).
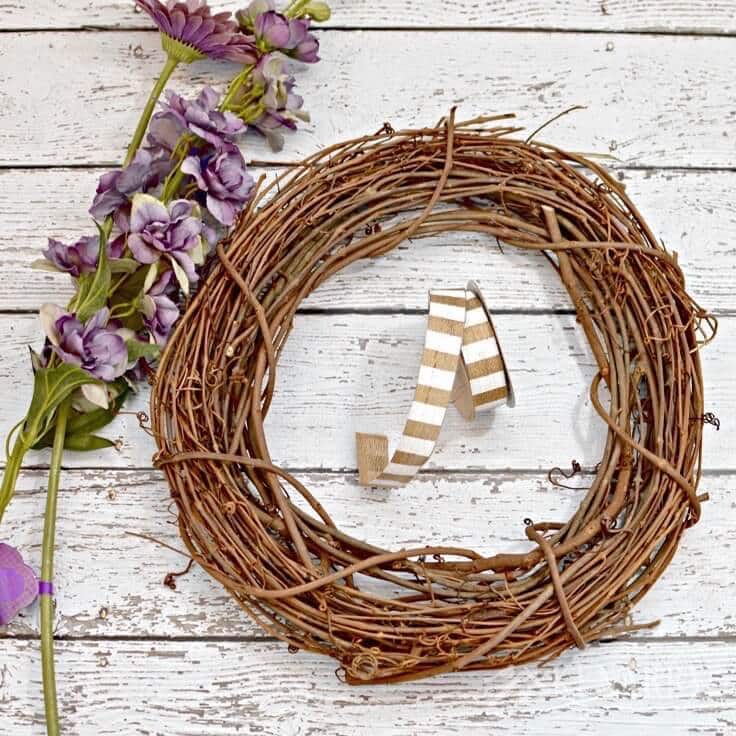
Supplies You Need:
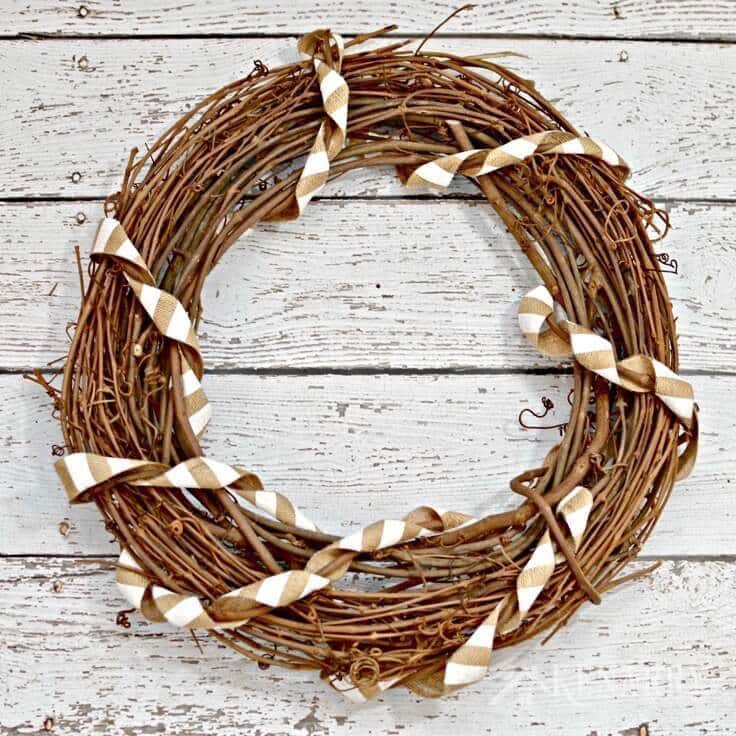
- Grapevine wreath (Ours is 14 inches in diameter from the outer edge.)
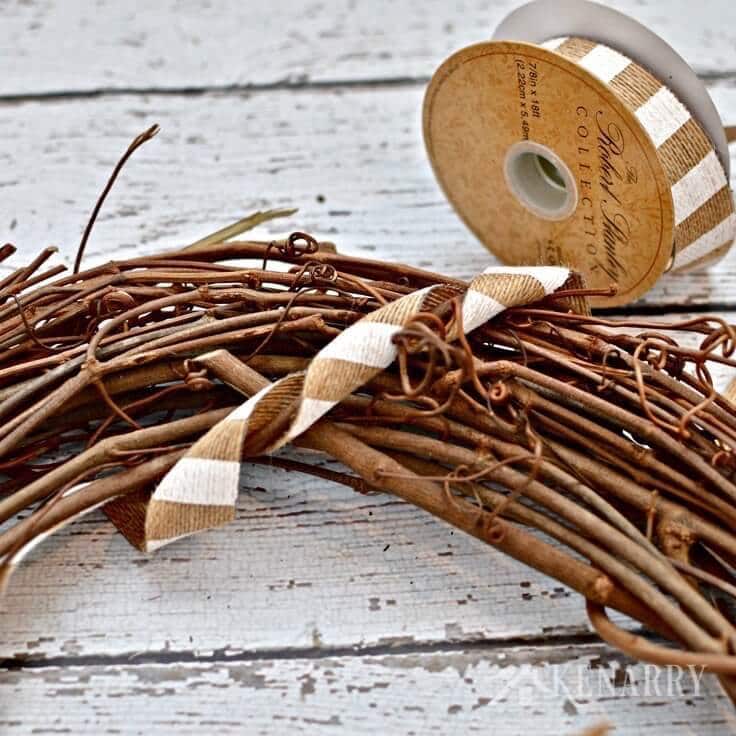
- 7/8″ or one inch wired ribbon
- Scissors
- Artificial flowers (I used a purple delphinium spray and a gerbera daisy from Hobby Lobby.)
- Unfinished wood monogram letter (Our letter Y is 6 inches tall.)
- White acrylic craft paint
- Water
- Small container
- Paint brush
- Wire cutter
- Hot glue gun and glue sticks
- Floral wire or picture wire
Instructions:
1. Wrap the ribbon around the grapevine wreath.
Every grapevine wreath is held together by one or more vines that wrap around and around the other vines to create a circle. For this Floral Grapevine Wreath, I wanted to accentuate that vine and make it stand out.
To do so, I laced one end of the ribbon underneath the vine and then wrapped it loosely around the vine over and over again like a corkscrew. I purposefully kept the loops in the ribbon loose so that you could still see parts of the vine.
Use scissors to cut the end of the ribbon, then tie it to the backside of the grapevine wreath to hold it securely in place.
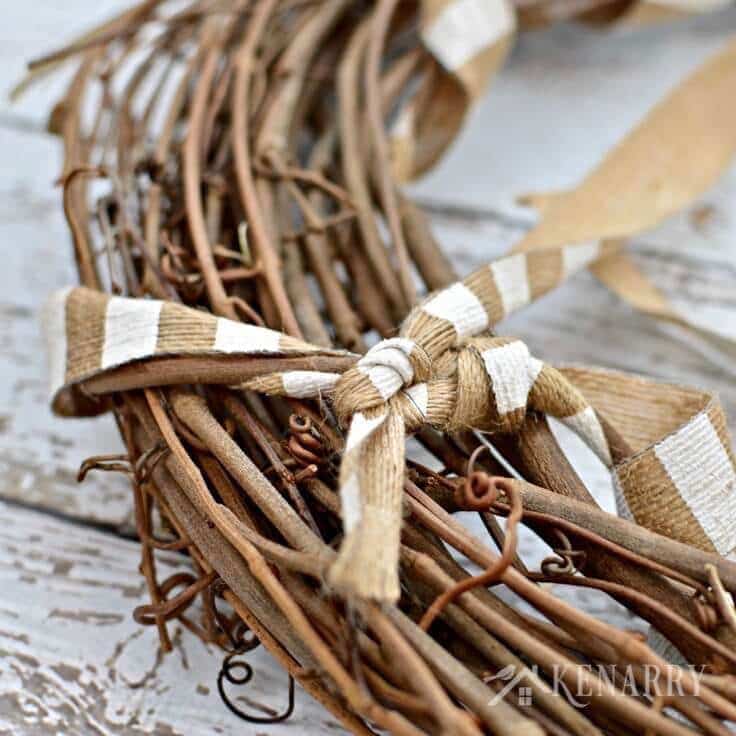
Sometimes the wreath is held together by more than one vine, so you may need to repeat this process with several different pieces of ribbon. Continue until all of the vines are covered as you see in the photo below.
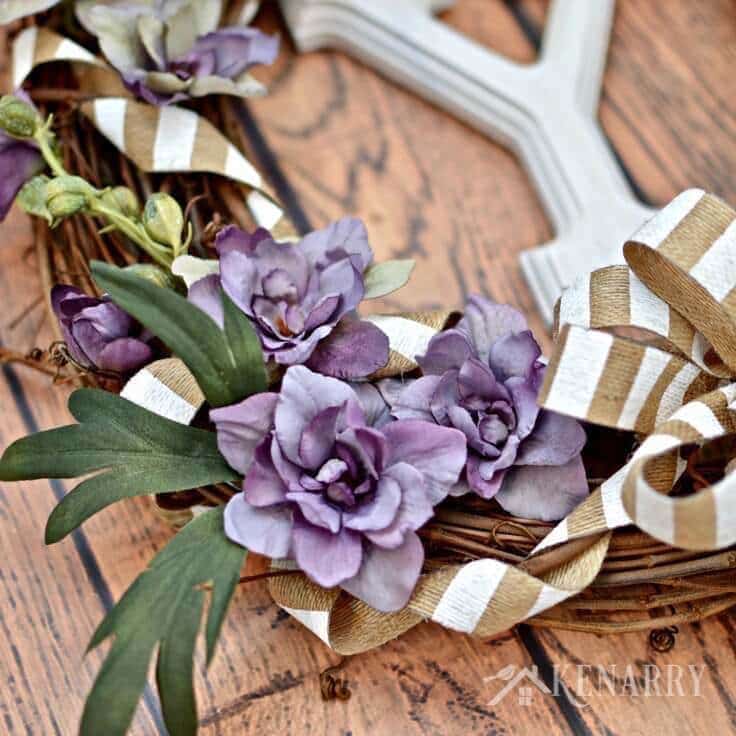
2. Glue flowers onto the Floral Grapevine Wreath.
Use wire cutters to clip the artificial flowers and leaves from their stems. Next, place them around the grapevine wreath in the gaps between the ribbons to determine where you want each one to go. Continue to move them around until you find a good balance and like how it looks.
Next apply a liberal amount of hot glue to the back of one flower at a time.
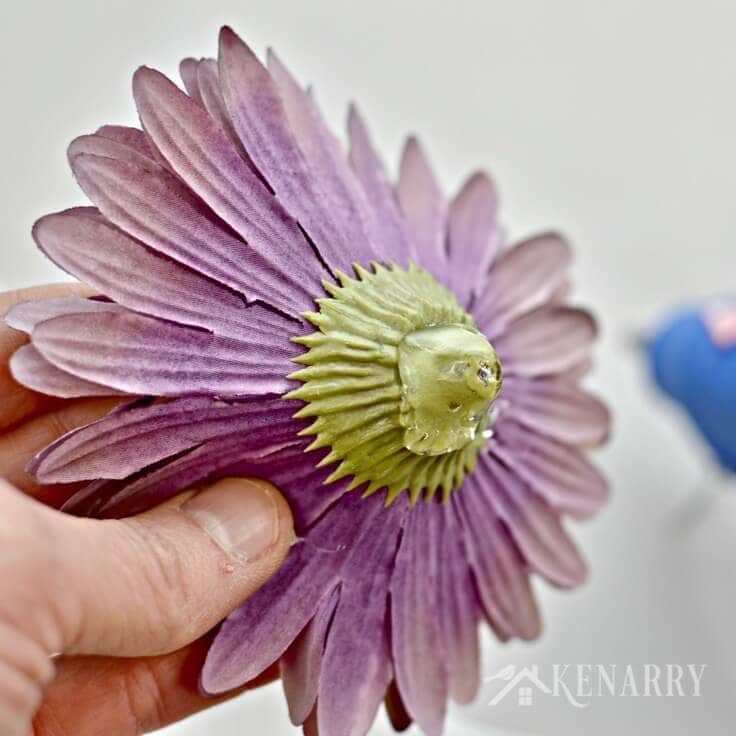
Press the flower on to the grapevine wreath and hold it for a few seconds to give the glue a little chance to set. Repeat with all the remaining flowers. You may want to tuck a few leaves in here and there too to give the Floral Grapevine Wreath a little greenery.
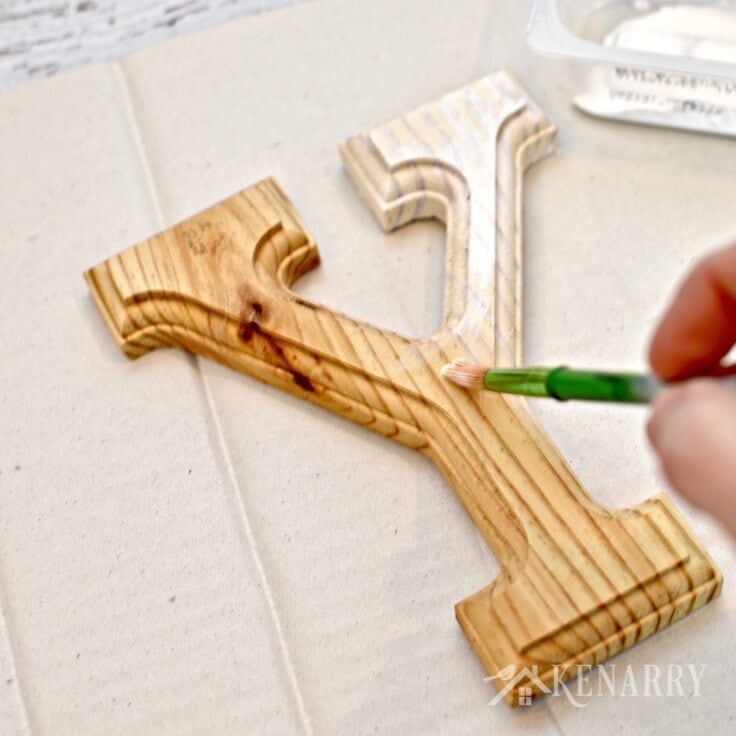
3. Paint Your Wood Letter.
The wooden letter “Y” I chose for this Floral Grapevine Wreath is solid wood. I love the detail in how the edges are routed. More importantly, I love the wood grain and didn’t want to lose the character of it by painting the letter a solid color.
Instead, I mixed a little white acrylic craft paint with water in a small container, probably about 50/50. Then I used the watered-down paint to “whitewash” the monogram letter. You may need to do a few coats to get the coverage you want. Just don’t do too many coats or you’ll lose the wood grain we’re trying to preserve here.
4. Attach the Wood Letter to the Floral Grapevine Wreath.
Once the wood letter was completely dry, I flipped it over. Then I used a hot glue gun to affix two small pieces of the ribbon to the backside of the letter.
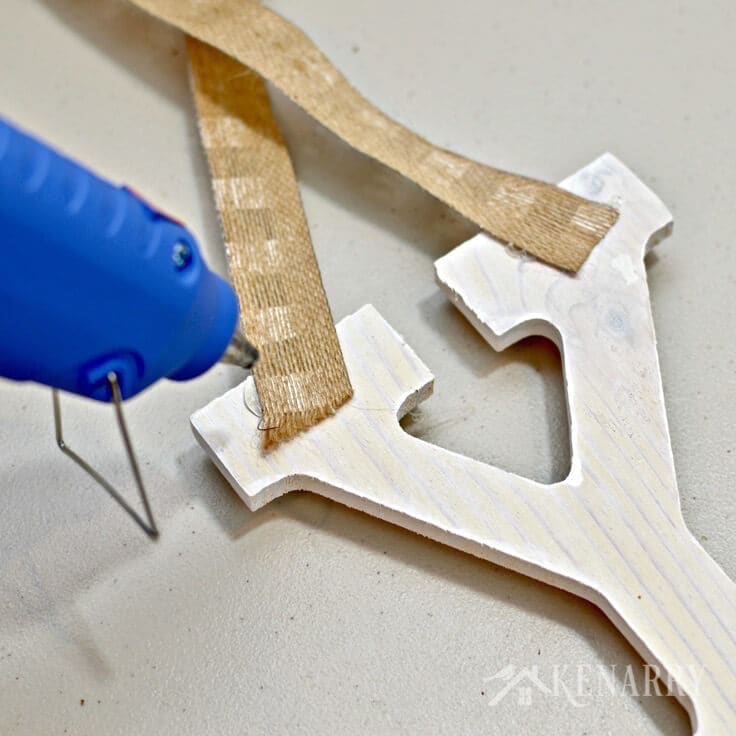
You’ll notice that I glued the two pieces of ribbon to the back of the letter “Y” at an angle. This way the ribbons meet together at the top so it’s easier to tie them around the vines at the top of the grapevine wreath.
5. Create a little bow.
After I attached the monogram letter and all the flowers to the Floral Grapevine Wreath, it still didn’t feel “finished” to me. This video tutorial from The O’Neil Sisters was very helpful in teaching me how to create a big loopy bow.
Unfortunately, I didn’t have enough of the ribbon left to make mine as big as the one you see in their video, but in the end, I like how my modified version turned out.
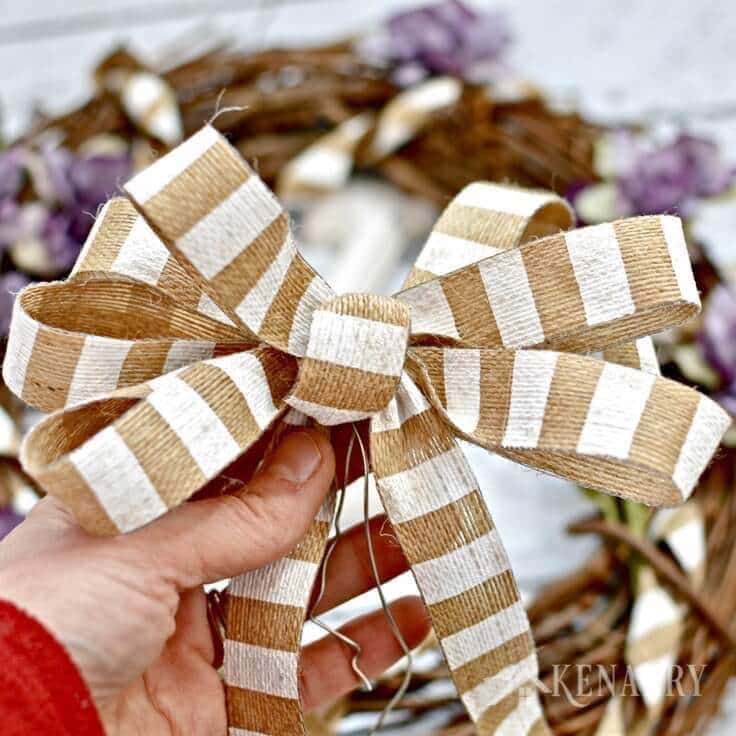
I put a small piece of picture wire through the back of the bow and twisted it to hold the bow together. Then I used the ends of the wire to attach the big bow to the bottom center of the Floral Grapevine Wreath.

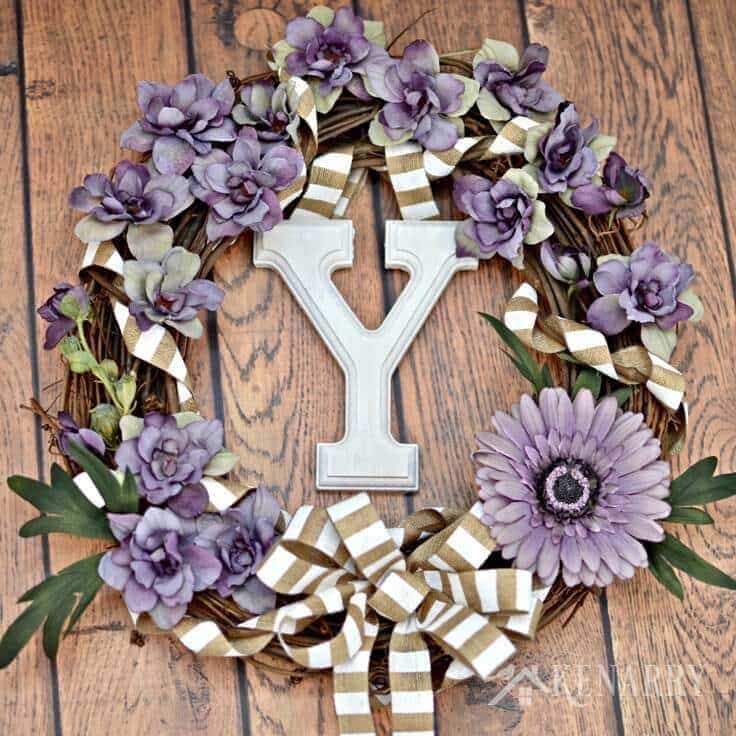
6. Hang and enjoy your Floral Grapevine Wreath.
Now you’ve got a beautiful Floral Grapevine Wreath to hang in your home for spring!
As I mentioned before, I have our Floral Grapevine Wreath hanging on a nail between the boys’ school photos. It’s right above the DIY coat rack we put in our front hallway so people see it whenever they come over to visit this spring.
While you’re here be sure to check out other spring ideas on Ideas for the Home by Kenarry® –
- Quick & Easy DIY Spring Wreath
- DIY Embroidery Hoop Spring Wreath
- Colorful Wreath Seasonal Decor made with Cupcake Liners
If you enjoyed this Floral Grapevine Wreath, please share it with your friends or pin it for later:


Such a lovely wreath. I have an MDF letter that I was just wondering what to do with. Your use of one in the wreath is a great idea.
Thank you so much, Jane! An MDF letter would work great as an accent on a wreath. Happy crafting!