Create a Beautiful Upcycled Tin Can Vase in Minutes
THIS POST MAY CONTAIN AFFILIATE LINKS. PLEASE SEE OUR FULL DISCLOSURE POLICY FOR DETAILS.
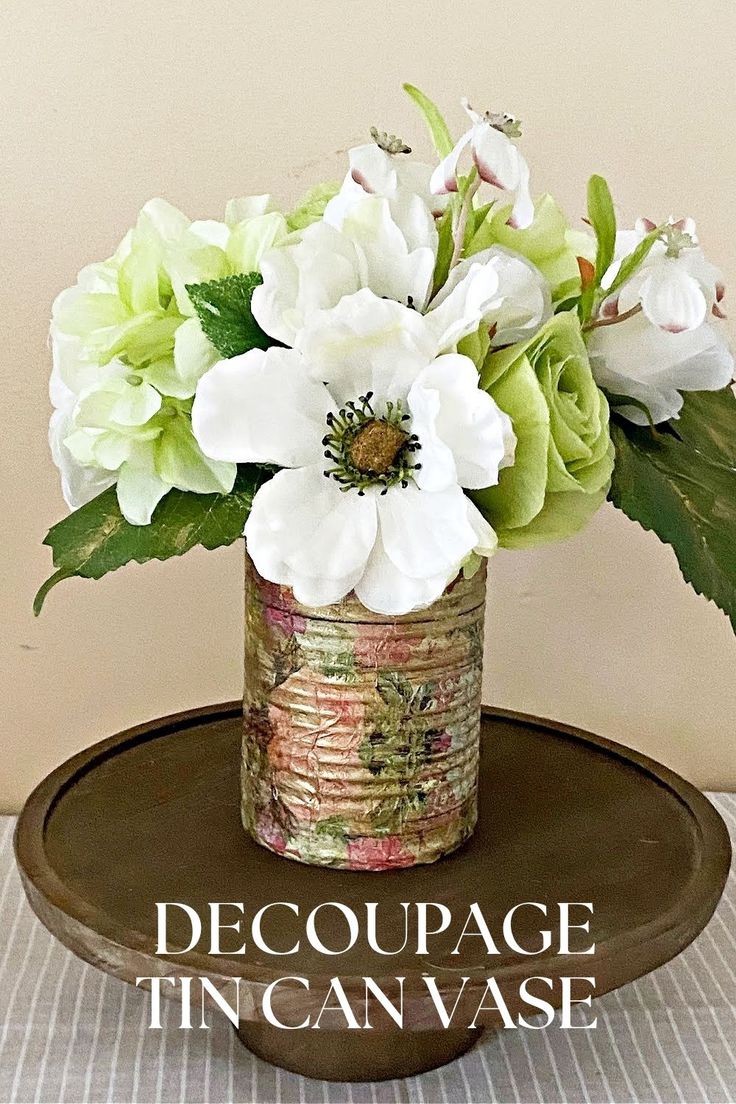
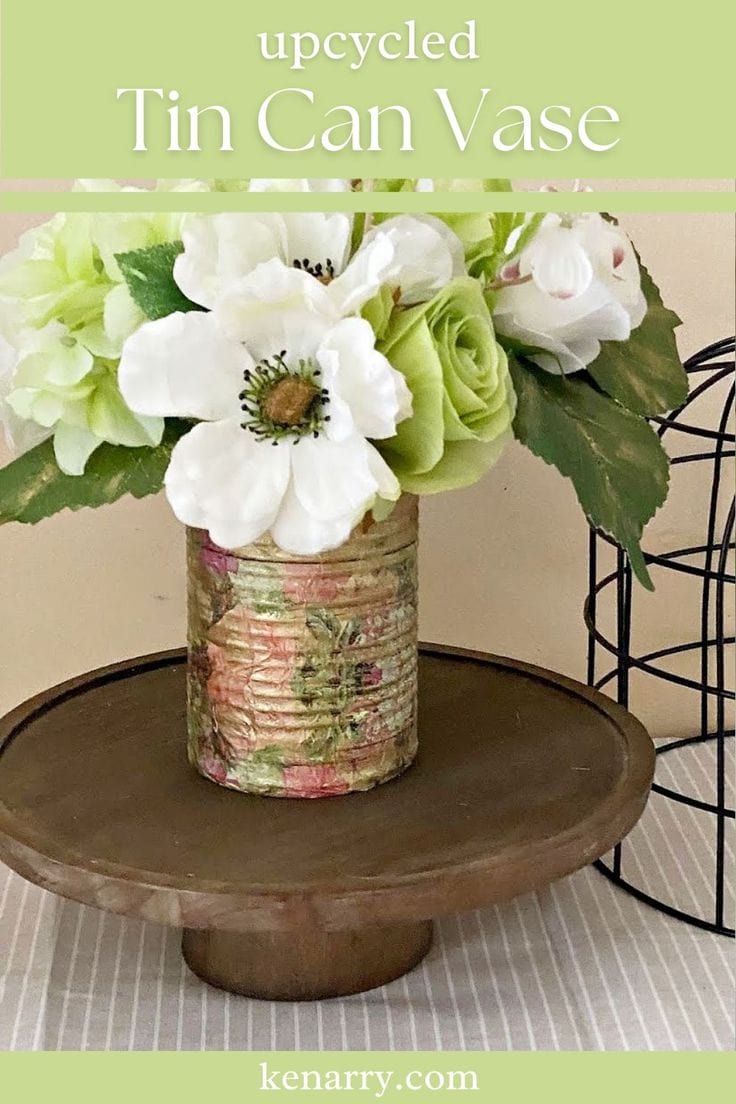
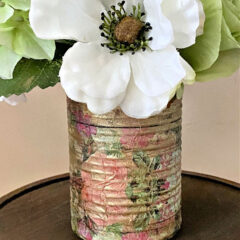
Don’t toss out those old tin cans—create an upcycled tin can vase instead! This easy tutorial will show you how to transform a tin can into a beautiful vase in just minutes.
Hello! Michelle here from Our Crafty Mom. I’m excited to share a budget-friendly craft project that you can create with just a few basic supplies.
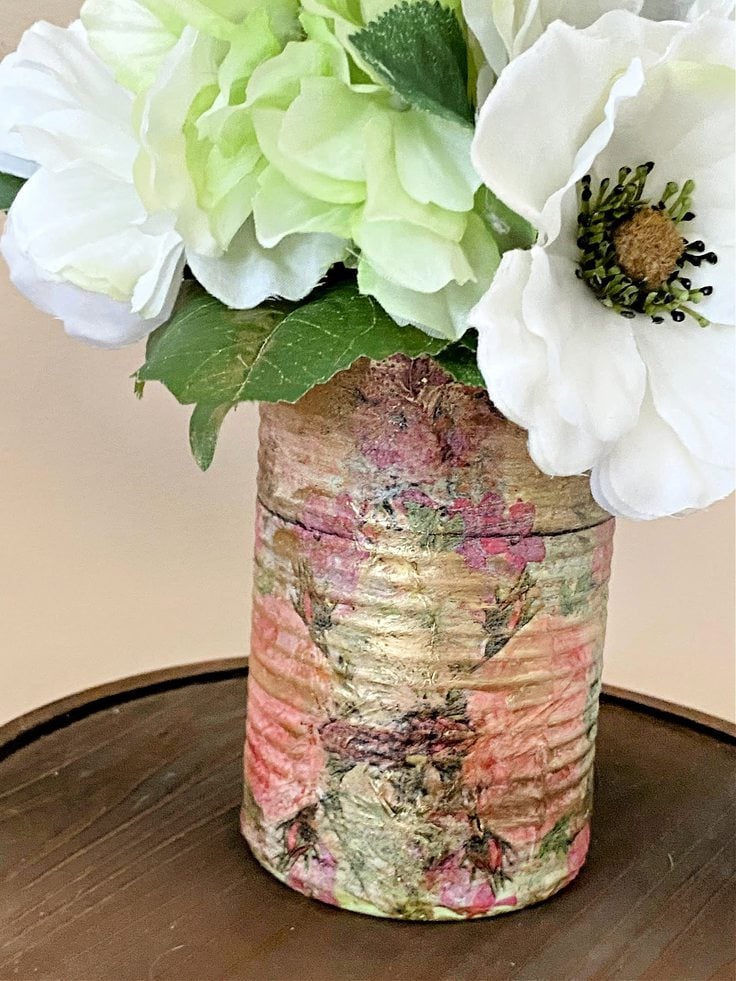
I’ve been having some fun upcycling tin cans and this tin can vase may be my favorite yet!
Let me show you the super simple tutorial so you can make your own pretty vase! After you’re done making this one, try making a wood vase out of rings. It’s incredibly simple and another fun way to upcycle craft supplies.
How to Make a Tin Can Vase
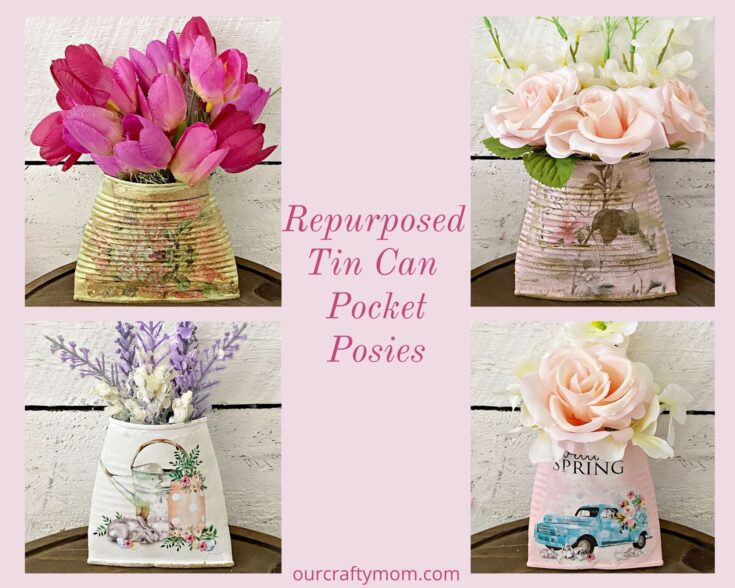
Once you make your first tin can vase you will want to make more! They are so versatile and you can use all different size cans to create them. Plus, there are so many beautiful napkins online and in stores that you can create all kinds of different designs and colors.
What you need:
Want more ideas like this? Subscribe today to get our weekly Ideas in Your Inbox newsletter plus other exclusive gifts and offers — all for FREE!
Craft/DIY Tools Needed:
Supplies Needed:
These are the ingredients you’ll need. All the exact amounts are in the printable card at the bottom of this post.
- Goo Gone
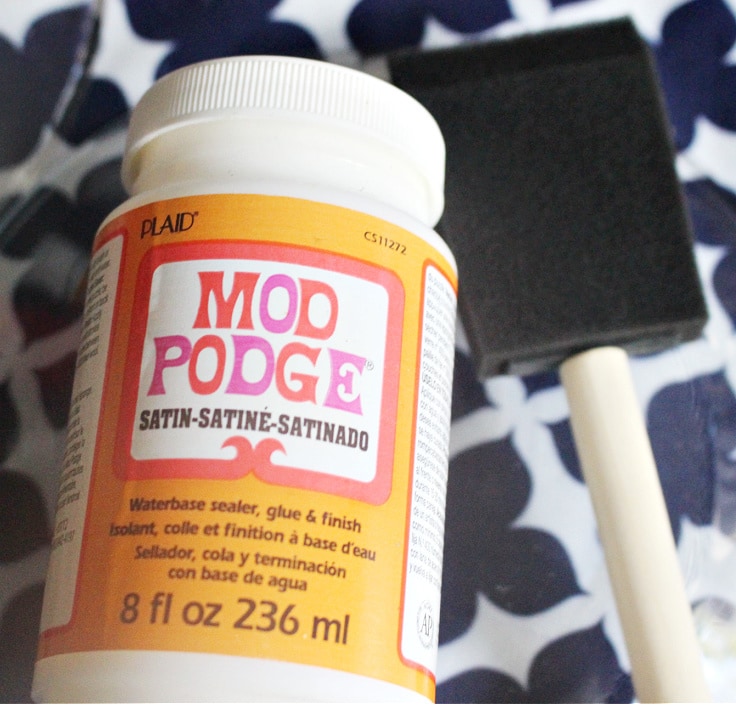
- Mod Podge
- Foam Brush
- Pretty Napkins
- Empty Tin Can
Upcycled Tin Case Vase Tips
Remove the label
The first thing you want to do is remove the label from the tin can. Sounds easy enough, but sometimes it leaves a sticky residue that you also need to remove.
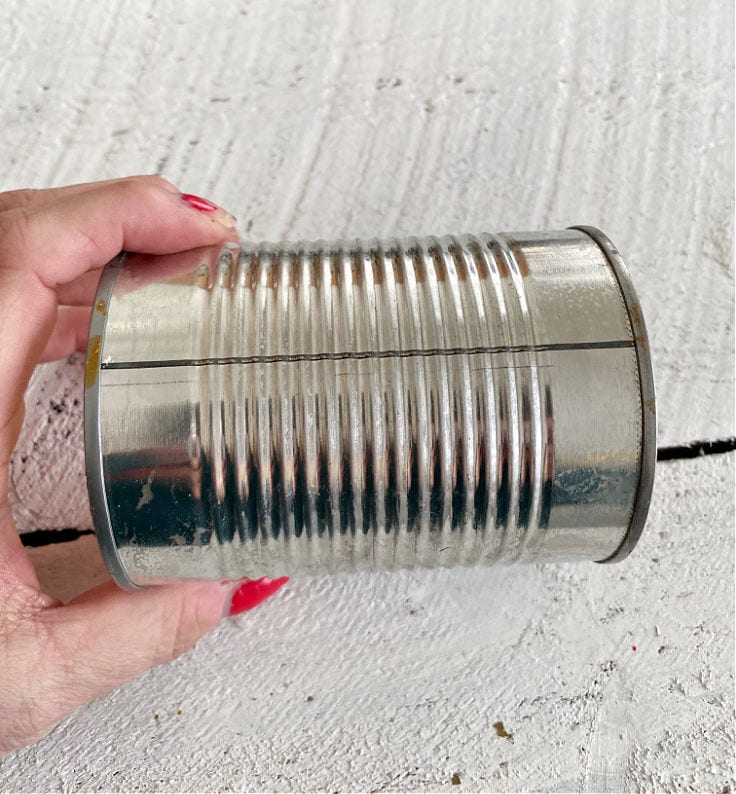
My favorite way to remove any residue is by using Goo Gone. If you don’t have this handy, you can use rubbing alcohol, but I much prefer Goo Gone. It works really quickly.
Even though you are covering the vase you don’t want any extra bumps to show through.
Paint the Tin Can
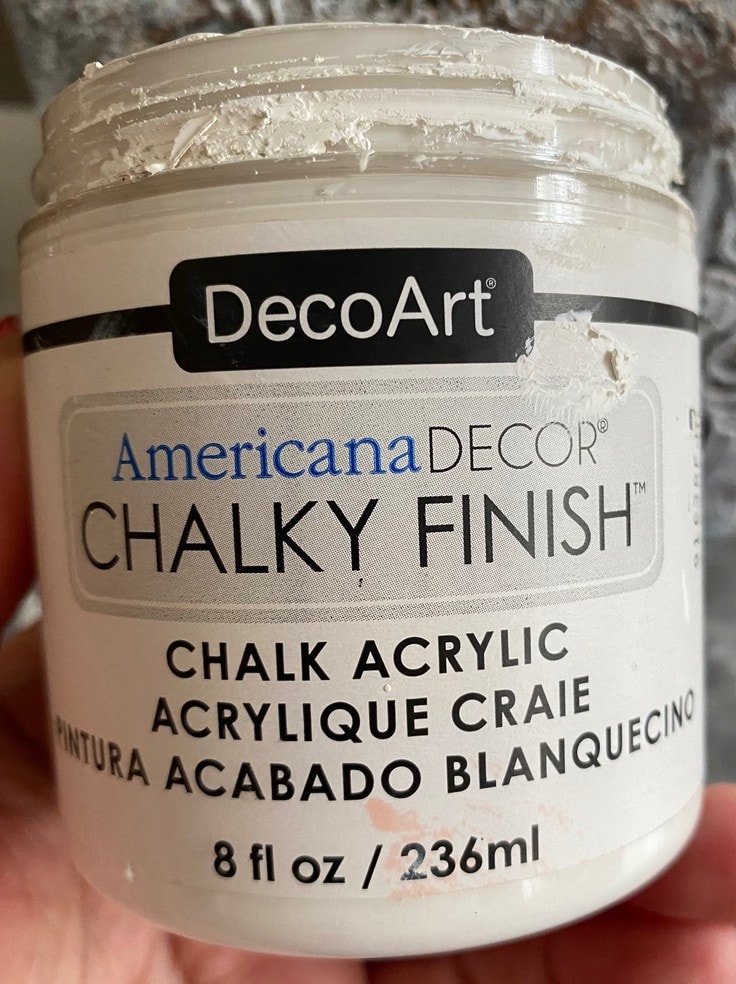
Next up, you want to paint your tin can. I love chalk paint, but you can use any paint that you have available.
While you can cover the tin can without painting it, your napkin colors will show up much more vibrant if you paint the can white first. I’ve tried it both ways and much prefer the painted version. Trust me on this! 🙂
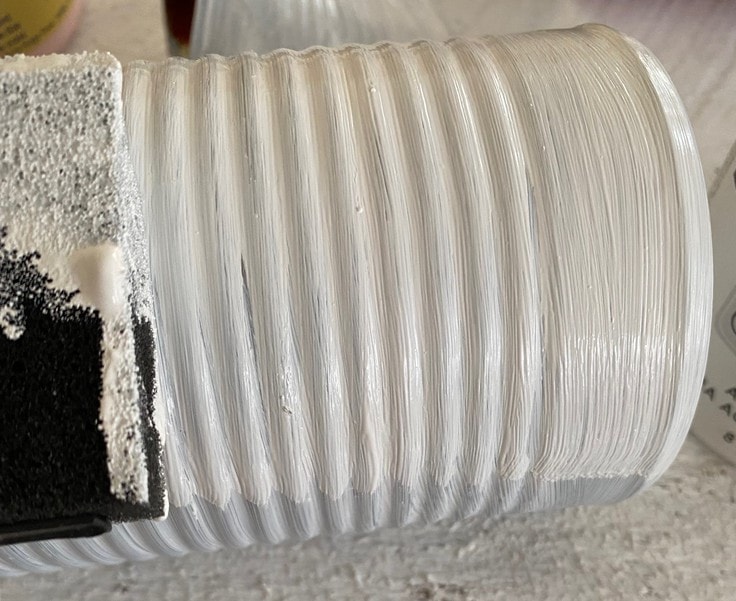
Give it a couple of coats using a foam brush and let it dry completely before proceeding to the next step.
Add Mod Podge
Once the paint is completely dry, apply Mod Podge directly to the can working in portions. Let the Mod Podge get tacky before applying the napkin. It only takes a minute or two.
Apply the Napkin
Now for the fun part! Take your pretty napkin and remove the top layer. Most napkins are 2-3 ply. You only want to use the top printed layer. I found these gorgeous floral napkins at the craft store.
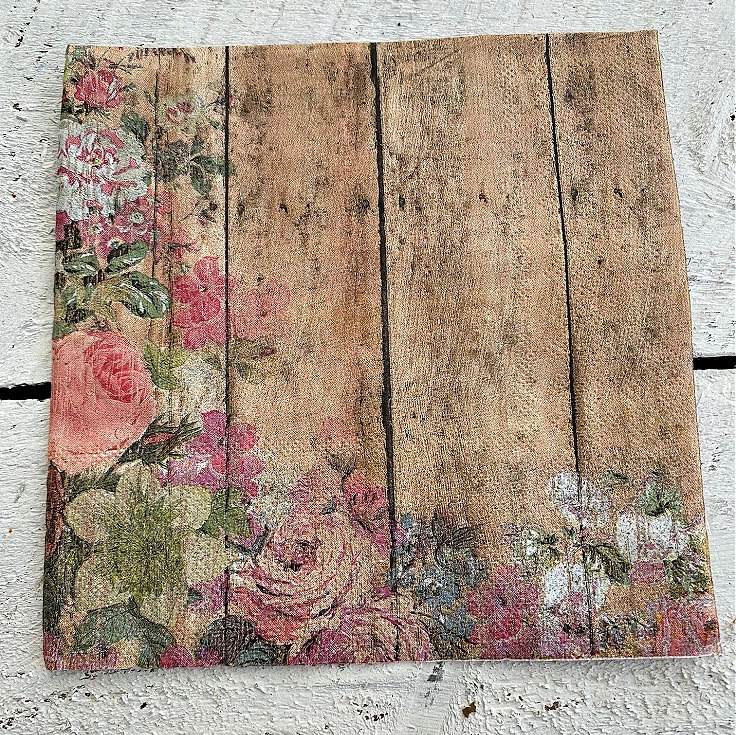
They have a shabby chic feel to them that I just love. You can also use tissue paper, wrapping paper, or even book pages to decorate tin cans. Experiment and have fun with it!
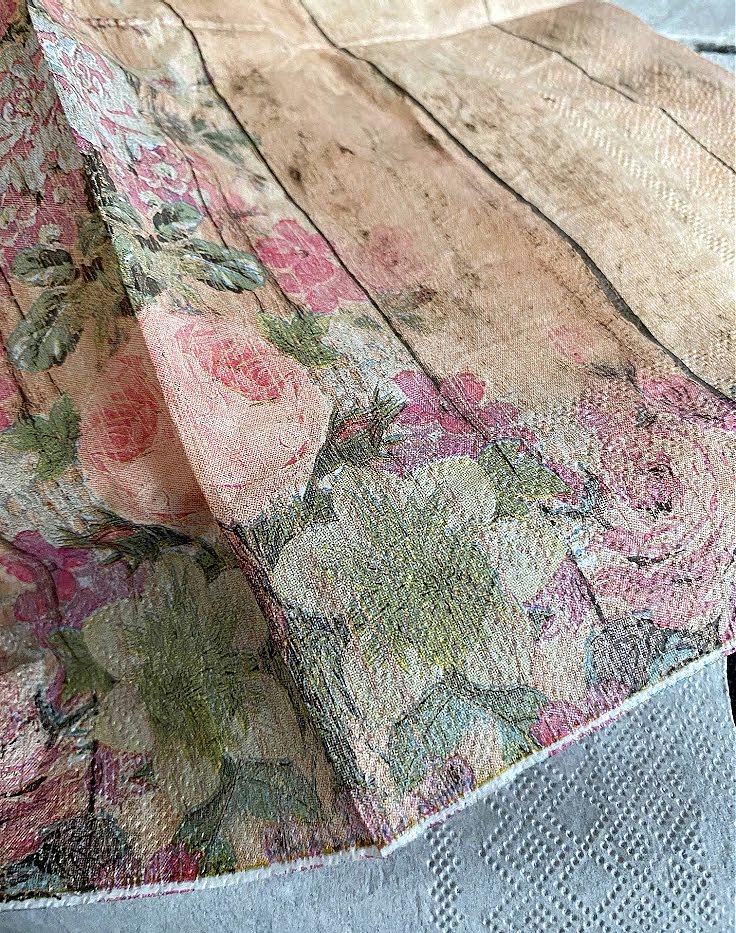
Place the napkin directly onto the tin can with Mod Podge. Lightly pat it down and smooth any wrinkles as you go.
I found it easier to cut the napkin into four sections and apply it across the can, but it is very forgiving so go with whatever you feel most comfortable with.
Trim any Excess Napkin
Now you want to trim off any extra napkin material from around the tin can. Fold it under the bottom of the can so it has a nice finished look.
Just look at how lovely this tin can planter is:

If you are using the vase inside you can just apply a top coat of Mod Podge. However, if you plan to use it outside you also want to spray it with a clear sealant to protect it from the elements.
Upcycled Tin Can Vase
Equipment
- scissors
Supplies
- Mod Podge
- Napkins
- Goo Gone
- Tin Can
Instructions
- Remove the label from the tin can. Use goo gone to remove adhesive residue.
- Paint the tin can with white paint. Let dry.
- Apply a layer of mod podge directly to the can. Let sit for a minute or two.
- Attach a napkin to the mod podge can and press down lightly to secure.
- Repeat until the can is covered.
- Apply a top coat of mod podge over the napkin. Let dry.
- If using the tin can vase outside, apply a clear sealant.
Love the ideas you see here on Ideas for the Home by Kenarry®? Subscribe today to get our FREE DIY & Craft Planning Calendar, plus our weekly Ideas in Your Inbox newsletter filled with creative tips and exclusive offers!
What’s Next?
If you enjoyed this upcycled craft, you may enjoy these upcycled ideas as well.
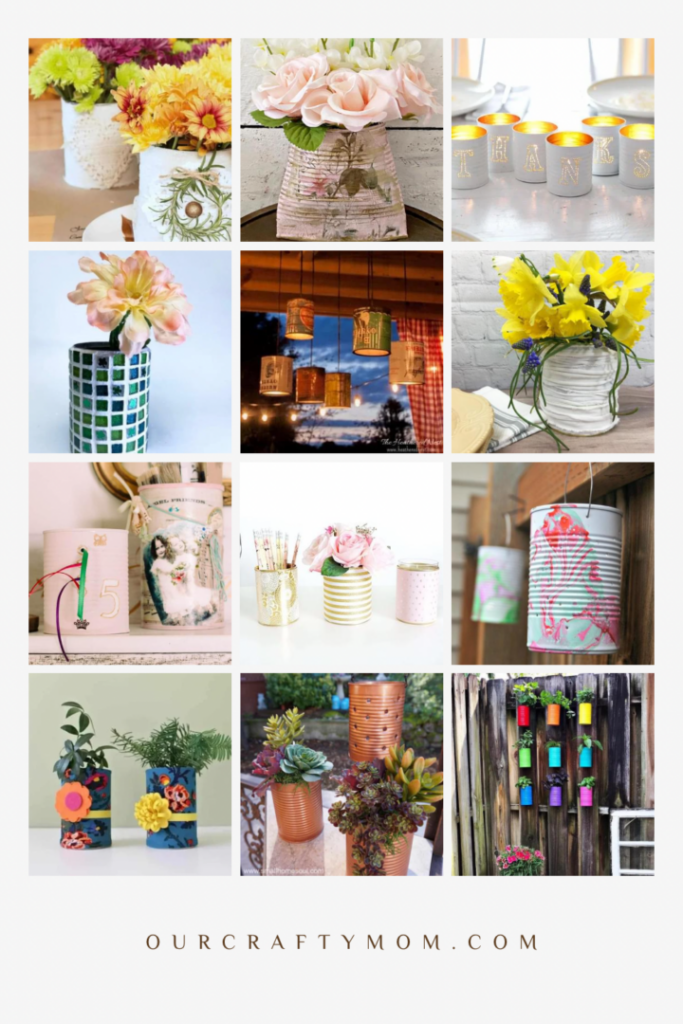
You may also enjoy these upcycled craft ideas on Ideas for the Home by Kenarry® –
Good idea. thank you. recycling idea especially for tomato paste cans and tin cans
Daniel, we’re glad to hear you like this idea! Have fun trying it out.
Best wishes,
Carrie
Ideas for the Home by Kenarry