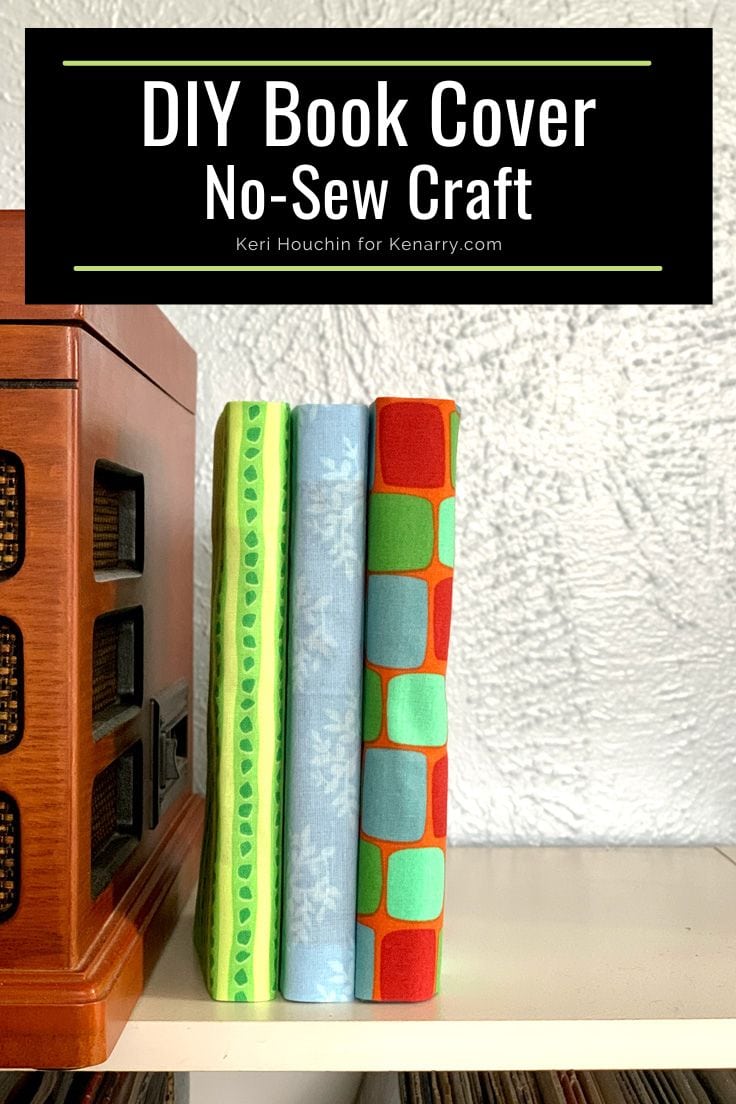
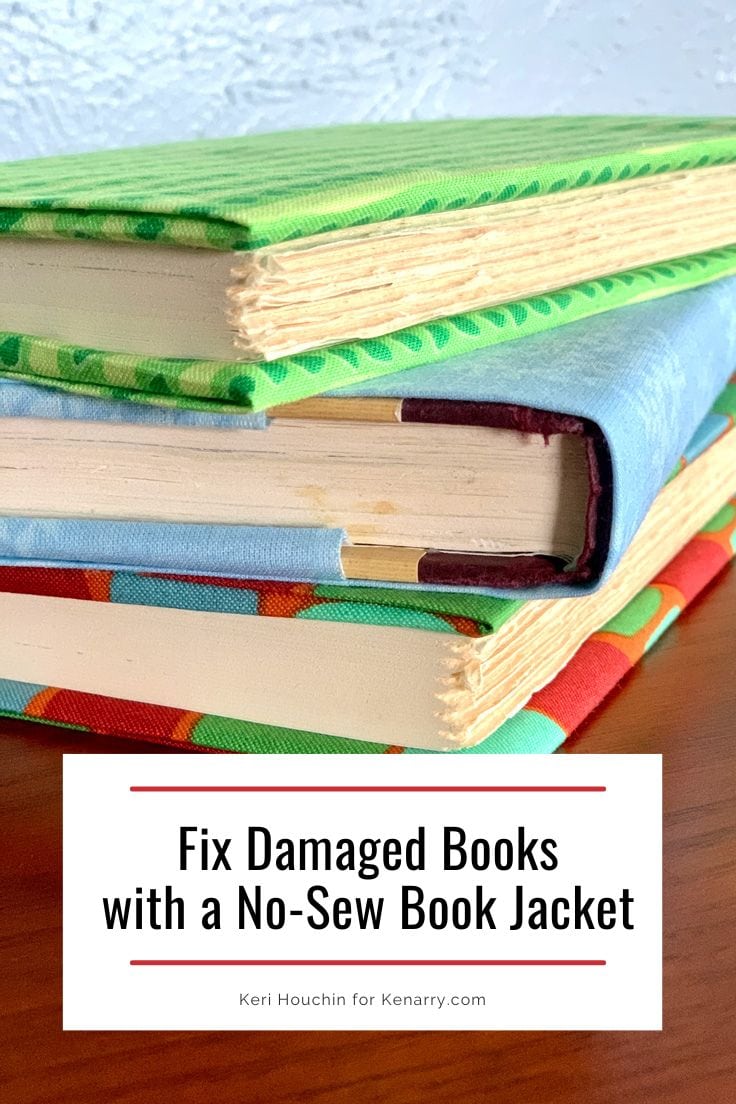
DIY Book Cover No-Sew Fabric Book Jacket
THIS POST MAY CONTAIN AFFILIATE LINKS. PLEASE SEE OUR FULL DISCLOSURE POLICY FOR DETAILS.
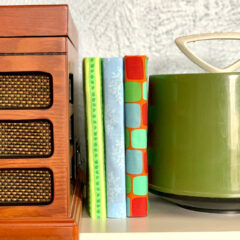
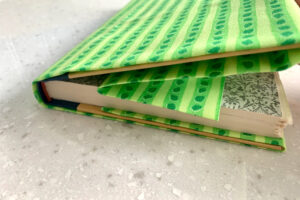
Make an adorable DIY book cover with fabric scraps in matching colors to add a quick no-sew fabric book jacket to your library collection.
I’m Keri from One Mama’s Daily Drama, back with another easy craft idea! This DIY book cover is about to be your favorite easy craft because you need just a few supplies and no sewing skills. You’ll be making a whole library of book jackets this afternoon.
Making your own fabric book cover is an easy way to change the way a book looks without damaging it. I’m very protective of the books I purchase, but I also get a lot of them secondhand.
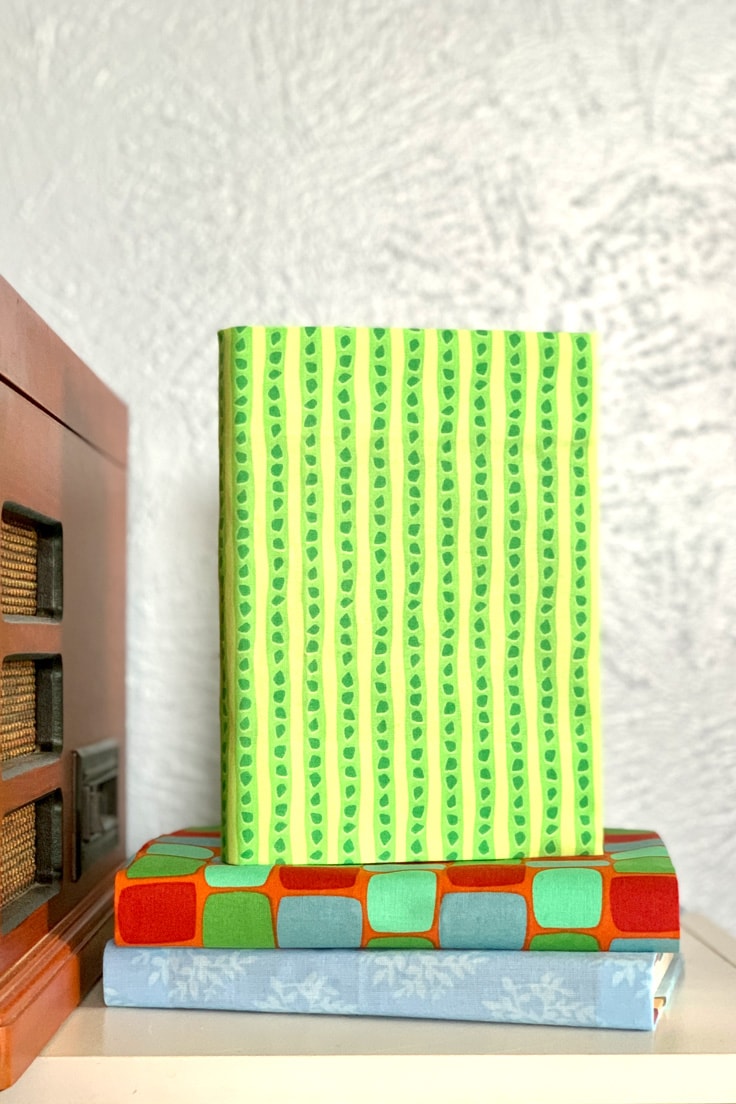
You might want to make a DIY book cover to protect some of your favorite books. Or maybe you bought a great novel, but the cover it already damaged. And of course, if you use books in your home decor this is an easy way to make them all match.
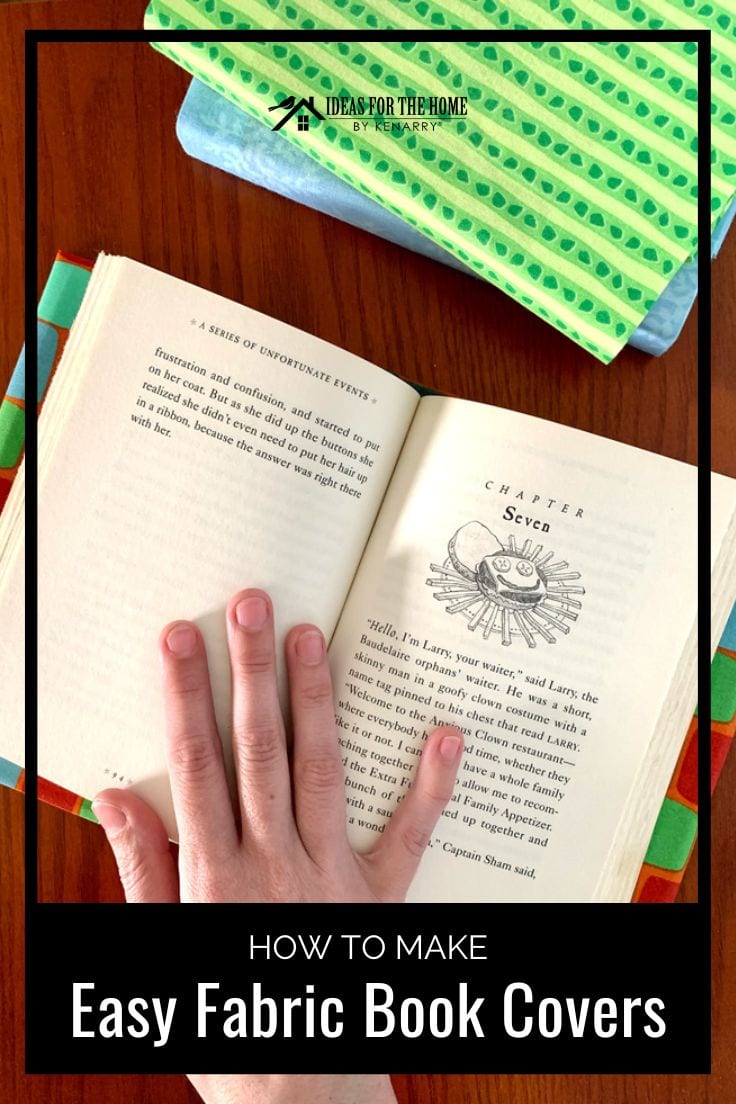
This DIY book cover technique probably isn’t sturdy enough for school textbooks that get tossed in a backpack every day, but it would be perfect for a small notebook or journal.
How to Make a DIY Book Cover
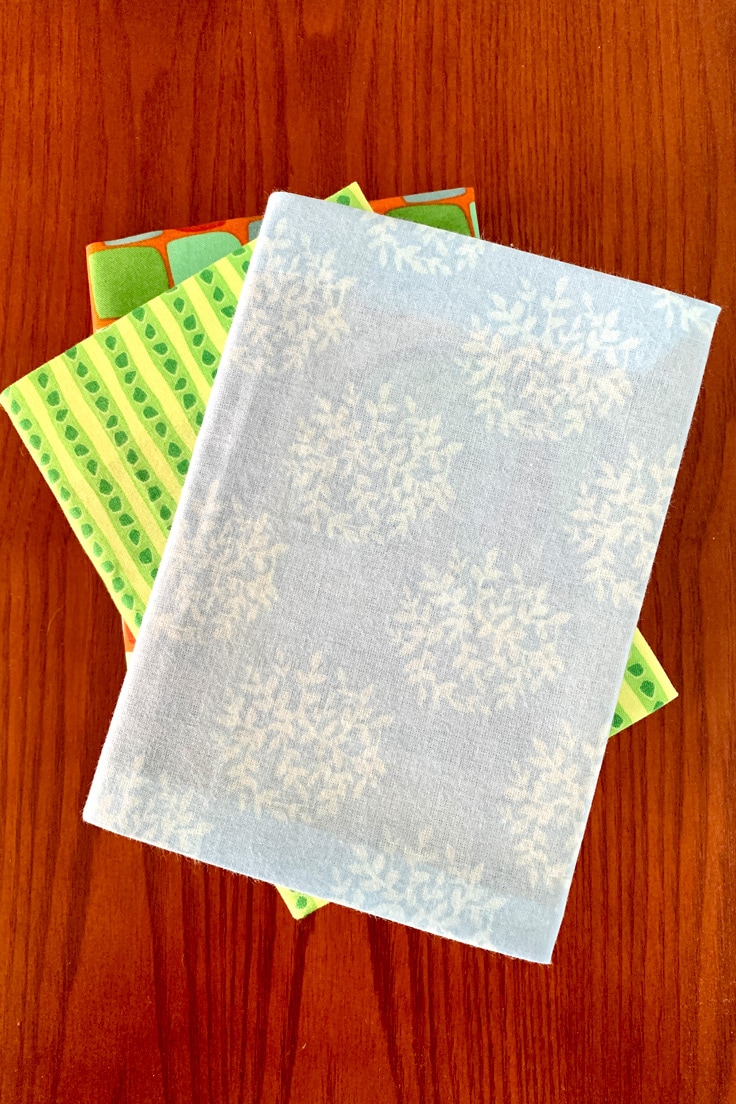
For this craft I chose fat quarters from my fabric stash. You can purchase fabric in a variety of colors and patterns to fit your style.
What you need:
Want more ideas like this? Subscribe today to get our weekly Ideas in Your Inbox newsletter plus other exclusive gifts and offers — all for FREE!
Craft Tools:
Supplies:
- Fabric
- Spray starch
- Super glue (optional)
DIY Book Cover Craft Tips:
How can I make my book cover neatly?
The best way to make sure that your finished book cover is smooth and neat looking is to iron it before cutting. You may need to use steam for stubborn lines, so make sure you give it time to dry before crafting too.
What material should I use for a book cover?
I chose cotton fabric (fat quarters) for mine. You can also use synthetic fabric, like polyester. Felt, thin leather, and other textured materials look great.
How can I make a padded fabric book cover?
For large children’s books, a padded cover makes it a bit more comfortable on the lap. You can purchase pre-quilted fabric, but some varieties may be too thick to hold their shape well.
How can I keep fabric from fraying?
Heavy starch does a good job of keeping most fabric from fraying too much. If you find that it is still fraying more than you like, run a small amount of fray check along all the cut edges.
Where can I iron without an ironing board?
If you have an iron but not the space for an ironing board, there are probably a few other places in your house that are heat-safe. Do not iron on vinyl, laminate or wood, as the heat can cause damage. Granite and marble (like counters), tile (floors), and metal (the washer/dryer) are the best options. Put a towel or other fabric down for extra protection.
How do I keep a fabric book cover from sliding around?
The more starch you use, the stiffer the finished book cover will be. You can also use superglue for a very permanent hold. Use a dab of superglue along the seams where fabric is against fabric for a more secure hold. Be sure to remove the book before gluing, as super glue is permanent and will damage your book!
DIY Book Cover
Equipment
- 1 Pair of scissors
- 1 iron and ironing board
Supplies
- 1 piece fabric measurements depend on book size
- 1 can heavy spray starch
- 1 bottle super glue optional
Instructions
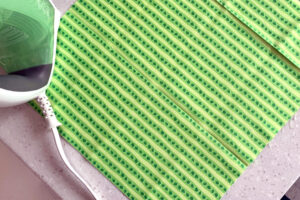
- Select and iron fabric.Start by choosing a fabric that will fit the book. You can eyeball this measurement. Lay the book open with the fabric beneath it. There should be about 2 inches of fabric at the top and bottom and enough fabric on each end to cover half of the front and back covers. Iron the fabric to remove any wrinkles or creases.

- Cut and fold top and bottom edges.With the right side facing down, fold the top edge of the fabric in 2 inches and iron the crease. Line the book up to make sure it will fit inside the top flap, then fold the bottom edge up to cover the bottom of the book. Iron that crease and trim that flap to be about 2 inches.
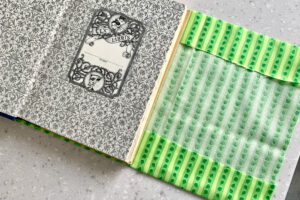
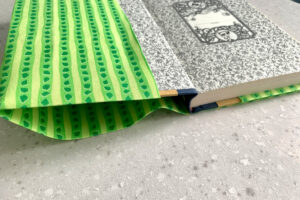
- Cut and fold the back cover.Place the book in the center of the fabric. Fold the fabric inside the back cover, over about half to 2/3 of the book. Close the book on the fabric and move on to the front.
- Cut and fold the front cover.Pull the fabric snug, but not tight and fold the front flap over the front cover. Trim any extra fabric so the front is also covered by the same amount as the back.
- Starch creases.With both covers laying flat and the book open, carefully slide the book out so that the front and back flaps hold their shape. Iron those creases. Spray the entire book cover with a light coat of starch and iron again. Add more starch as needed until the cover holds its shape.
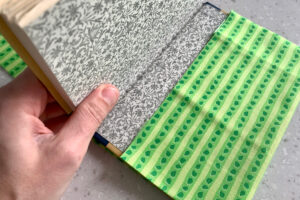
- Reassemble the book with its new cover.When the fabric is completely cool and dry to the touch, slide it onto the book. The front and back covers should fit inside the flaps. Repeat as many times as you like to cover more books!

Love the ideas you see here on Ideas for the Home by Kenarry®? Subscribe today to get our FREE DIY & Craft Planning Calendar, plus our weekly Ideas in Your Inbox newsletter filled with creative tips and exclusive offers!
What’s Next?
If you enjoyed this DIY book cover then you’ll enjoy these crafts for book lovers too.

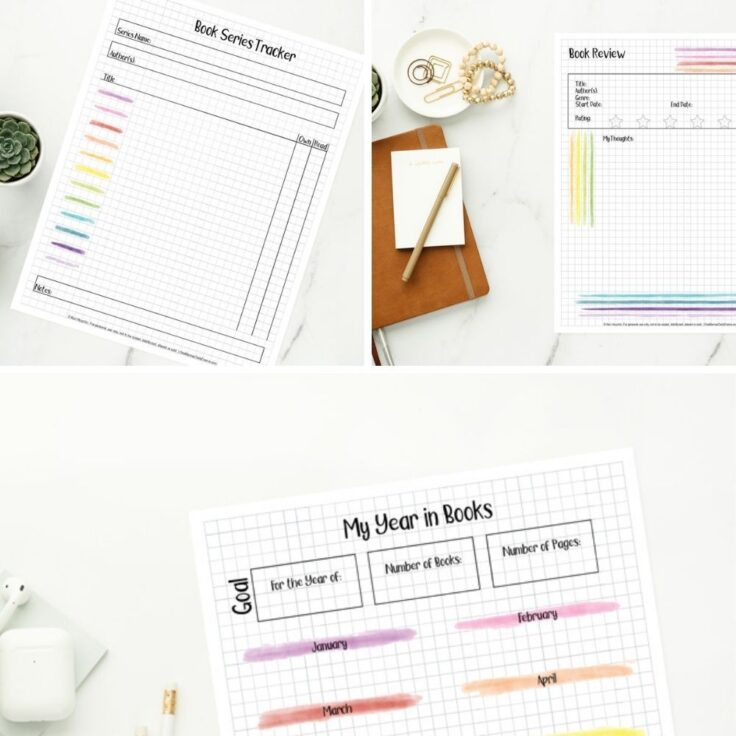
Printable Reading Journal Pages
Kawaii Corner Bookmark Printables
You may also enjoy these no-sew craft ideas on Ideas for the Home by Kenarry® –
