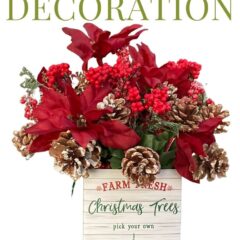
DIY Dollar Tree Christmas Decoration
THIS POST MAY CONTAIN AFFILIATE LINKS. PLEASE SEE OUR FULL DISCLOSURE POLICY FOR DETAILS.
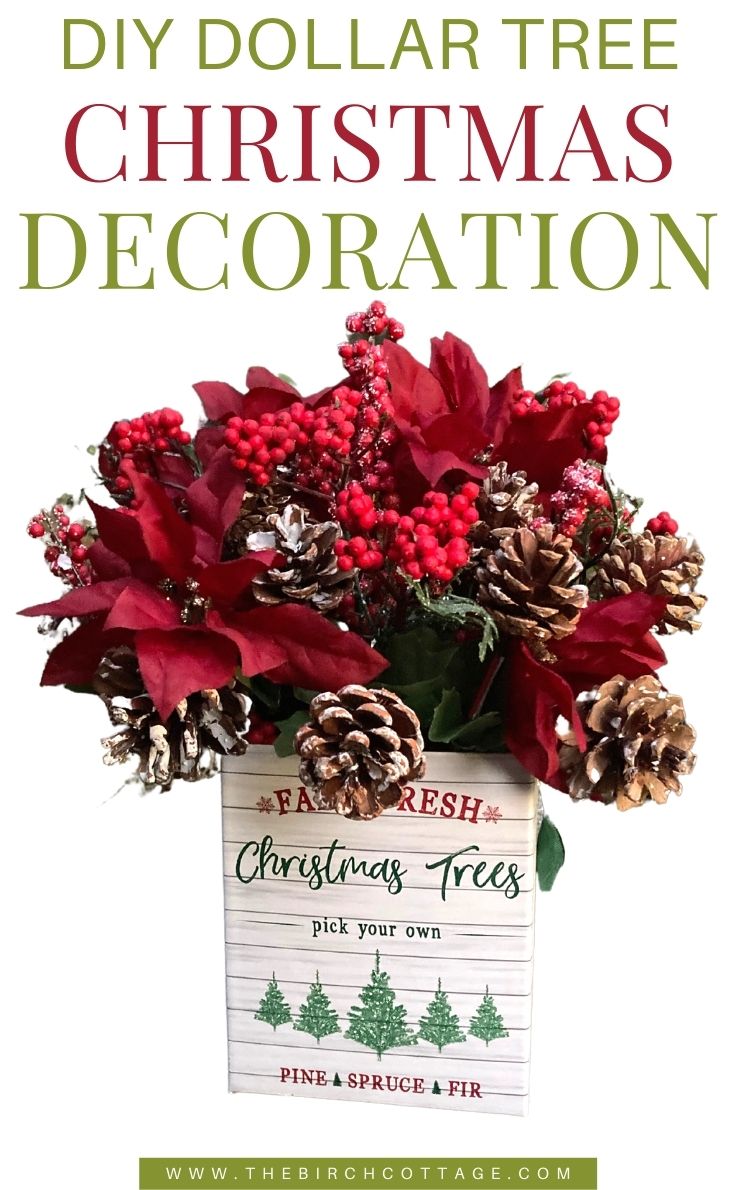
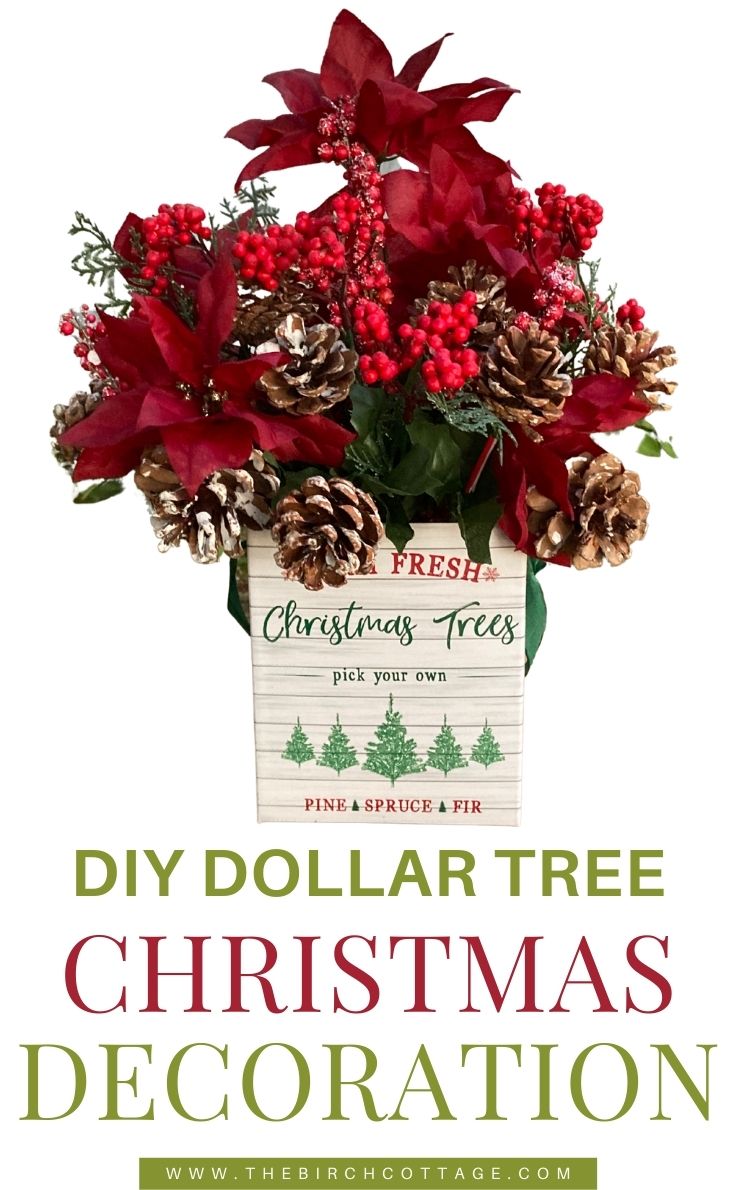
Use inexpensive items from your local Dollar Tree to create this festive DIY Dollar Tree Christmas Decoration.
Hello, Kenarry readers! I’m Pam from The Birch Cottage, and I’m back again this month sharing with you a Christmas craft project idea. I know it’s barely November. But when you see this DIY Dollar Tree Christmas Decoration you’re gonna want to make several!
Plus, according to my local store manager, Christmas inventory is expected to be low this year at Dollar Tree so you’ll want to buy your Christmas decor items early.
Of course, you don’t have to purchase the items for this DIY Dollar Tree Christmas Decoration at Dollar Tree, but it sure makes it less expensive (and so darn cute)!
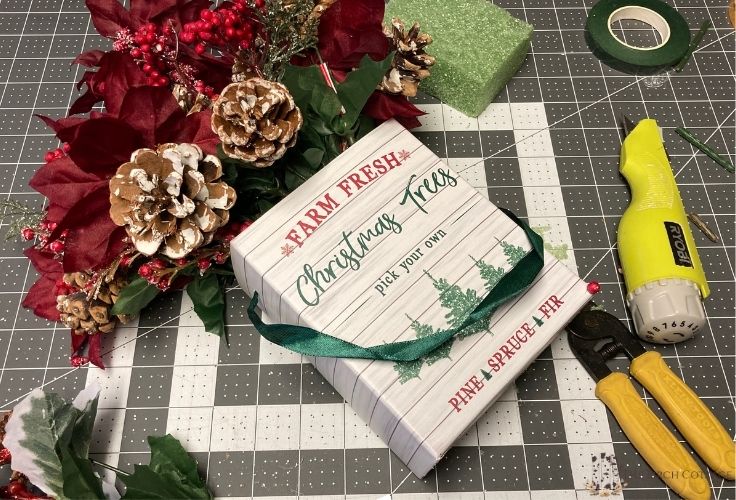
Plus, I just love these gift box bags and haven’t seen anything like them anywhere else. You can also order products from Dollar Tree online. However, keep in mind that most items must be purchased in bulk when ordering online.
How to Make a DIY Dollar Tree Christmas Decoration
I purchased my items from my local Dollar Tree. You do not have to purchase items from Dollar Tree to make this Christmas decoration. You’ll find similar items online or at your favorite craft supply store.
The idea is that you’ll use this tutorial as inspiration to DIY your very own Christmas decorations.
What you need:
Want more ideas like this? Subscribe today to get our weekly Ideas in Your Inbox newsletter plus other exclusive gifts and offers — all for FREE!
Craft Tools Needed:
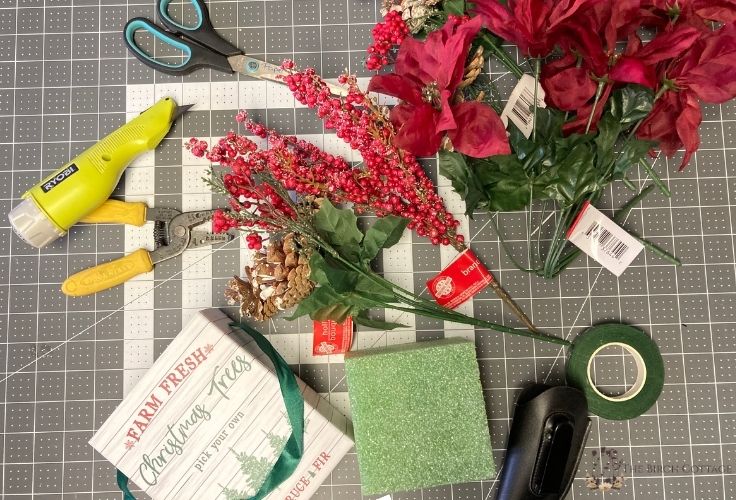
Supplies Needed:
These are the ingredients you’ll need. All the exact amounts are in the printable card at the bottom of this post.
If you enjoy shopping online, here are some links to Amazon for the same stuff that you can find at Dollar Tree. Click, add to cart, and get ready to craft a few days later!
DIY Dollar Tree Christmas Decoration Tips:
Add Weight
Because your Christmas Decoration will be a little top-heavy, you may find it necessary to add some weight to the bottom of the box first. I simply gathered up some rocks from my yard. You could also fill the bottom with rice, beans, or anything to add sufficient weight to help balance the load.
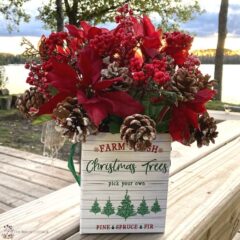
Add Your Decorations
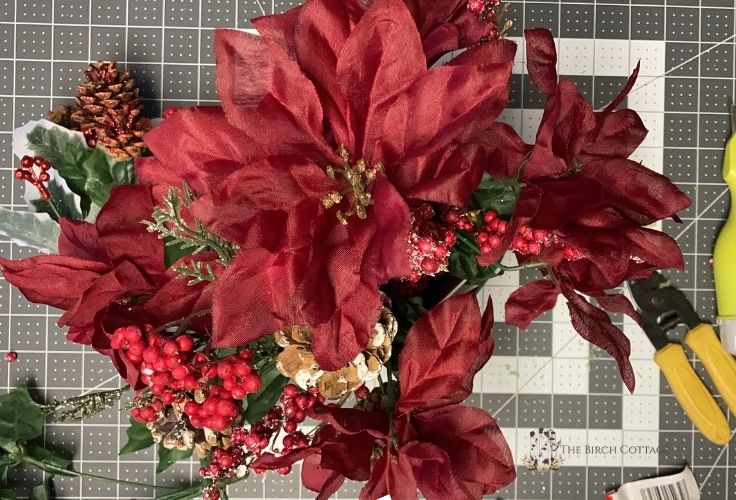
It’s helpful to simply place your artificial flowers, pine cone picks, and other decorations into the box and arrange them and rearrange them until you get them just the way you like them.
Take a Picture
Once you get the arrangement just the way you like it, grab your cell phone or camera and take a picture. This will help you to place everything exactly the way you want it because the next thing you’re going to do is to take everything out of the box.
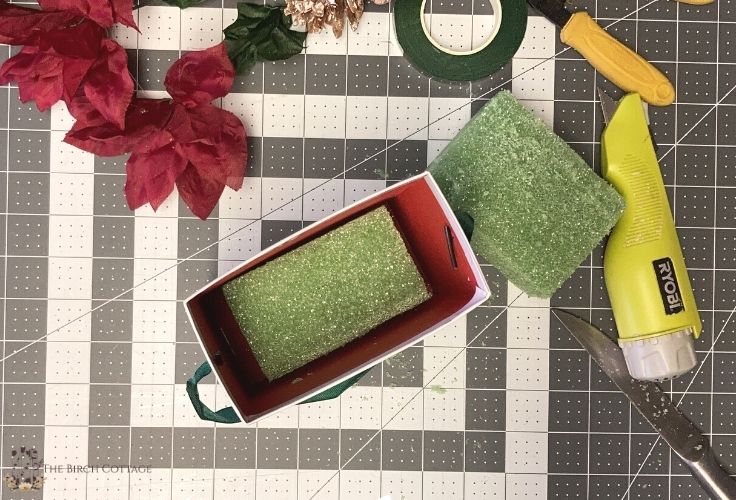
Use Styrofam
After you have your weights in the bottom of your gift box, simply place the styrofoam in the bottom of the bag. You’ll insert your floral stems directly into this styrofoam which will help to hold everything in place.
Cut Flower Stems
Instead of just folding over the flower stems, you’ll want to be sure to cut them to the appropriate length. You want your flowers to flow out of the box and not have several inches of stem showing.
Add Special Elements
Don’t limit yourself to artificial flowers and pinecones. Be creative and use elements like battery-operated lights, glitter bulbs, bells, etc, to glam up your Christmas decoration.
Make More than One!
When you see how easy it is to DIY your very own Christmas Decoration using items from Dollar Tree, you’re gonna want to make more than one. Make two or three for your home and then make some as gifts.
You can gift them to friends, co-workers, teachers, family, or even your favorite grocery store clerk. They also make for a thoughtful and seasonally appropriate hostess gift.
Here’s the printable card with everything you need to know about how to make a beautiful DIY Dollar Tree Christmas Decoration.
DIY Dollar Tree Christmas Decoration
Equipment
- Wire Cutters
- scissors
Supplies
- 1 roll floral tape
- 3 bunches artificial flowers
- 2 bunches pine cone stems
- 1 block styrofoam
Instructions
- To help balance the "top heavy" weight of the decorations, fill the bottom of the box with rocks, rice, beans, a brick or anything substantial enough to offset the weight of the decorations.
- Place the styrofoam into the bottom of the box. You may need to cut the foam to size or tape pieces together. You can use floral tape, if needed. f
- Arrange artificial flowers and pine cone picks in the box and stick them down into the styrofoam. You may need to trim the stems to get them to the right length. Just use a pair of wire snips (or scissors if that's all you have).
Love the ideas you see here on Ideas for the Home by Kenarry®? Subscribe today to get our FREE DIY & Craft Planning Calendar, plus our weekly Ideas in Your Inbox newsletter filled with creative tips and exclusive offers!

More Christmas Decoration Ideas
If you love to make your own Christmas decorations, DIY Dollar Tree Christmas Decorations or simply love Dollar Tree, then you’ll love these ideas from The Birch Cottage:
DOLLAR TREE CHRISTMAS FINDS 2021

DIY Rustic Wood Framed Christmas Ornaments

It Was the Night Before Christmas – Free Print

You may also enjoy these Christmas Decoration ideas on Ideas for the Home by Kenarry® –
I love love love this box bag floral! Thinking of hanging it on my front door!
This would look great on your front door, Paula! We’d love to see photos of how it turned out.
Best wishes,
Carrie
Ideas for the Home by Kenarry
Paula, that’s such a great idea!! I never even thought to use it as decor for my door!! I have, however, bought a few extra and I use one of the box bags to hold Christmas cards we received this year. So many uses for these adorable bags!
Like Carrie said, we’d love to see pictures of your door decor!
Pam Baker
The Birch Cottage
I absolutely loved the whole lot you did! Thank you for all the superb ideas and for saying how it is all customisable. Plus, telling us other different ways to do it. I just found your splendid blog & just subscribed… I look forward to trying these fantastic Christmas décor ideas for this year.
Thank you so much, Sienna! We’re glad you enjoyed this idea.
Best wishes,
Carrie
Ideas for the Home by Kenarry
Thanks for sharing this decoration idea. It will be helpful for me.
So glad the idea was helpful to you, Nina! We’ve love to see pics of how your project turned out.
Best wishes,
Carrie
Ideas for the Home by Kenarry