DIY Drawer Organizer For Planner Supplies
THIS POST MAY CONTAIN AFFILIATE LINKS. PLEASE SEE OUR FULL DISCLOSURE POLICY FOR DETAILS.
Whether you’re a planner nerd or just want to tidy up your desk, this DIY drawer organizer tutorial is a pretty and easy project to organize your supplies.
Hi! I’m Keri from One Mama’s Daily Drama. This time of year I always get an itch to start decluttering and organizing my home. This year I started with my desk since it’s where I spend a lot of my time. No matter how you use your office area, making a DIY drawer organizer is a great way to corral pens, paper, and other supplies.
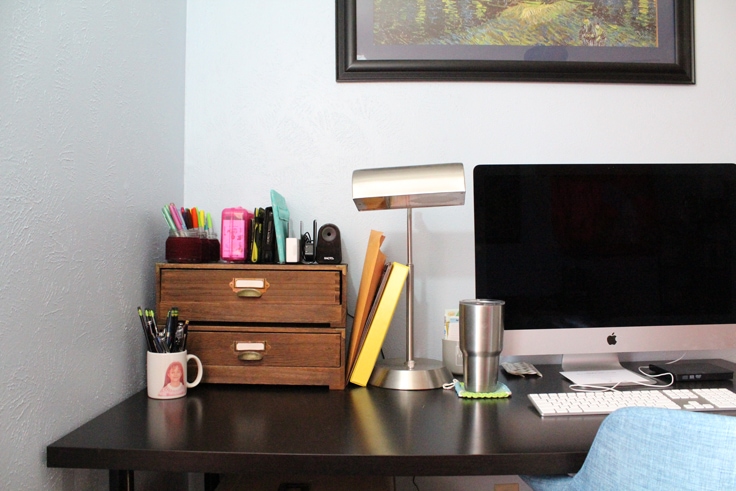
I recently moved my desk from the kitchen to the living room. It often becomes a catch-all space I want it to be more organized. Since it isn’t right next to my office supplies cabinet anymore, it’s also important to keep the everyday items on my desk.
I really enjoy a calm, tidy workspace. After a day of digging through my messy drawers, I decided it was time for a little DIY organizer project. These drawer organizer boxes are small and modular – and made from office supplies!
This drawer organizer is fantastic for people with planners. If you’re looking for a new planner, check out the Clutter Keeper Undated Yearly Planner. It never goes out of style.
How to Make a drawer organizer
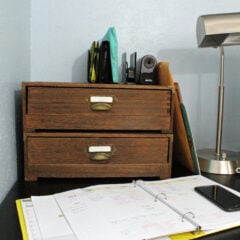
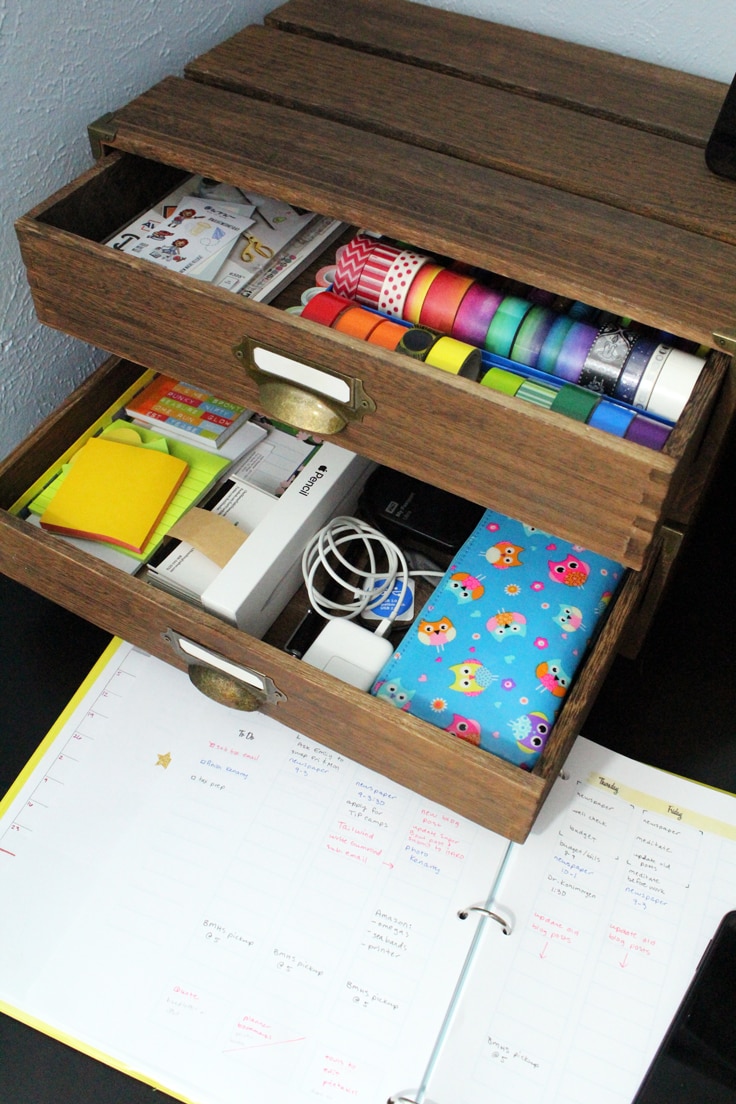
The two drawers are desktop monitor stands from Target, but this tutorial is easy to do for any drawers that need organizing.
What you need:
Want more ideas like this? Subscribe today to get our weekly Ideas in Your Inbox newsletter plus other exclusive gifts and offers — all for FREE!
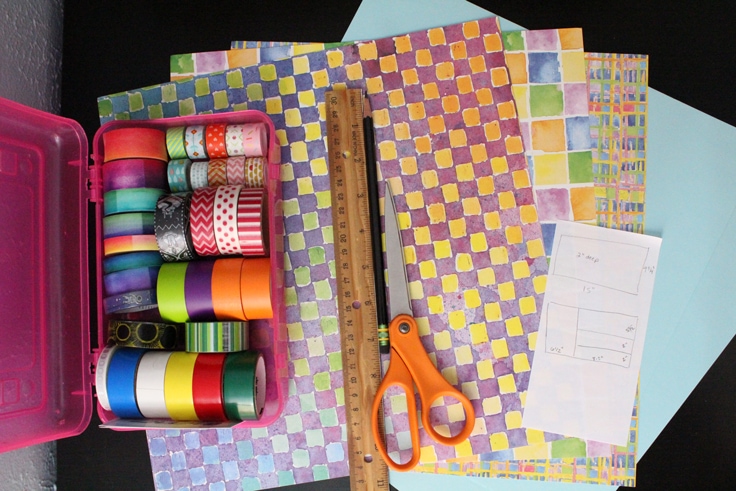
Craft/DIY Tools Needed:
Supplies Needed:
- scrapbook paper
- washi tape
- pencil
- notepaper
Instructions:
1. evaluate your drawer space
I started by taking everything out of the two drawers and sorting. There was a lot that I could throw away or recycle. Then I decided what needed to stay on my desk and what could be put away. The remaining items were sorted into categories.
2. measure the drawers
I used a ruler to measure the size of my drawers and sketched it onto a piece of notepaper. Then I measured the items I wanted to store in each section and divided the drawers on the paper.

I wasn’t precise in my measuring, but since I left open space in each drawer it was fine. If you want to fill a drawer completely with boxes, you’ll need to account for the space the boxes take up when measuring.
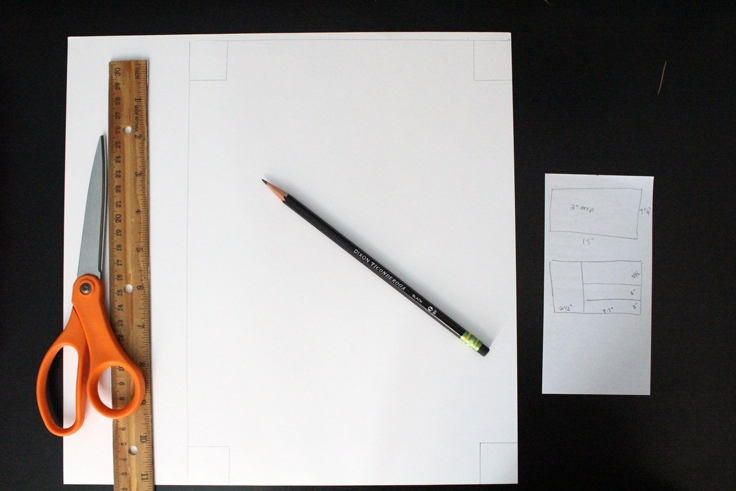
3. Draw the organizer templates
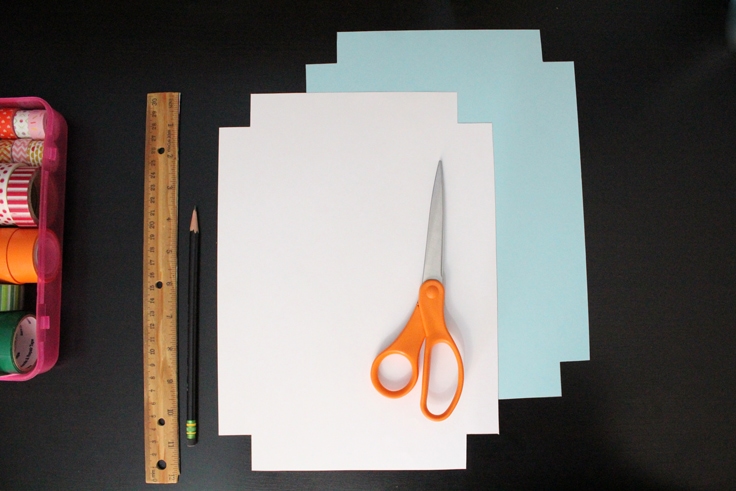
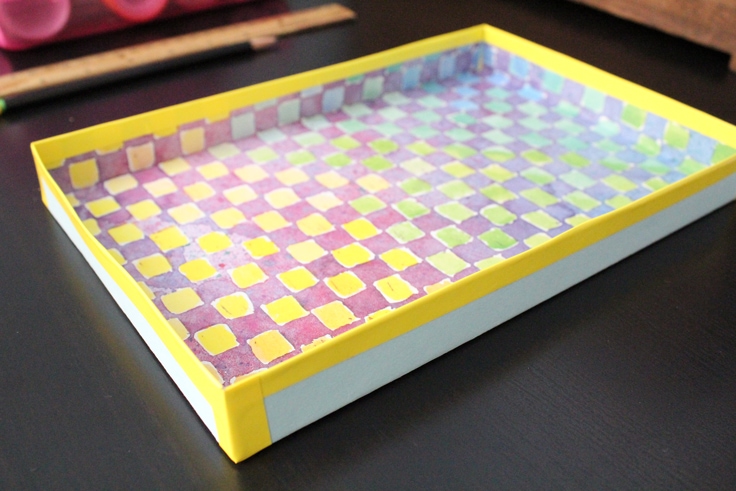
The drawer organizer boxes are made from 2 layers of scrapbook paper for durability. For each box section, I added a 1-inch margin on all 4 sides and drew a rectangle on the back of the first piece of scrapbook paper. In each corner, I measured a 1-inch box. I cut out the drawer shape, cutting off the corner boxes, and then traced it onto the second piece of paper.
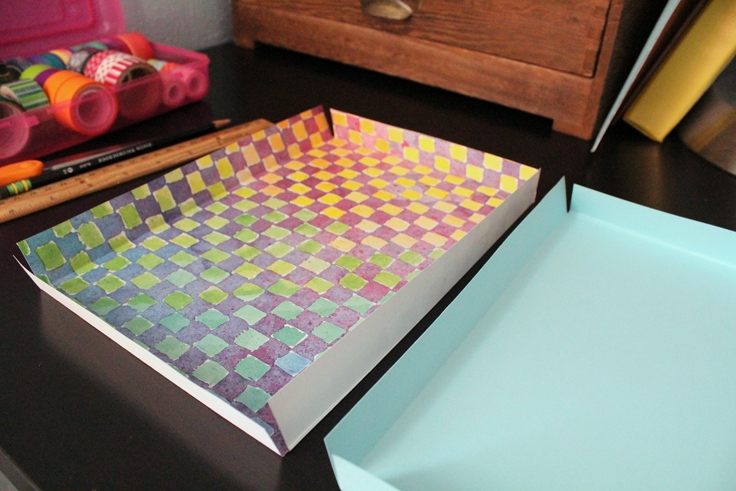
4. Assemble the drawer organizer sections
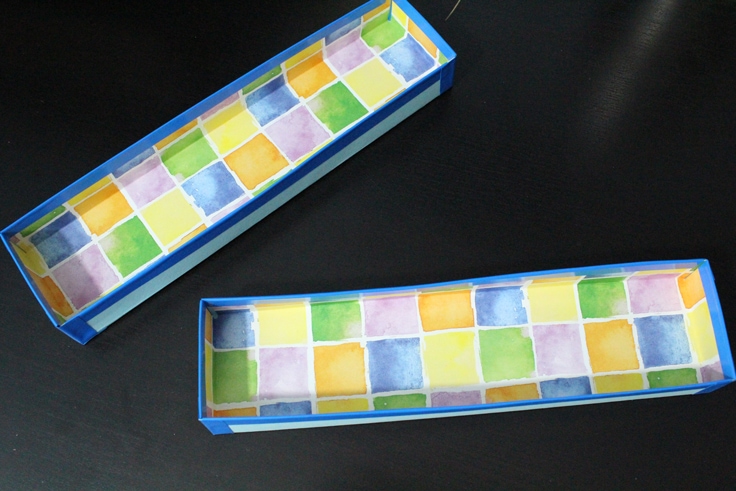
To assemble the drawer organizer box, I layered the two pieces together and folded in the sides to crease them. With the sides standing up, I cut pieces of washi tape and folded it over the cut edges.
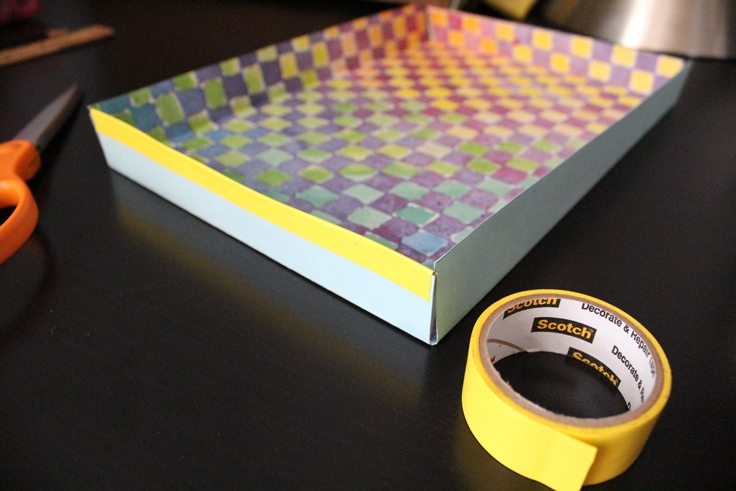
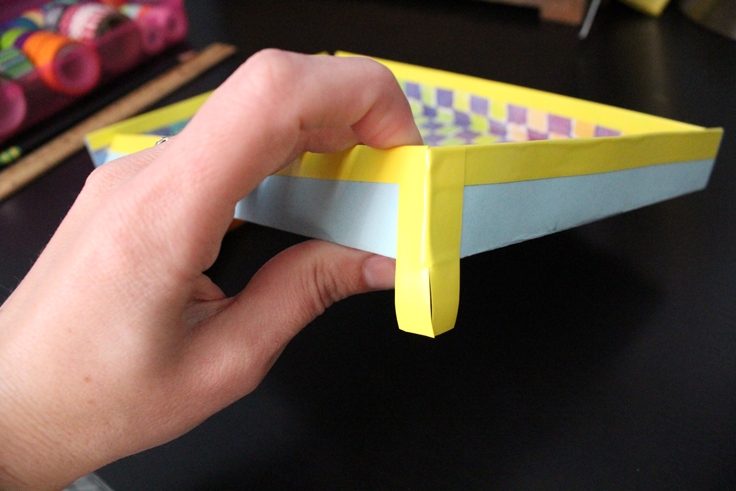
For the corners, I cut small pieces of washi tape and then cut a slit so the tape could fold flat. Washi tape is really great for this type of project because if you get it crooked, you can easily peel it off and try again.
5. Build more little boxes
Repeat the process to build as many boxes in different sizes as you need. I made my first one that filled half a drawer, then three smaller ones for another half-drawer.
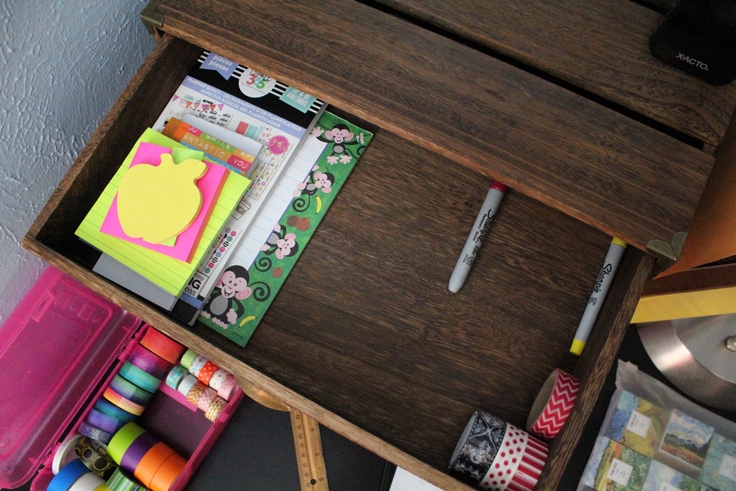
6. Organize each drawer
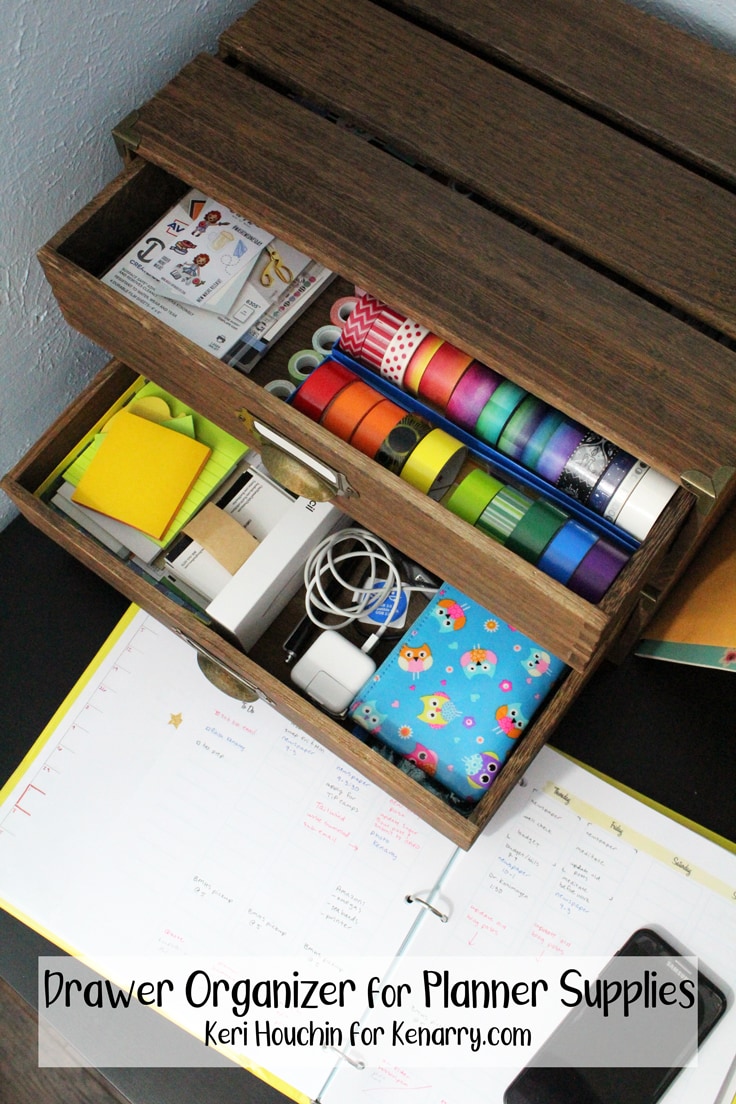
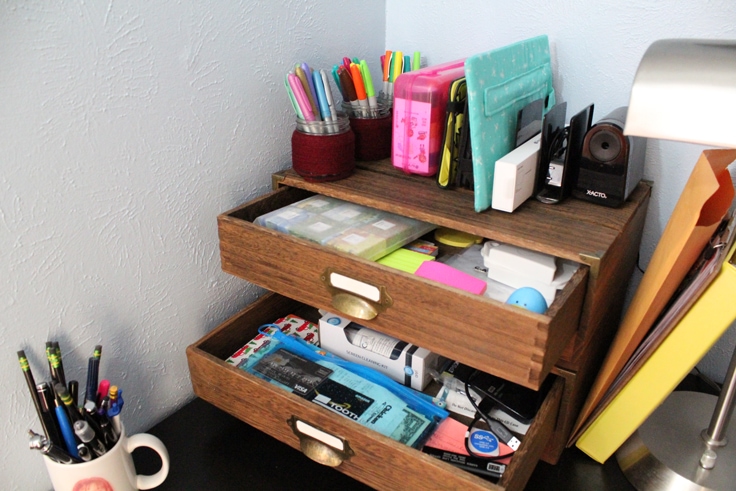
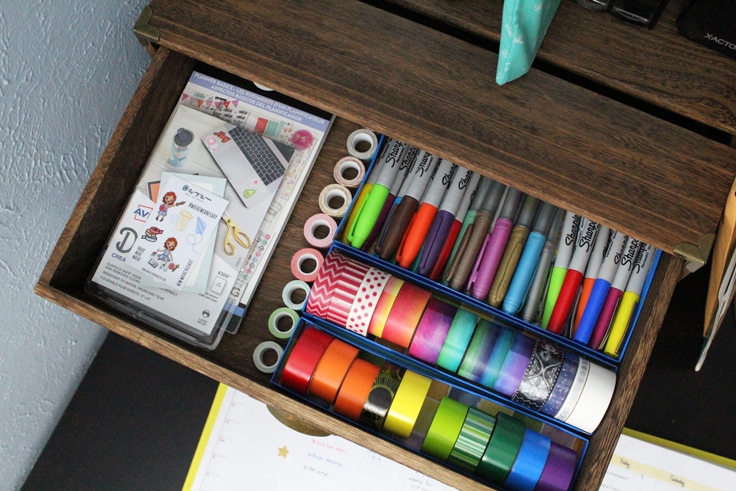
Finally, I put the drawer organizer pieces in place and filled them with my supplies. I love how much tidier this looks. And I have everything I need for my planner right here on my desk.
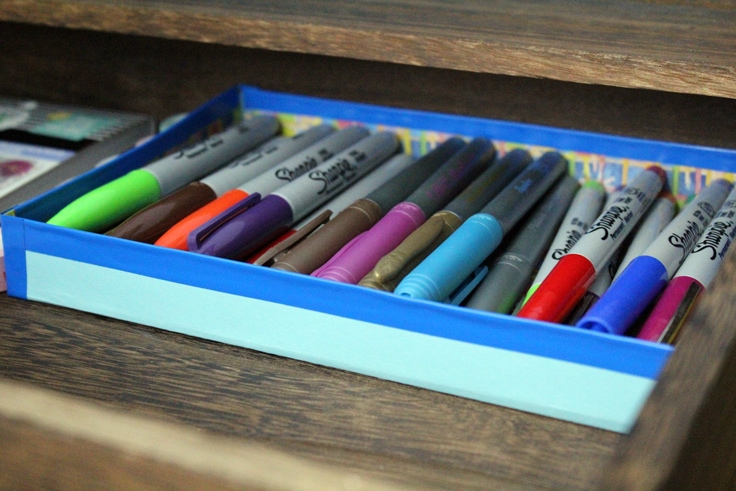
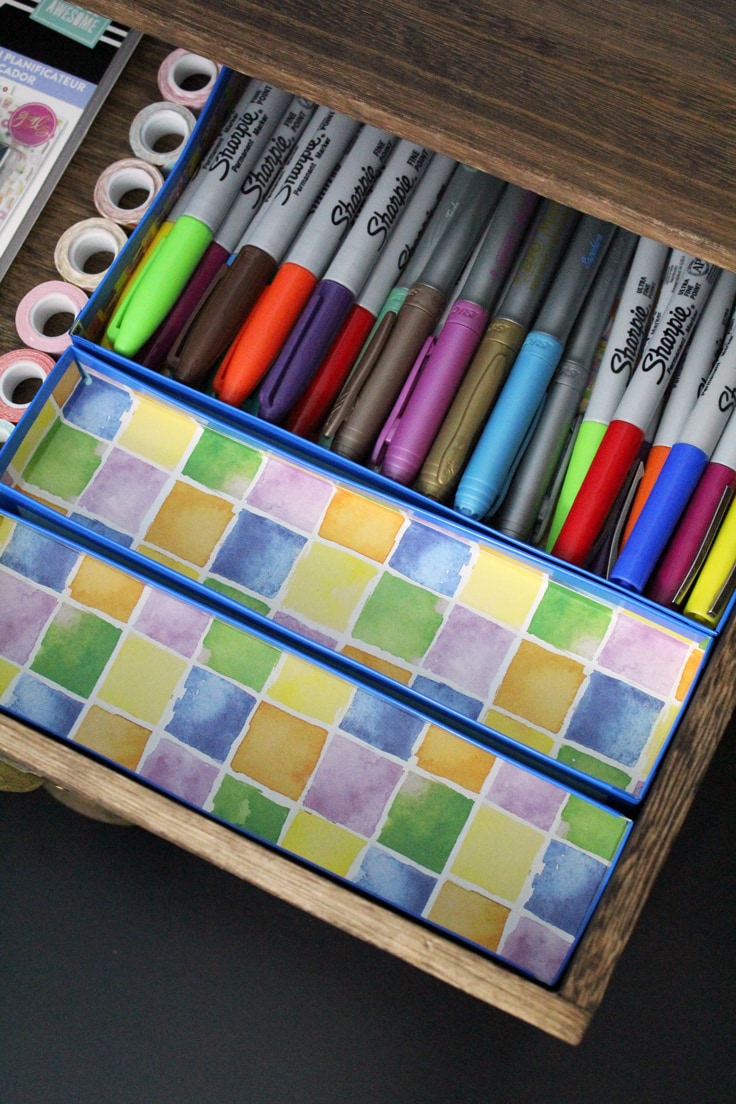
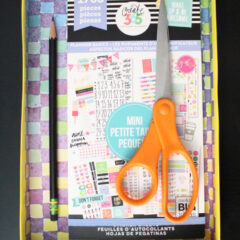
My top drawer is for Sharpie pens and markers, washi tape, and planner stickers.
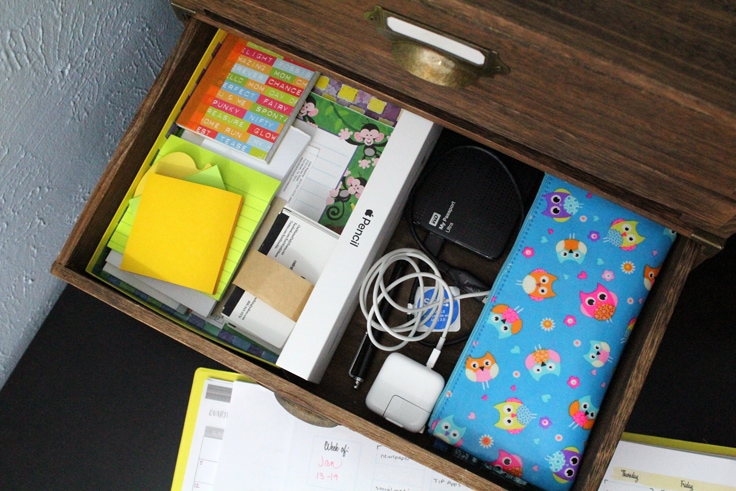
The bottom drawer has notepads in the divider box, then my electronics and a zip bag for my receipts.
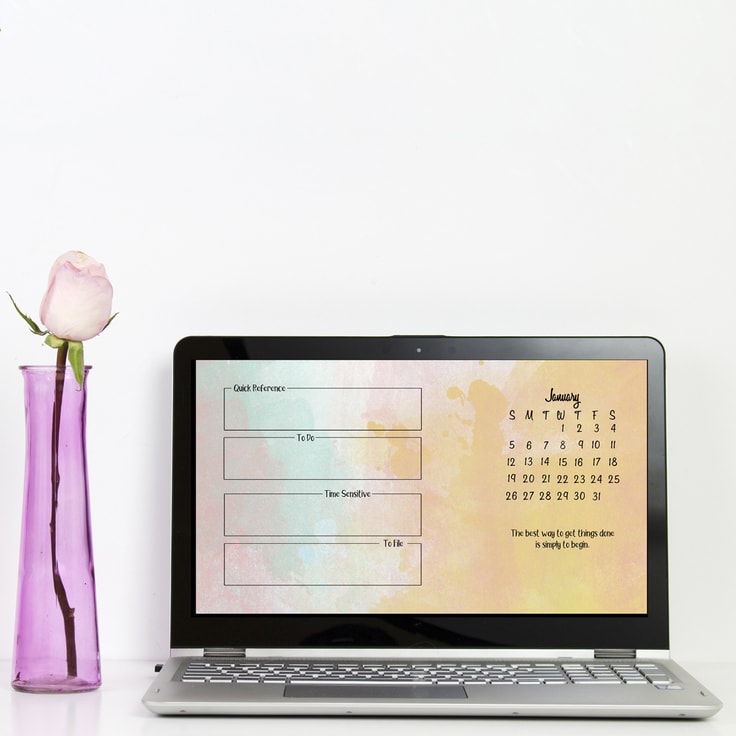
Love the ideas you see here on Ideas for the Home by Kenarry®? Subscribe today to get our FREE DIY & Craft Planning Calendar, plus our weekly Ideas in Your Inbox newsletter filled with creative tips and exclusive offers!
What’s Next?
If you enjoyed this DIY drawer organizer then you’ll enjoy these office organizing ideas too.
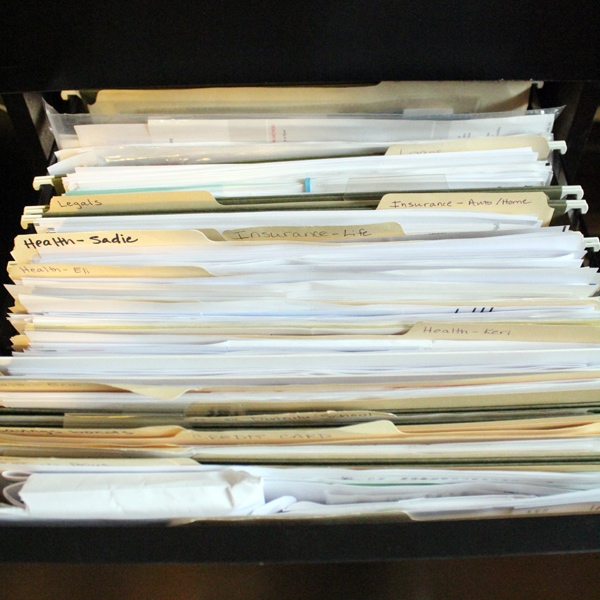
How to Organize Paper Clutter Once and for All
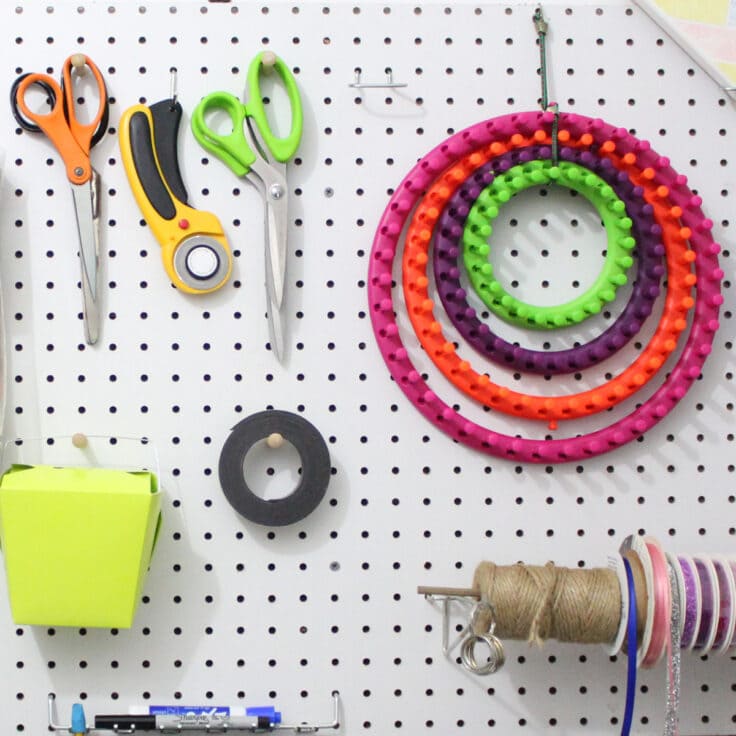
You may also enjoy these home organizing ideas on Ideas for the Home by Kenarry® –