How to Make an Easy Kitchen Memo Board
THIS POST MAY CONTAIN AFFILIATE LINKS. PLEASE SEE OUR FULL DISCLOSURE POLICY FOR DETAILS.
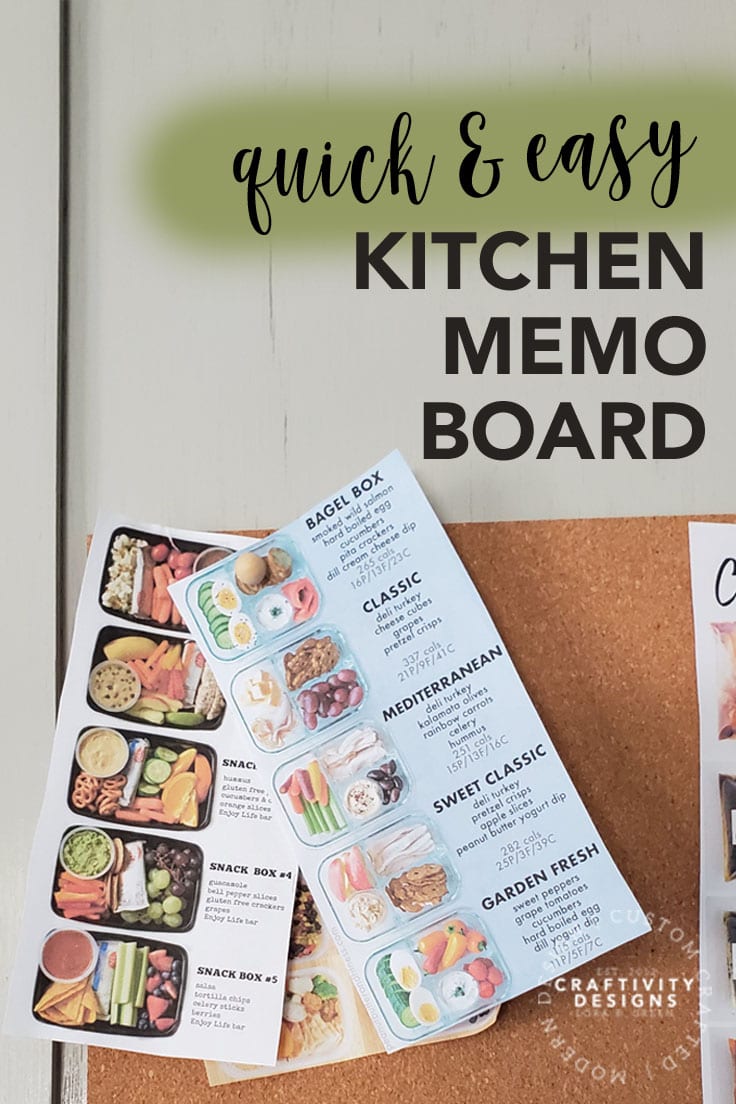
Make a quick and easy kitchen memo board in minutes! This simple memo board will help you organize recipes, notes, and more!
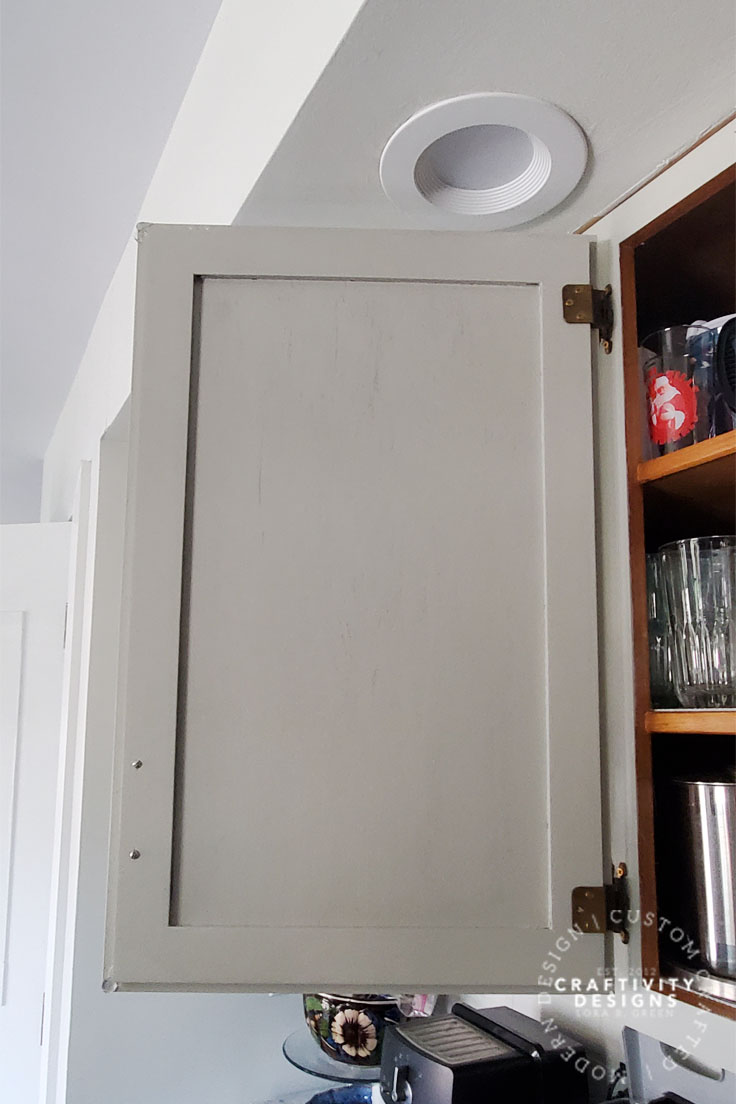
Interested in an easy, inexpensive project that will also make your kitchen more organized? Yes, please! Grab a few supplies and within minutes you can have a kitchen memo board hung sneakily inside your cabinet doors.
When you build this memo board, use the Clutter Keeper Undated Yearly planner to track your family’s schedules. Then pair it with the Printable Clutter Keeper Kid’s Planner to help your kids learn how to manage their time and schedules.
Yep! Inside the cabinet doors. No need to worry whether you have enough wall space, or if a kitchen memo board could feel messy. This corkboard is hidden out of sight, yet still right at hand (win, win!).
I’m Lora of Craftivity Designs and we have been working on our budget kitchen remodel. All of the big projects are done; which means I can focus on small projects such as:
- styling the open shelves,
- a DIY marble paper towel holder,
- installing under-cabinet hooks for mugs,
- and this (much-needed) memo board.
How to Make A KITCHEN MEMO BOARD
This project is as quick and easy as they come! Seriously, in less than 5 minutes, you’ll have a spot to keep favorite recipes in the kitchen.
What you need:
Want more ideas like this? Subscribe today to get our weekly Ideas in Your Inbox newsletter plus other exclusive gifts and offers — all for FREE!
Supplies Needed:
- Wood Cleaner + Rag
- Cork Squares
- Command Poster Strips
- Small Nails + Hammer
- Pushpins
Instructions:
1. CLEAN THE CABINET DOOR
First, confirm that the inside of the cabinet door is clean. Luckily, the inside of a cabinet door doesn’t typically have grime and buildup like the outside.
However, it’s still best to wipe down the surface before installing the memo board. A clean surface ensures that the command strips are secure.
2. ATTACH COMMAND STRIPS
Next, attach command strips to the cork square. Follow the directions on the command strip, making sure to attach the “command side” to the cork and the “wall side” to the cabinet door.
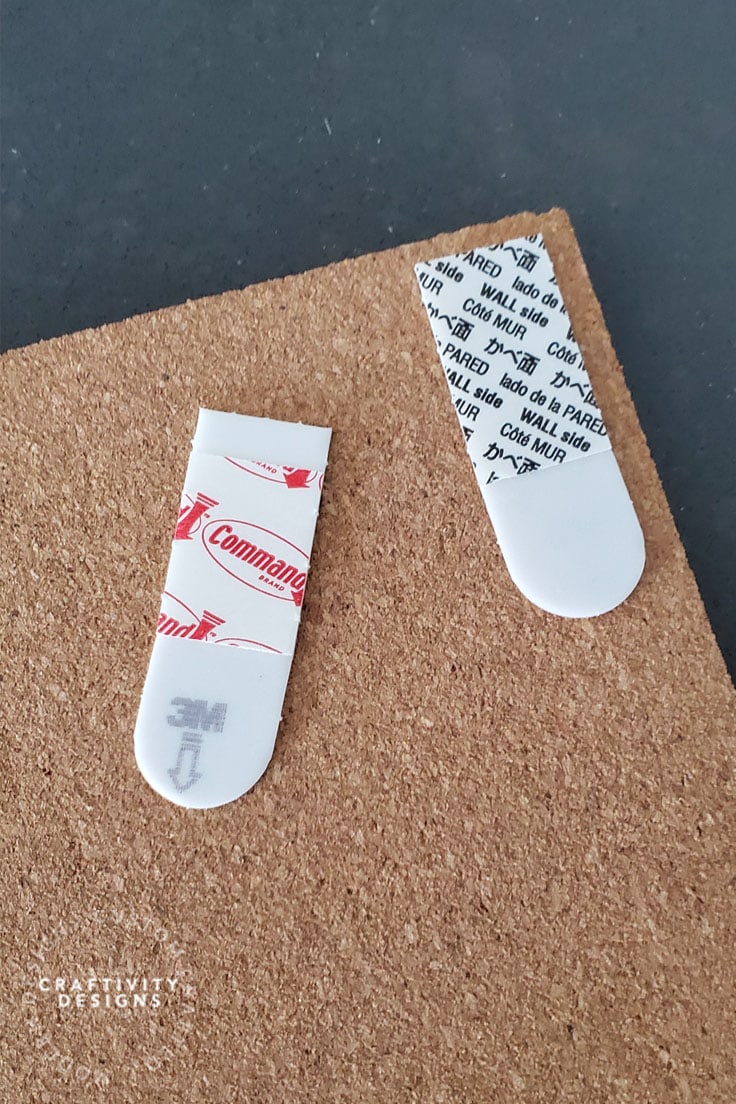
3. Install the Cork Square
Once the command strips are attached, peel away the “wall side” covers. Then, press it onto the inside of the cabinet door. Make sure to press on each corner to fully seal the adhesive.
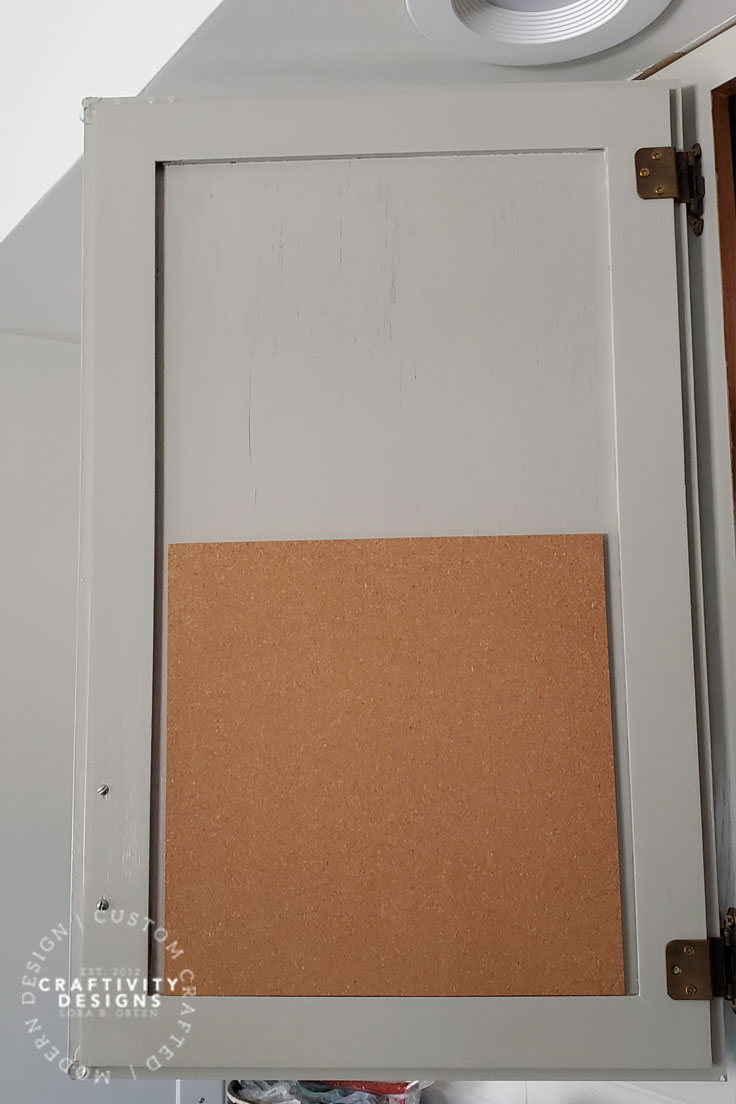
4. ADD NAILS, IF NEEDED
In general, I’ve found that command strips provide mixed results. Sometimes I’ll attach an item with command strips and it won’t budge for years. Other times, it will hold well temporarily, but will eventually fail several weeks (or months) later.
Therefore, you might want to add a couple of small nails in the corners. If nailing anything into your kitchen cabinet doors makes you nervous (no worries, that’s me, too!), give the command strips a try for a while.
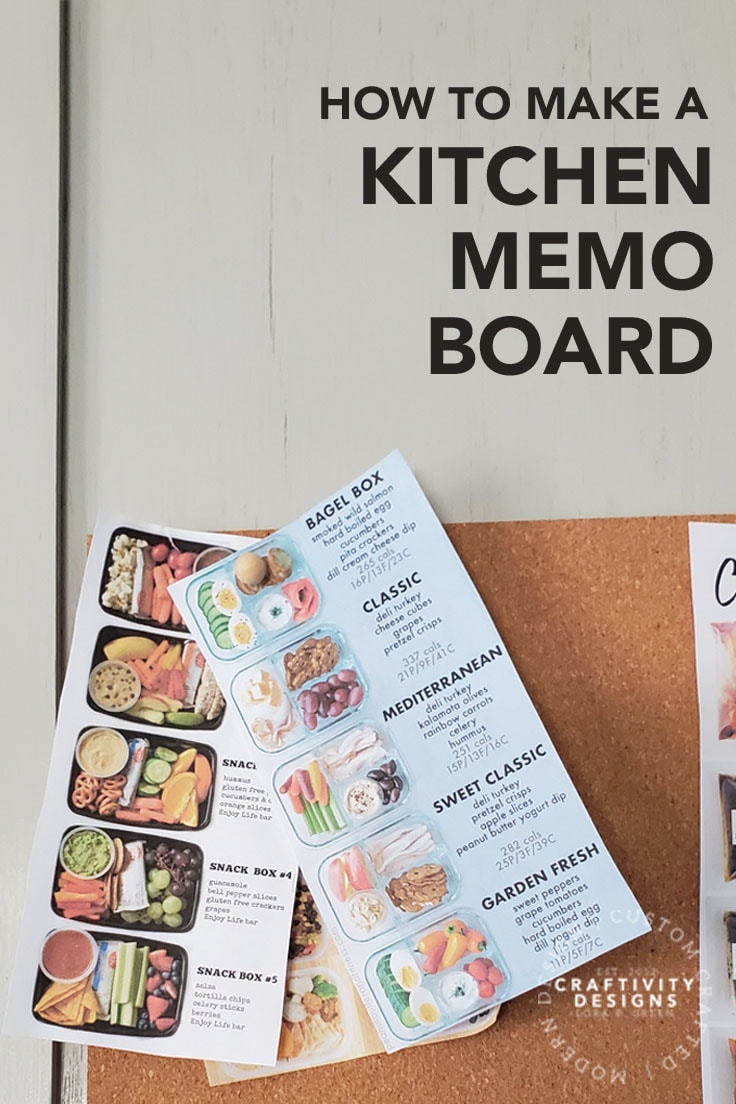
5. PIN RECIPES, MeMOS, and MORE
Finally, use pushpins to fill up the corkboard. Consider pinning recipes, measurement conversions, or even family photos (just to make you smile!).
You could also add a printable food temperature chart so you always have it when you need it.

On our memo board, I like to pin “cheat sheets” for things such as:
- smoothies
- marinades
- lunch/bento box meals
What’s Next?
If you enjoyed this kitchen memo board, then you’ll enjoy these organization projects, too.
How to Keep the Kitchen Sink Clean and Organized

Simple and Quick Recipe Binder (free printable!)

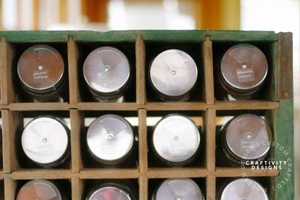
How to Organize Spices in a Vintage Soda Crate
You may also enjoy these organization ideas on Ideas for the Home by Kenarry® –