DIY Music Box Made with Altoid Tins
THIS POST MAY CONTAIN AFFILIATE LINKS. PLEASE SEE OUR FULL DISCLOSURE POLICY FOR DETAILS.
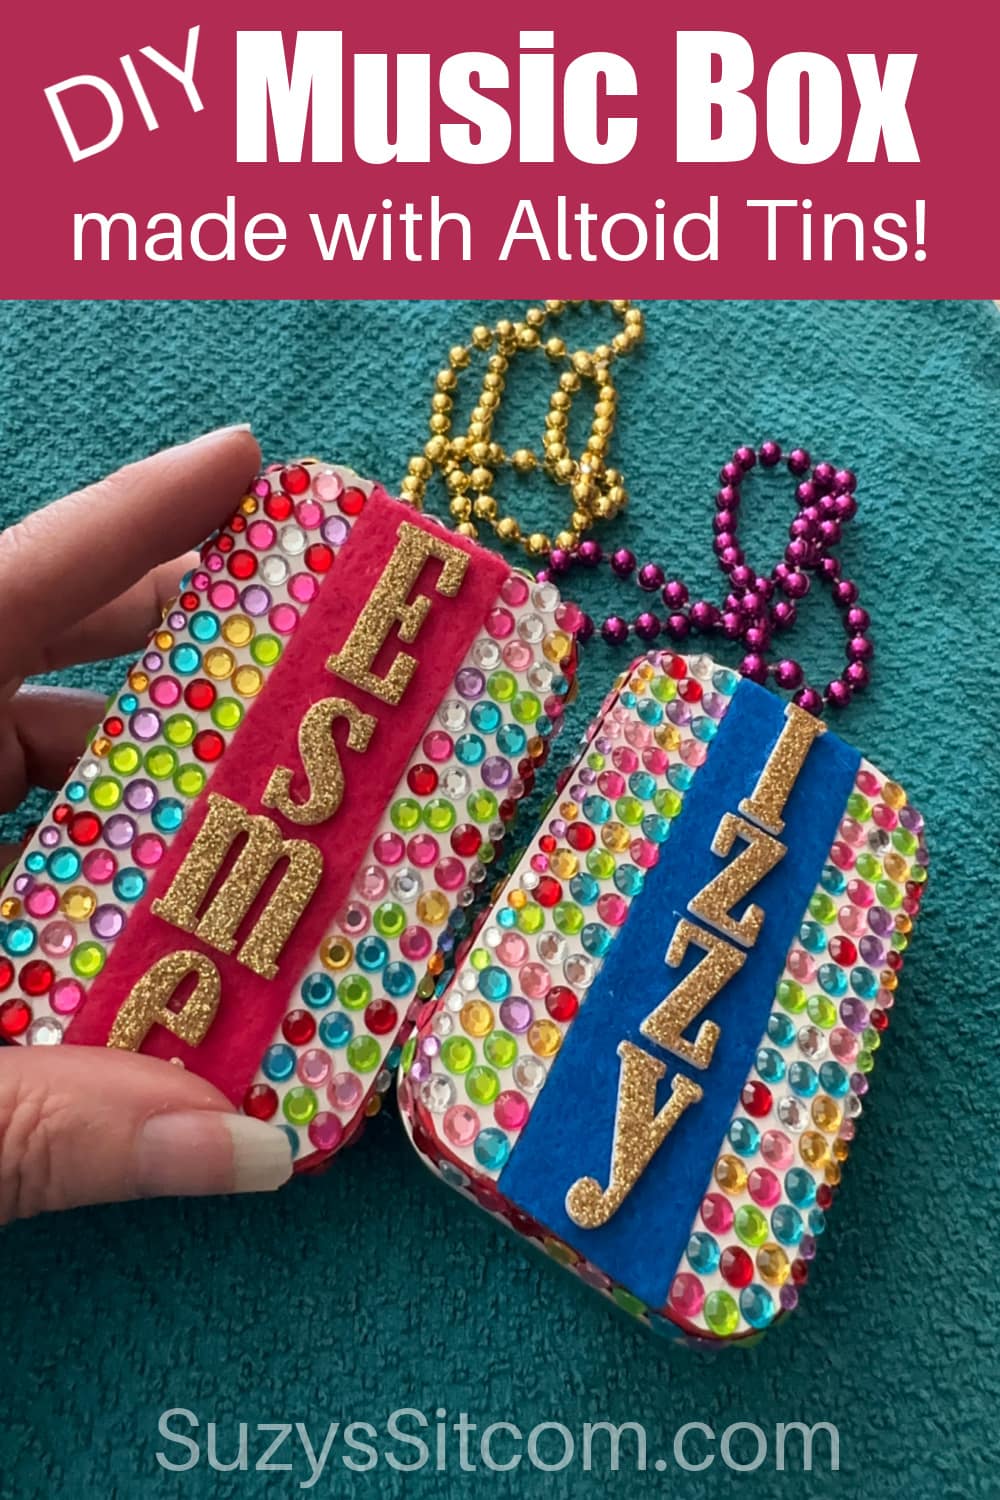
Create a DIY music box made with Altoid Tins. This project is fun to put together and is a great way to recycle those cute little metal tins!
Altoids come in little metal tins that are just begging for a fun recycled craft project. Using a small music box mechanism, you can turn that Altoid tin into a little music box. Add a bit of bling and a beaded chain, and the music box makes a perfect gift.
This is Suzy from SuzysSitcom, and my husband and I are currently working at the Grand Canyon in Arizona. This puts us about 2000 miles away from our grandchildren. Sending little gifts every now and then is a great way to not only show the kids that I am thinking of them, but also to try out new craft ideas.
My husband lately has taken to keeping a tin of Altoids in his pocket. Those little tins have so many possibilities. In this post, I’ll show you how to create a cute little music box!
How to make a music box from an altoid tin
Create this fun little music box with just a few simple steps.
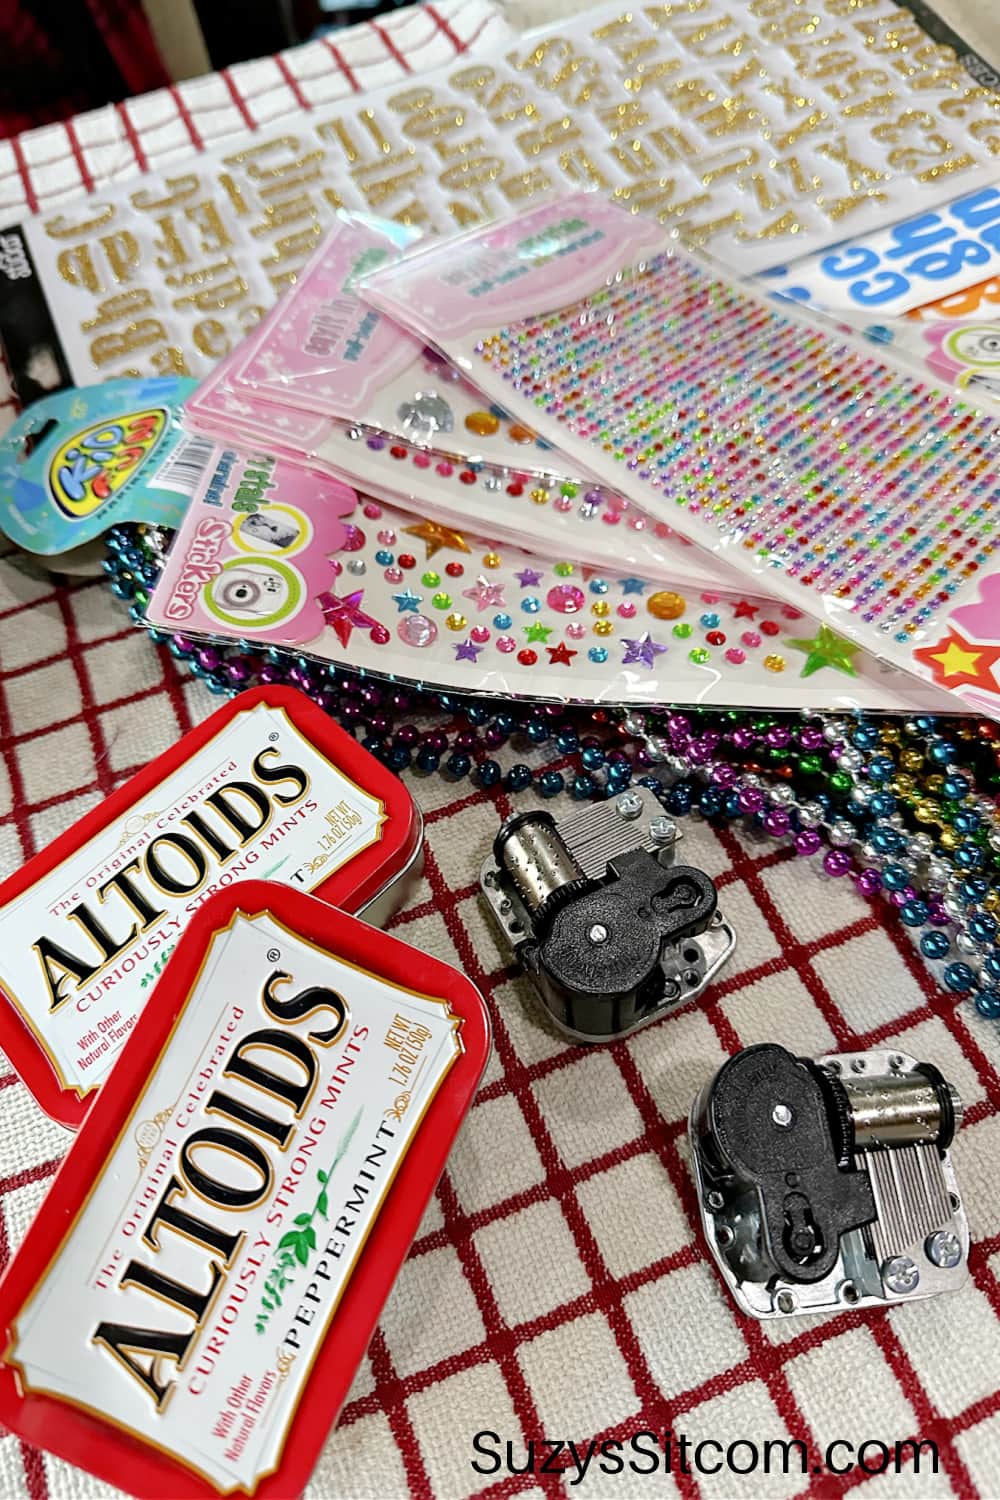
What you need:
Want more ideas like this? Subscribe today to get our weekly Ideas in Your Inbox newsletter plus other exclusive gifts and offers — all for FREE!
- Altoid Tin
- Music Box (measuring 1.77 x 1.97 x 0.79 inches)
- E6000 Glue
- Tacky Glue
- Metallic Bead Necklace
- 4 Large Beads
- String
- Drill
- Metal File
- Felt
- Glitter Foam Letter Stickers
- Gemstone Stickers
DIY Music Box made with Altoid Tin Tips:
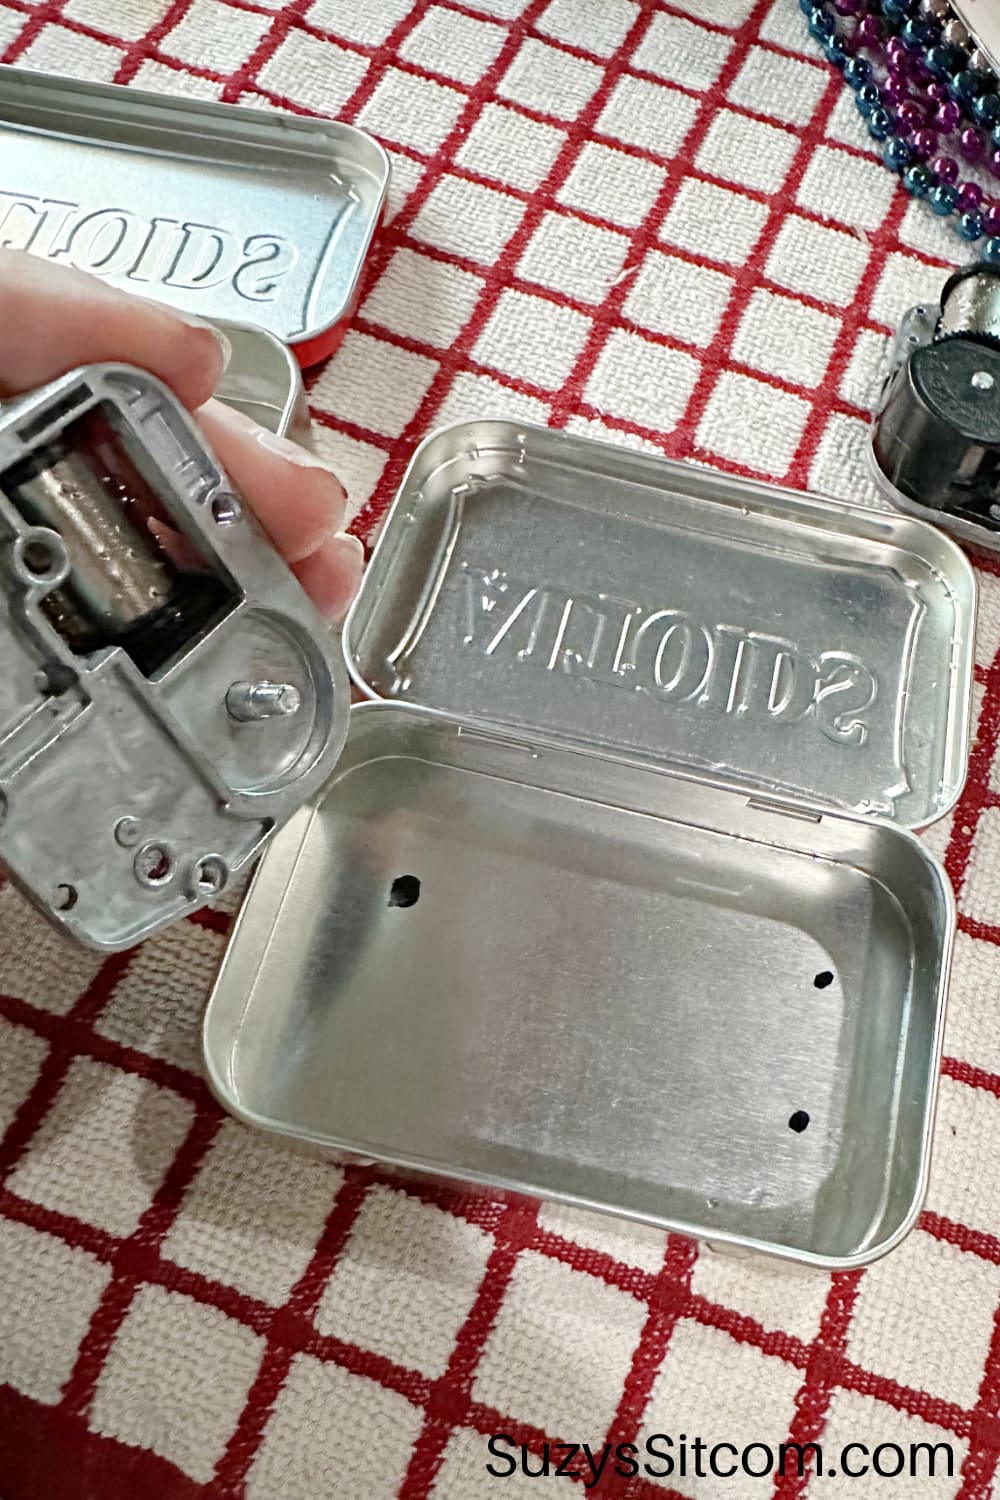
Marking Holes in the Altoid Tin for the Mechanism
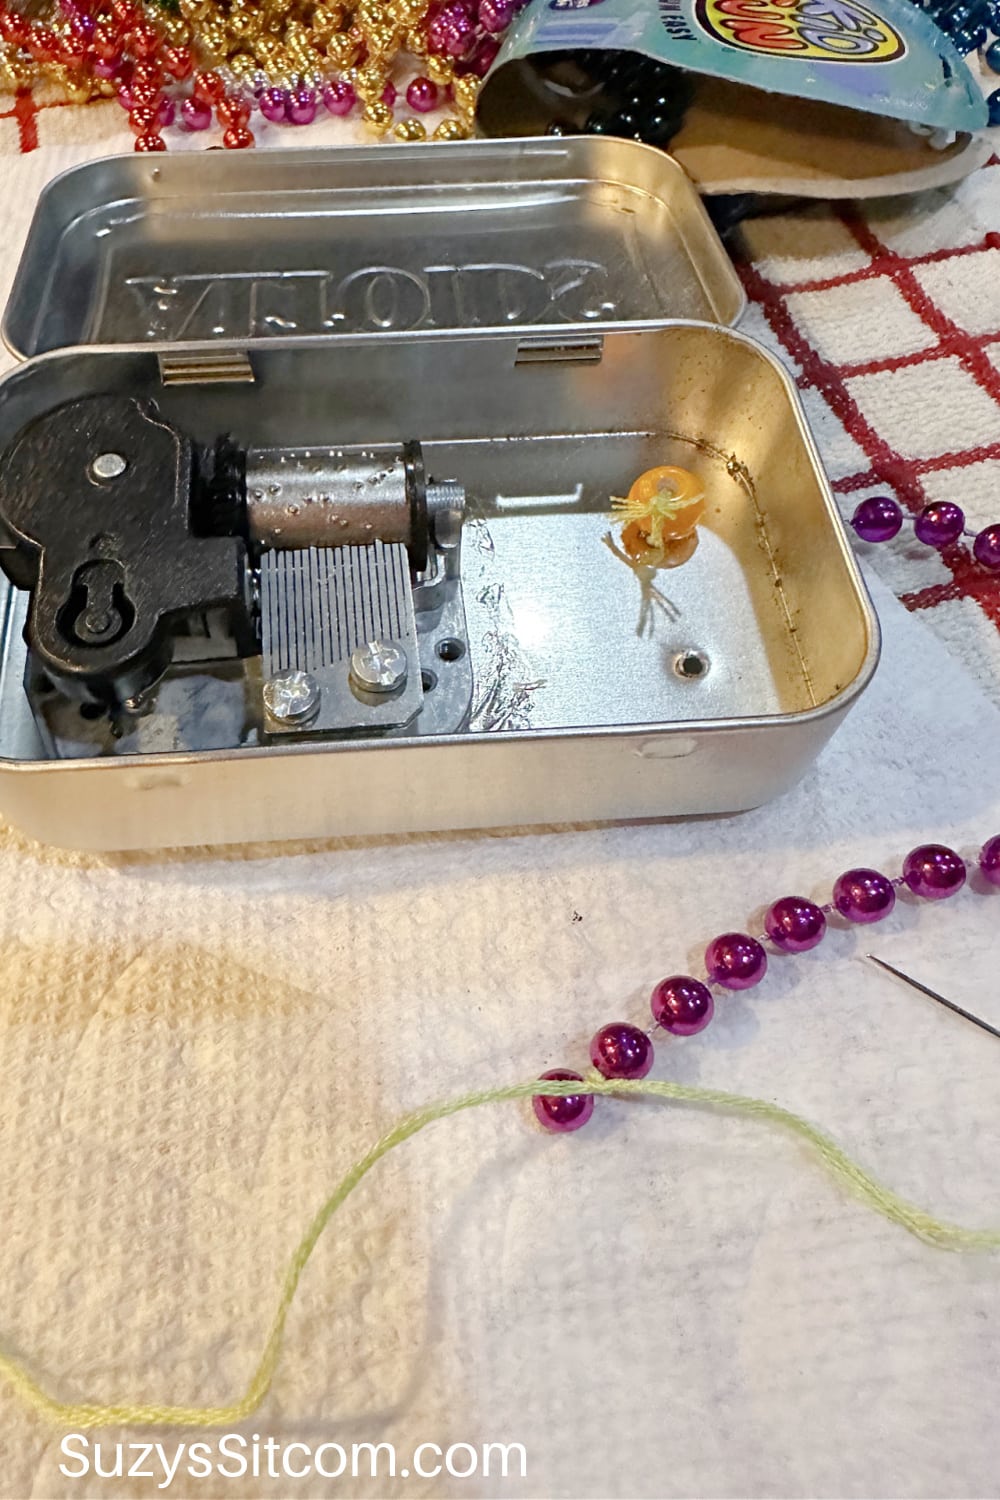
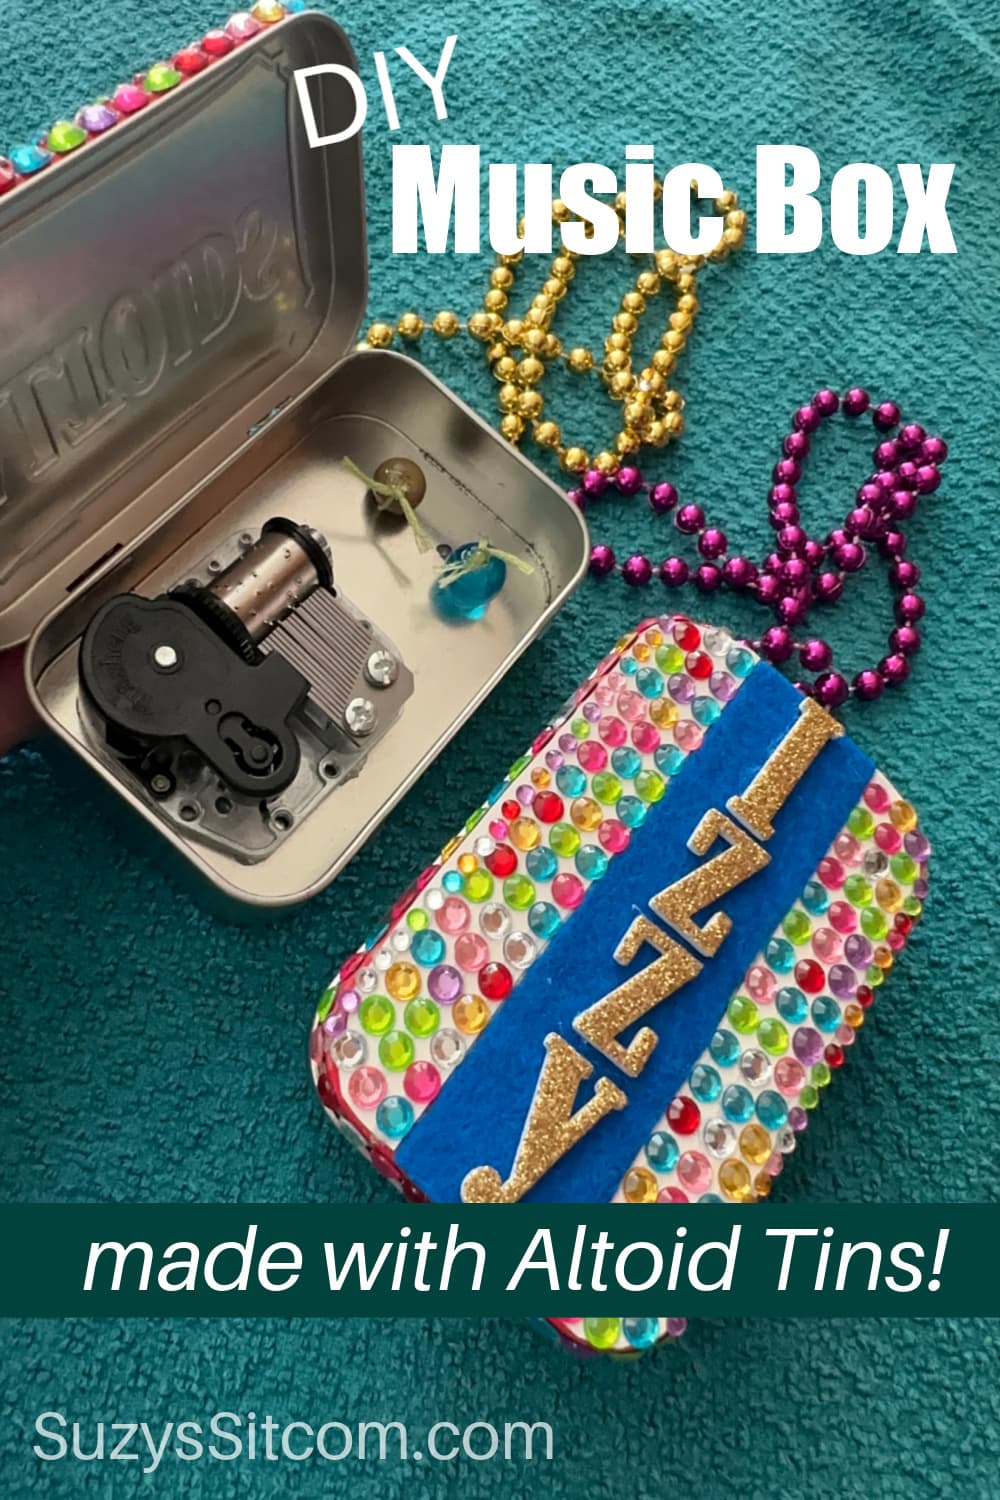
You will need to make three holes in the Altoid tin. One is for the music box mechanism. Look on the bottom of the music box and you will see a metal prong. This is the metal piece that the music box key will attach to. Set the music box into the Altoid tin and mark with a Sharpie pen where this hole will need to be.
Also, you will need two holes where the bead necklace will be attached. Mark those holes with a Sharpie pen.
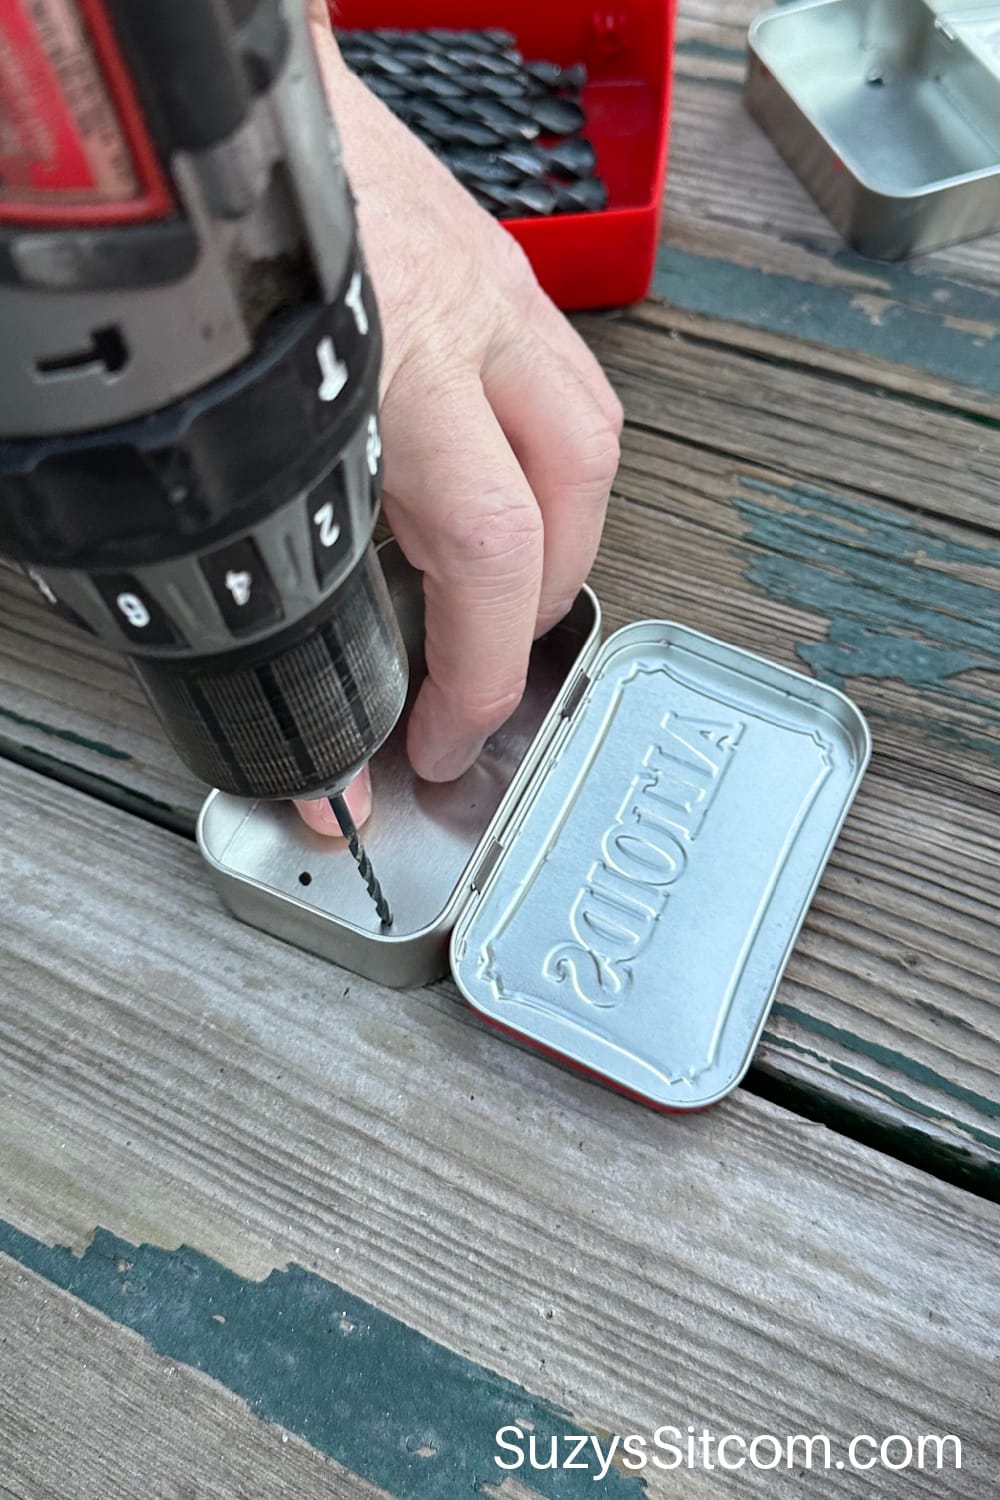
Drilling Holes in the Altoid Tin for the Mechanism
Use a drill to drill the holes into the Altoid Tin.
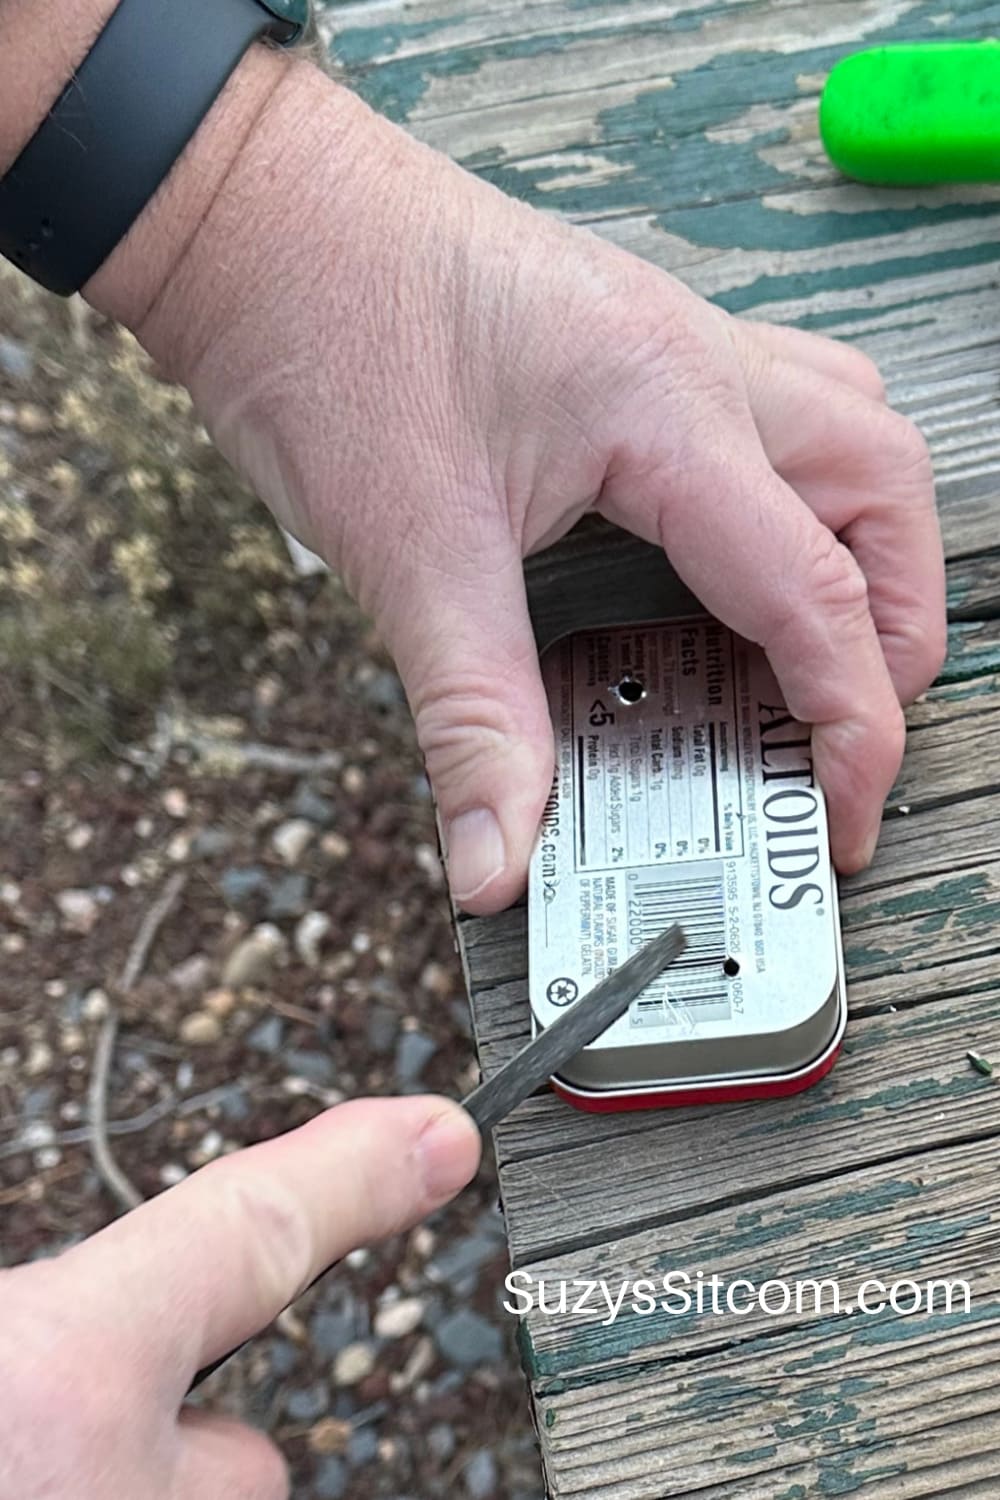
File with a metal file to smooth out any rough edges.
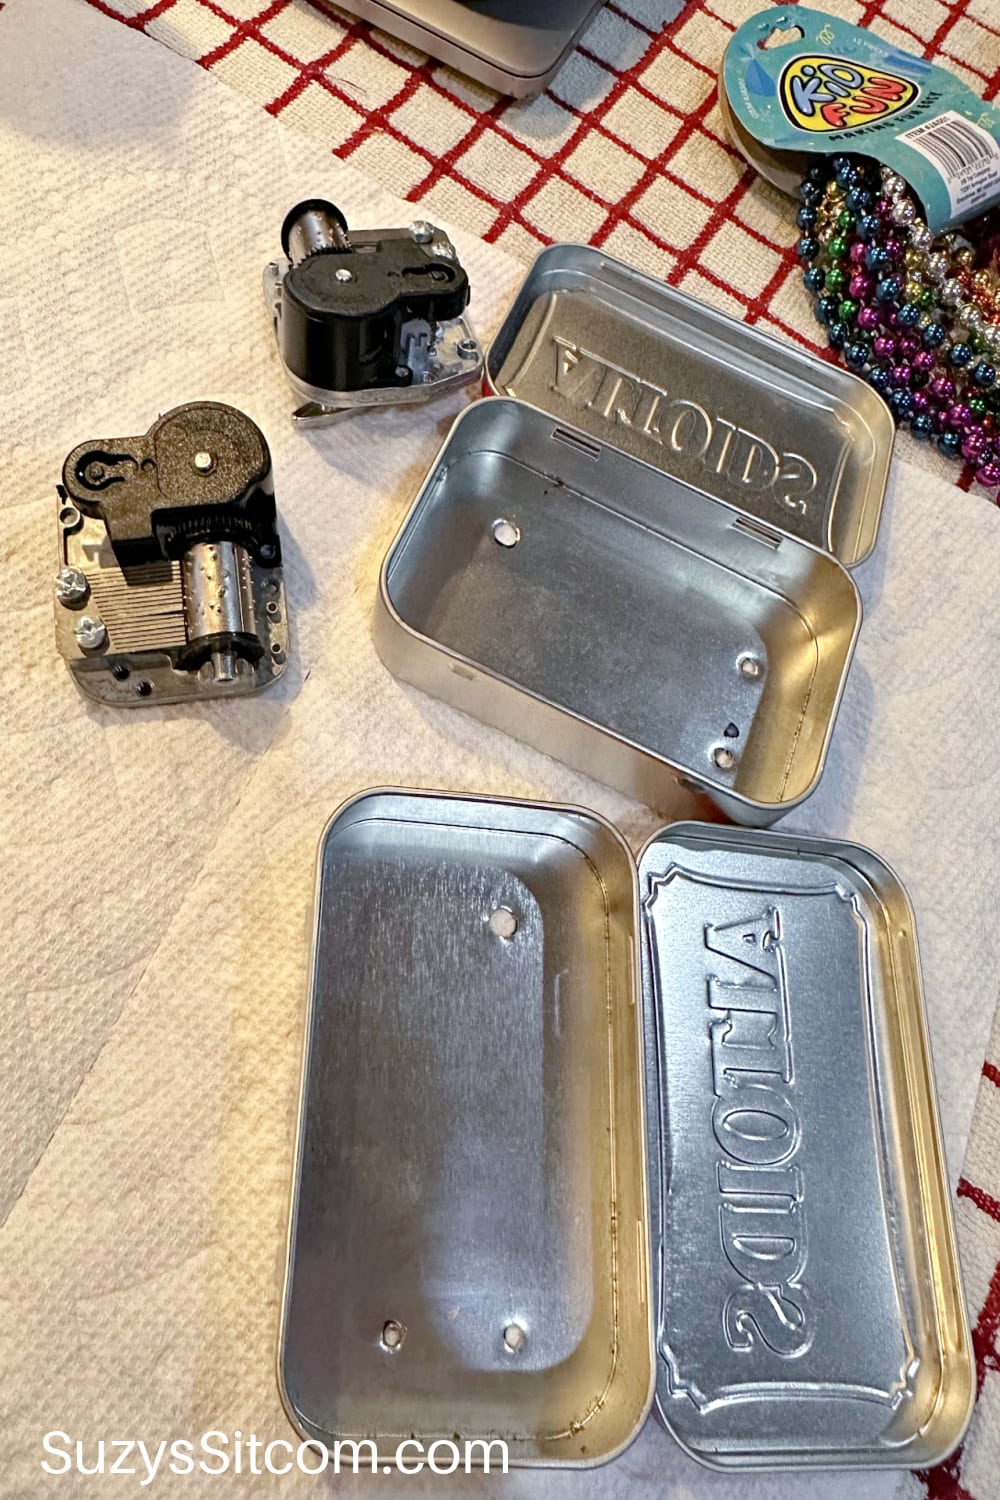
Once the holes are drilled and filed, be sure to check the fit. The music box mechanism should go through the drilled hole easily, allowing room for the key to be attached. Be sure to check that it is a good fit before going to the next step.
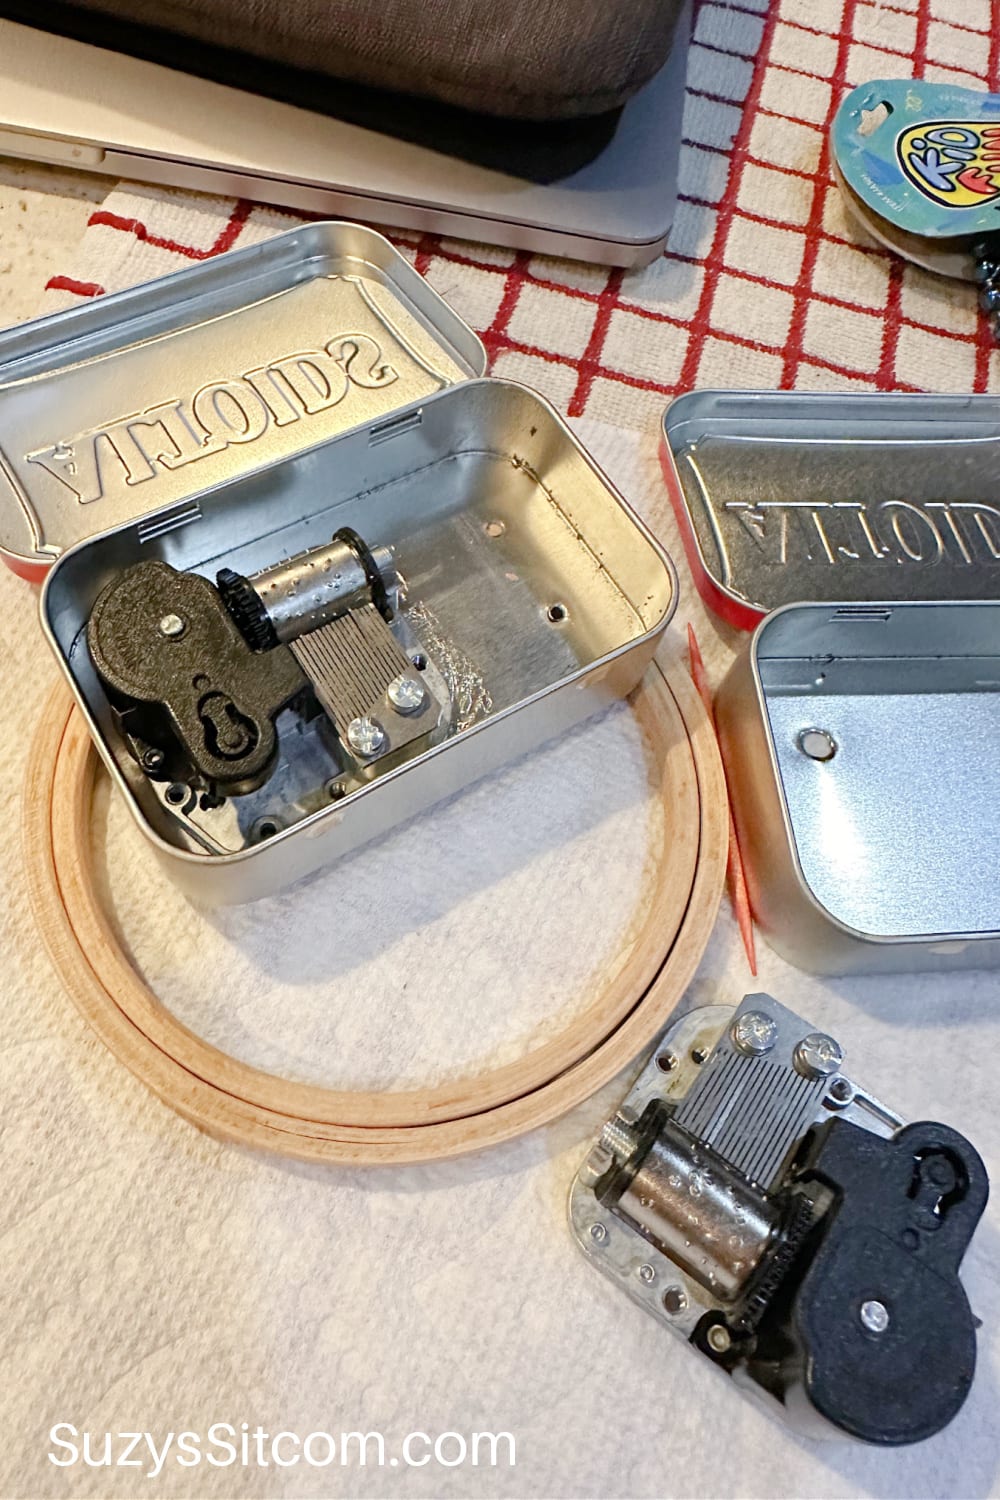
Glue the music box into the tin
Use E6000 glue to attach the music box to the tin. This will allow the key to be turned from the outside of the tin without the music box moving. Allow the glue to dry before going to the next step.
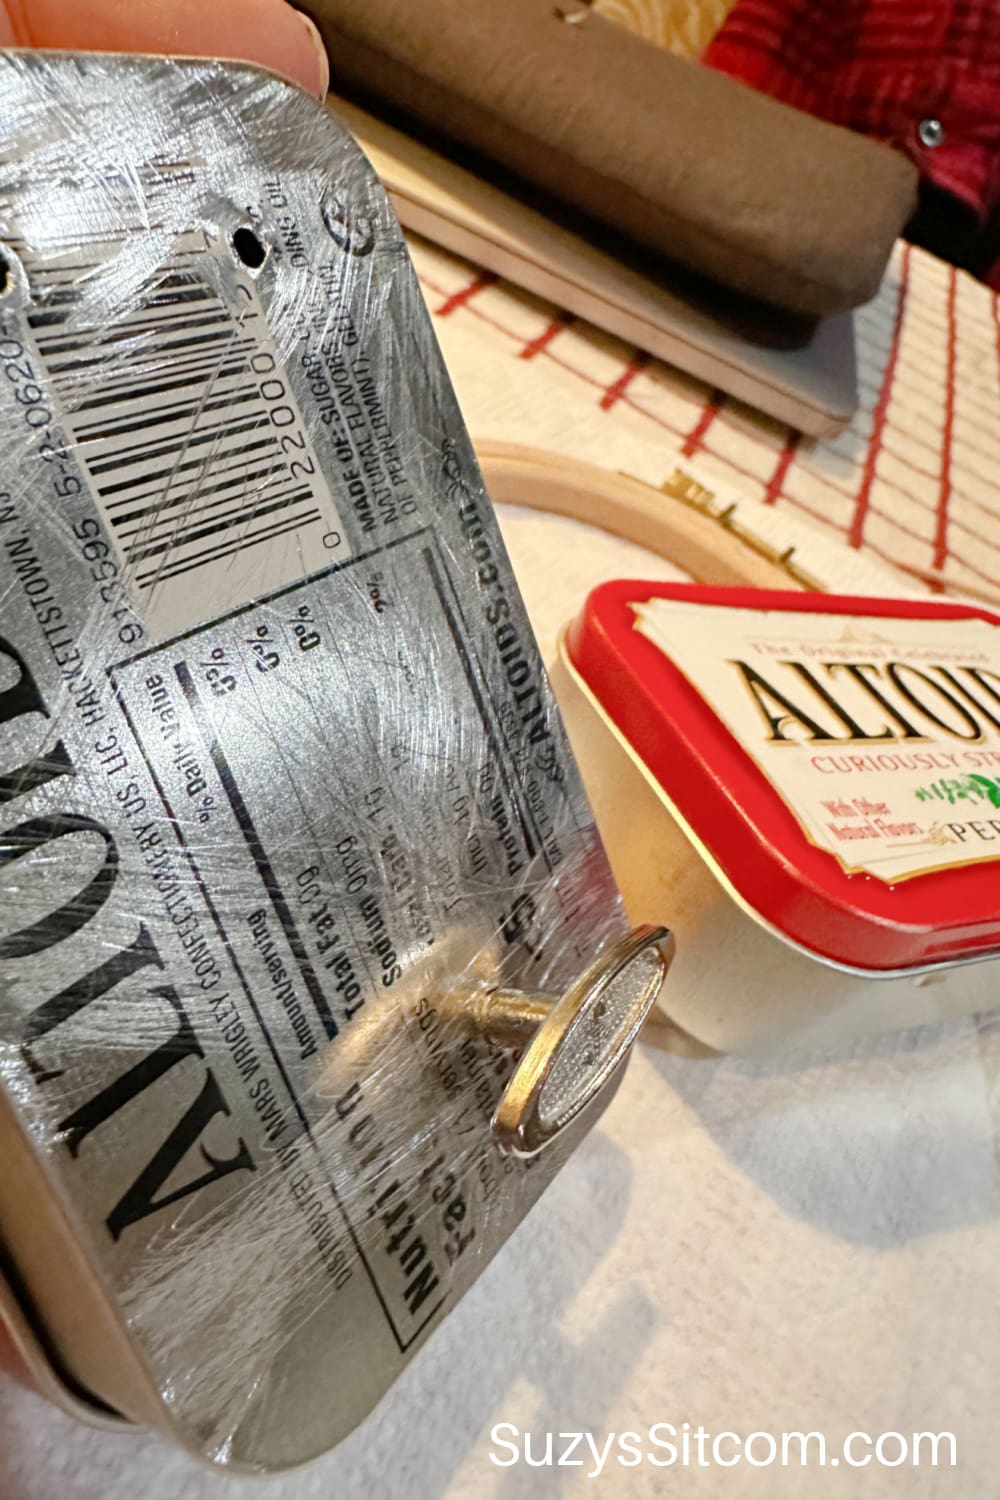
Once the glue has dried, attach the key to the outside of the tin. Check the music box to ensure that it is working properly.
Glue the Bead Necklace to the tin
Clip the necklace so that you now have a long string of beads. Knot a string to the last bead as shown above.

Thread the two ends of the string through one of the bead holes as shown above, then thread through a large bead and knot. Use E6000 glue to attach the bead in place.
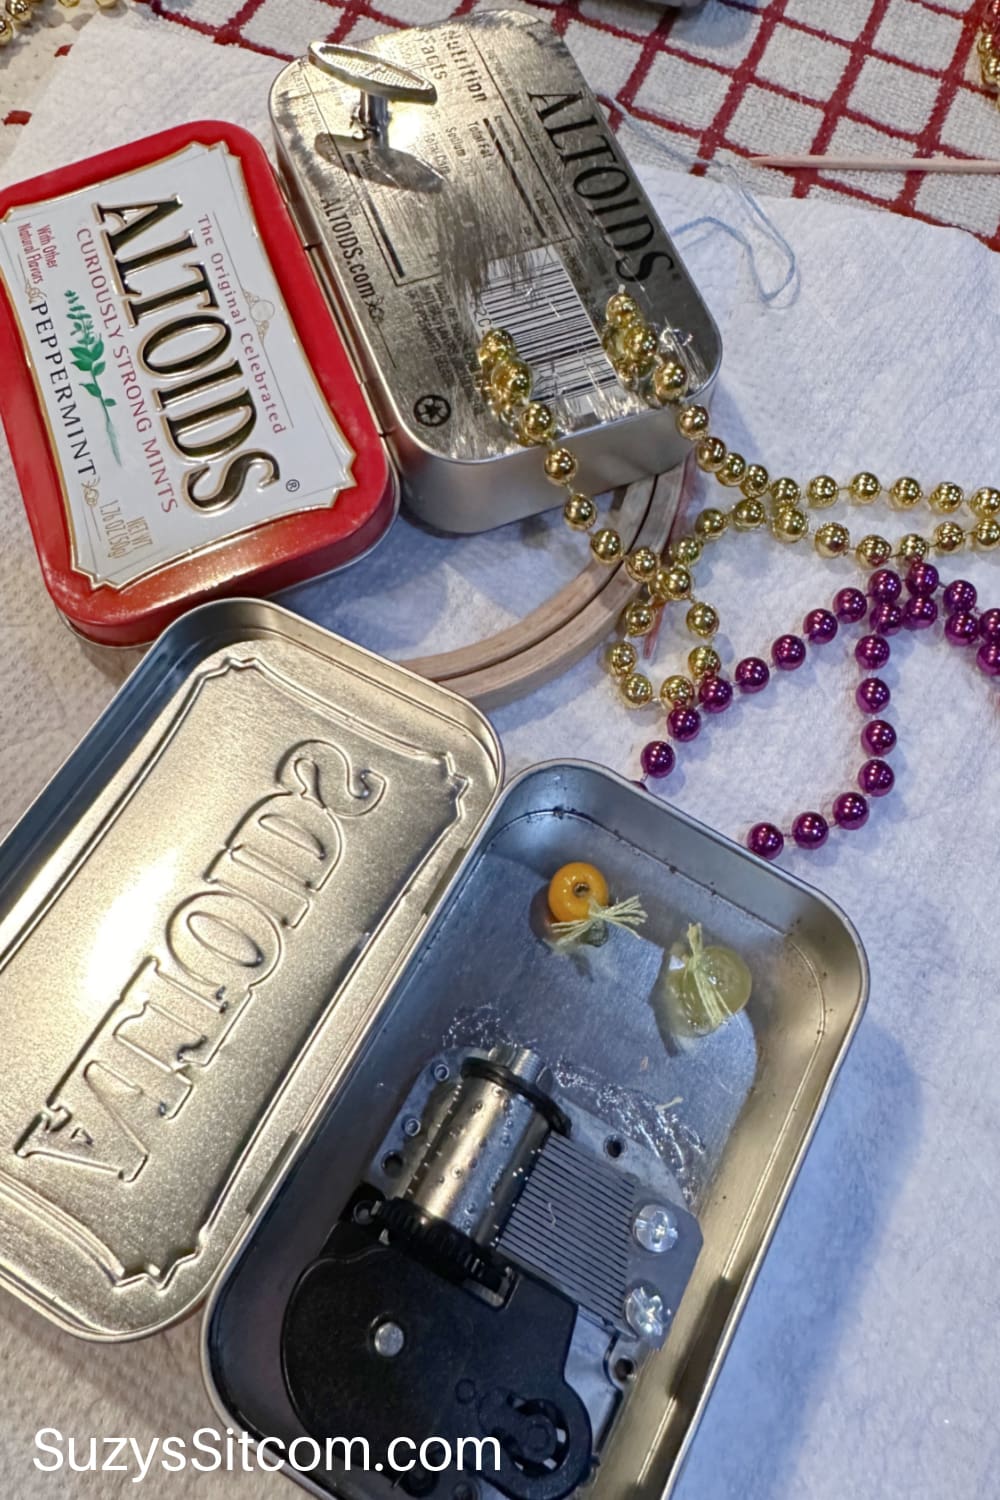
Use E6000 glue to attach the first few beads of the string to the back of the tin. The inside and outside of the tin should now look like the photo above.
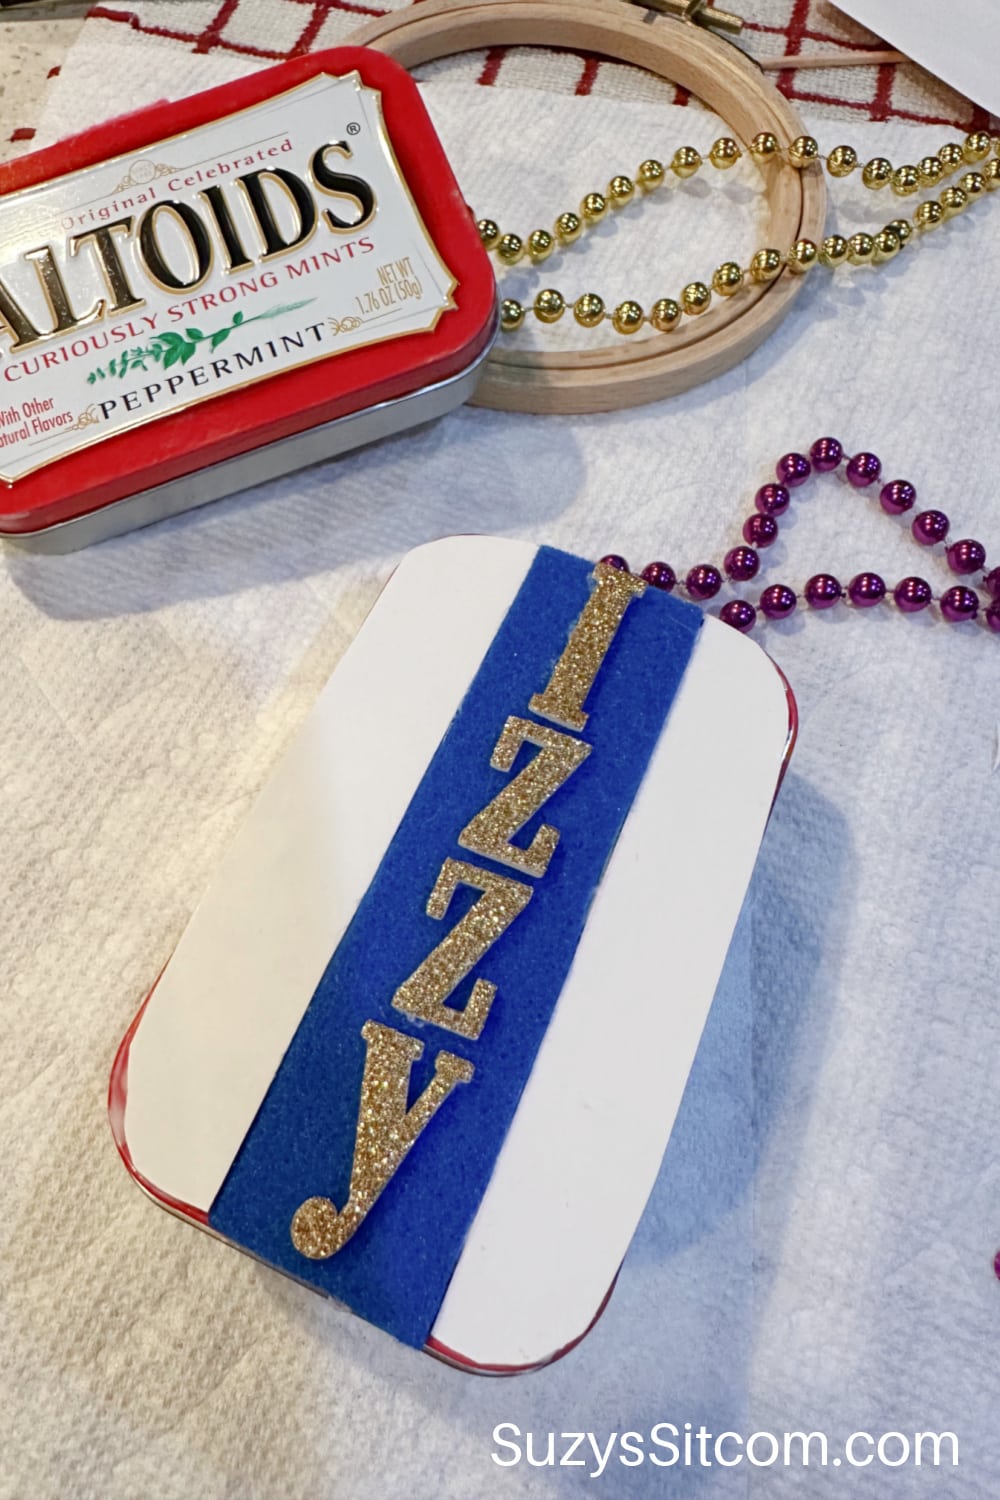
Decorating the Music Box
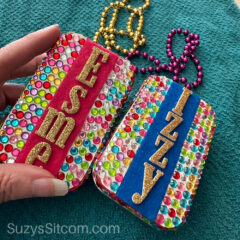
Decorating the music box can be done in so many different ways. My grandchildren love bling, so I added lots of sparkle. Cut white cardstock in the shape of the lid and glue in place with tacky glue. Glue a strip of colored felt in place with tacky glue and then glue on the letters.
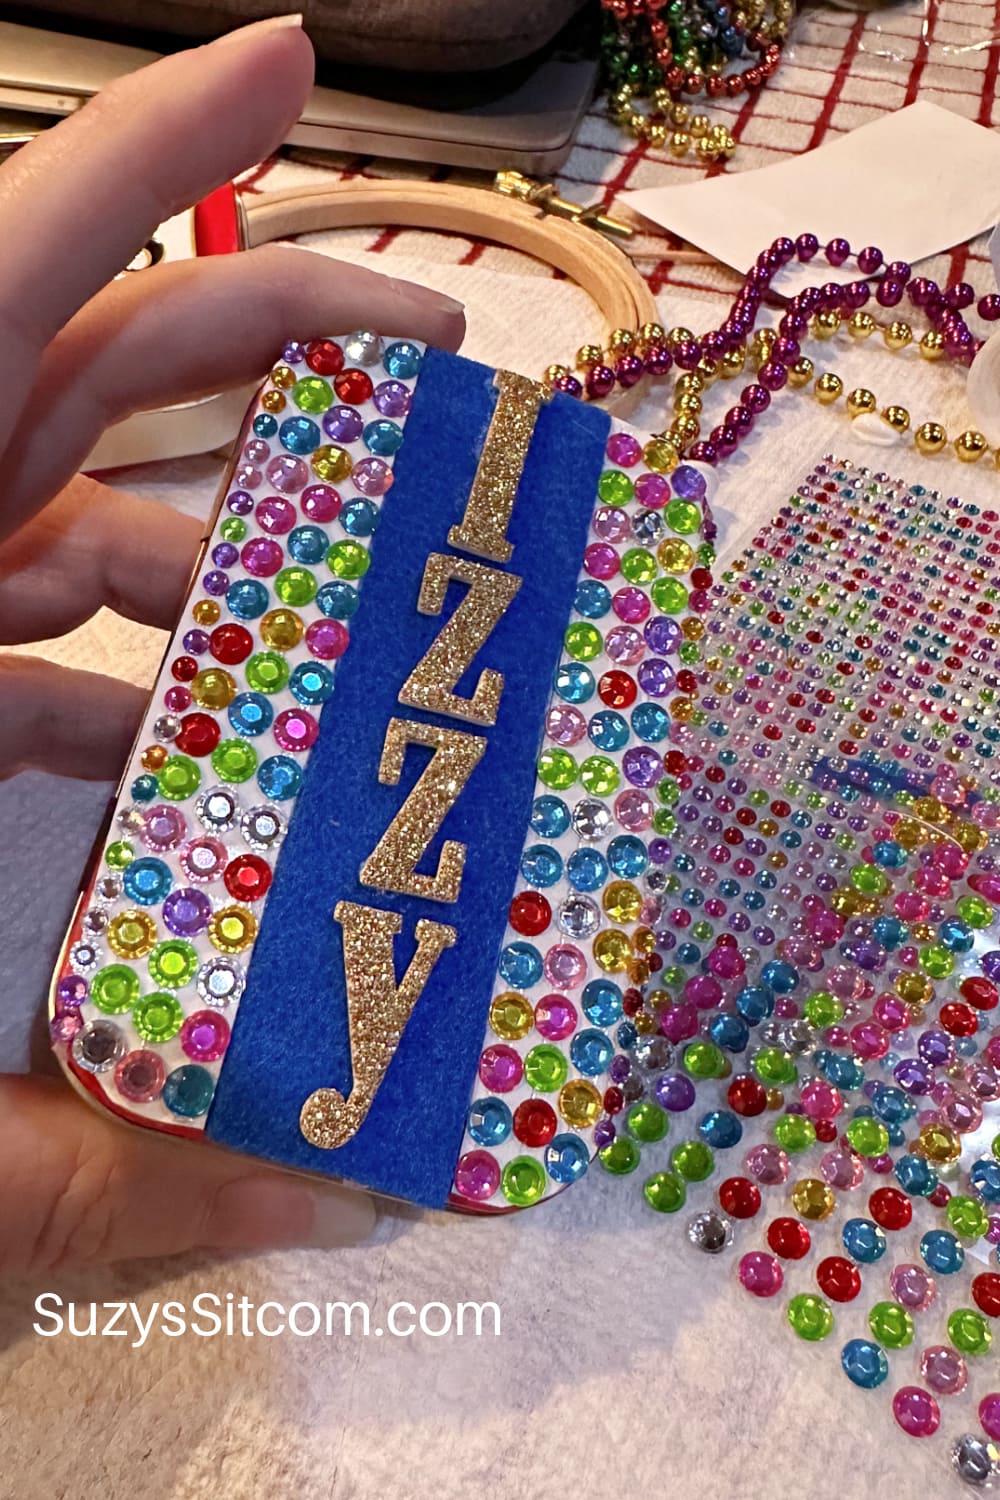
Add lots of bling with gemstone stickers! Simply peel and put in place!
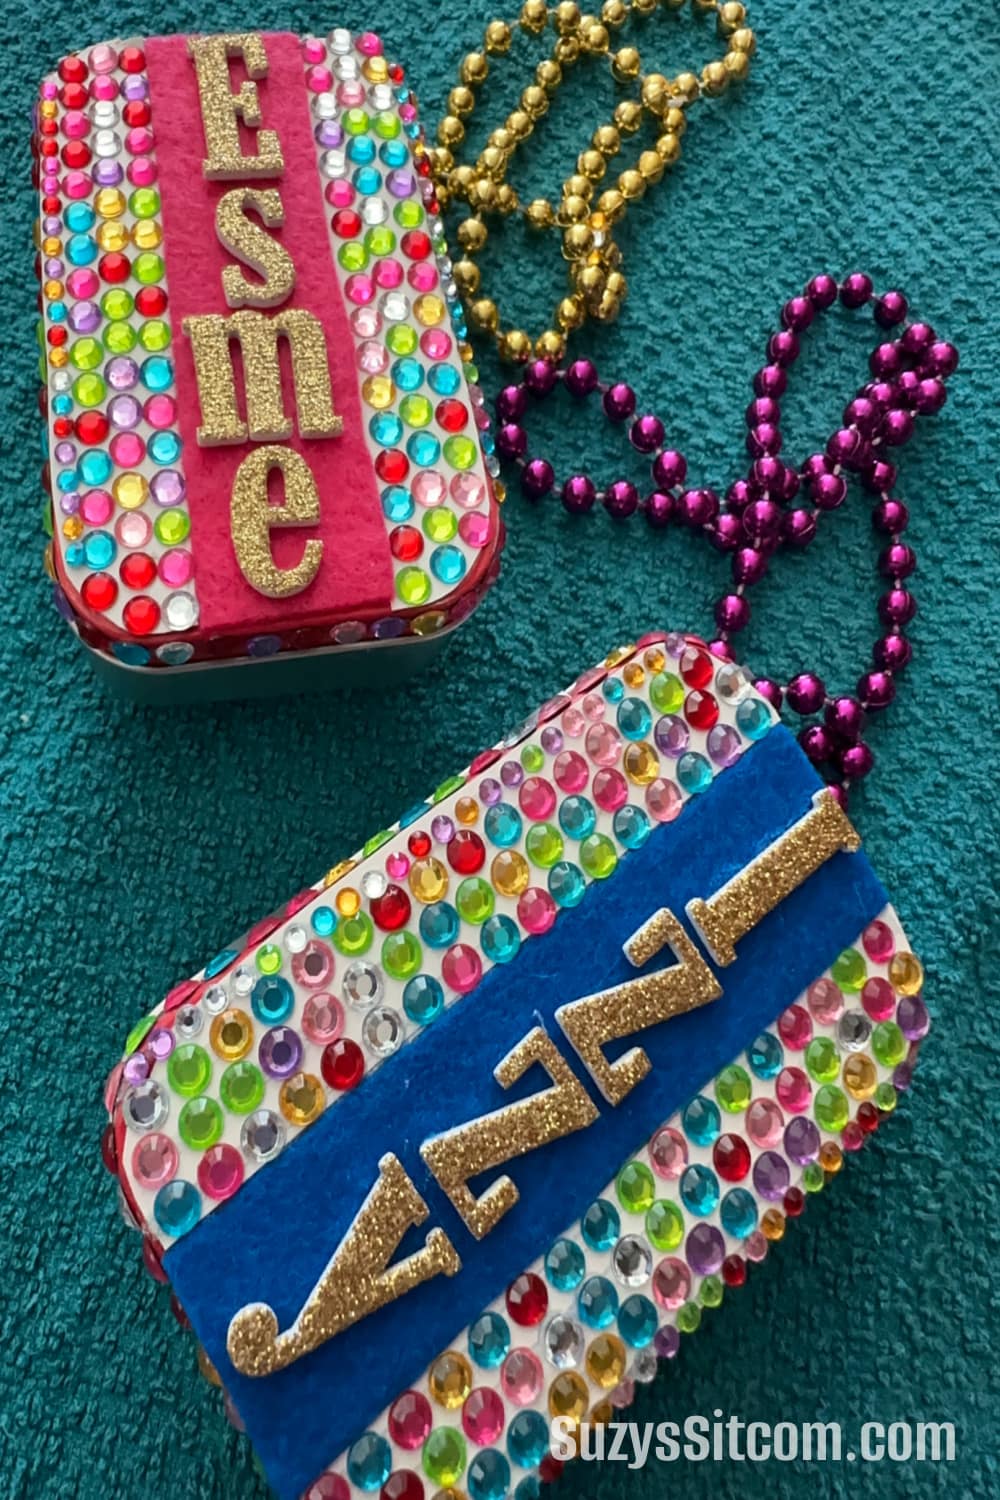
If you prefer, you can always do this project without the necklaces, but for such a small music box, I thought it would be easier for the kids to keep track of if they had a beaded chain.
These little music boxes make perfect little gifts that are truly unique!
DIY Music Box made with Altoid Tin
Equipment
- 1 Drill
- 1 Metal File
Supplies
- 1 ea Altoid Tin
- 1 ea Music Box (measuring 1.77 x 1.97 x 0.79 inches)
- 1 ea E6000 Glue
- 1 ea Tacky Glue
- 1 ea Metalic Bead Necklace
- 2 ea Large Beads
- 1 ea String
- 1 ea Colored Felt
- 1 ea Glitter Foam Letter Stickers
- 1 ea Gemstone stickers
- 1 scrap White Cardstock
Instructions
- Use a sharpie pen to mark where holes will go in the tin for the music box mechanism and the bead necklace. You will need to drill three holes.
- Use a drill to drill the holes into the tin. Use a metal file to smooth all cut edges.
- Use E6000 glue to glue the music box in place. Once dry, add the key to the mechanism and ensure that the music box works properly.
- Clip the necklace to create a long string of beads. Knot string to the bead on the end and pull the ends of the string through one of the bead holes in the tin. Thread through a large wooden bead, knot, and glue in place with E6000 glue. Repeat for the other side.
- Use E6000 glue to attach the first few beads to the back of the Altoid tin. Allow to dry.
- Cut a piece of white cardstock in the shape of the tin and glue to the top with Tacky Glue. Cut a strip of colored felt and glue in place with Tacky glue.
- Attach letters with tacky glue.
- Attach the gemstone stickers.
Love the ideas you see here on Ideas for the Home by Kenarry®? Subscribe today to get our FREE DIY & Craft Planning Calendar, plus our weekly Ideas in Your Inbox newsletter filled with creative tips and exclusive offers!
Love Unique Craft Ideas?
If you enjoyed making a Music Box with Altoid Tins, then you may like some of the other unusual craft ideas on SuzysSitcom.com!
Easy to Make Butterfly Baby Mobile

How to make Faux Tin Tiles from Cookie Sheets!

Make 3D Art with Aluminum Pans

You may also enjoy these 3 ideas on Ideas for the Home by Kenarry® –